This post may contain affiliate links.
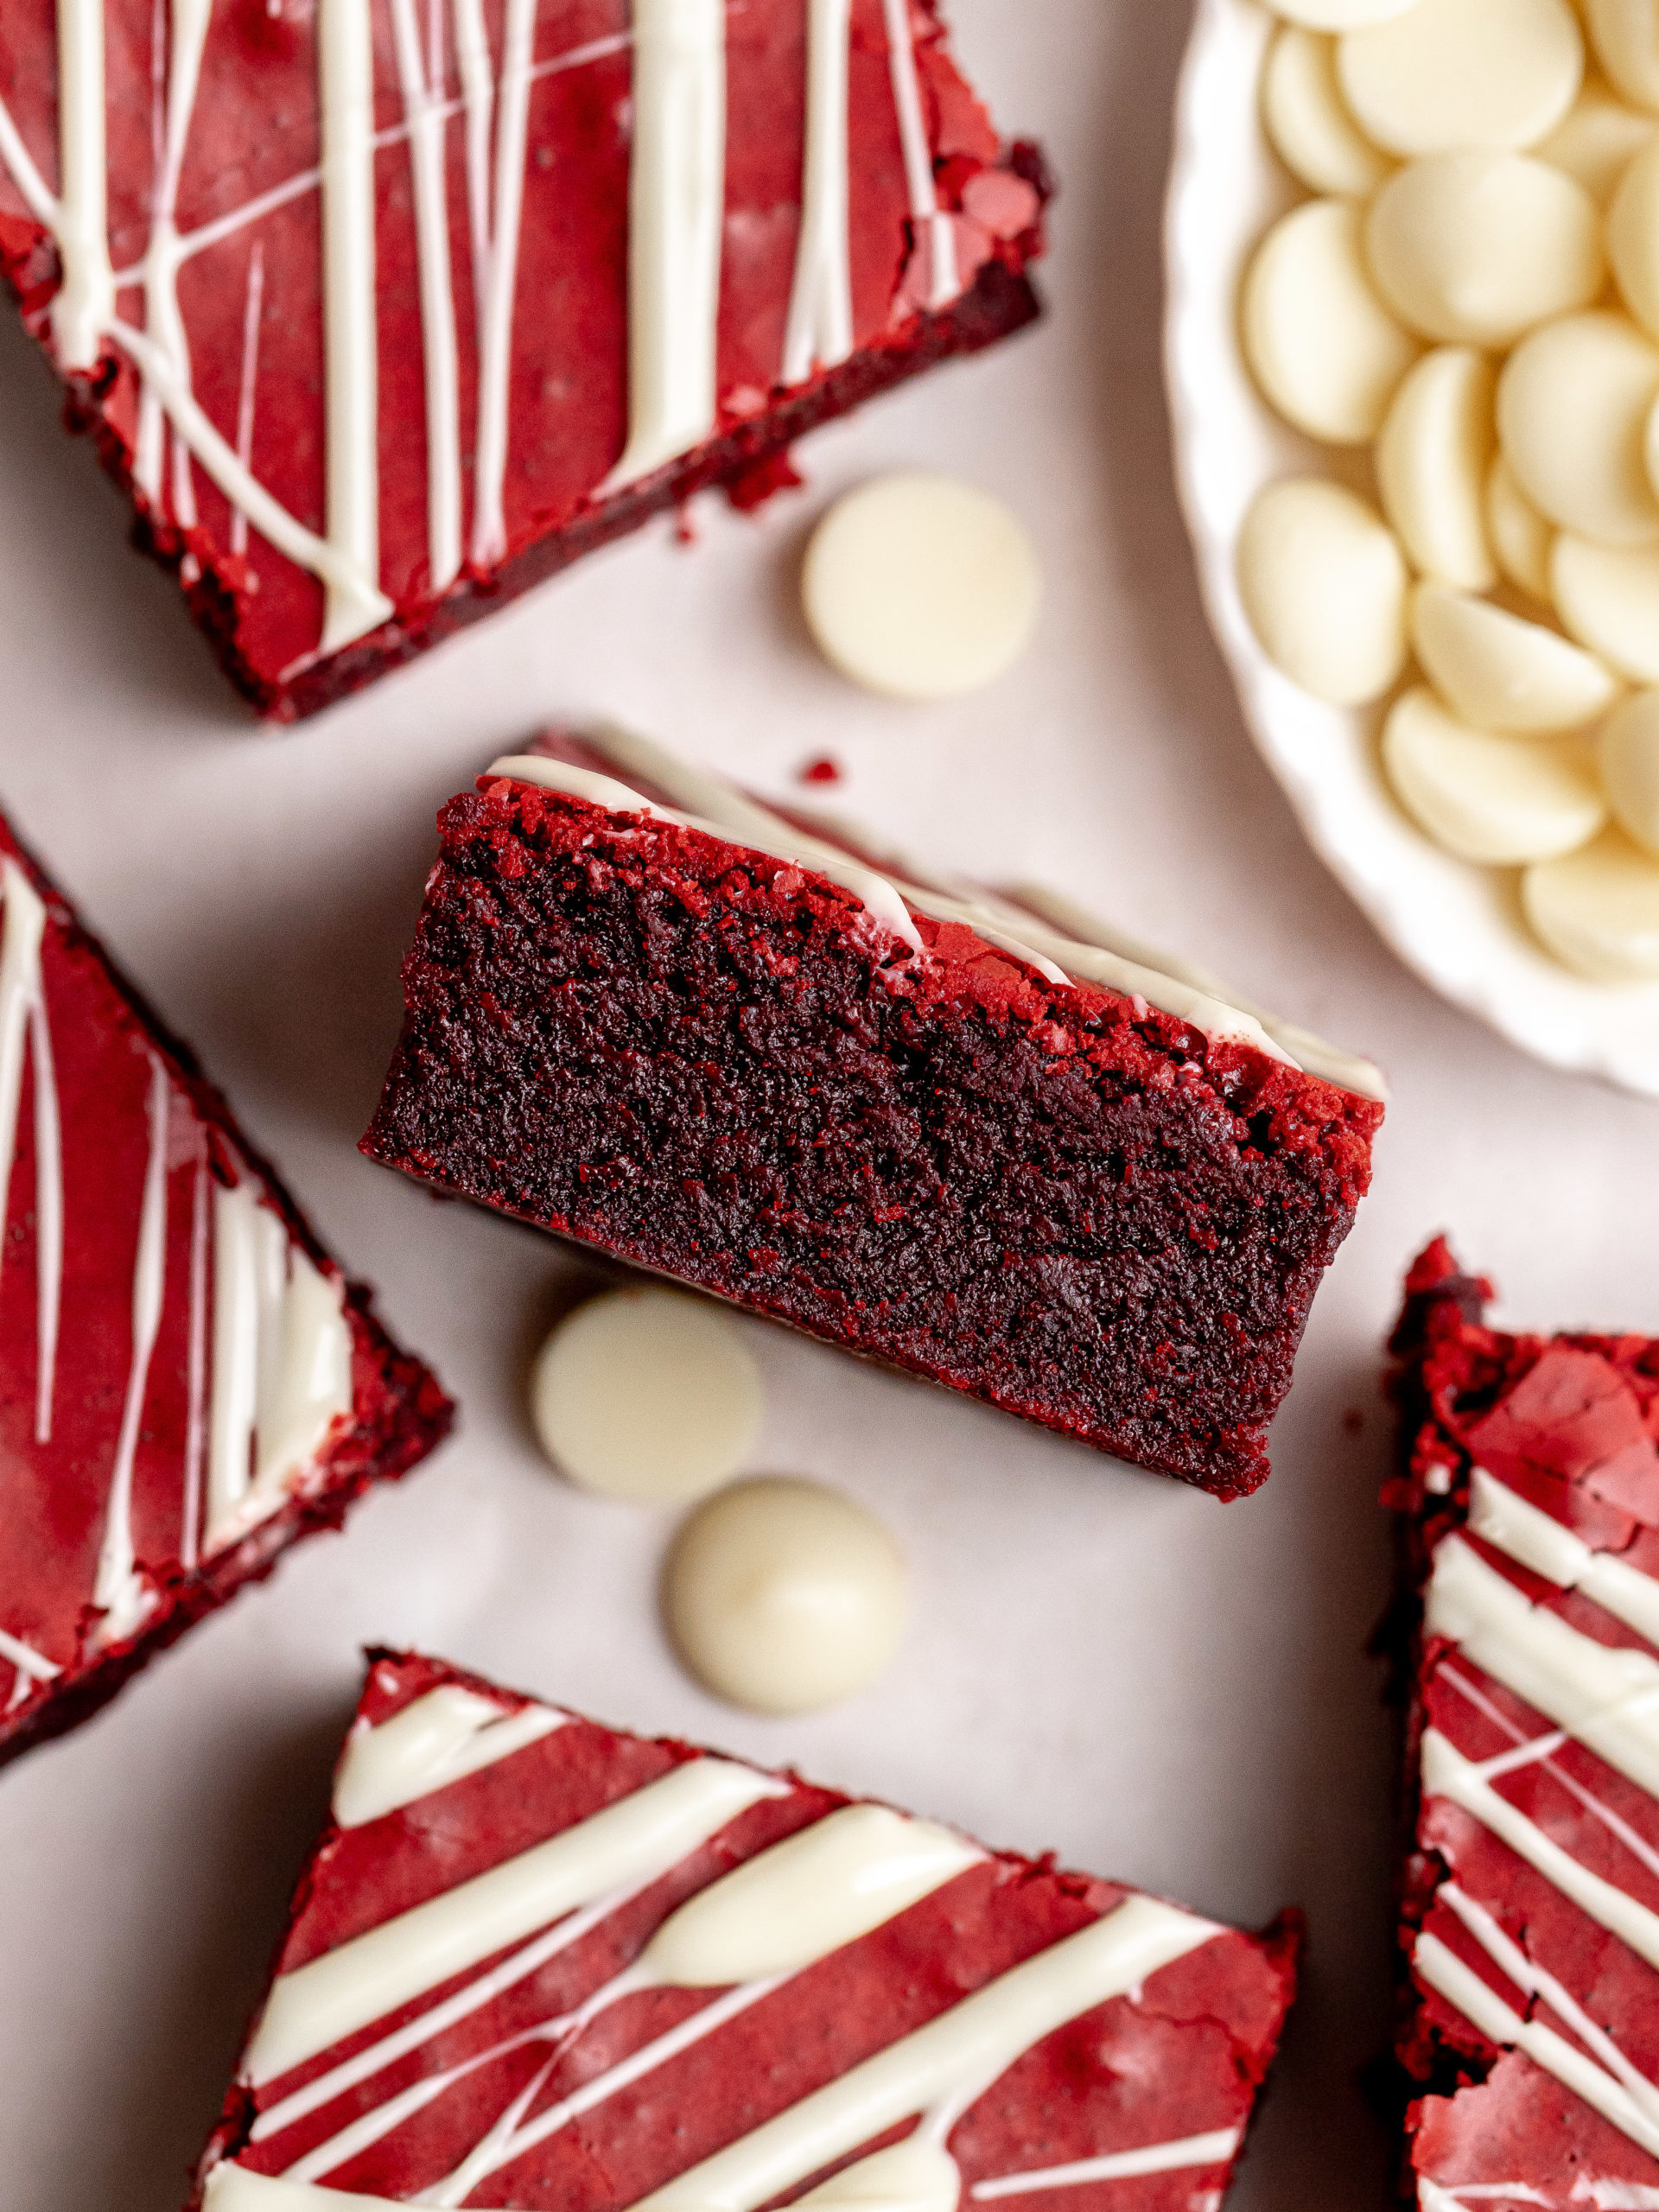
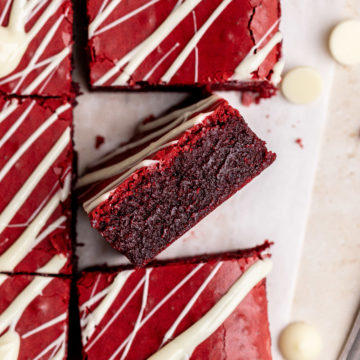
Super gooey and easy Red Velvet Brownies. These fudgy brownies are super delicious and are topped with a drizzle of white chocolate. It is perfect to serve for you loved one or family on Valentine's Day or any special occasion. These homemade brownies have a beautiful red color and the best red velvet brownies.
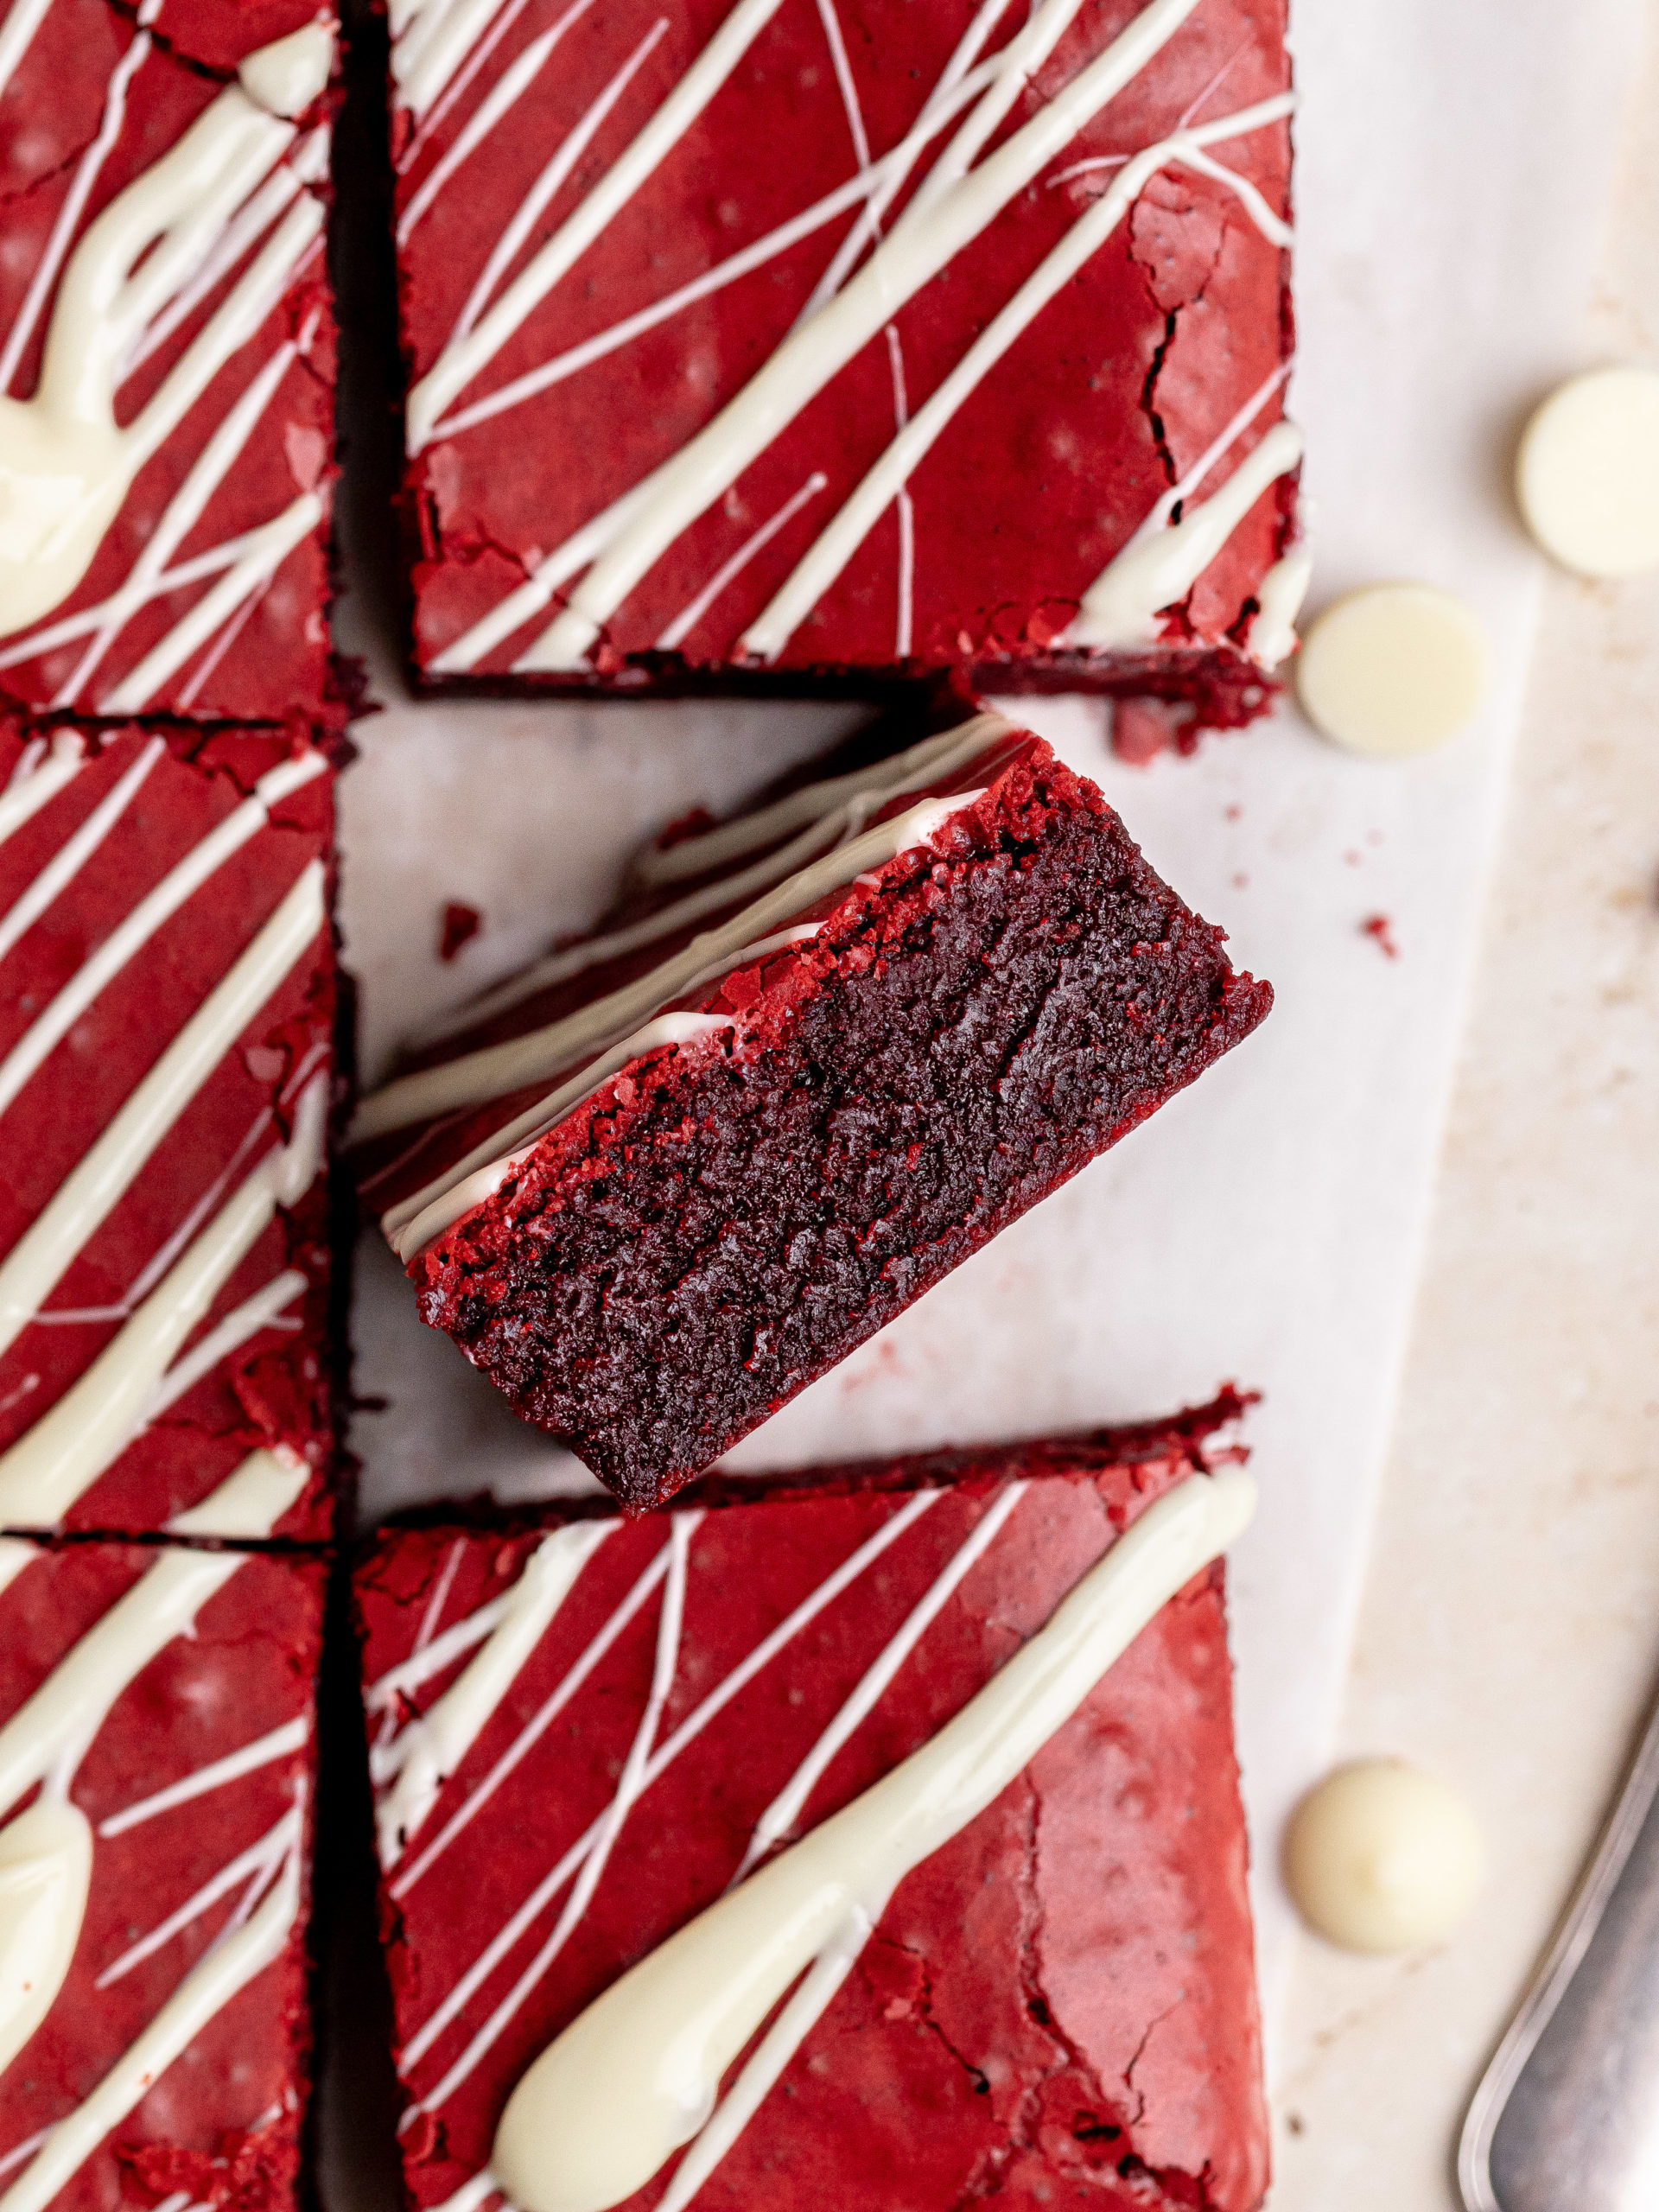
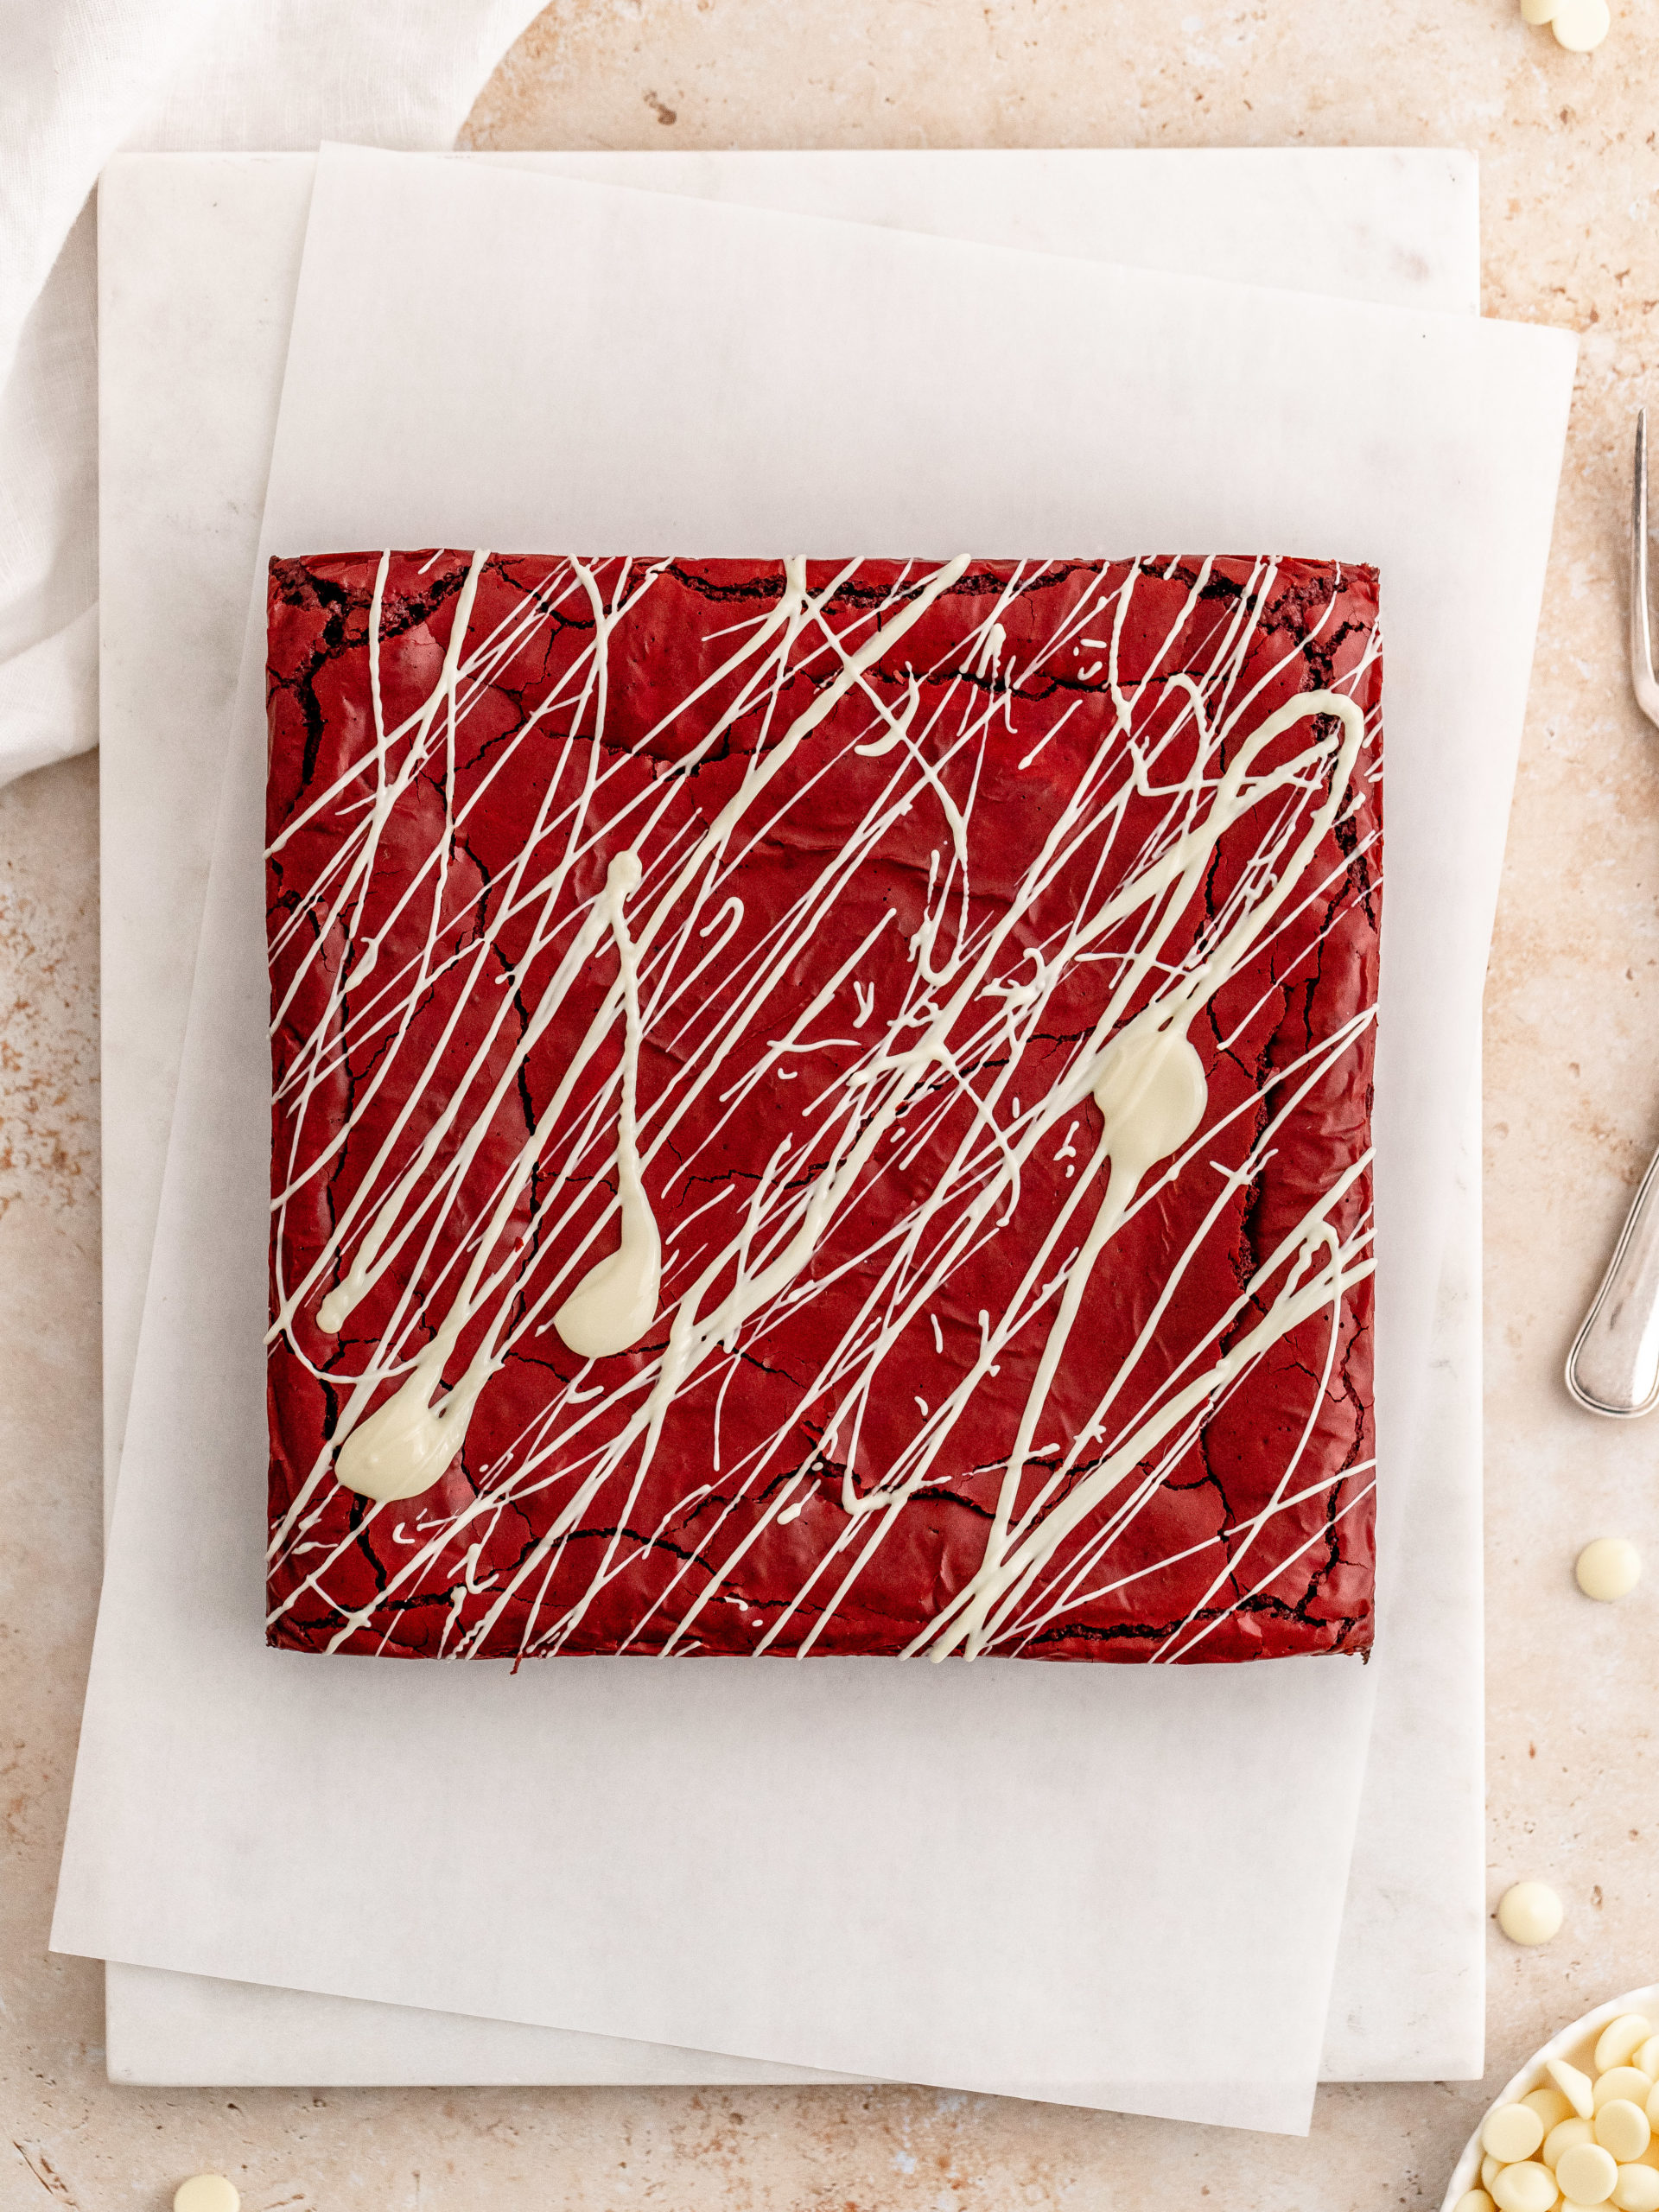
These fudgy Red Velvet Brownies are the perfect treat to serve on Valentine's Day. They have a beautiful deep red color making them extra festive. The brownies are full of delicious dark chocolate making them super fudgy and soft and are topped with lots of white chocolate.
These decadent red velvet brownies are perfect for any special occasions.
For more brownie recipes, try Dairy Free Brownies, Espresso Brownies and Small Batch Brownies.
Jump to:
WHY THIS RECIPE WORKS
- Valentine's Day: This red velvet brownie recipe is perfect for Valentine's Day. They are super festive and a perfect cake to serve your family or partner.
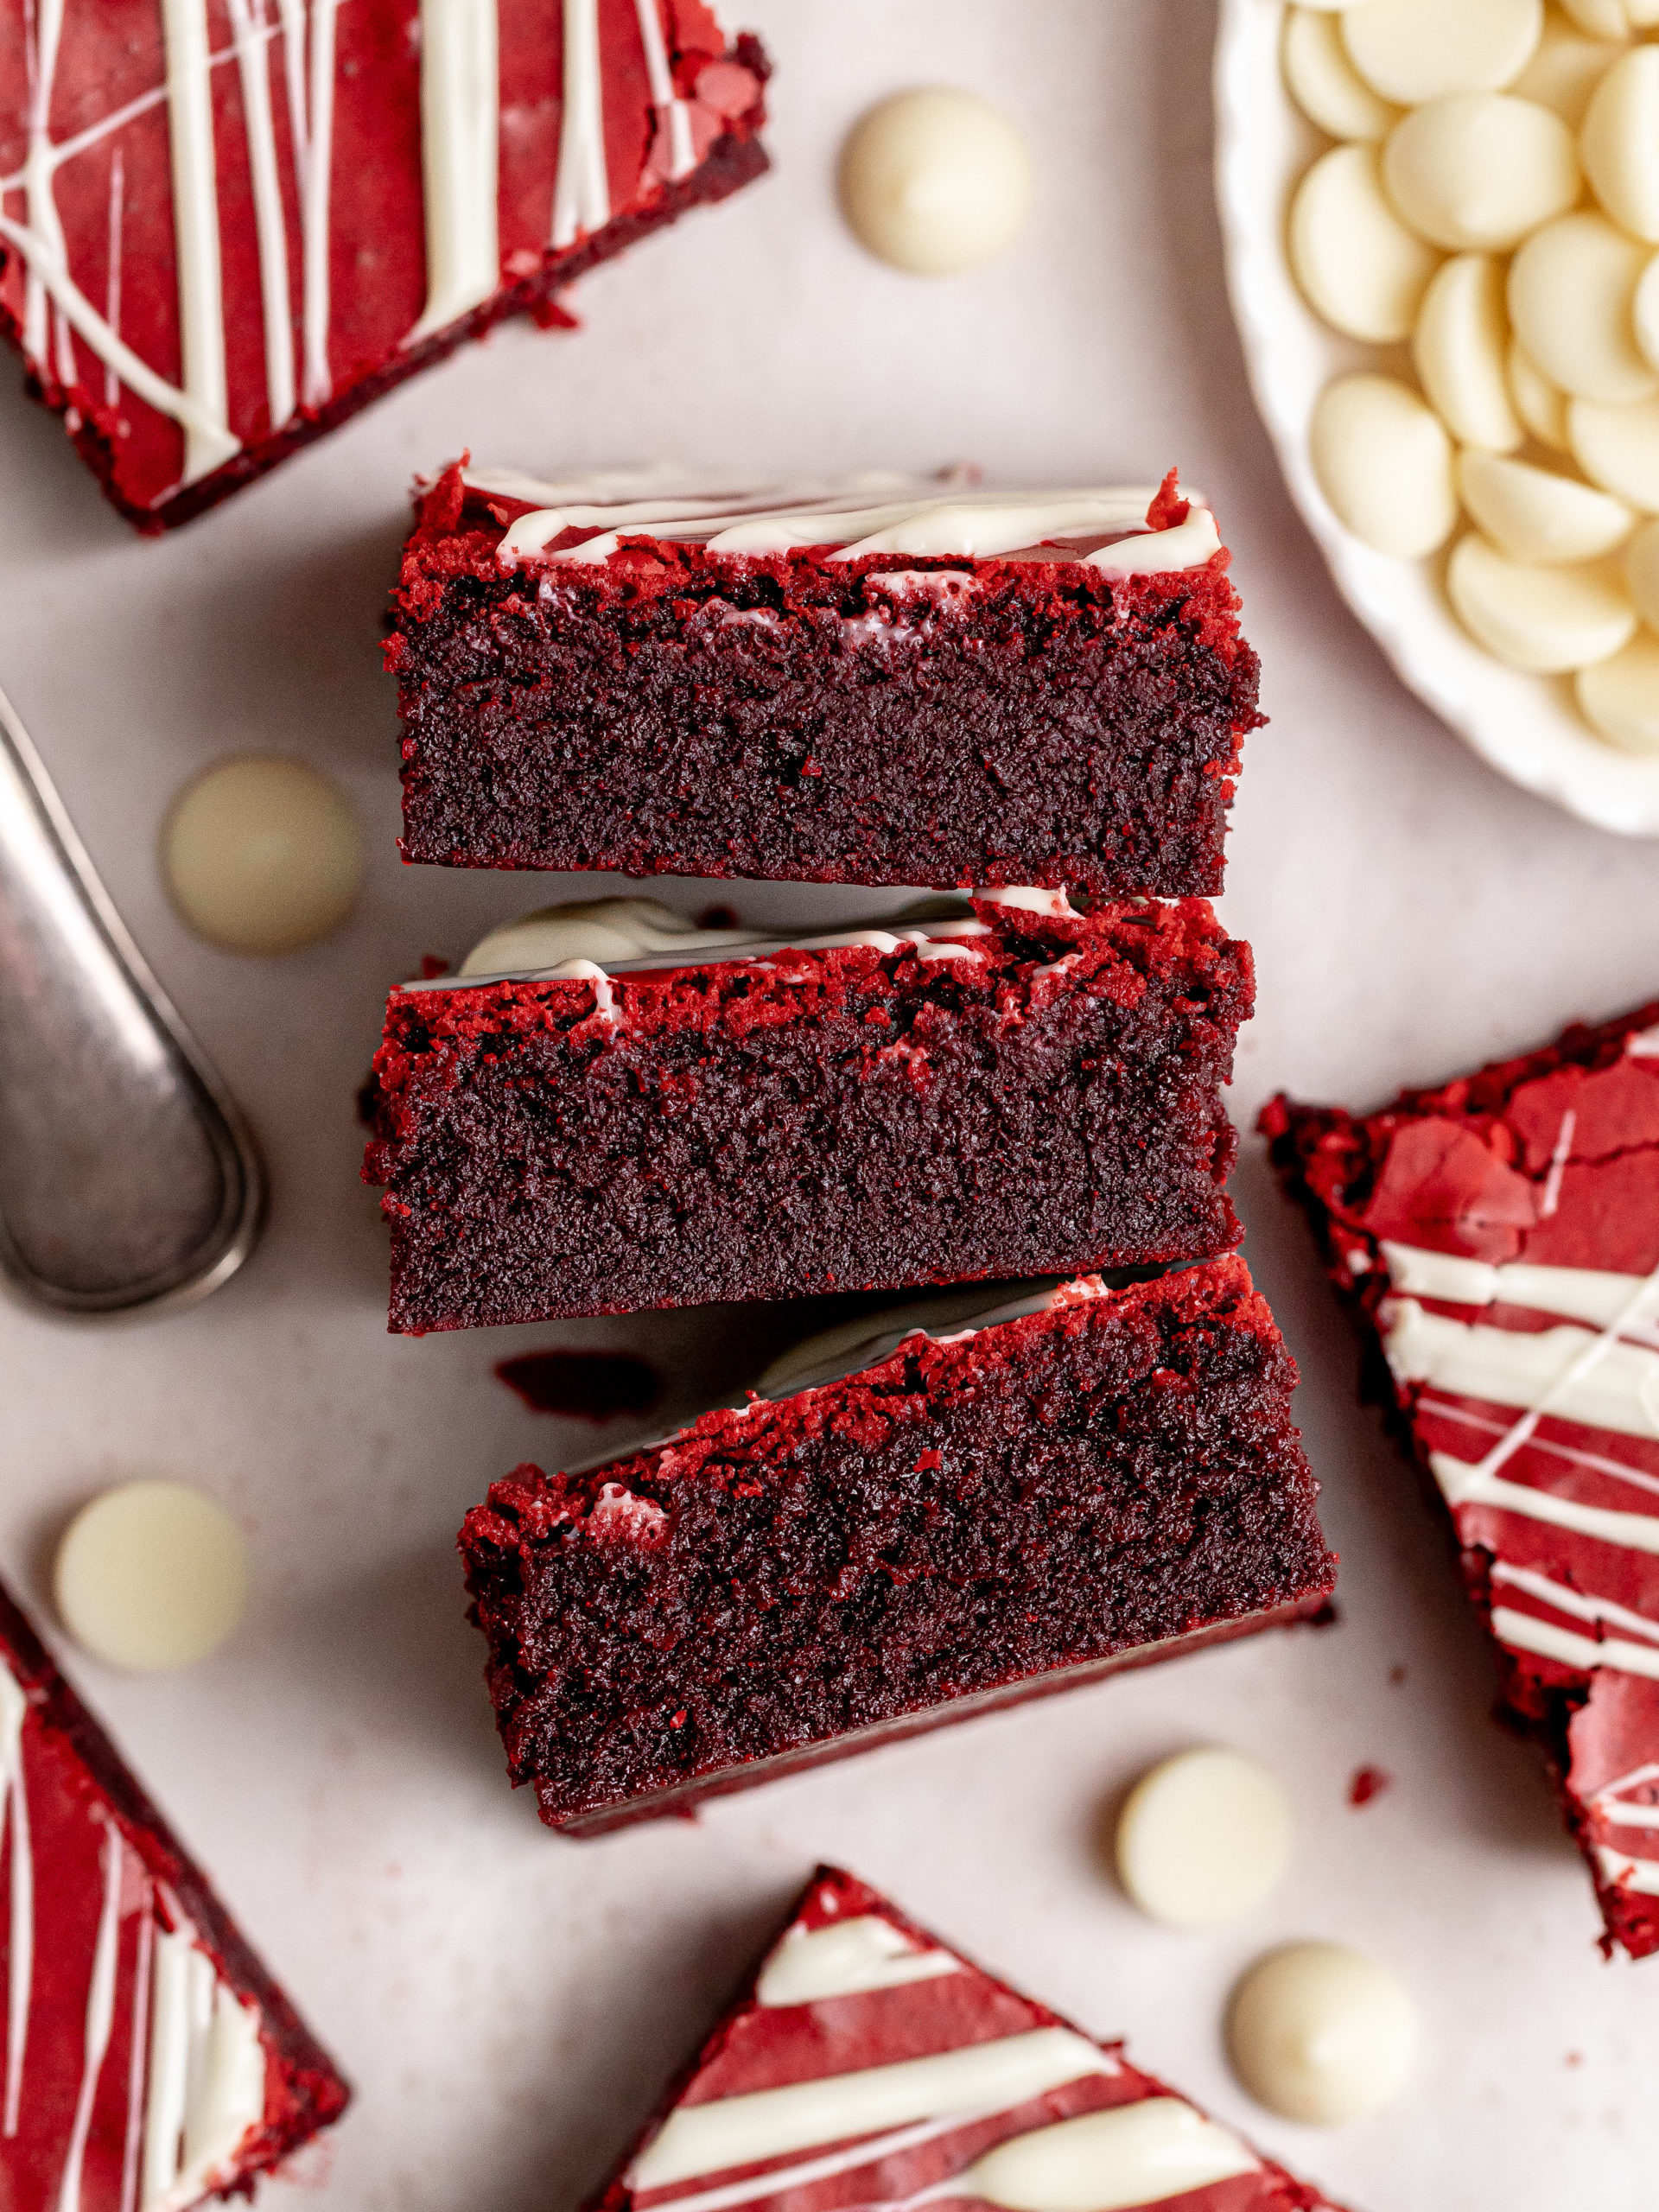
- Chewy and fudgy texture: This brownie is so soft and fudgy with a perfectly crinkly top.
- Easy dessert: This brownie is super easy to mix together and is always a crowd pleaser!

INGREDIENT NOTES
These are some of the key ingredients for this recipe. For a full list of ingredients, check out the recipe card below.
- Eggs: Take them out of the fridge 1-2 hours before baking.
- Dark chocolate: I recommend a dark chocolate on the sweeter side, e.g. 54,5%, and therefore a not too bitter of a dark chocolate for the best results.
- Cornstarch: Cornstarch breaks down the gluten in the flour, making for a more soft and fudgy brownie.
- Cacao powder: I use high quality dutch-process cacao powder for the best flavor, my favorite is from Valrhona.
- Vegetable oil: These brownie are made with vegetable oil. Use for example canola oil or sunflower oil.
- Red Gel Food Coloring: I recommend using a extra red gel color. Gel color gives a more intense color and does not add extra liquid to the batter, compared to a liquid food color. My favorite is Sugarflair Extra Red Gel Color. You can also use vegan food coloring.
STEP BY STEP INSTRUCTIONS
Here is how to make and bake these Red Velvet Brownies. This recipe needs an electric hand mixer, two bowls and a spatula.
The full recipe is down below in the recipe card.
Before starting preheat the oven to 160ºC /325ºF conventional oven. Prepare a with 20x20 cm square pan parchment paper.
STEP 1: Melt the dark chocolate and let it cool slightly while preparing the rest of the ingredients. Sift together the all-purpose flour, cocoa powder, cornstarch, and salt.
STEP 2: With an electric hand mixer, whisk together the eggs, granulated sugar, in a large bowl until light and fluffy for 2 minutes. Add the melted chocolate, vegetable oil, white vinegar, red paste food coloring and vanilla extract into the batter and mix until combined
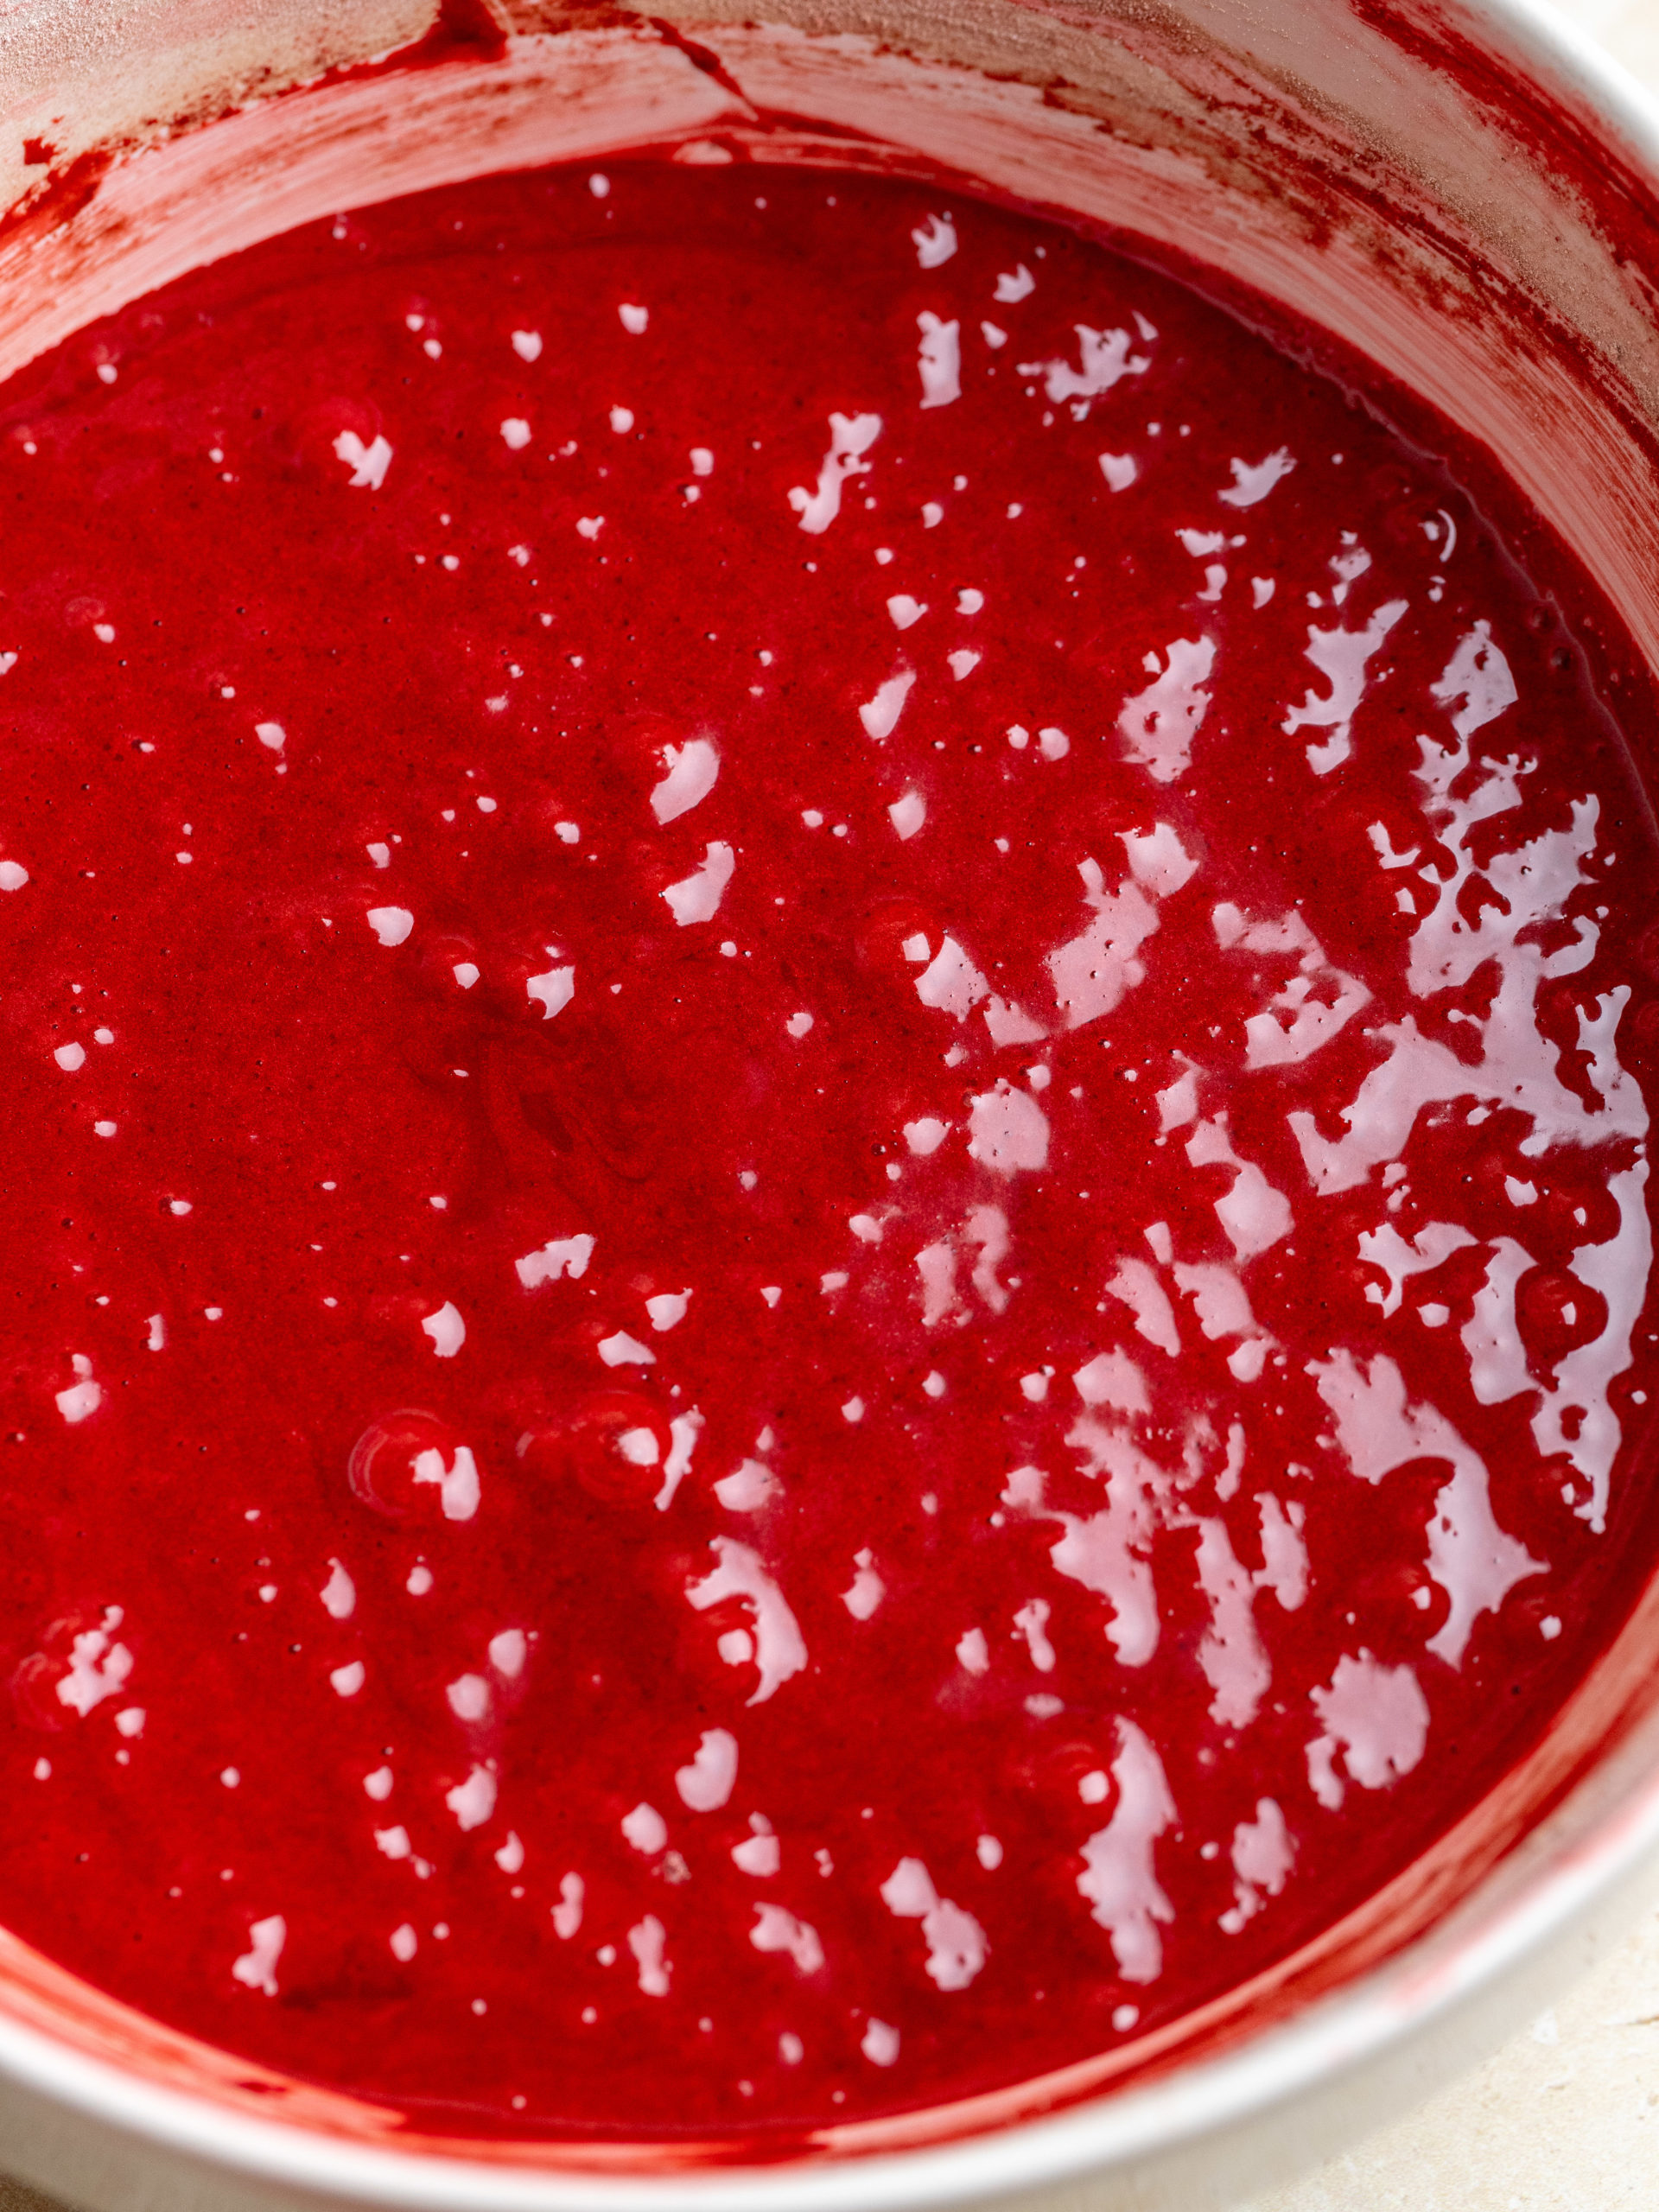
STEP 3: Add the dry ingredients to the batter and on medium speed mix it together until combined. Scrape down the sides of the bowl with a spatula to make sure everything has been incorporated.
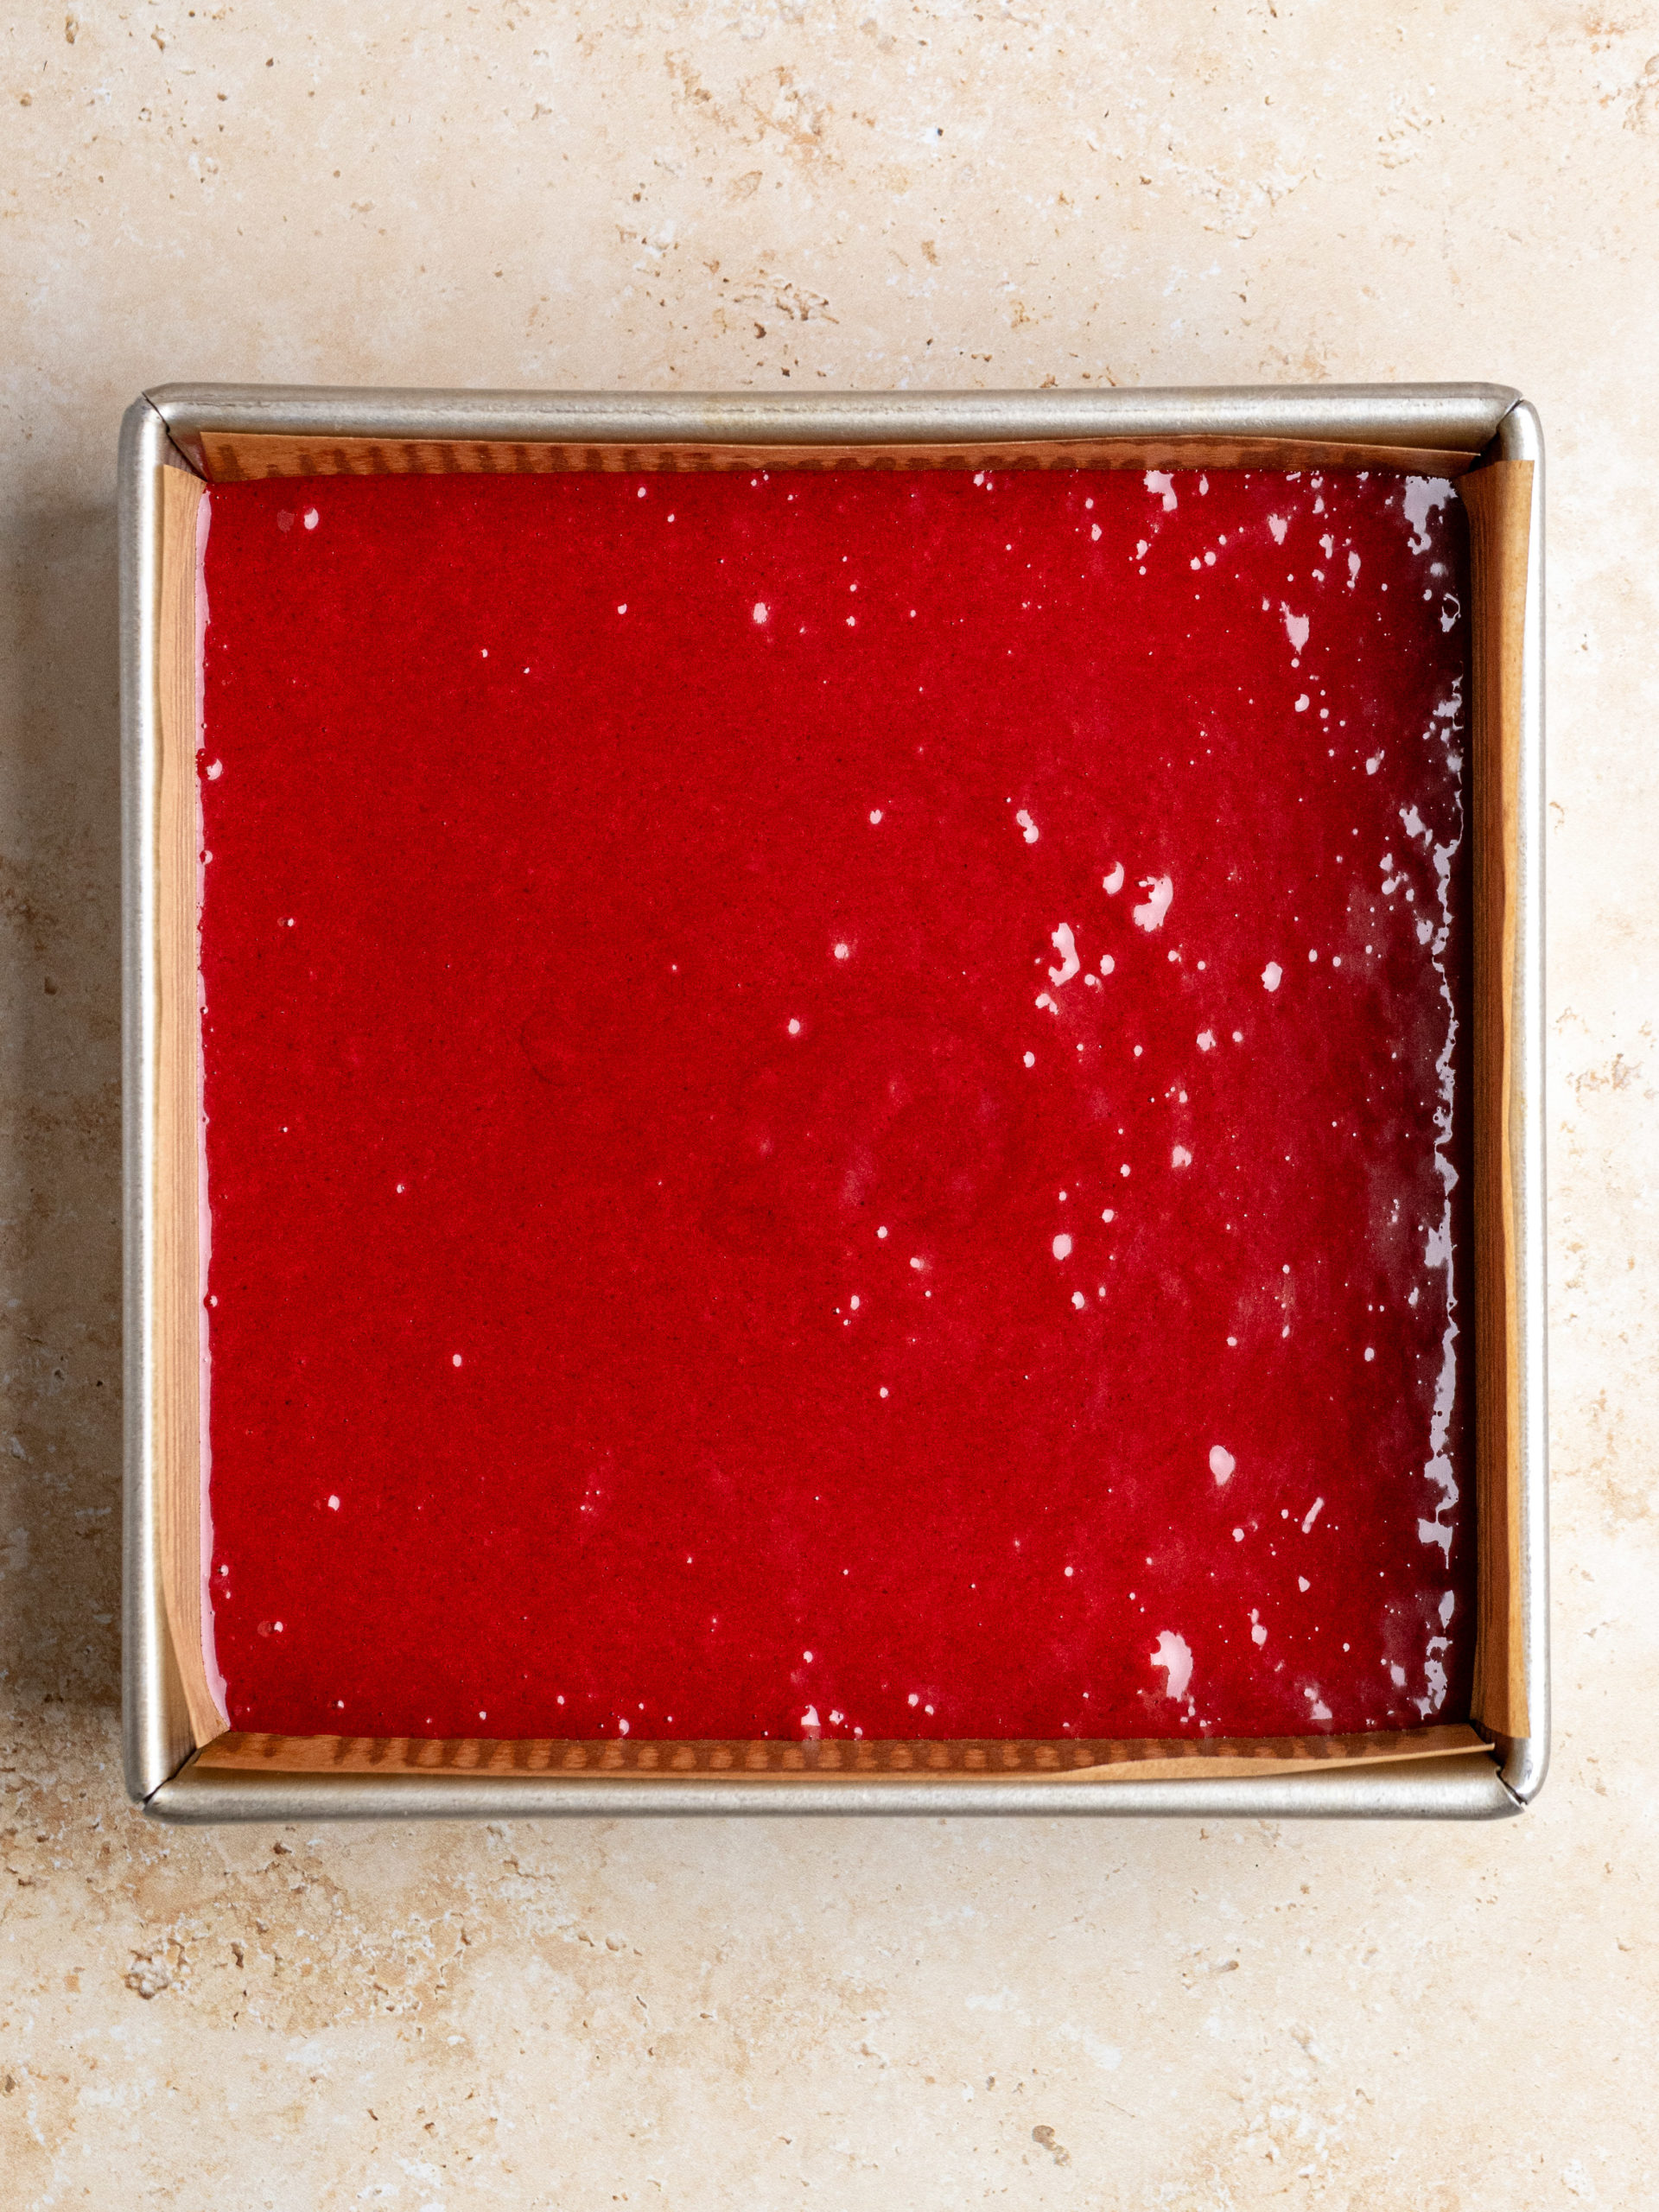
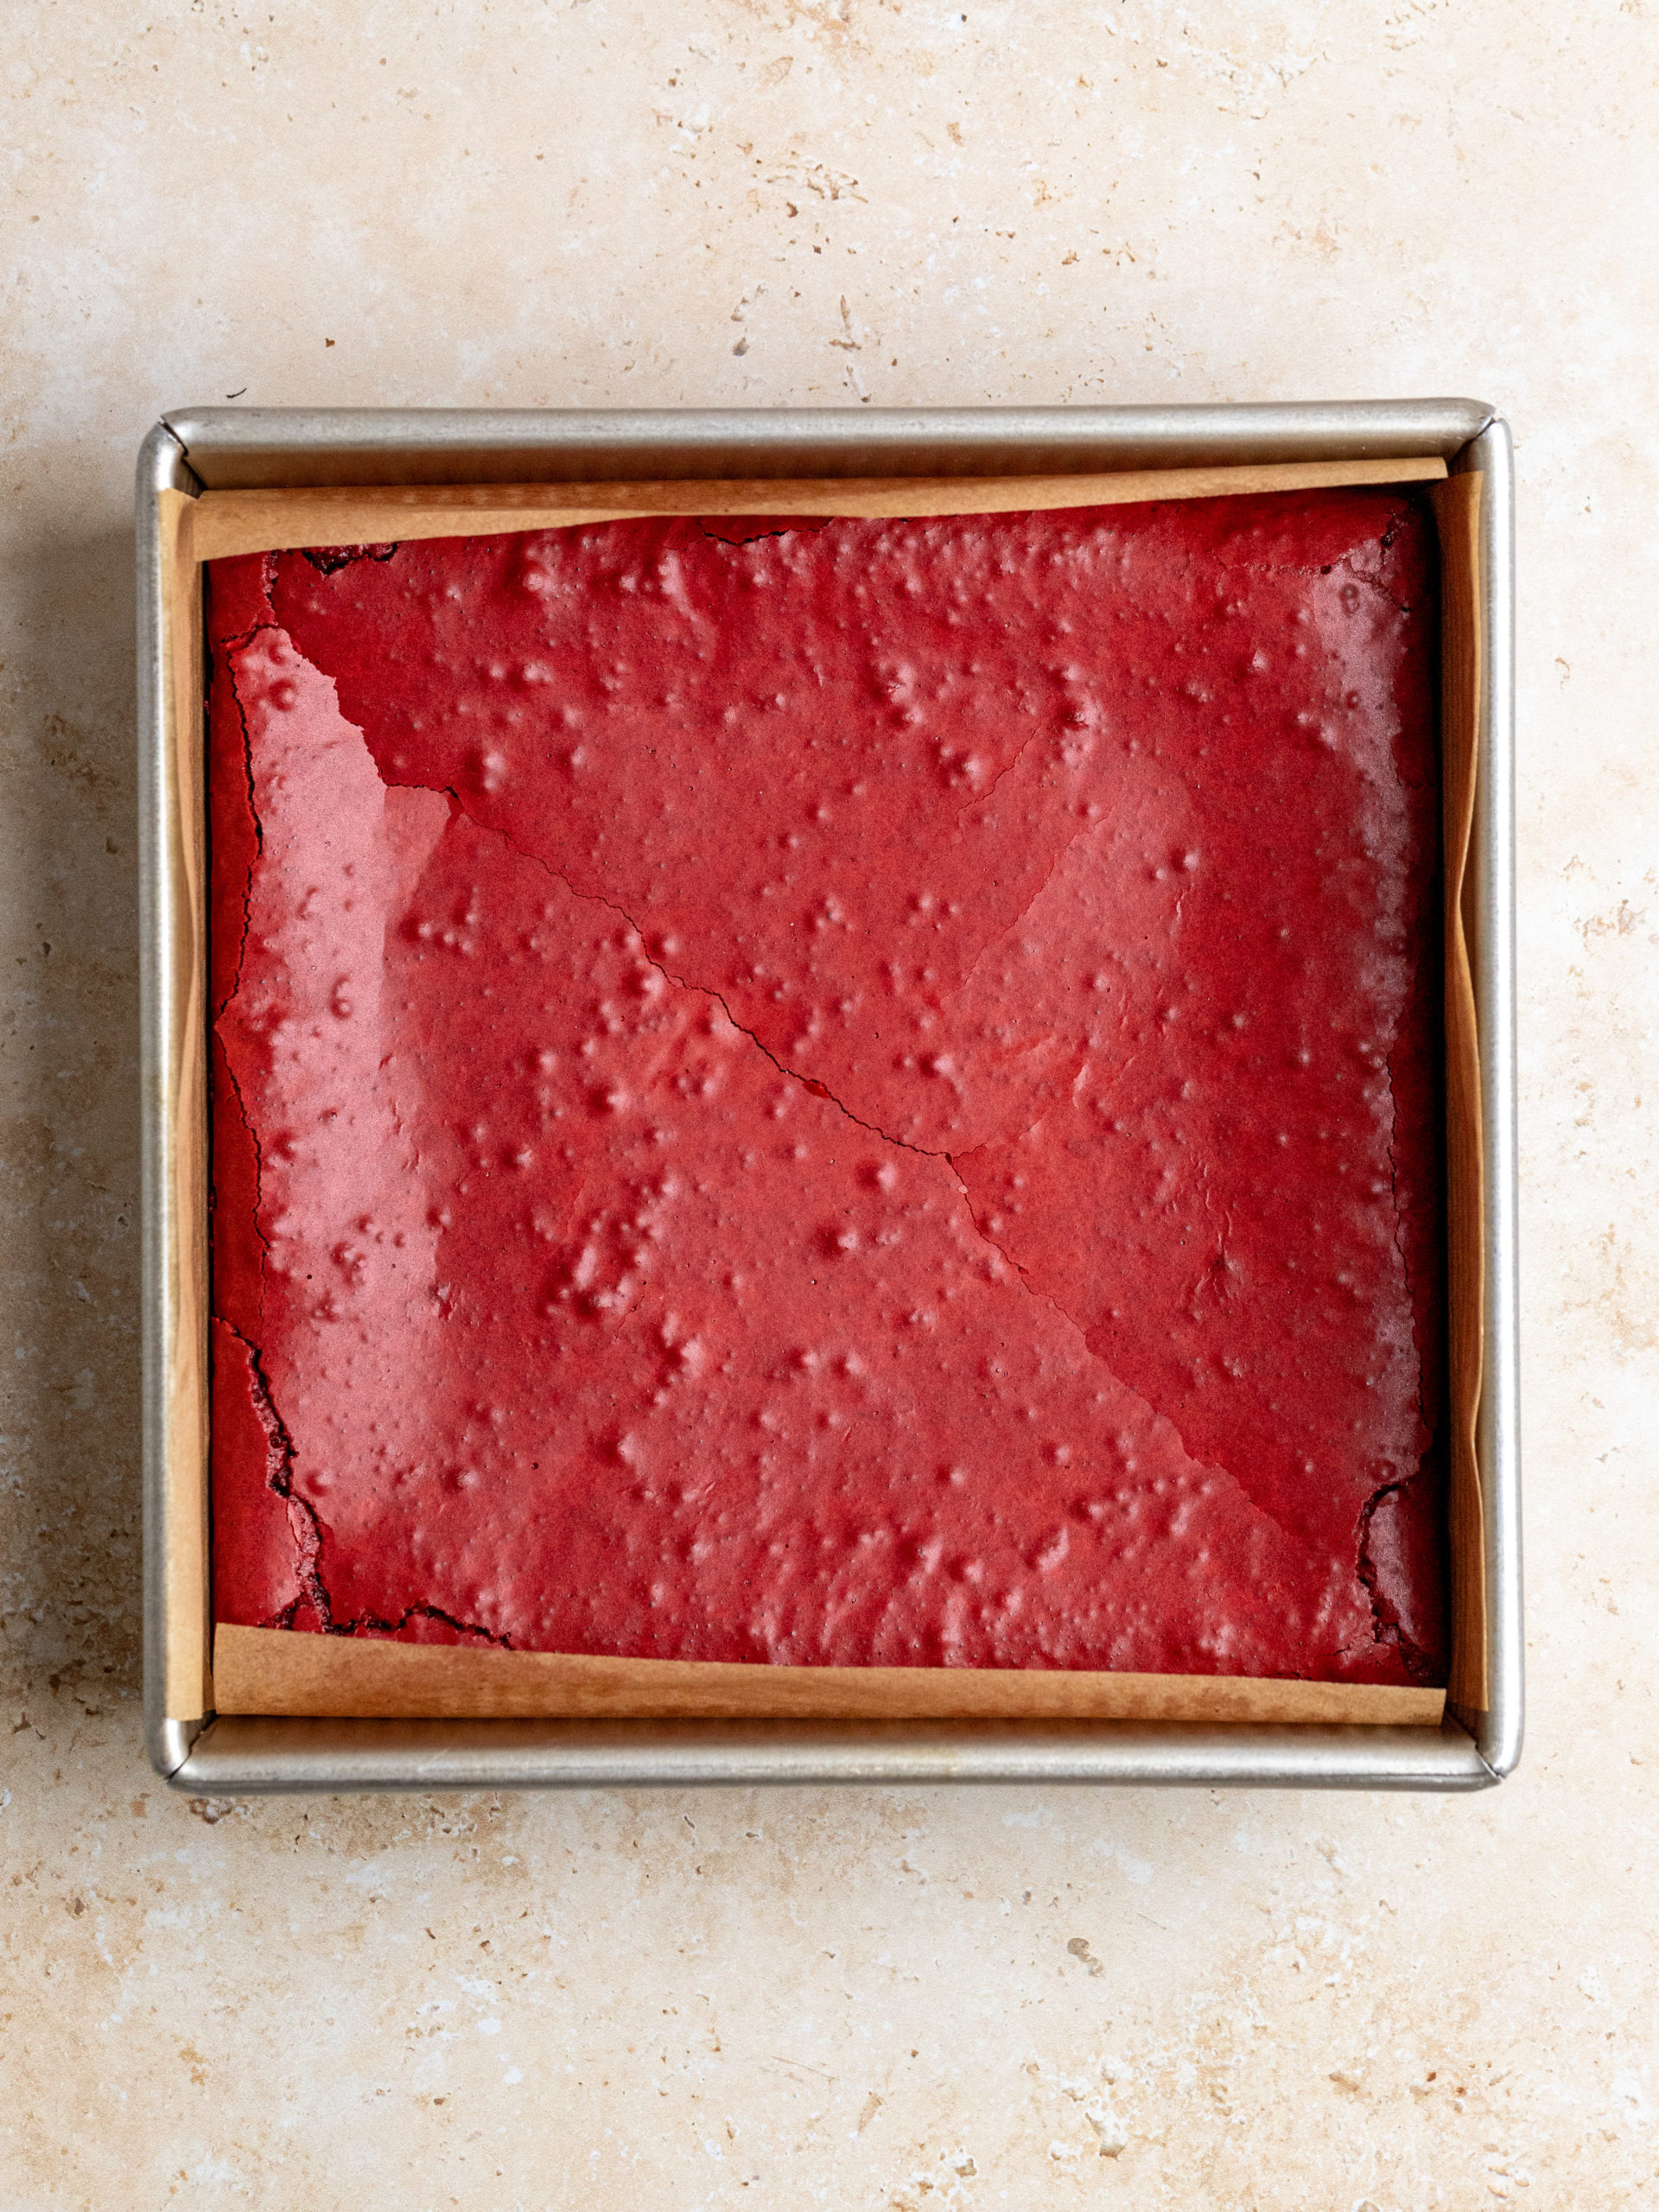
STEP 4: Pour the red velvet brownie batter into the prepared baking pan, smooth it out with the spatula. Bake the brownie in the preheated oven for about 45-50 minutes. Let it cool down on a cooling rack. Once cooled down, melt the white chocolate chips and drizzle it over the brownie.
EXPERT BAKING TIPS
- Use a kitchen scale: My default setting for my recipes is grams. It is the most precise way of measuring out your ingredients, I therefore highly recommend using a kitchen scale.
- Don't over mix your batter: I always use a spatula after everything has mixed together, to give it one final gentle fold together. This makes sure everything in the bottom of the mixing bowl has been mixed into the batter.
- Light vs. dark baking pans: For the best result, use an aluminum baking pan, greased with butter and lined with baking paper in the bottom. Aluminum pans are light in color and therefore attract less heat. That means it bakes more gently which results in a softer cake. If you use a black baking pan it'll attract a lot more heat. That will then give a darker crust, which can result in a dryer cake.
FAQ
You'll know the brownie is done, when the brownie has just set. When taken out of the oven, insert a butter knife and if it has wet batter on it, give it 5 more minutes but if it has moist crumbs on the knife it's done.
Yes, absolutely. As mentioned above, this brownie get super rich and fudgy by staying in the fridge overnight or at room temperature.
I always recommend a metal pan. They conduct the heat correctly whereas glass pans doesn't cook the baked goods as evenly.
STORAGE
Two ways to store these red velvet brownies:
- Room temperature: To keep these brownies fudgy I recommend storing it at room temperature in an airtight container. To keep the edges from drying out, I suggest waiting to cut them until you're ready to serve them. They will stay soft for 2-3 days when stored properly.
- Fridge: I personally love a cold brownie. It tightens up the texture of the brownie and makes them extra fudgy. They are therefore really good to make a day ahead of serving. Just store them in the fridge overnight uncut.
Other Brownie Recipes To Try
Make sure leave a STAR REVIEW if you loved this recipe! Make sure to tag me on Instagram @juliemarieeats. To get more ideas by following me on Pinterest.
Red Velvet Brownies
Ingredients
- 250 g granulated sugar
- 3 large eggs room temperature
- 75 g semi-sweet dark chocolate chips
- 110 g vegetable oil canola or vegetable
- 2 teaspoon red gel food coloring or vegan food coloring the amount can depend on your food color, see if it needs more for a deep red color
- 1 teaspoon white vinegar
- 1 ½ teaspoon vanilla extract
- 95 g all-purpose flour
- 15 g unsweetened Dutch cocoa powder
- 1 tablespoon cornstarch
- ½ teaspoon salt
- 50 g white chocolate melted
Instructions
- Preheat the oven to 160ºC /325ºF conventional oven. Prepare a 20x20 cm (8x8 inch) square pan with parchment paper.
- Melt the dark chocolate and let it cool slightly while preparing the rest of the ingredients.75 g semi-sweet dark chocolate chips
- In a bowl, sift together the all-purpose flour, cocoa powder, cornstarch, and salt.95 g all-purpose flour, 15 g unsweetened Dutch cocoa powder, 1 tablespoon cornstarch, ½ teaspoon salt
- In a separate large bowl, with an electric hand mixer, whisk together the eggs and granulated sugar, for 2 minutes until light and fluffy.250 g granulated sugar, 3 large eggs
- Add the melted chocolate, vegetable oil, white vinegar, red paste food coloring and vanilla extract into the batter and mix until combined.110 g vegetable oil, 2 teaspoon red gel food coloring or vegan food coloring, 1 teaspoon white vinegar, 1 ½ teaspoon vanilla extract
- Add the dry ingredients to the batter and on medium speed mix it together until combined. Scrape down the sides of the bowl with a spatula to make sure everything has been incorporated.
- Pour the brownie batter into the prepared baking pan, smooth it out with the spatula. Bake the brownie in the preheated oven for 40-45 minutes.
- Once baked, let it cool down on a cooling rack. Once cooled down completely, remove the brownie from the pan and place it on a serving dish. Melt the white chocolate and drizzle it over the brownie. Serve once the chocolate has set.50 g white chocolate
Rachel
These are the BEST brownies!! I’ve never made red velvet brownies before and I found your recipe TikTok. The consistency and taste of the red velvet is so yummy and had me going back for more 😂. I made them for a friend’s birthday and kept getting compliments on how good they were! Thank you for sharing your recipe! 🤗 I saved this recipe for future baking.
Cape
I made these tonight after seeing them on Instagram, and it turned out very well! I had to convert measurements into US measurements but they were accurate and look/have same texture as what the photo and video shows. Really good!
Nicole Weeks
These turned out pretty and delicious! Thank you juliemarieeats for sharing the recipe. I cut them up and gave them to a family member for their anniversary yesterday. Well, after trying some myself 🙂
Lorena
Everything ive baked from this site ,tienes out so good! LOVE the red brownies a lot and the lemon and white chocolate even more! Thanks from Venezuela!
Julie Marie
I'm so so happy to hear that 😀
fi
how much butter an I use instead of oil?
Julie Marie
It would be 145g melted butter 🙂
Gabie
Can I double the recipe and make it in a 9x13 pan?
Julie Marie
Yes you can but they might become a bit taller so check them to see if they might need a bit longer baking time 🙂
Susan
Hi can I make these brownies without red colour, to get the normal chocolate brownie, is it possible, will it taste good
Julie Marie
Yes, the red color is totally optional 🙂
Sarah Faber
These tasted EXACTLY like they look! Thanks for another stellar recipe 😀
Julie Marie
Thank you so much for your sweet words! I'm so happy that you enjoyed it 😀
Celine
made these last week and they were absolutely amazing!! so moist and fudgy and it was a hit :))
Julie Marie
I'm so happy to hear that 😀
Sha
I did them! Taste amazing!
Susan
Hi can I make these brownies without red colour, to get the normal chocolate brownie, is it possible, will it taste good
Julie Marie
Yes, the red color is totally optional 🙂
Jabria
Hey, what if I don’t eat dark chocolate, can I use milk chocolate instead?
Julie Marie
yes, that's no problem 🙂
Shanyia Law
Hi, I'm a beginner baker and i was wondering how you can convert the measurements from grams to cups unfortunately I don't have a kitchen scale.
Lizzy
She does have a converter just near the ingredient list, for cups just click on the customary measurements instead of the metric one for grams
Lizzy
US Customary*
Jenna
Can I use cocoa rouge (red dutch processed cocoa powder) or would you stick to regular?
Julie Marie
I haven't tried cocoa rouge, but I'm sure that should work fine 🙂
Hema
Super , tried out yesterday came soo good using oil making the successful brownies for the 1st time,without butter brownie taste soo good tq
Meghna
Option for egg substitute
Julie Marie
I unfortunately don't have an eggless brownie recipe.
Sofia
You can use the aquafaba, that is the water that bakes the chickpeas, search some tutorials on youtube, that works so well
Julie Marie
Thank you for this tip 🙂
Tamika S
Flaxseed meal and water is my go to egg sub. It works beautifully! 1tbs of flaxseed meal to 2.5 - 3 tbs of water (per egg required). Mix. Let sit for a few minutes and it's ready for use.
Parul
I want to give it a try. How much baking powder is to be added
Julie Marie
There is no baking powder added in this recipe.
Pernille
Super delicious and an easy make. I love a “normal” Brownie but this is just really special.