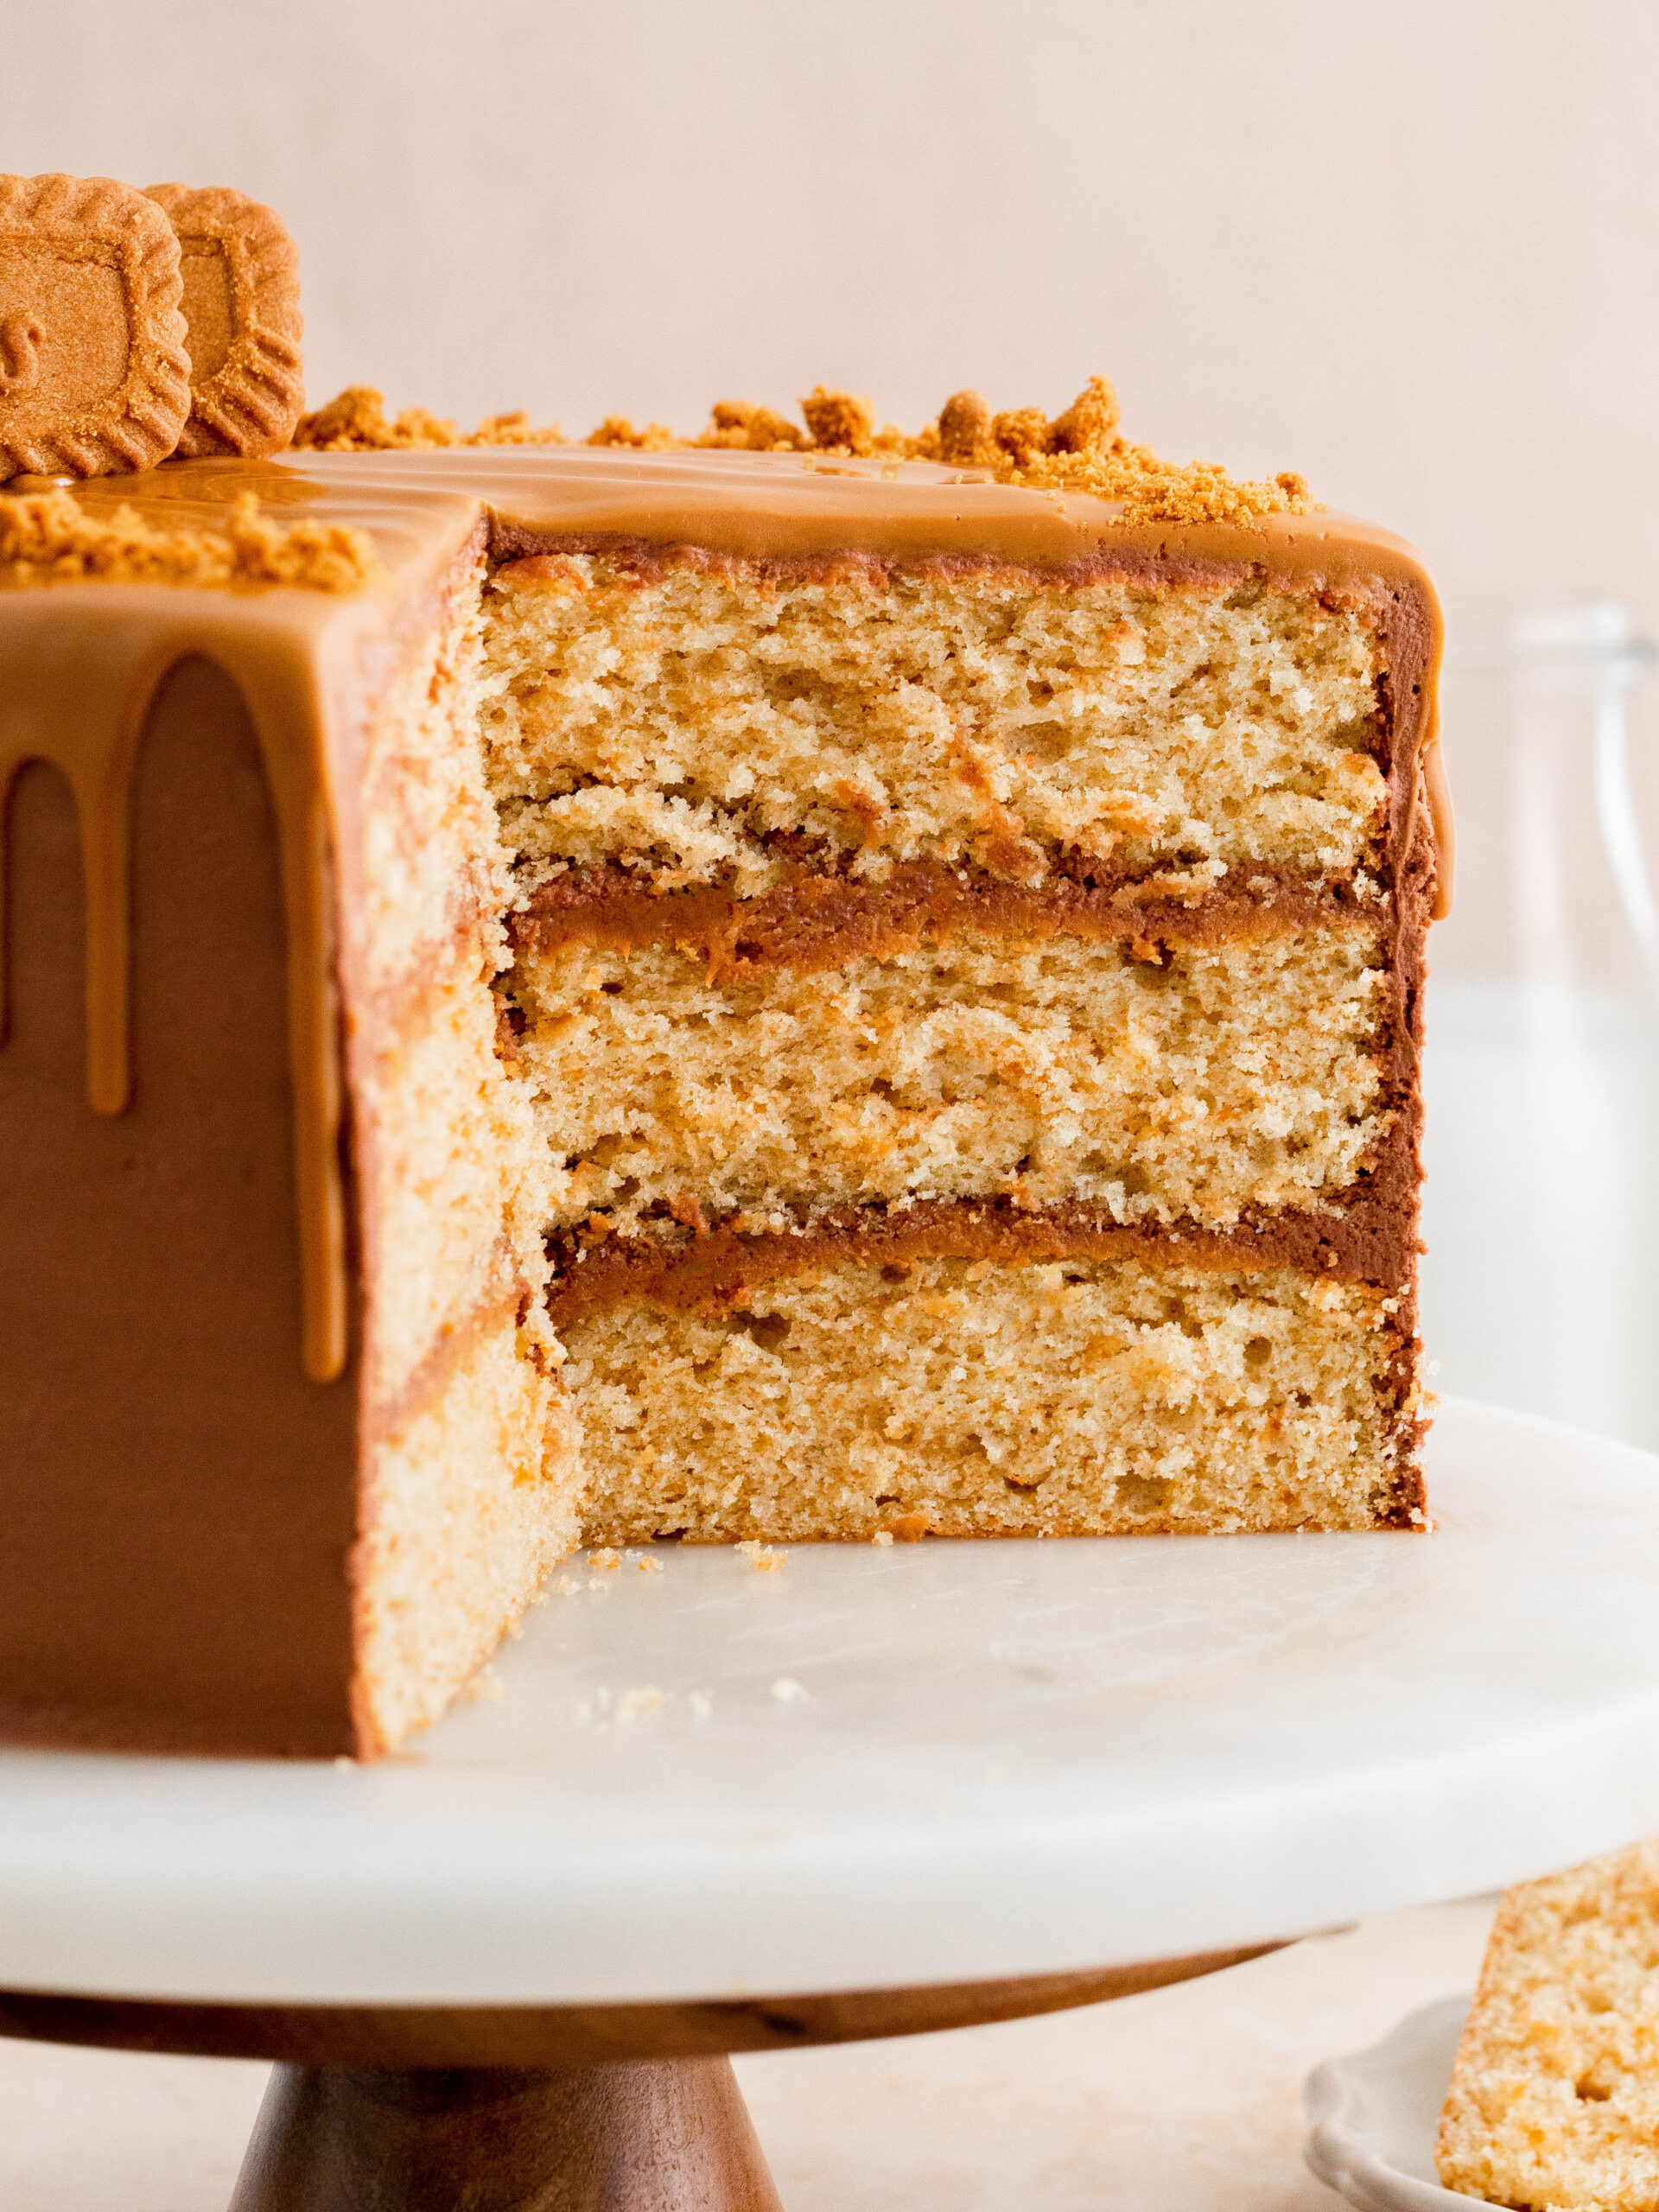
This Biscoff layer cake is for Biscoff lovers! It has so much Biscoff flavor, that is complemented with a smooth and delicious semi-sweet chocolate buttercream. This layer cake has Biscoff cookie cake layers, Biscoff cookie butter in between the cake layers and is surrounded by a chocolate buttercream and Biscoff cookie spread drip.
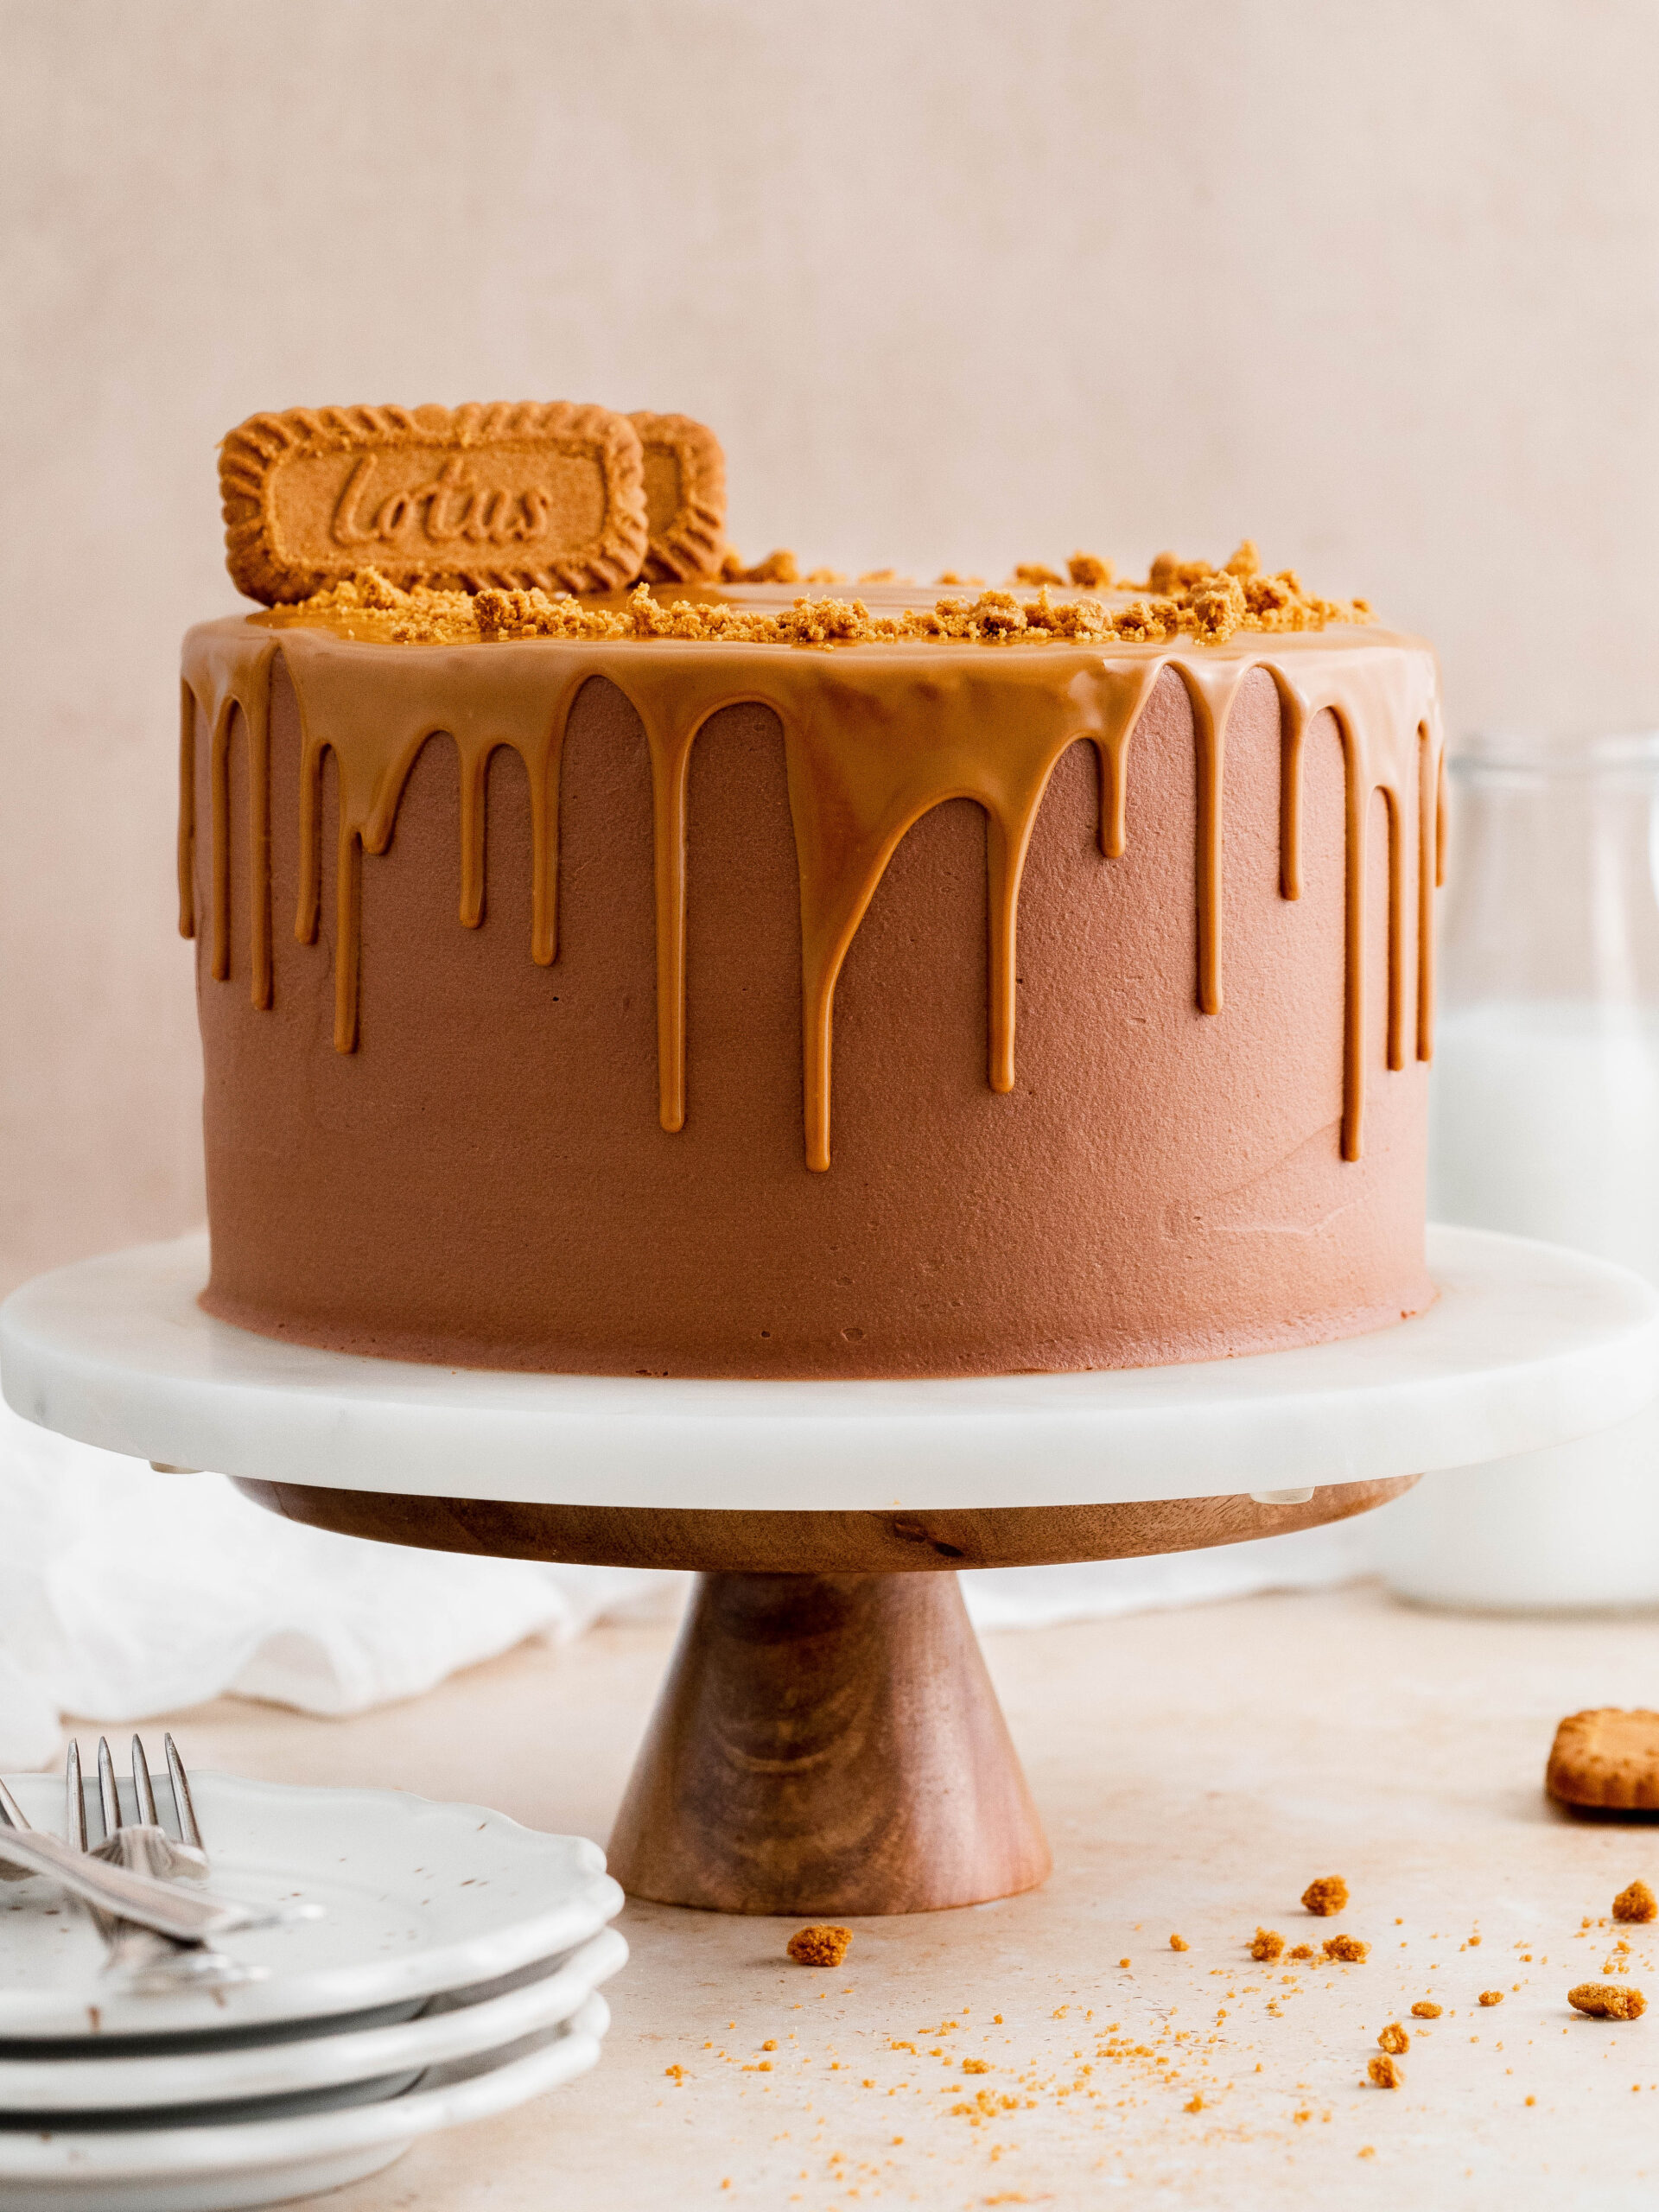
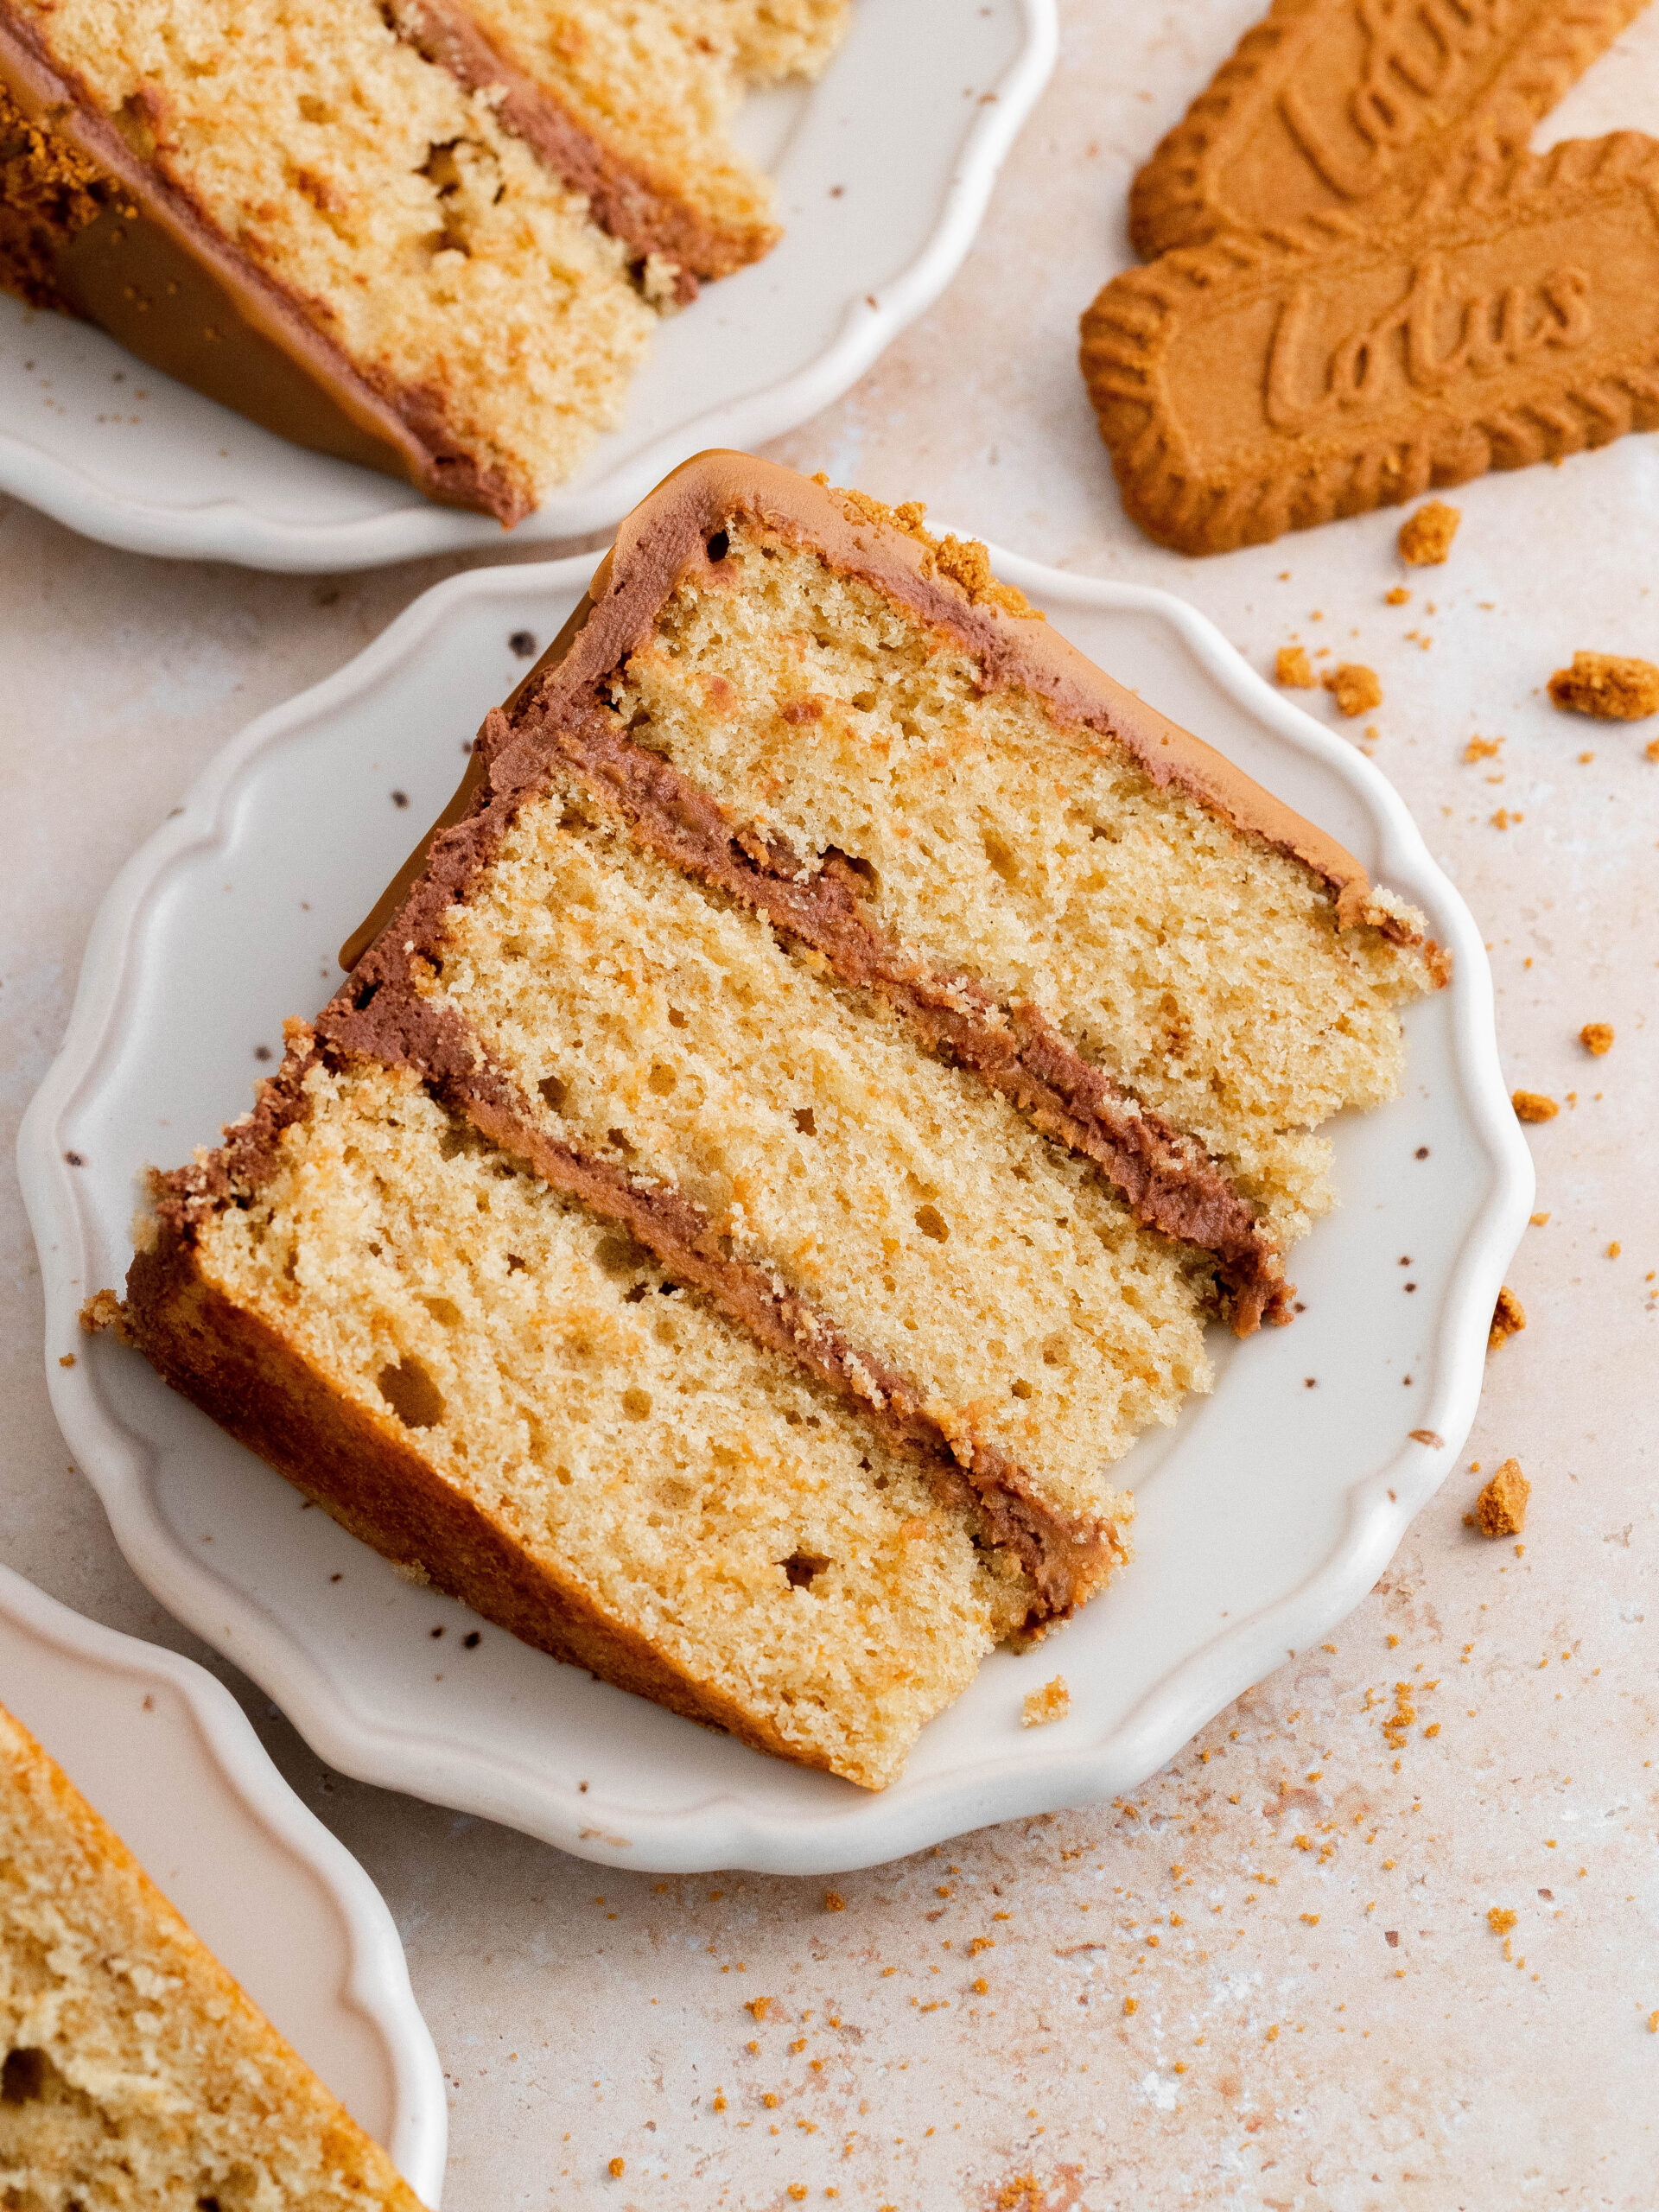
This Biscoff layer cake is so delicious. It has soft Biscoff cookie cake layers, Biscoff cookie butter in between the cake layers and is surrounded by a chocolate buttercream and Biscoff cookie butter drip. It is topped with lots of Biscoff cookies and chocolate chips.
This cake is so amazing and incredibly delicious! The chocolate buttercream perfectly balance the sweetness and spices of the Biscoff and takes this cake to another level.
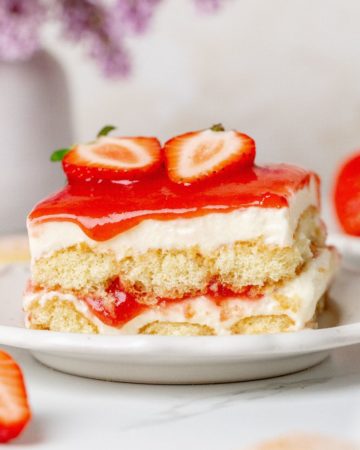
For more layer cake recipes, try Ferrero Rocher Cake, Oreo Layer Cake and Raspberry Pistachio Cake.
Jump to:
WHY THIS RECIPE WORKS
- Full of Biscoff: There is both Biscoff cookies and Biscoff cookie spread in this layer cake.
- Super soft cake layers: These layers are so soft and moist and has crush Biscoff cookies added to them.
- Chocolate buttercream: This chocolate buttercream is so lushes and rich in flavor. It balances perfectly the sweet and spiced flavor of the Biscoff cookies.

INGREDIENT NOTES
These are some of the key ingredients for this recipe. For a full list of ingredients, check out the recipe card below.
- Biscoff cookies: Biscoff cookies are used the cake layers to give lots of delicious flavor and as decoration on top.
- Biscoff cookie spread: Biscoff cookie spread is add in the middle of the cake layers and used as a drip on top of the cake.
- Butter: Take it out of the fridge 1-2 hours before baking (depending how warm your kitchen is).
- Eggs: Take them out of the fridge 1-2 hours before baking (depending how warm your kitchen is).
- Buttermilk: Buttermilk makes for a softer and more tender cupcake. Measure out the buttermilk and let it come to room temperature 1-2 hours before baking (depending how warm your kitchen is).
- Sour cream: Sour cream gives lot of moister to the cake layers. Take it out if the fridge before using it to bring it to room temperature.
- Semi-sweet chocolate: For this buttercream I recommend using a semi-sweet dark chocolate for the best flavor.
STEP BY STEP INSTRUCTIONS - BISCOFF CAKE LAYERS
Here is how to make and bake these Biscoff Layer Cake. This recipe needs a stand mixer with a paddle attachment, or a hand mixer. You will also need a 3x 20 cm baking pans.
The full recipe is down below in the recipe card.
Before starting preheat the oven to 170ºC/ 340ºF conventional oven and prepare 3 x 20 cm baking pan with parchment paper.
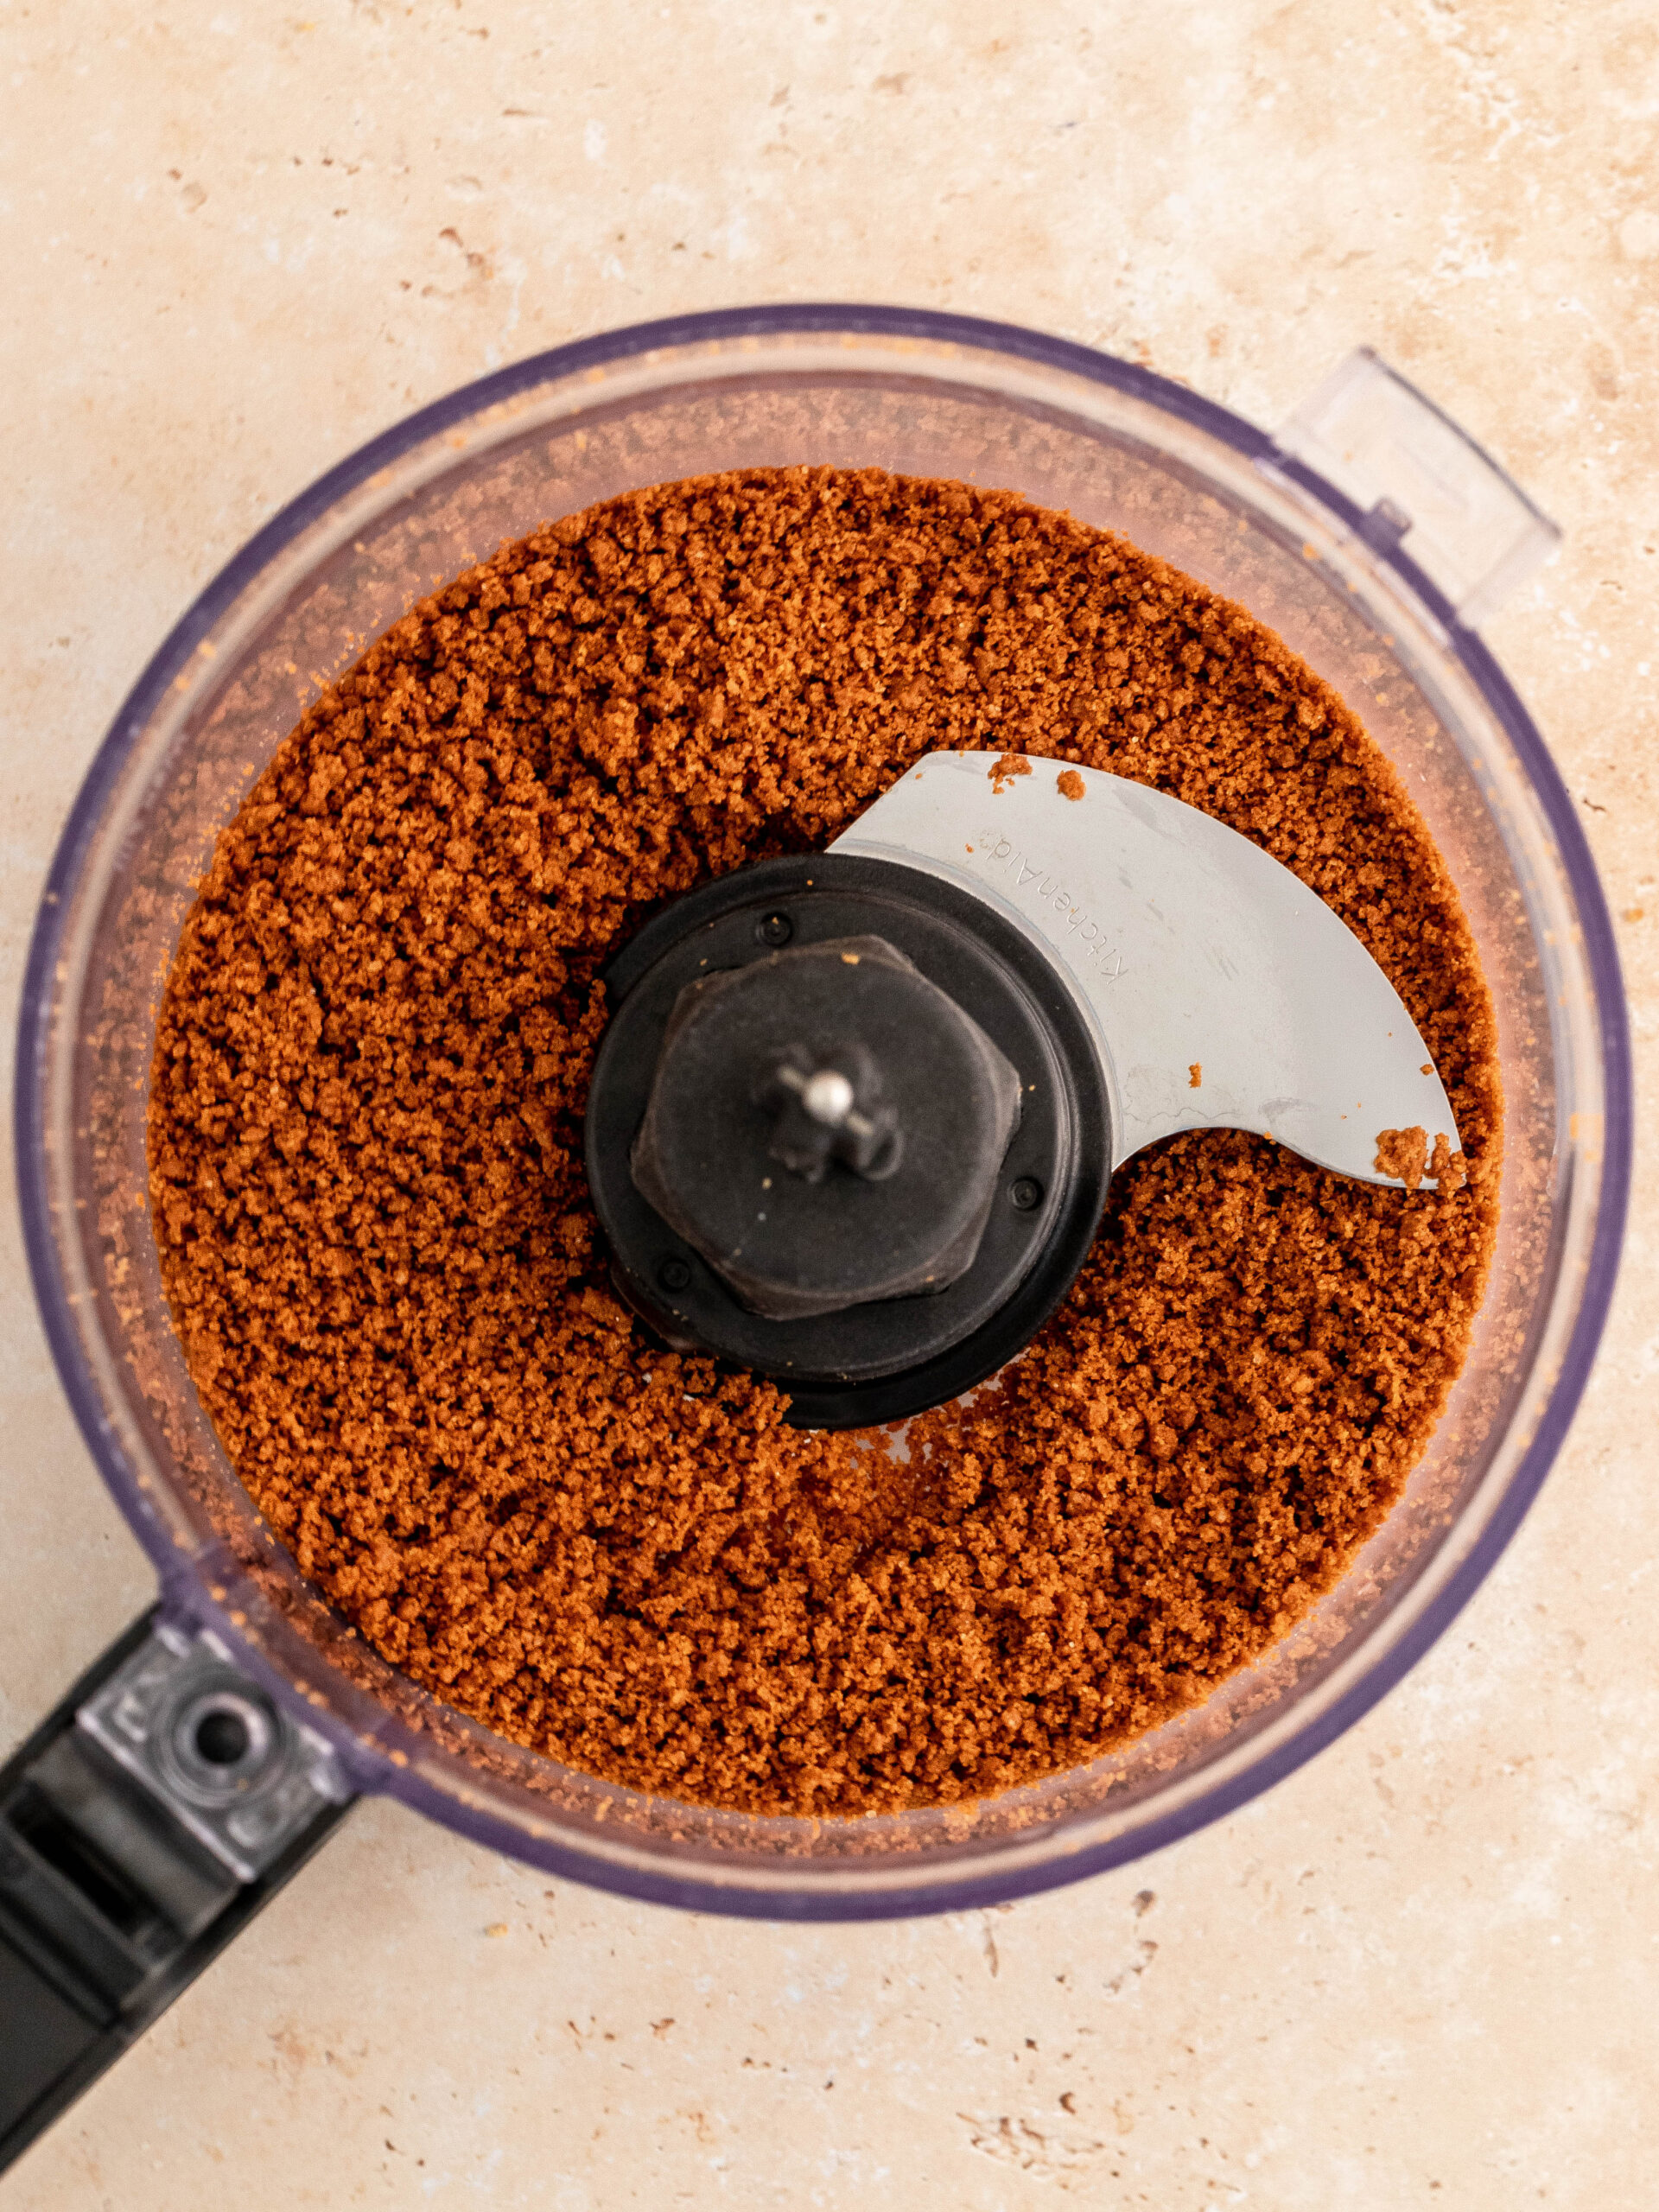
STEP 1: Blend the Biscoff cookies to a sandlike consistency. Sift together the all-purpose flour, baking powder, baking soda and salt and set it aside. Mix the blended Biscoff cookies with the flour mixture. Mix together the buttermilk and vanilla extract and set it aside.
STEP 2. In a mixing bowl, use the paddle attachment, add the butter, vegetable oil, and granulated sugar and mix it on high speed for 3 min.
STEP 3: Scape down the sides of the bowl and add the eggs one at a time into the mixture and mix it in until combined.
STEP 4. Add the sour cream and mix until combined.
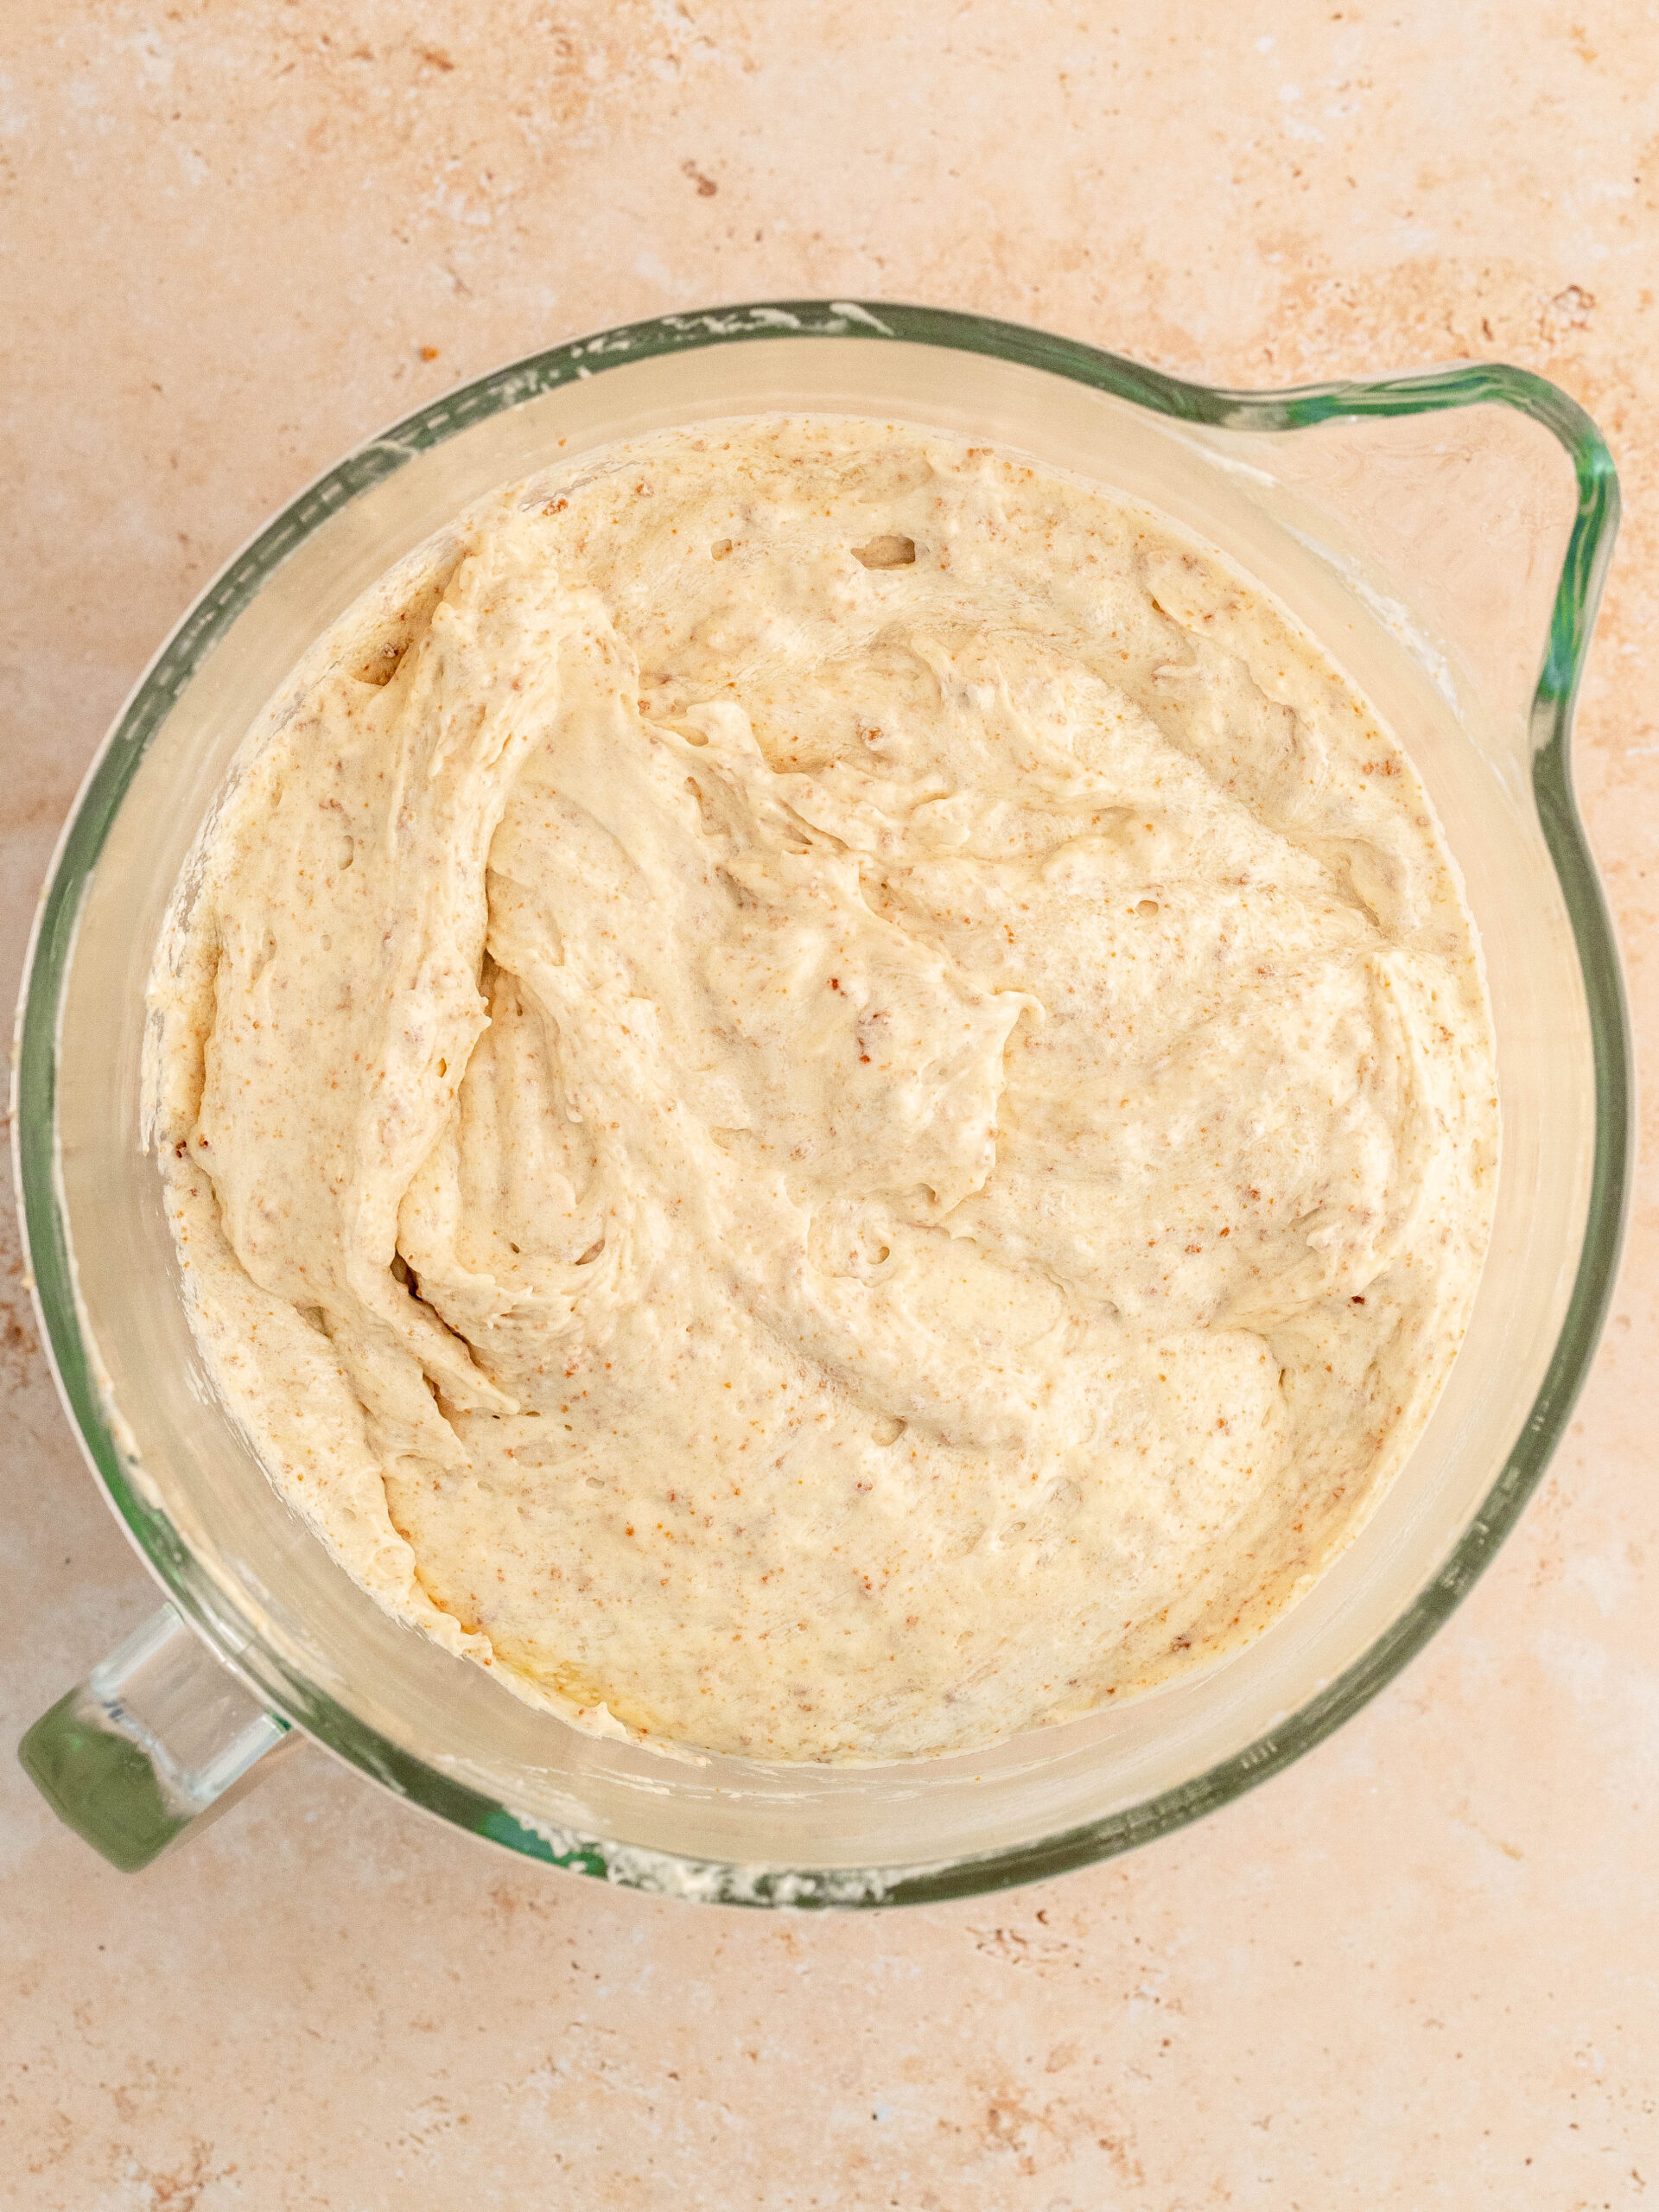
STEP 5: Continue by alternating between adding ⅓ of the flour mixture and ½ of the milk mixture, ending on the flour mixture. Mix in each addition until just combined.
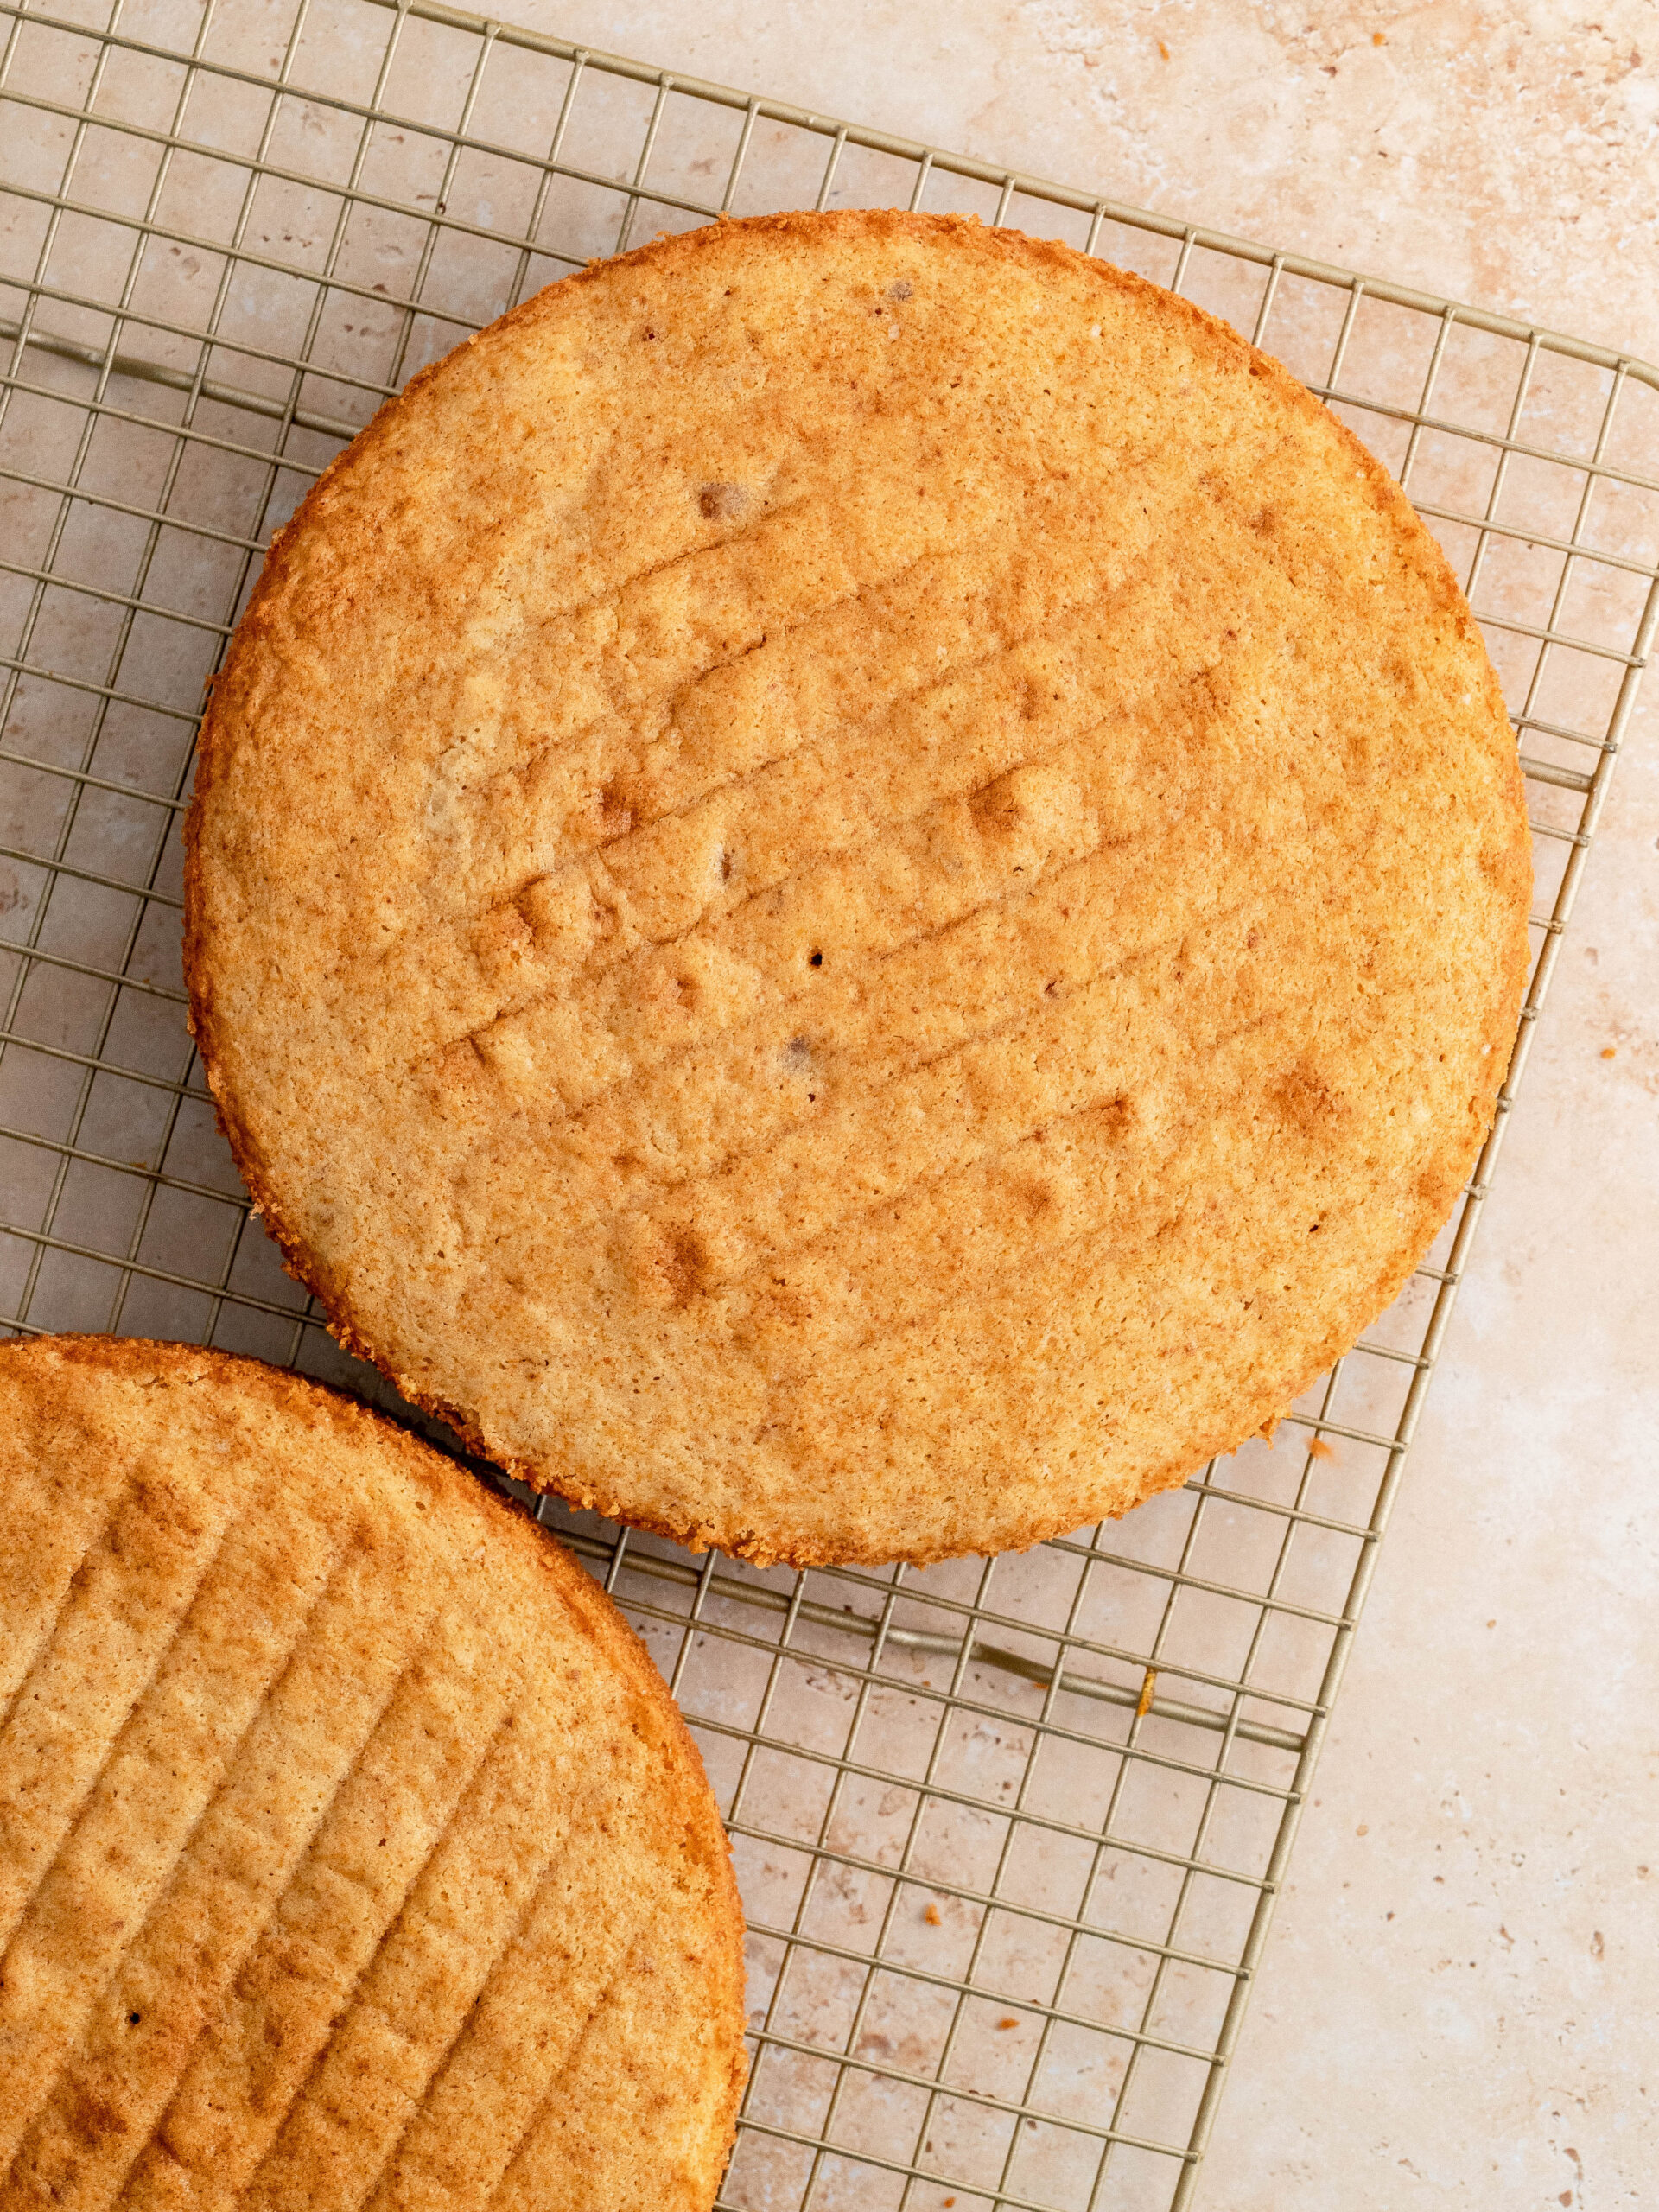
STEP 6: Divide the cake batter into the 3 prepared 20 cm baking tins and bake them for 24-27 min or until a cake tester comes out clean.
STEP 7: Let the cakes cool on a cooling rack. After 10 min, gently remove the cake from the cake tin and let the cakes cool down completely.
STEP BY STEP INSTRUCTIONS - CHOCOLATE FROSTING
STEP 1: While the layer cakes cool down. In a large bowl using a hand or stand mixer with the whisk attachment, mix together the butter, powdered sugar and vanilla extract until smooth and fluffy, for 3 minutes.
STEP 2: Then, in a bowl melt together the chocolate, corn syrup and heavy cream together in the microwave for 30-40 seconds. Stir it together until combined.
STEP 3: Add the chocolate to the butter and mix it together until smooth. At this point the frosting will have a thinner texture, therefore place the bowl in the fridge, covering the frosting with cling film. Let it chill and thicken for 1 hour. Stir the frosting every once in a while to make sure it chills evenly.
STEP 4: By the time the cake has cooled, the frosting should be thickened and spreadable, it should be around room temperature. If it’s too thick, let it sit at room temperature and it'll become more spreadable.

STEP BY STEP INSTRUCTIONS - ASSEMBLING
STEP 1: Place the first cake layer on your serving dish or cake board on your turntable. If you don’t have a turntable, don’t worry, you can easily decorate the cake without it.
STEP 2: Add 100 g of Biscoff cookie spread on the cake layer and with an offset spatula, even it out. Add a bit of the chocolate buttercream to a piping bag and pipe a border around the top of the cake and a bit top of the cookie spread. Cover the cookie spread with the buttercream and even it out.
STEP 3: Add the next sponge layer and do the same as the previous layer. Then add the final cake layer and cover the cake in a thin crumb coat. Place it in the freezer for 20 min, for the buttercream to set.
STEP 4: Add the remaining buttercream, and spread it out in an even layer. Scape down the sides of the cake to get smooth sides on the cake. Place it back in the freezer for 10 min.
STEP 5: Meanwhile, melt 150 g Biscoff spread and let it cool while the cake is in the freezer. Then take the cake out of the freezer and add the melted Biscoff spread and let it drip over the sides of the cake. Finish the cake, with decorating with extra Biscoff cookies.
EXPERT BAKING TIPS
- Use a kitchen scale: My default setting for my recipes is grams. It is the most precise way of measuring out your ingredients, I therefore highly recommend using a kitchen scale.
- Don't over mix your batter: I always use a spatula after everything has mixed together, to give it one final gentle fold together. This makes sure everything in the bottom of the mixing bowl has been mixed into the batter.
- Light vs. dark baking pans: For the best result, use an aluminum baking pan, greased with butter and lined with baking paper in the bottom. Aluminum pans are light in color and therefore attract less heat. That means it bakes more gently which results in a softer cake. If you use a black baking pan it'll attract a lot more heat. That will then give a darker crust, which can result in a dryer cake.
FAQ
You can make the cake layers the day before. Store the cake layers in the freezer well wrapped in plastic wrap, the next day defrost them 1 hour before assembling the cake. I recommend making the buttercream on the day.
I recommend using a cake tester. Once the time has passed, per the recipe, insert the cake tester in the middle of the cake and once it comes out clean, with no cake batter on it, then it's done.
STORAGE
Store this Biscoff layer cake in the fridge. It's best enjoyed within a 1-2 days. Before enjoying the cake, let it come to room temperature.
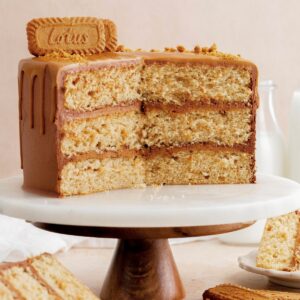
Other Layer Cake Recipes To Try
Make sure leave a STAR REVIEW if you loved this recipe! Make sure to tag me on Instagram @juliemarieeats. To get more ideas by following me on Pinterest.
Biscoff Layer Cake
Equipment
Ingredients
BISCOFF CAKE LAYERS
- 100 g Biscoff cookies blended into crumbs
- 400 g all-purpose flour
- 2 teaspoon baking powder
- ½ teaspoon baking soda
- 1 teaspoon salt
- 200 g buttermilk room temperature
- 2 teaspoon vanilla extract
- 180 g butter room temperature
- 65 g vegetable oil e.g. canola oil
- 330 g granulated sugar
- 4 large eggs room temperature
- 140 g sour cream room temperature
CHOCOLATE FROSTING
- 110 g unsalted butter room temperature
- 200 g powdered sugar
- 2 teaspoon vanilla extract
- 200 semisweet chocolate chopped
- 2 tablespoon light corn syrup
- 180 g heavy cream
ASSEMBLING
- 200 g Biscoff cookie spread for between the layers
- 150 g Biscoff cookie spread melted for the drip
Instructions
BISCOFF CAKE LAYERS
- Preheat the oven at 170ºC conventional oven and prepare 3 x 20 cm baking pan with parchment paper.
- Blend the Biscoff cookies. Sift together the all-purpose flour, baking powder, baking soda and salt. Add the blended Biscoff cookies and stir it together and set it aside. Mix together the buttermilk and vanilla extract and set it aside.400 g all-purpose flour, 2 teaspoon baking powder, ½ teaspoon baking soda, 1 teaspoon salt, 200 g buttermilk, 2 teaspoon vanilla extract, 100 g Biscoff cookies
- In a mixing bowl, use the paddle attachment, add the butter, vegetable oil, and granulated sugar and mix it on high speed for 3 min.180 g butter, 65 g vegetable oil, 330 g granulated sugar
- Scape down the sides of the bowl and add the eggs one at a time into the mixture and mix it in until combined.4 large eggs
- Add the sour cream and mix until combined.140 g sour cream
- Continue by alternating between adding ⅓ of the flour mixture and ½ of the milk mixture, ending on the flour mixture. Mix in each addition until just combined.
- Divide the cake batter into the 3 prepared 20 cm baking tins and bake them for 24-27 min or until a cake tester comes out clean.
- Let the cakes cool on a cooling rack. After 10 min, gently remove the cake from the cake tin and let the cakes cool down completely.
CHOCOLATE FROSTING
- While the layer cakes cool down. In a large bowl using a hand or stand mixer with the whisk attachment, mix together the butter, powdered sugar and vanilla extract until smooth and fluffy, for 3 minutes.110 g unsalted butter, 200 g powdered sugar, 2 teaspoon vanilla extract
- Then, in a bowl melt together the chocolate, corn syrup and heavy cream together in the microwave for 30-40 seconds. Stir it together until combined.200 semisweet chocolate, 2 tablespoon light corn syrup, 180 g heavy cream
- Add the chocolate to the butter and mix it together until smooth. At this point the frosting will have a thinner texture, therefore place the bowl in the fridge, covering the frosting with cling film. Let it chill and thicken for 1 hour. Stir the frosting every once in a while to make sure it chills evenly.
- By the time the cake has cooled, the frosting should be thickened and spreadable, it should be around room temperature. If it’s too thick, let it sit at room temperature and it'll become more spreadable.
ASSEMBLING
- Place the first cake layer on your serving dish or cake board on your turntable. If you don’t have a turntable, don’t worry, you can easily decorate the cake without it.
- Add 100 g of Biscoff cookie spread on the cake layer and with an offset spatula, even it out. Add a bit of the chocolate buttercream to a piping bag and pipe a border around the top of the cake and a bit top of the cookie spread. Cover the cookie spread with the buttercream and even it out.200 g Biscoff cookie spread
- Add the next sponge layer and do the same as the previous layer. Then add the final cake layer and cover the cake in a thin crumb coat. Place it in the freezer for 20 min, for the buttercream to set.
- Add the remaining buttercream, and spread it out in an even layer. Scape down the sides of the cake to get smooth sides on the cake. Place it back in the freezer for 10 min.
- Meanwhile, melt 150 g Biscoff spread and let it cool while the cake is in the freezer. Then take the cake out of the freezer and add the melted Biscoff spread and let it drip over the sides of the cake. Finish the cake, with decorating with extra Biscoff cookies.150 g Biscoff cookie spread
Bridget
Hi Julie,
The cake looks delicious! Planning to make it for my niece's birthday this weekend. Is it ok to use cake flour instead of the all purpose flour?
Thanks!
Julie Marie
I'm so happy to hear that! Yes, absolutely, that is no problem 🙂