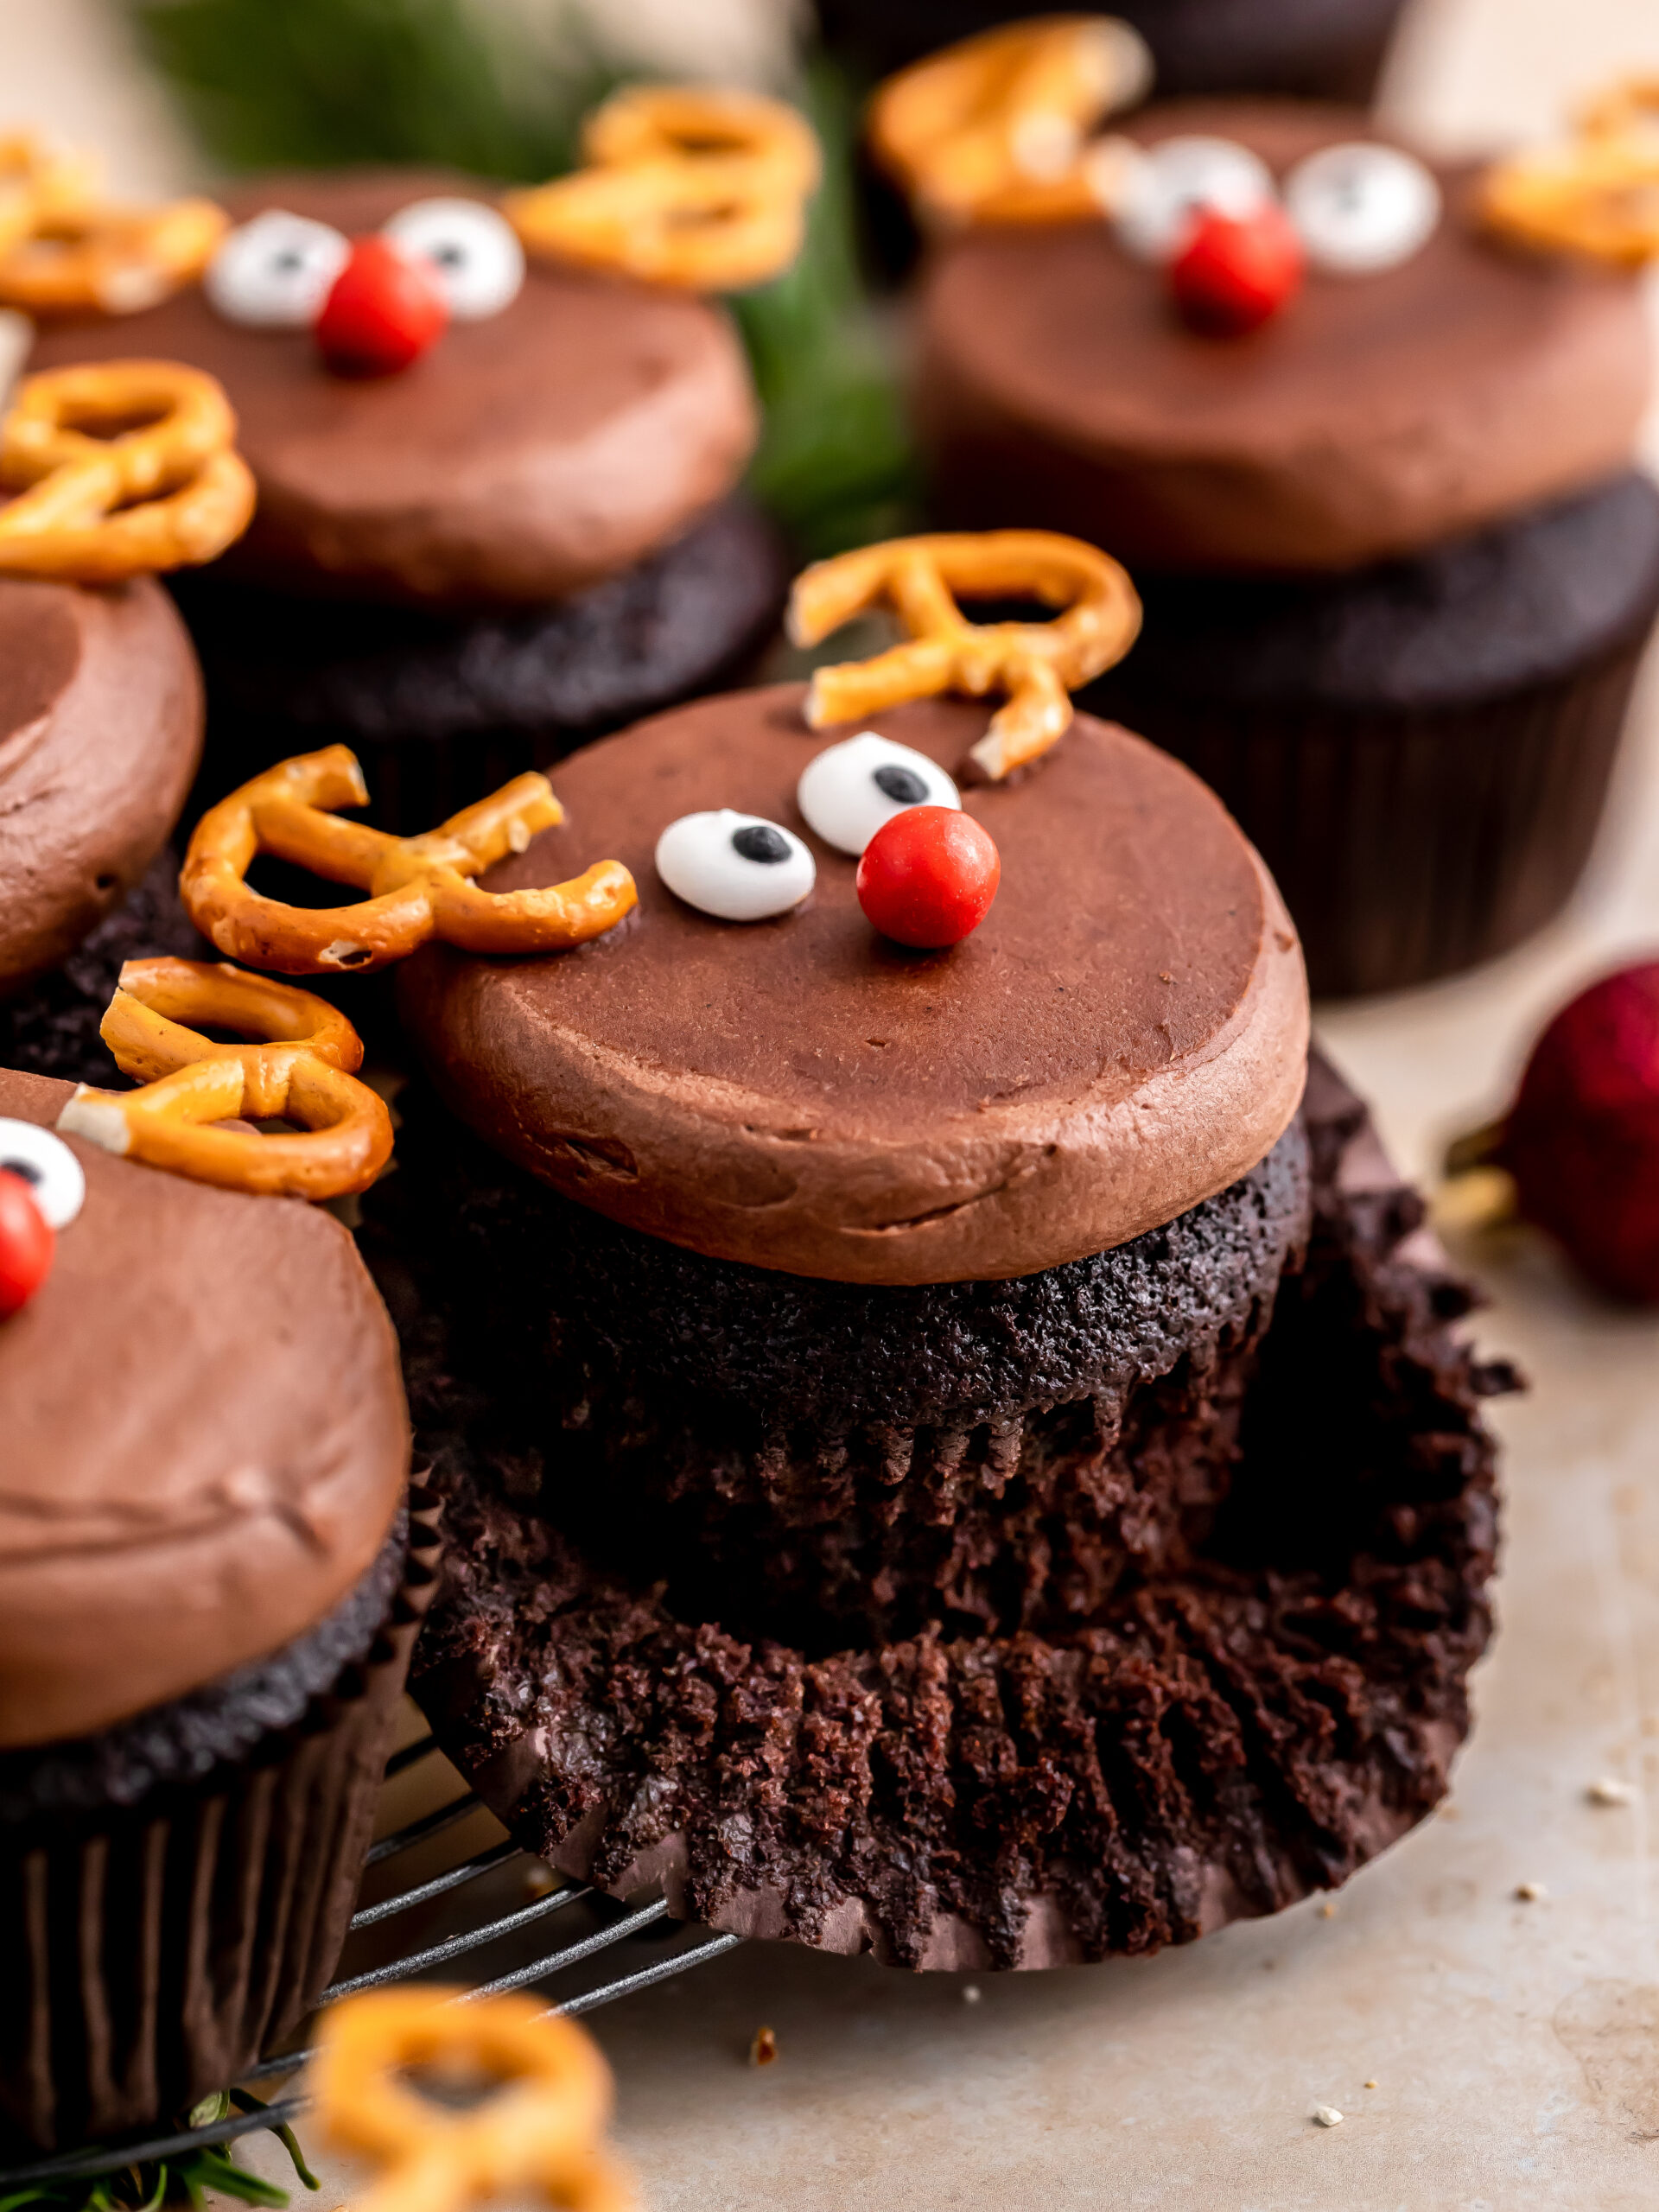
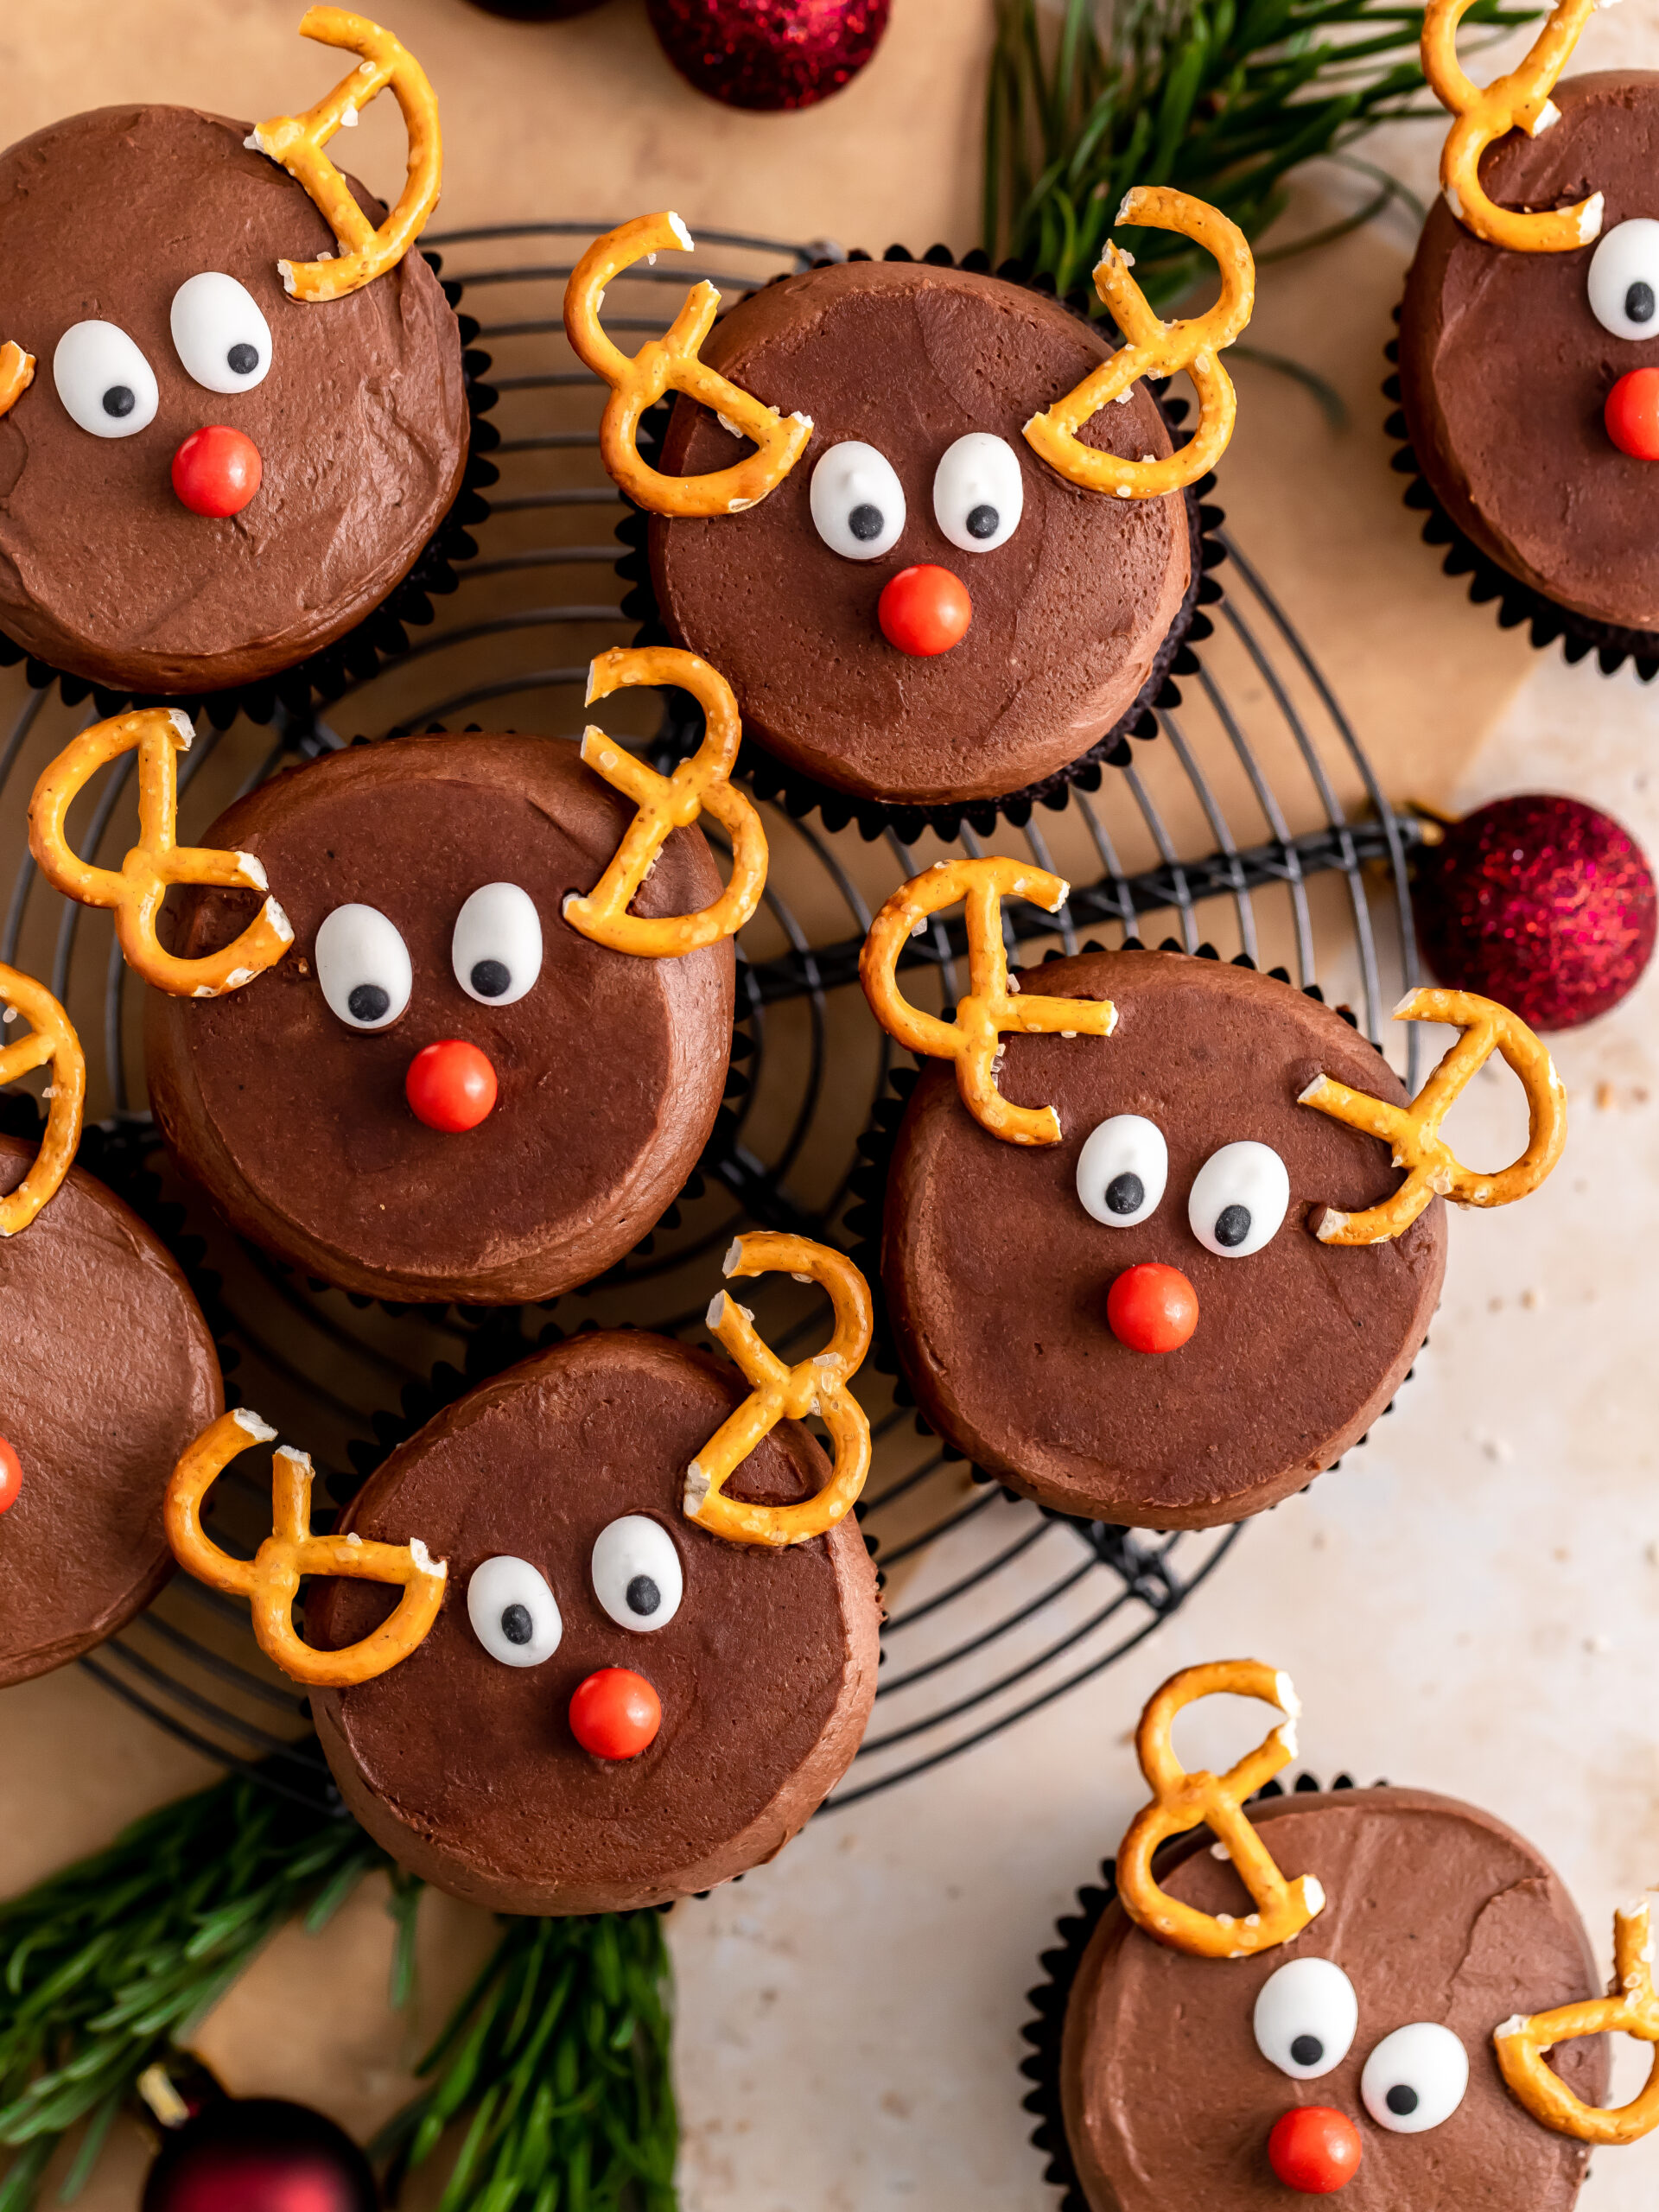
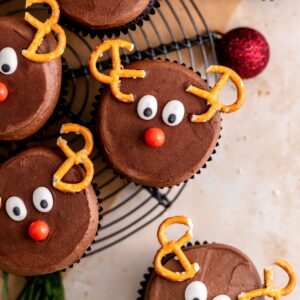
The cutest, most delicious reindeer cupcakes, with a chocolate cupcake topped with a chocolate buttercream. They are decorated with pretzels, sprinkle red nose and candy eyes. These cupcakes are so simple to make and perfect festive dessert for the family.

These reindeer cupcakes are so festive and cute. They are a delicious Christmas cake and so easy to make. They have a soft and moist chocolate cupcake, topped with a luscious chocolate buttercream.
They are decorated with pretzels, candy eyes and a red sprinkle as a nose.
For more cupcake recipes, try White Chocolate Cupcakes, Cinnamon Cupcakes and Coffee Cupcakes.
Jump to:
WHY THIS RECIPE WORKS
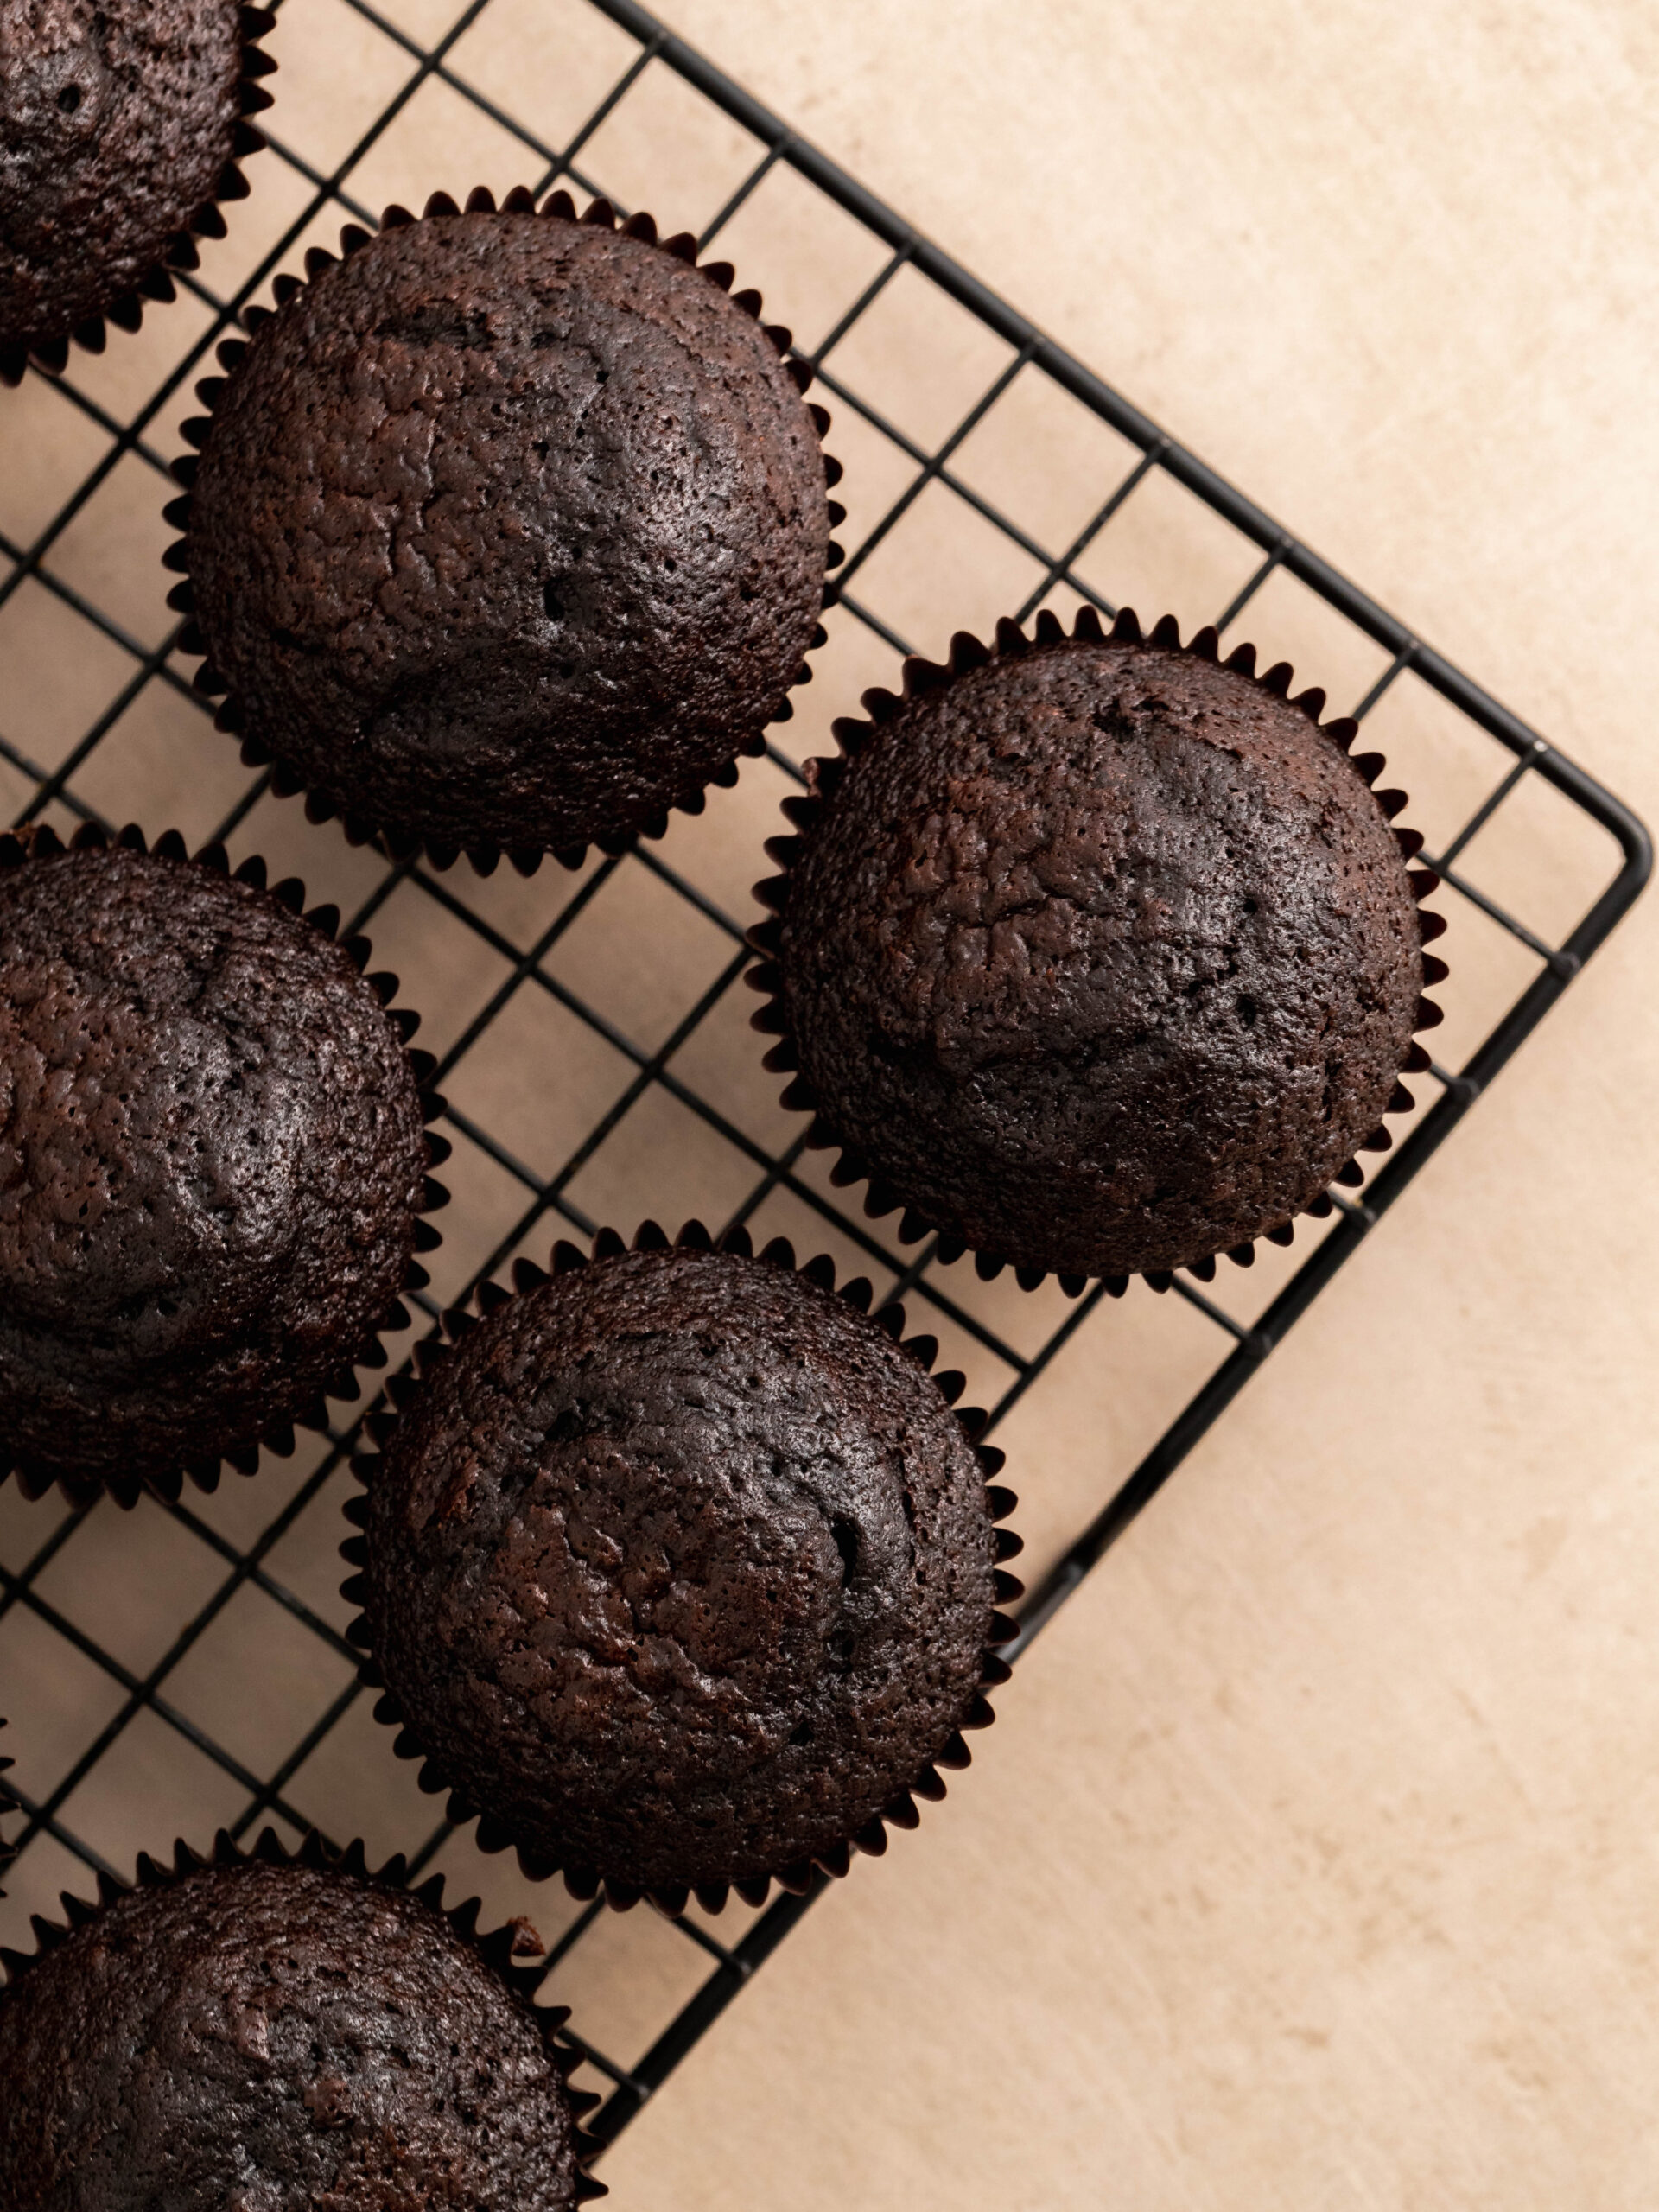
- Chocolate Cupcake: These cupcakes are super moist and so easy to make. For these cupcakes you don't need a stand mixer but only a hand whisk.
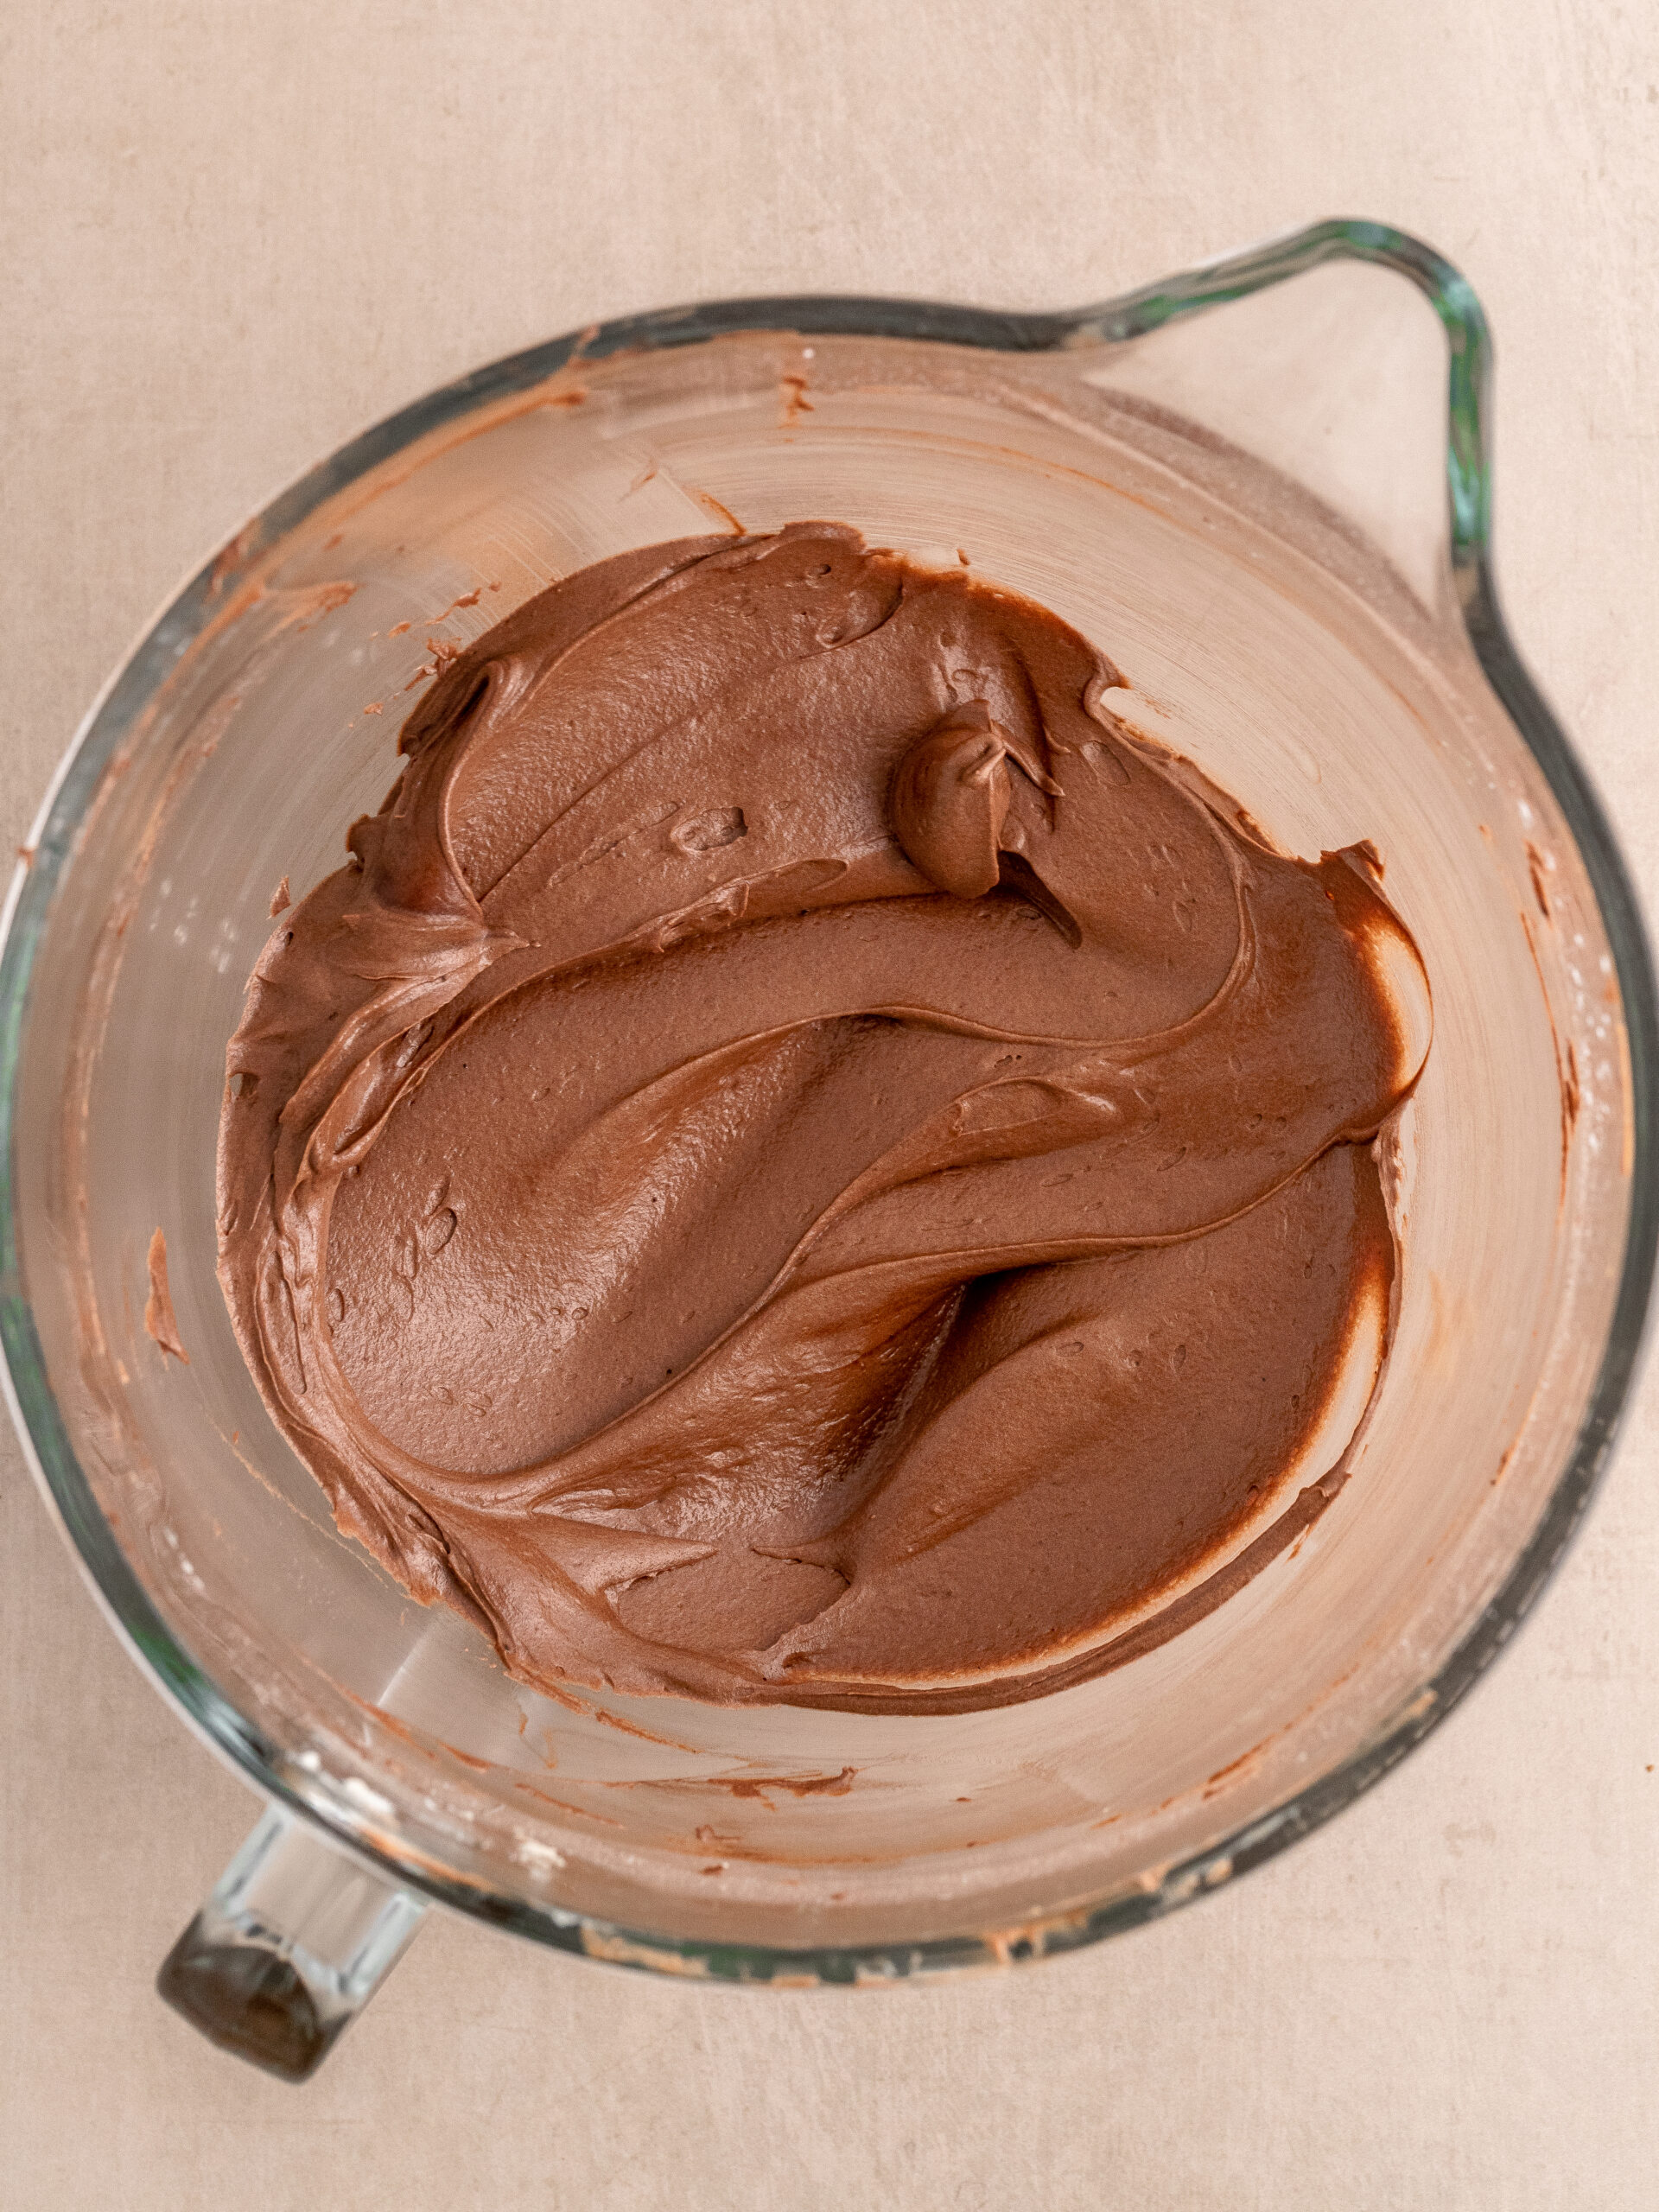
- Chocolate Buttercream: This chocolate buttercream is silky smooth and so delicious.
- Festive Cupcakes: These reindeer chocolate cupcakes are so festive with their cute decoration. They are decorated with pretzels and spinkle eyes and noses.

INGREDIENT NOTES
These are some of the key ingredients for this recipe. For a full list of ingredients, check out the recipe card below.
- Eggs: Take them out of the fridge 1-2 hours before baking (depending how warm your kitchen is).
- Boiled water: Heat up a kettle of water before you start. Add the boiled water to a measuring cup and while you prepare the rest of the ingredients, let it cool down a bit, so it's not piping hot.
- Cocoa powder: I use high quality dutch processed cocoa powder for the best flavor, my favorite is from Valrhona.
- Instant espresso powder: I use 100% arabica coffee instant espresso powder as it dissolves quickly and has a great flavor.
- Semi-sweet chocolate: I recommend using semi-sweet chocolate for the buttercream.
- Butter: Take the butter out of the fridge 10 minutes before making the buttercream and cut the butter into small cubes.
STEP BY STEP INSTRUCTIONS - CUPCAKES
Here is how to make and bake these reindeer cupcakes. This recipe needs a stand mixer with a paddle attachment, or a hand mixer. You will need a 12-cup cupcake pan and cupcake liners.
The full recipe is down below in the recipe card.
Before starting preheat the oven to 175ºC/ 350ºF conventional oven. Line a cupcake tray with 12 cupcake liners.
STEP 1: Start by boiling some water and weigh out the water so it can cool down a bit while preparing the other ingredients.
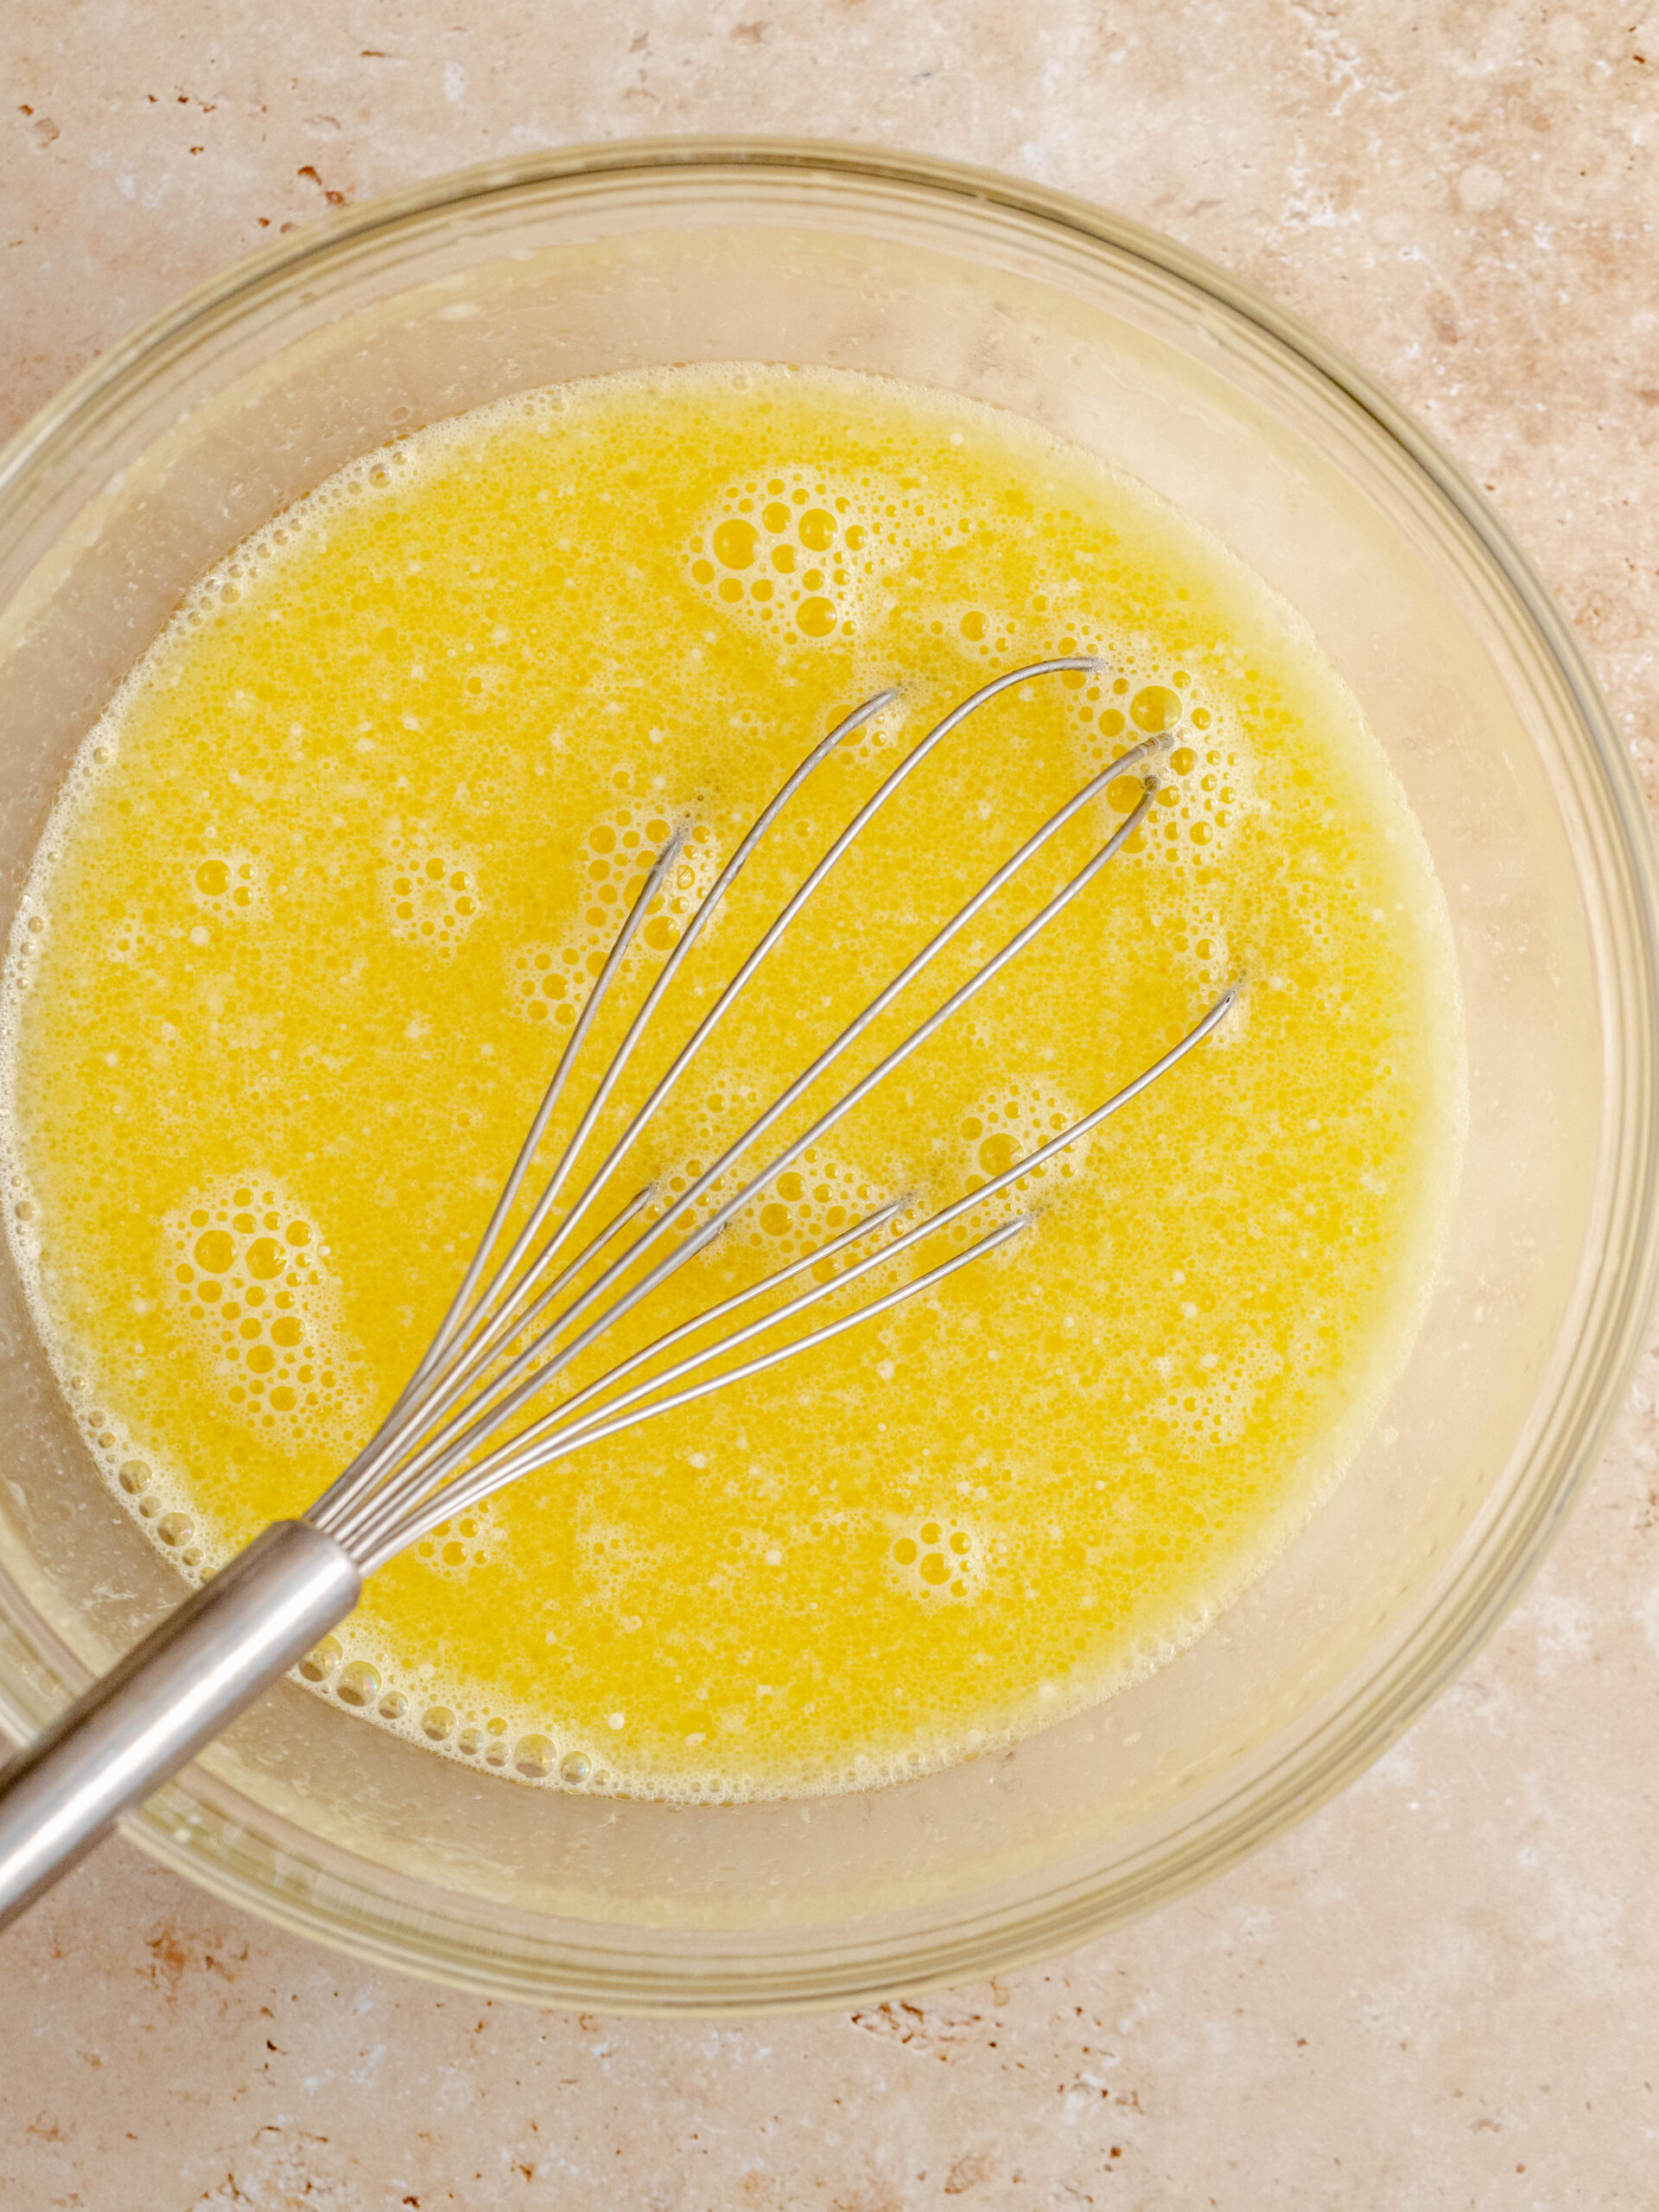
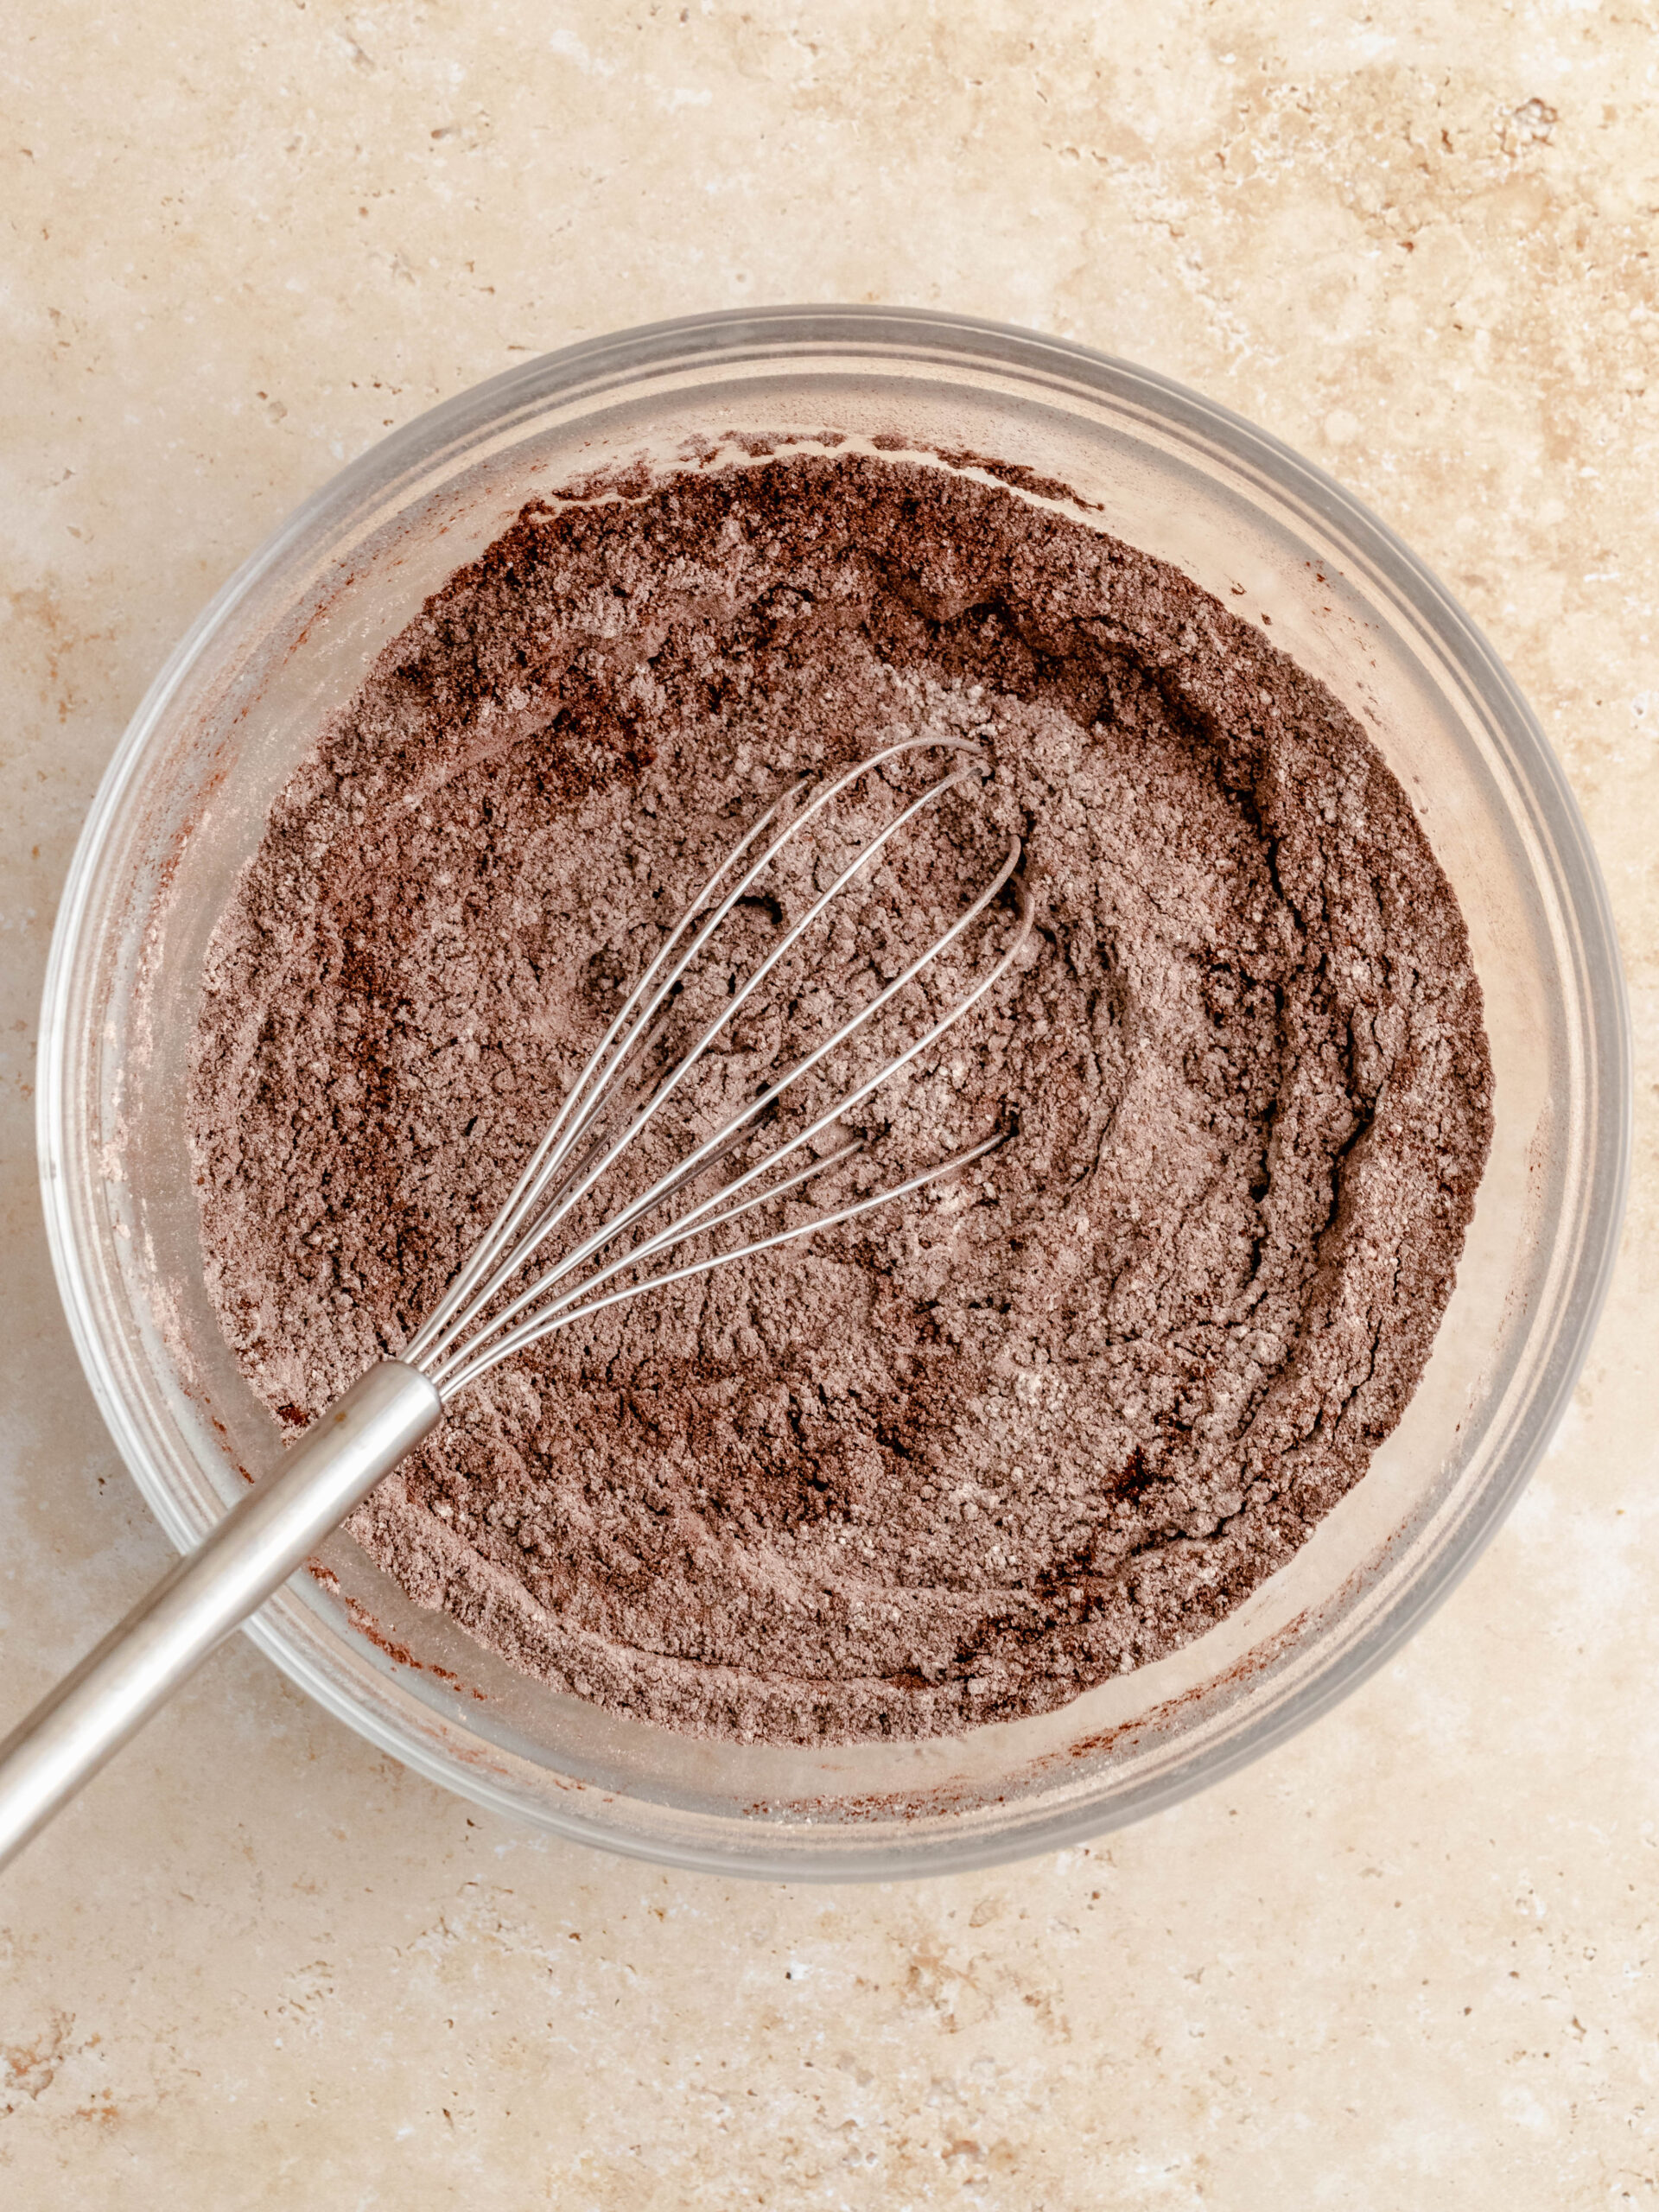
STEP 2: In a bowl, sift all of the dry ingredients together. In another mixing bowl add all of the wet ingredients, including the boiled water, and with a hand whisk, whisk them together until combined. Be sure to not mix the ingredients too vigorously so the eggs don’t get over mixed.
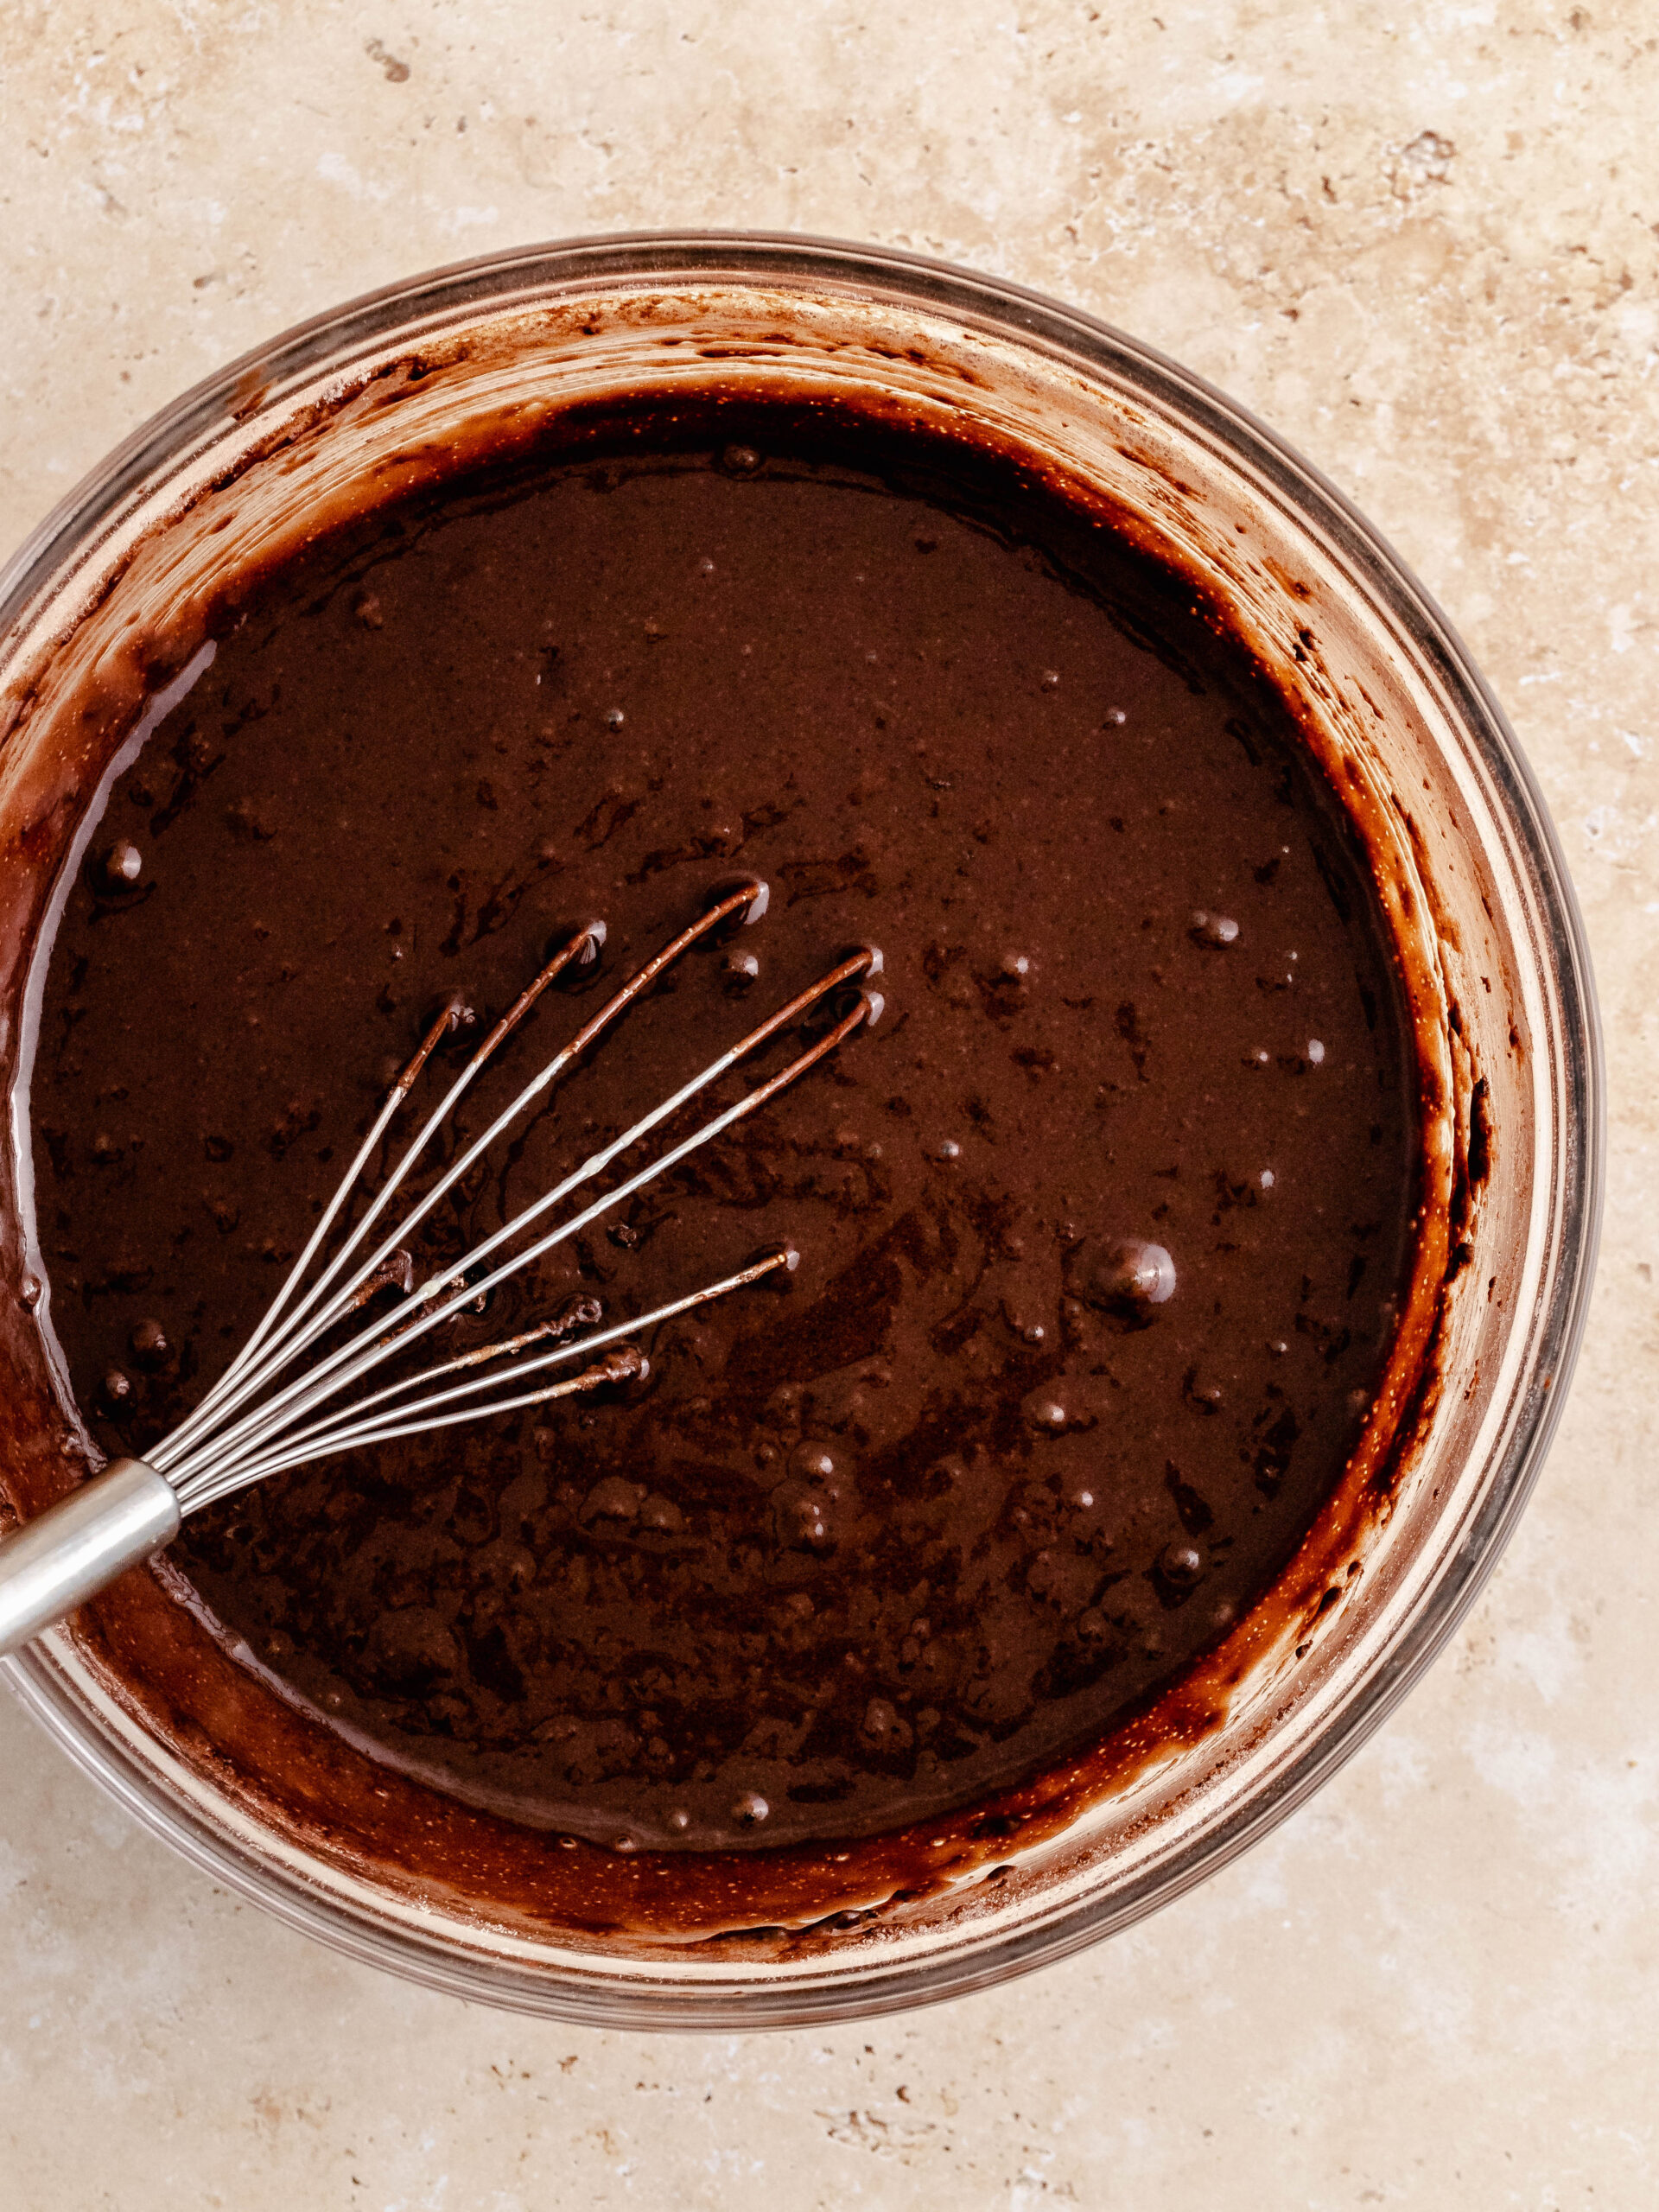
STEP 3: Slowly pour the wet ingredients into the dry while gently stirring it all together.
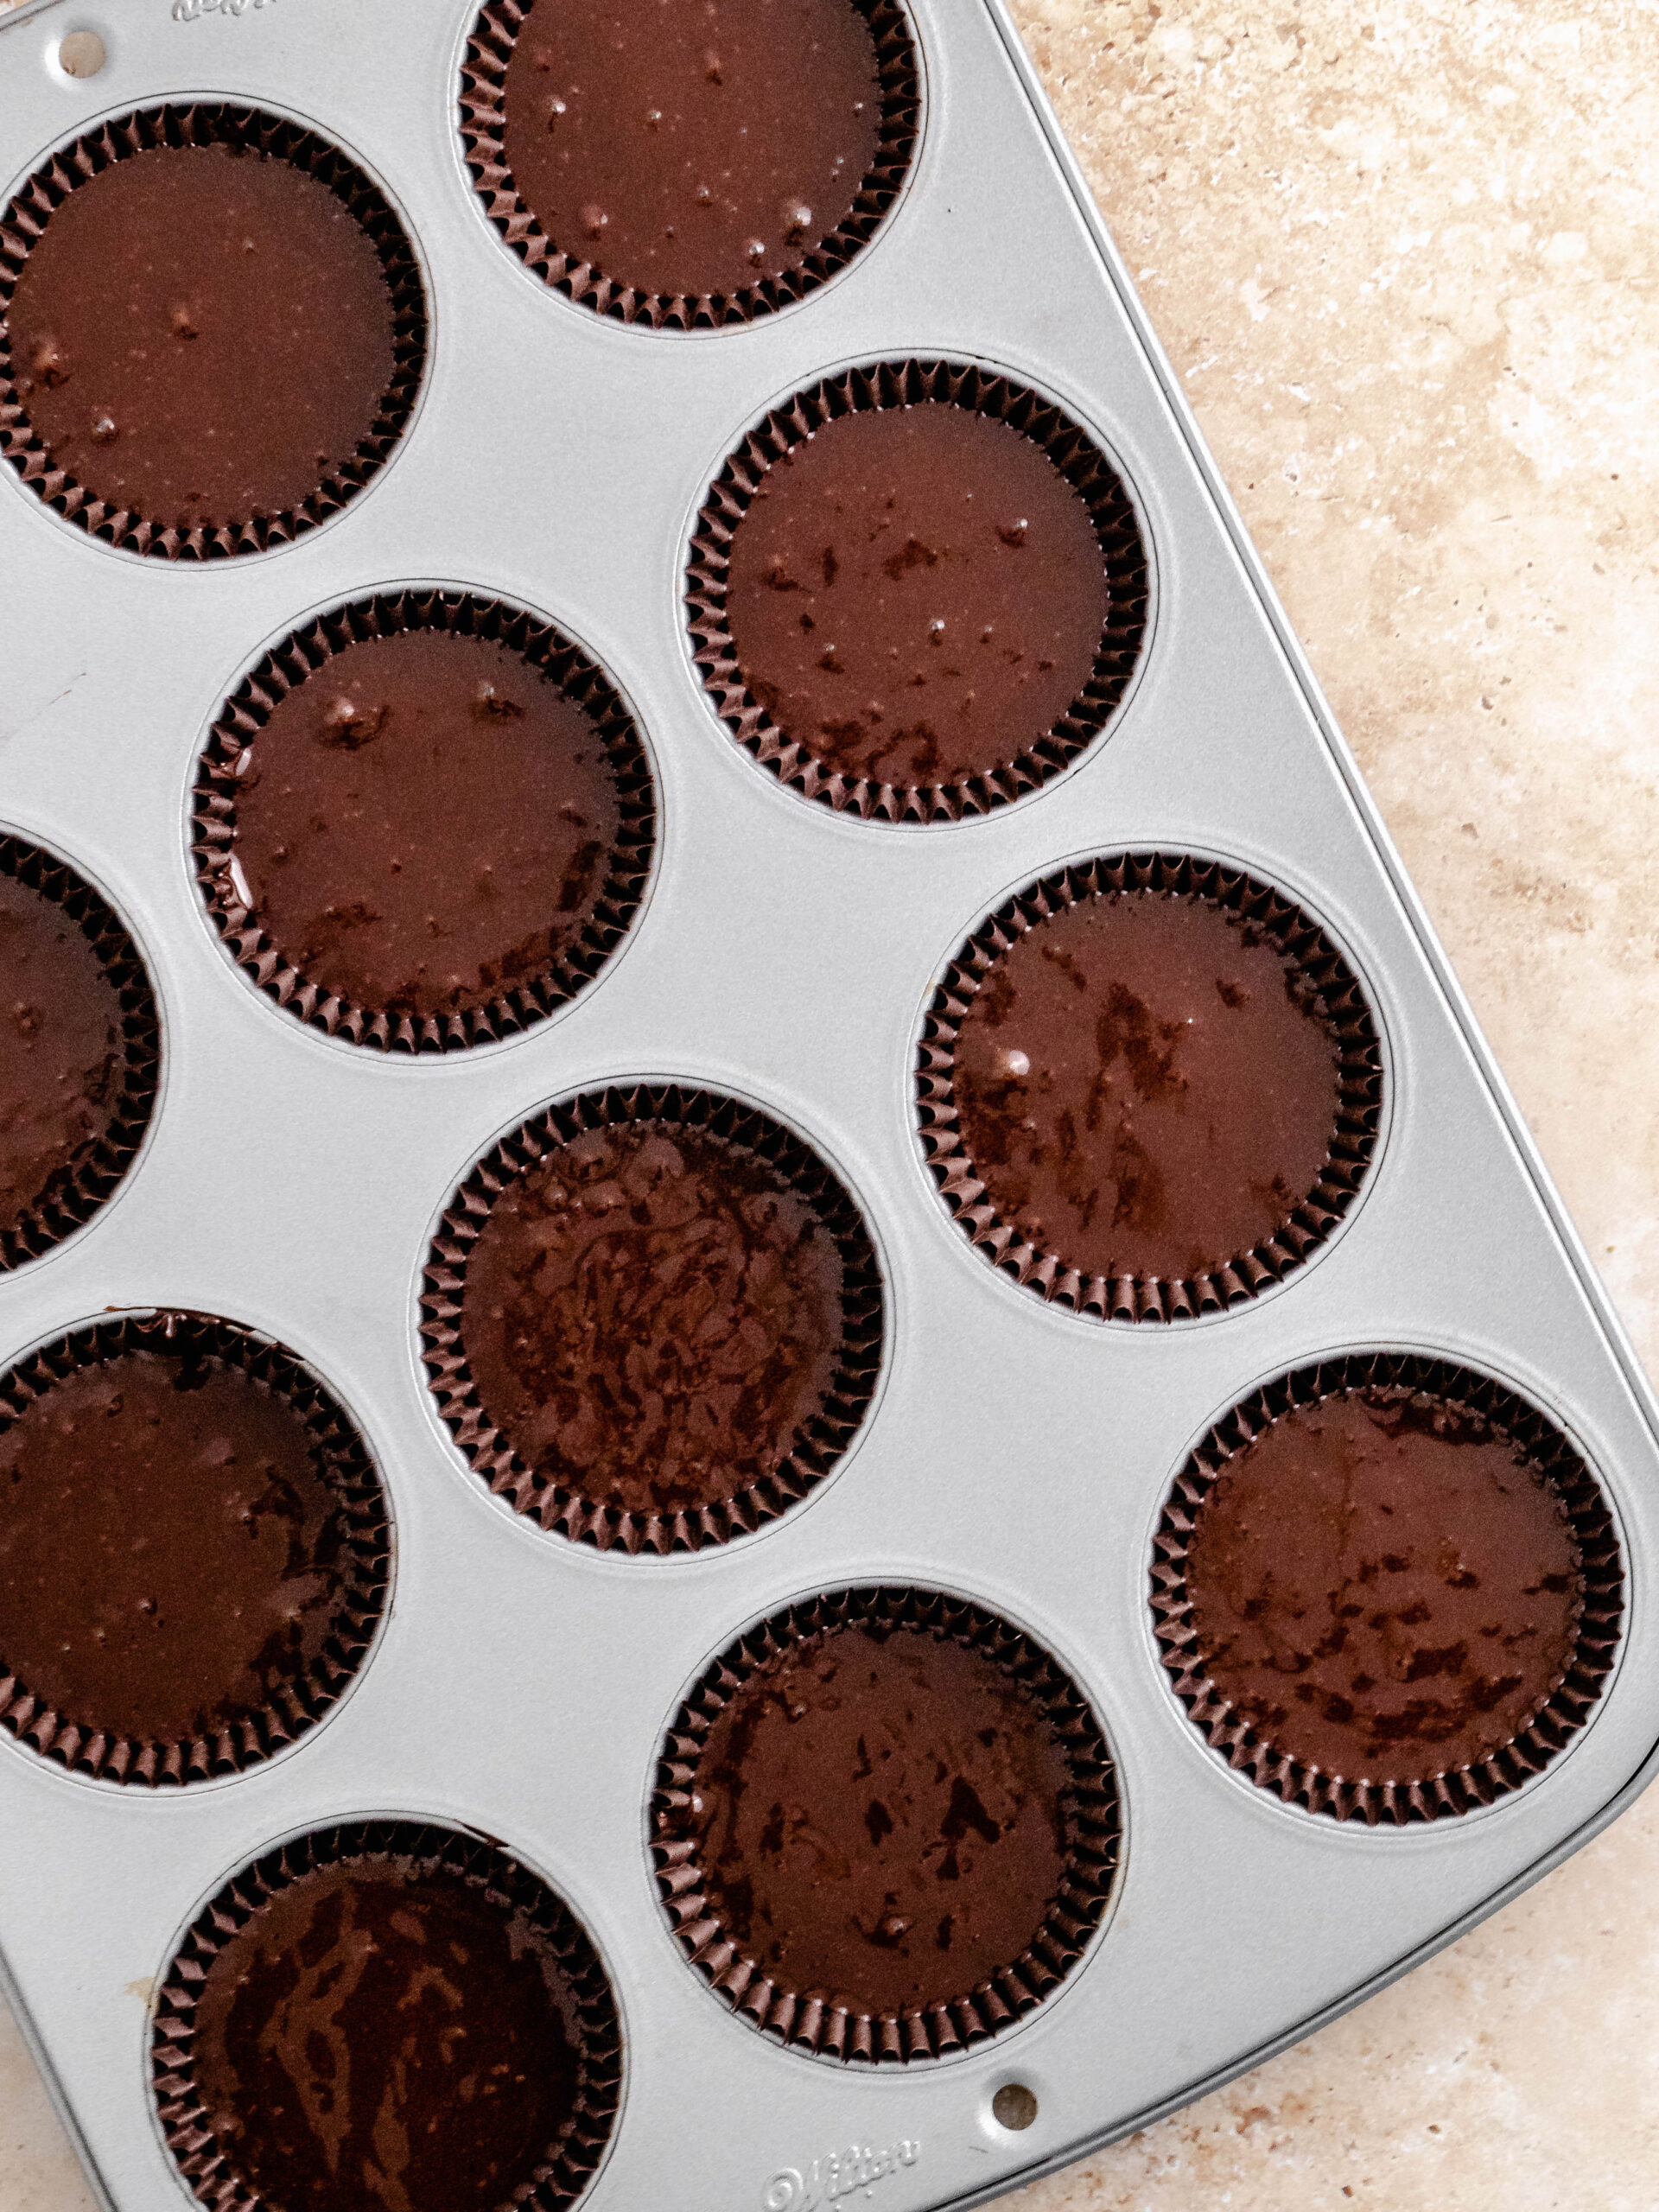
STEP 4. Divide the cake batter into the 12 cupcake liners and bake them for 17-20 minutes.
STEP BY STEP INSTRUCTIONS - BUTTERCREAM
STEP 1: Melt the dark chocolate and heavy cream together over a bain-marie or in the microwave. Let it cool down to body temperature (it’s important that it’s not too hot).
STEP 2: Take the butter out of the fridge 10 minutes before starting and cut the butter into cubes. Sift the powdered sugar and cocoa powder.
STEP 3: In your stand mixer, use the paddle attachment, start by creaming the butter for 4 minutes on medium/high speed. Scrape down the sides of the bowl and mix 2 minutes more. On low speed, add the vanilla extract and the sifted cocoa powder and powdered sugar in 2 portions, mixing in each addition. Scrape down the sides of the bowl, and mix for 2 minutes on low/medium speed.
STEP 4: Finally add the melted dark chocolate and mix it in until incorporated. Scrape down the sides of the bowl and give it another mix to make sure it’s fully incorporated.
TIP: If the buttercream feels too soft, place in the fridge for 10 minutes. Then give it a good mix again before adding it to the piping bag.
STEP 5: With a rubber spatula or wooden spoon, beat it well by hand to make sure to remove the air bubbles in the buttercream.
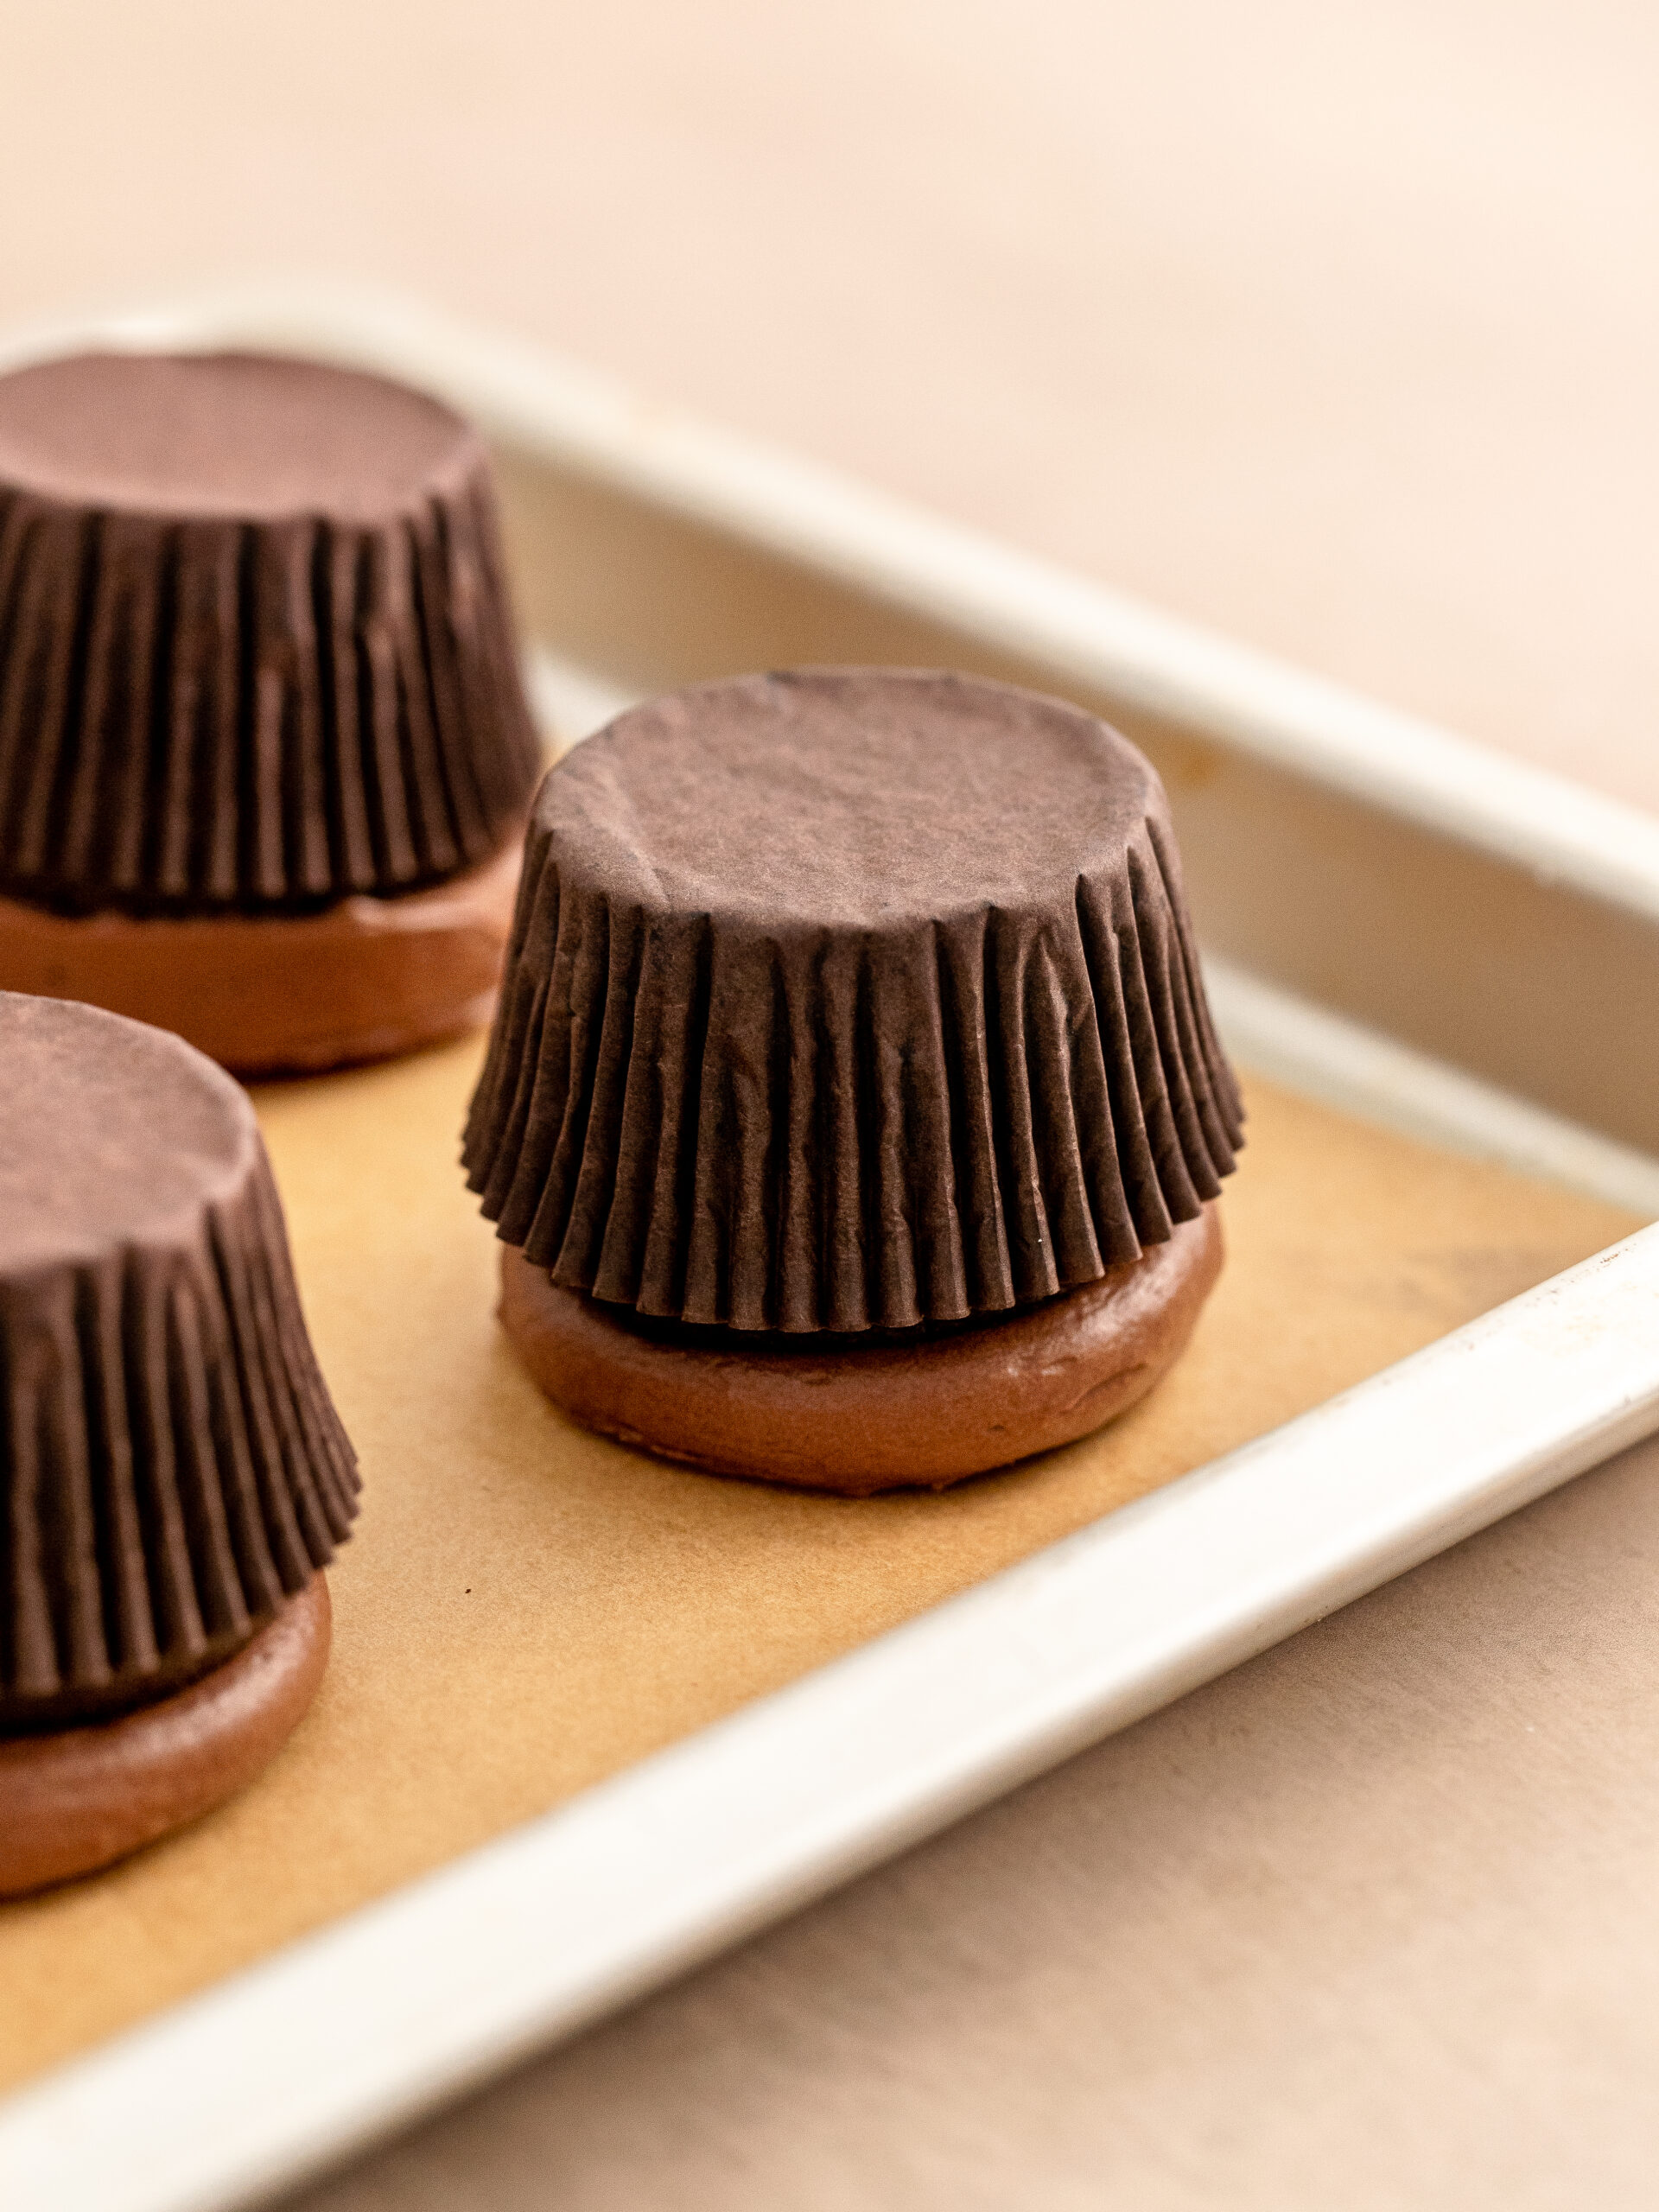
STEP 6: Transfer the buttercream to a piping bag with a large round piping tip. Pipe the buttercream on the cupcakes. Add a piece of baking paper to a baking tray and place the cupcakes upside down and give it a gentle prep down so the buttercream gets a flat surface. Place the tray in the freezer for 5 minutes.
STEP 7: Gently lift the cupcakes of the baking paper and decorate with pretzels, cut in half, candy eyes and a red sprinkle as a nose.

EXPERT BAKING TIPS
- Use a kitchen scale: My default setting for my recipes is grams. It is the most precise way of measuring out your ingredients, I therefore highly recommend using a kitchen scale.
- Don't over mix your batter: I always use a spatula after everything has mixed together, to give it one final gentle fold together. This makes sure everything in the bottom of the mixing bowl has been mixed into the batter.
- Light vs. dark baking pans: For the best result, use an aluminum baking pan, greased with butter and lined with baking paper in the bottom. Aluminum pans are light in color and therefore attract less heat. That means it bakes more gently which results in a softer cake. If you use a black baking pan it'll attract a lot more heat. That will then give a darker crust, which can result in a dryer cake.
FAQ
Yes, these cupcakes last well in an airtight container, at room temperature for 1-2 days.
Yes, follow the recipe and bake them for 8-10 minutes or until cake tester comes out clean.
STORAGE
Store the reindeer cupcakes in an airtight container, at room temperature. For the best result enjoy them within a 2-3 days.
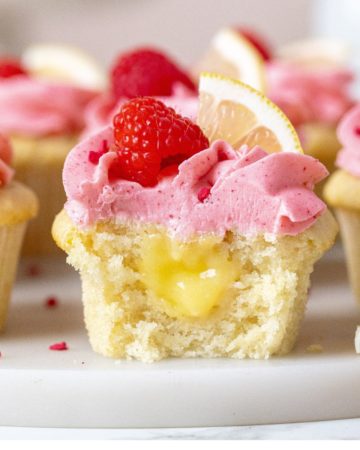
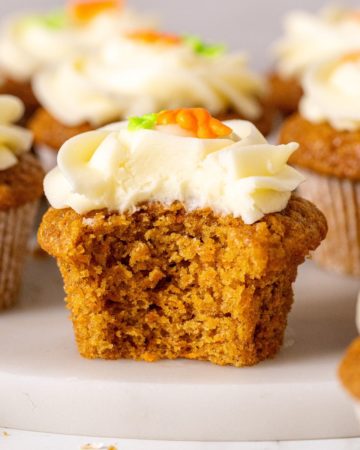
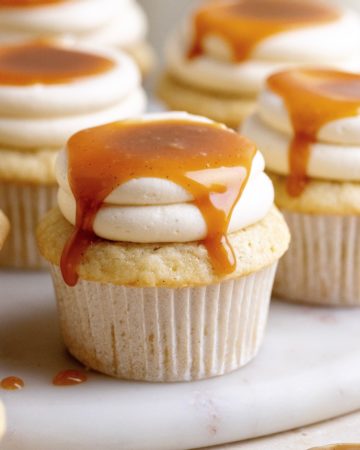
Other Cupcake Recipes To Try

Make sure leave a STAR REVIEW if you loved this recipe! Make sure to tag me on Instagram @juliemarieeats. To get more ideas by following me on Pinterest.
Reindeer Cupcakes
Equipment
Ingredients
CHOCOLATE CUPCAKE
- 120 g boiling water
- 160 g all-purpose flour
- 200 g granulated sugar
- 50 g dutch processed cocoa powder
- 1 teaspoon instant espresso powder optional
- ½ teaspoon baking powder
- ½ teaspoon baking soda
- ½ teaspoon salt
- 120 g sour cream, 18% room temperature
- 75 g vegetable oil
- 2 large eggs room temperature
- 1 ½ teaspoon vanilla extract
CHOCOLATE BUTTERCREAM
- 100 g dark chocolate
- 75 g heavy cream
- 100 g butter cool room temperature
- 175 g powdered sugar
- 10 g dutch processed cocoa powder
- 1 teaspoon vanilla extract
DECORATION
- Prezelts cut in half
- Red sprinkle for the nose
- Candy eyes
Instructions
CHOCOLATE CUPCAKE
- Preheat the oven at 175ºC conventional oven and line a cupcake tray with 12 cupcake liners.
- Start by boiling some water and weigh out the water so it can cool down a bit while preparing the other ingredients.120 g boiling water
- In a bowl, sift all of the dry ingredients together. Give it a stir to make sure everything has been combined.160 g all-purpose flour, 200 g granulated sugar, 50 g dutch processed cocoa powder, 1 teaspoon instant espresso powder, ½ teaspoon baking powder, ½ teaspoon baking soda, ½ teaspoon salt
- In another mixing bowl add all of the wet ingredients, including the boiled water, and with a hand whisk, whisk them together until combined. Be sure to not mix the ingredients too vigorously so the eggs don’t get over mixed.120 g sour cream, 18%, 75 g vegetable oil, 2 large eggs, 1 ½ teaspoon vanilla extract
- Slowly pour the wet ingredients into the dry while gently stirring it all together. Make sure there are no lumps left in the batter.
- Divide the cake batter into the 12 cupcake liners and bake them for 17-20 minutes. Let the cupcakes cool in the hot pan. After 5 minutes, gently remove the cupcakes from the cupcake pan and let them cool down completely.
CHOCOLATE BUTTERCREAM
- Melt the dark chocolate and heavy cream together over a bain-marie or in the microwave. Let it cool down to body temperature (it’s important that it’s not too hot).100 g dark chocolate, 75 g heavy cream
- Take the butter out of the fridge 10 minutes before starting and cut the butter into cubes. Sift the powdered sugar and cocoa powder.100 g butter, 175 g powdered sugar, 10 g dutch processed cocoa powder
- In your stand mixer, use the paddle attachment, start by creaming the butter for 4 minutes on medium/high speed. Scrape down the sides of the bowl and mix 2 minutes more.
- On low speed, add the vanilla extract and the sifted cocoa powder and powdered sugar in 2 portions, until each addition is fully incorporated. Then, scrape down the sides of the bowl, and mix for 2 minutes on low/medium speed.1 teaspoon vanilla extract
- Finally add the melted dark chocolate and mix it in until incorporated. Scrape down the sides of the bowl and give it another mix to make sure it’s fully incorporated.
- Tip: If the buttercream feels too soft, place in the fridge for 10 minutes. Then give it a good mix again before adding it to the piping bag.
- With a rubber spatula or wooden spoon, beat it well by hand to make sure to remove the air bubbles in the buttercream.
- Transfer the buttercream to a piping bag with a large round piping tip. Pipe the buttercream on the cupcakes. Add a piece of baking paper to a baking tray and place the cupcakes upside down and give it a gentle prep down so the buttercream gets a flat surface. Place the tray in the freezer for 5 minutes.
- Gently lift the cupcakes of the baking paper and decorate with the pretzels, candy eyes and a red sprinkle as a nose.Prezelts, Red sprinkle for the nose, Candy eyes
- Serve it on the day, but it can also last well for 2-3 days on the kitchen counter, in an airtight container.
Leave a Reply