This post may contain affiliate links.
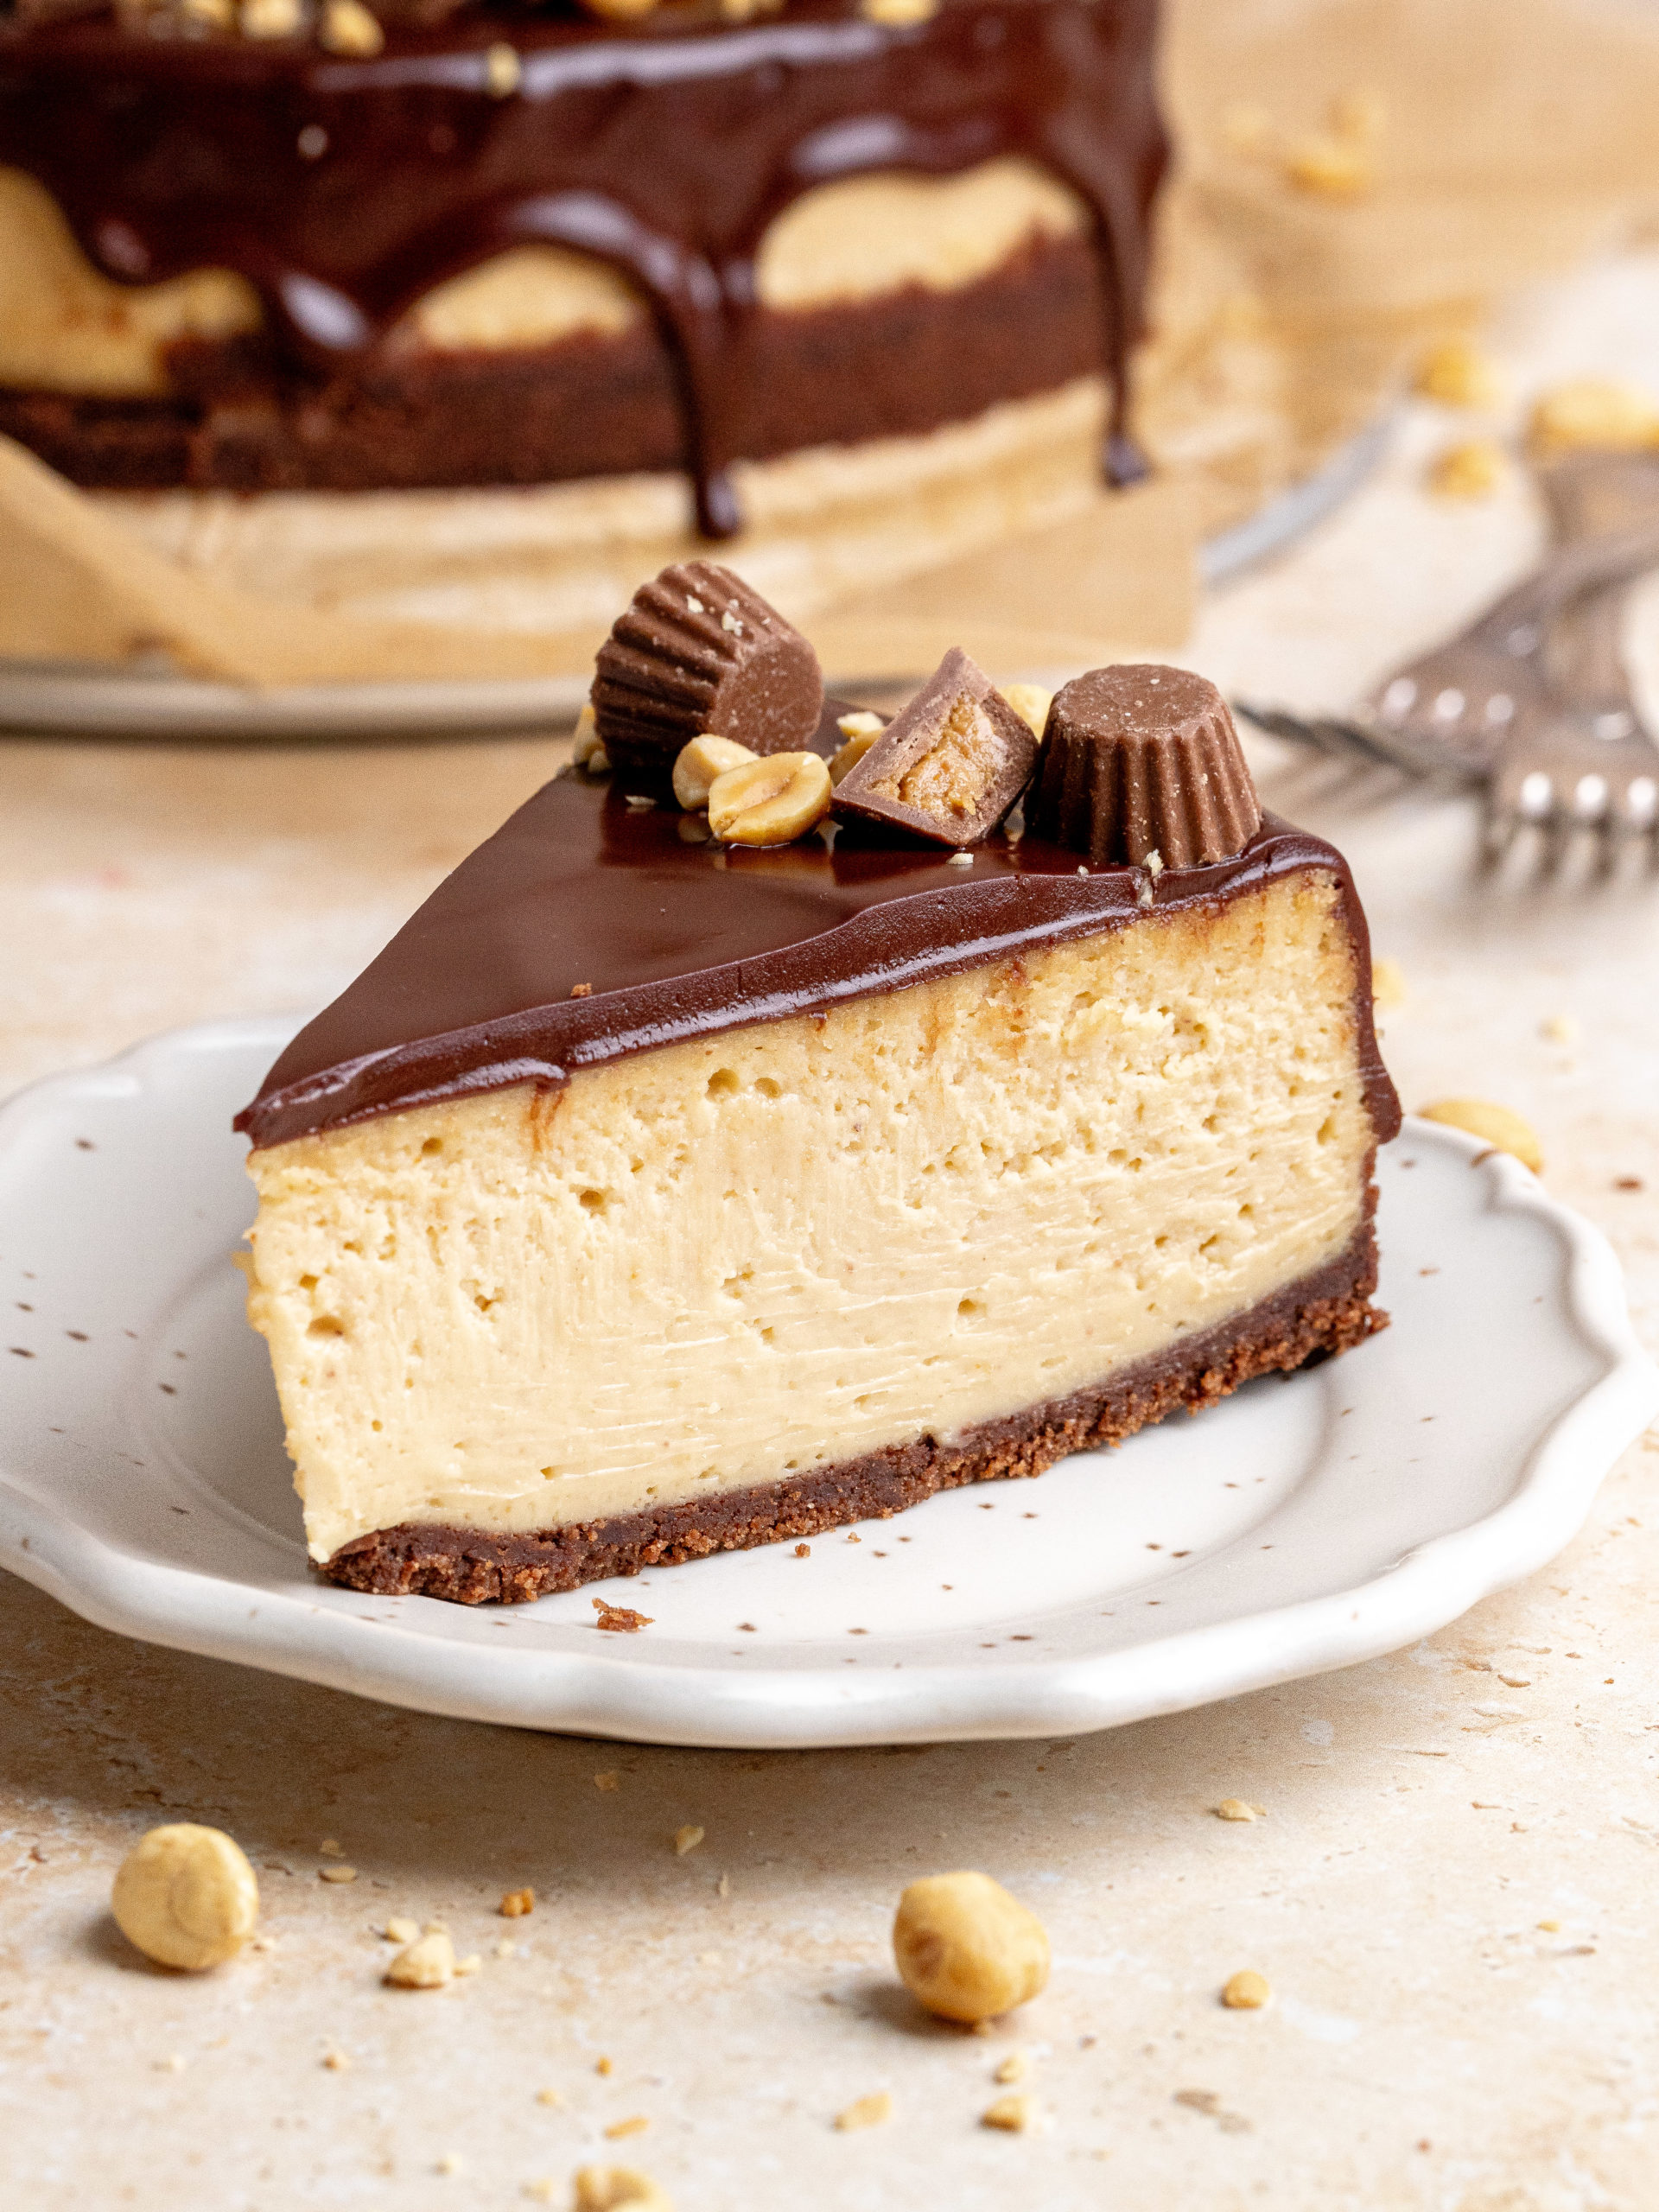
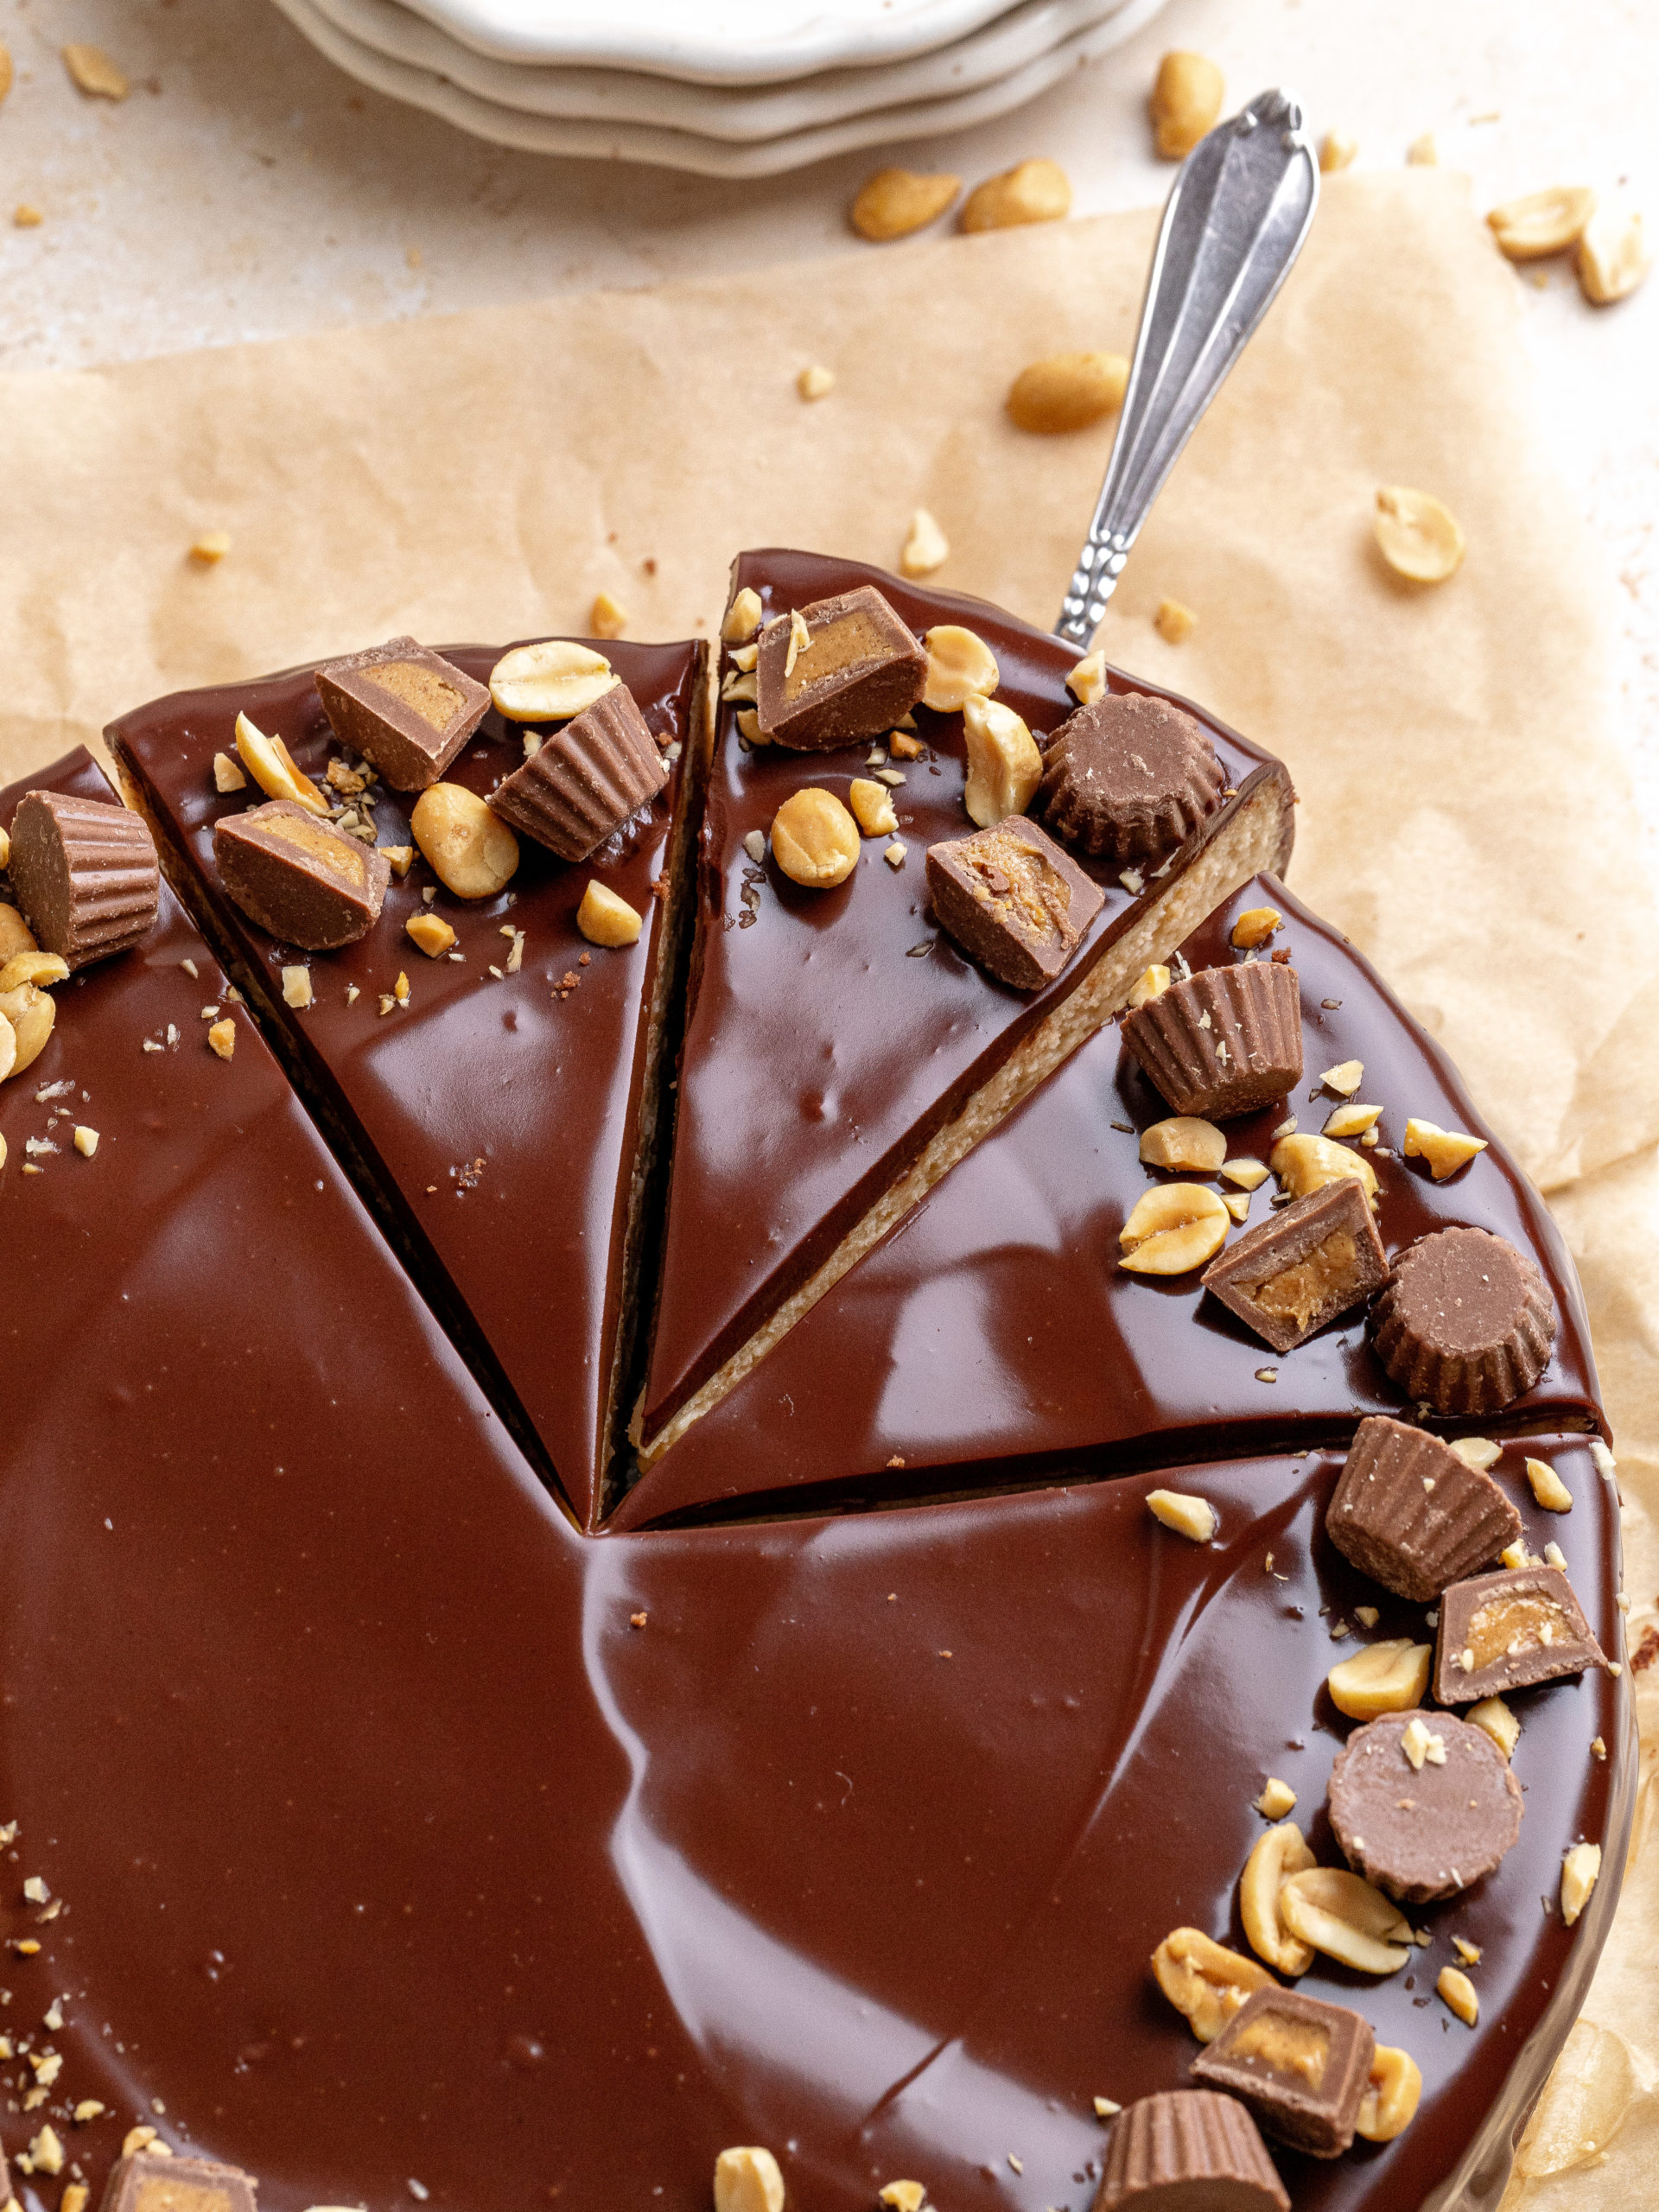
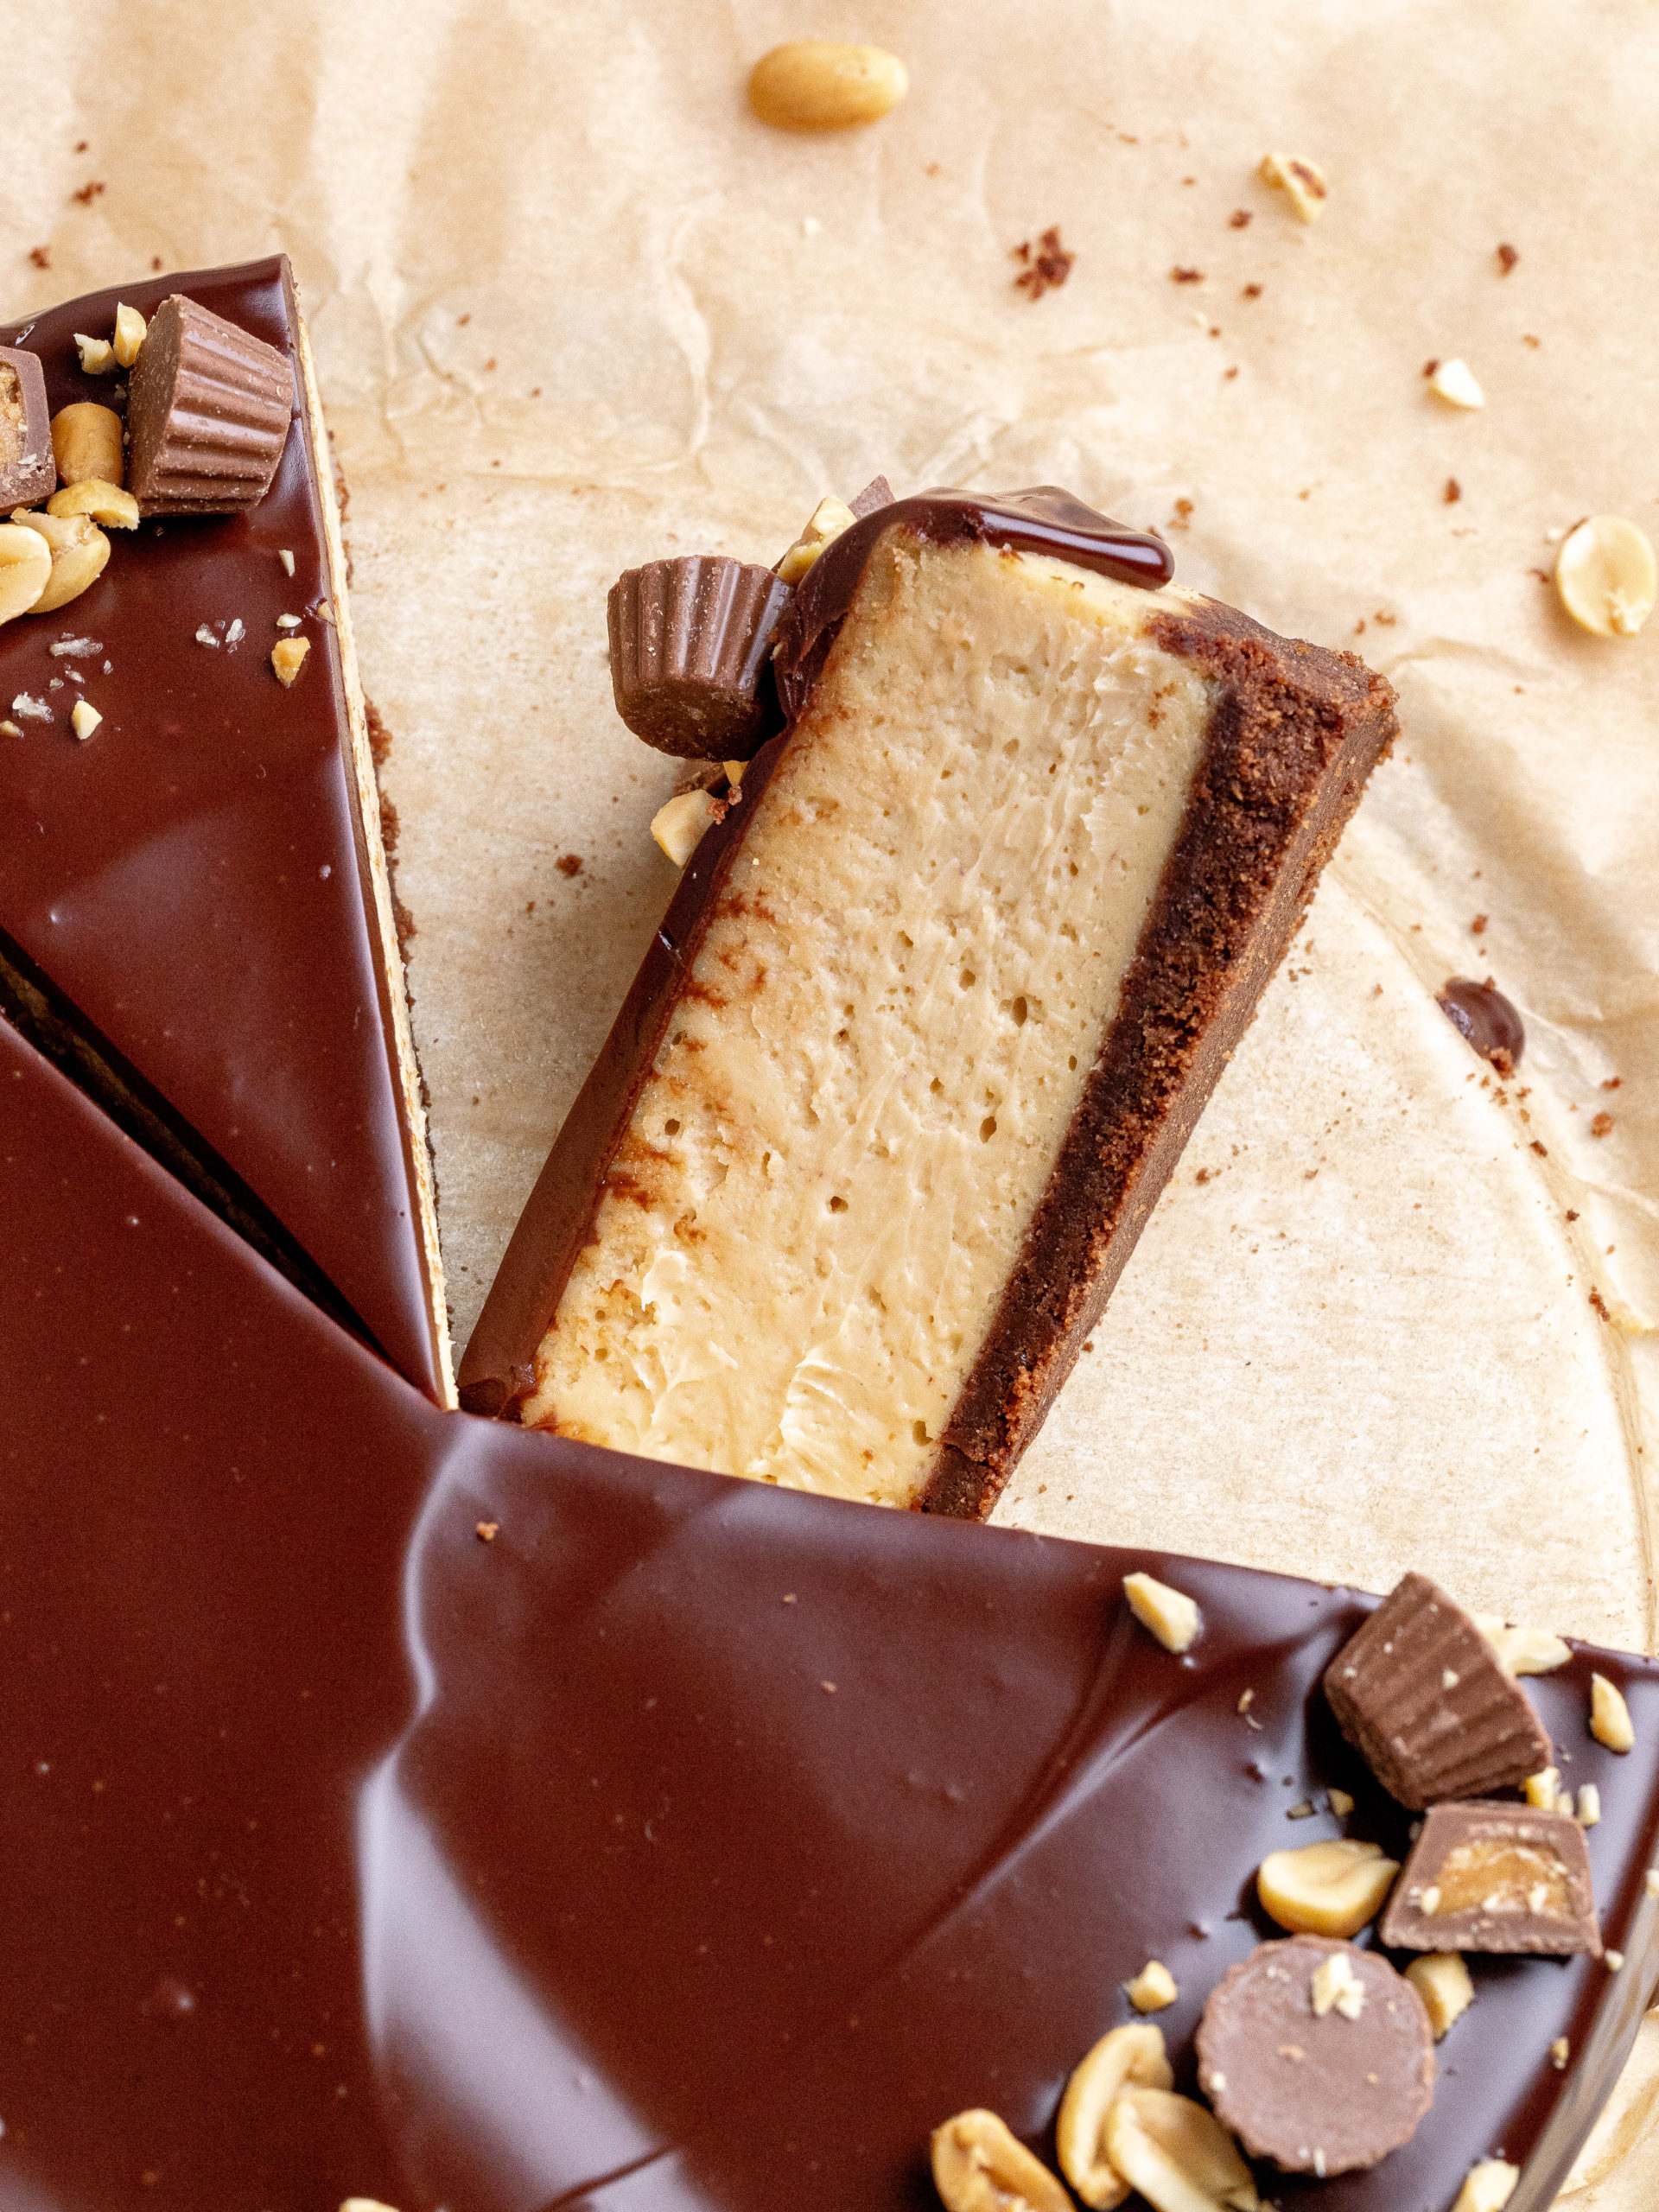
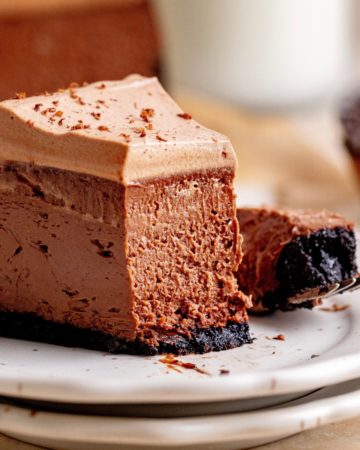
If you love peanut butter and chocolate, then you will love this delicious Peanut Butter Chocolate Cheesecake! This cheesecake marries the delicious flavors of a cocoa cookie crust and velvety peanut butter cheesecake filling. It is topped with a smooth dark chocolate ganache, mini peanut butter cups and peanuts. This dessert is a must-try for all peanut butter chocolate lovers.
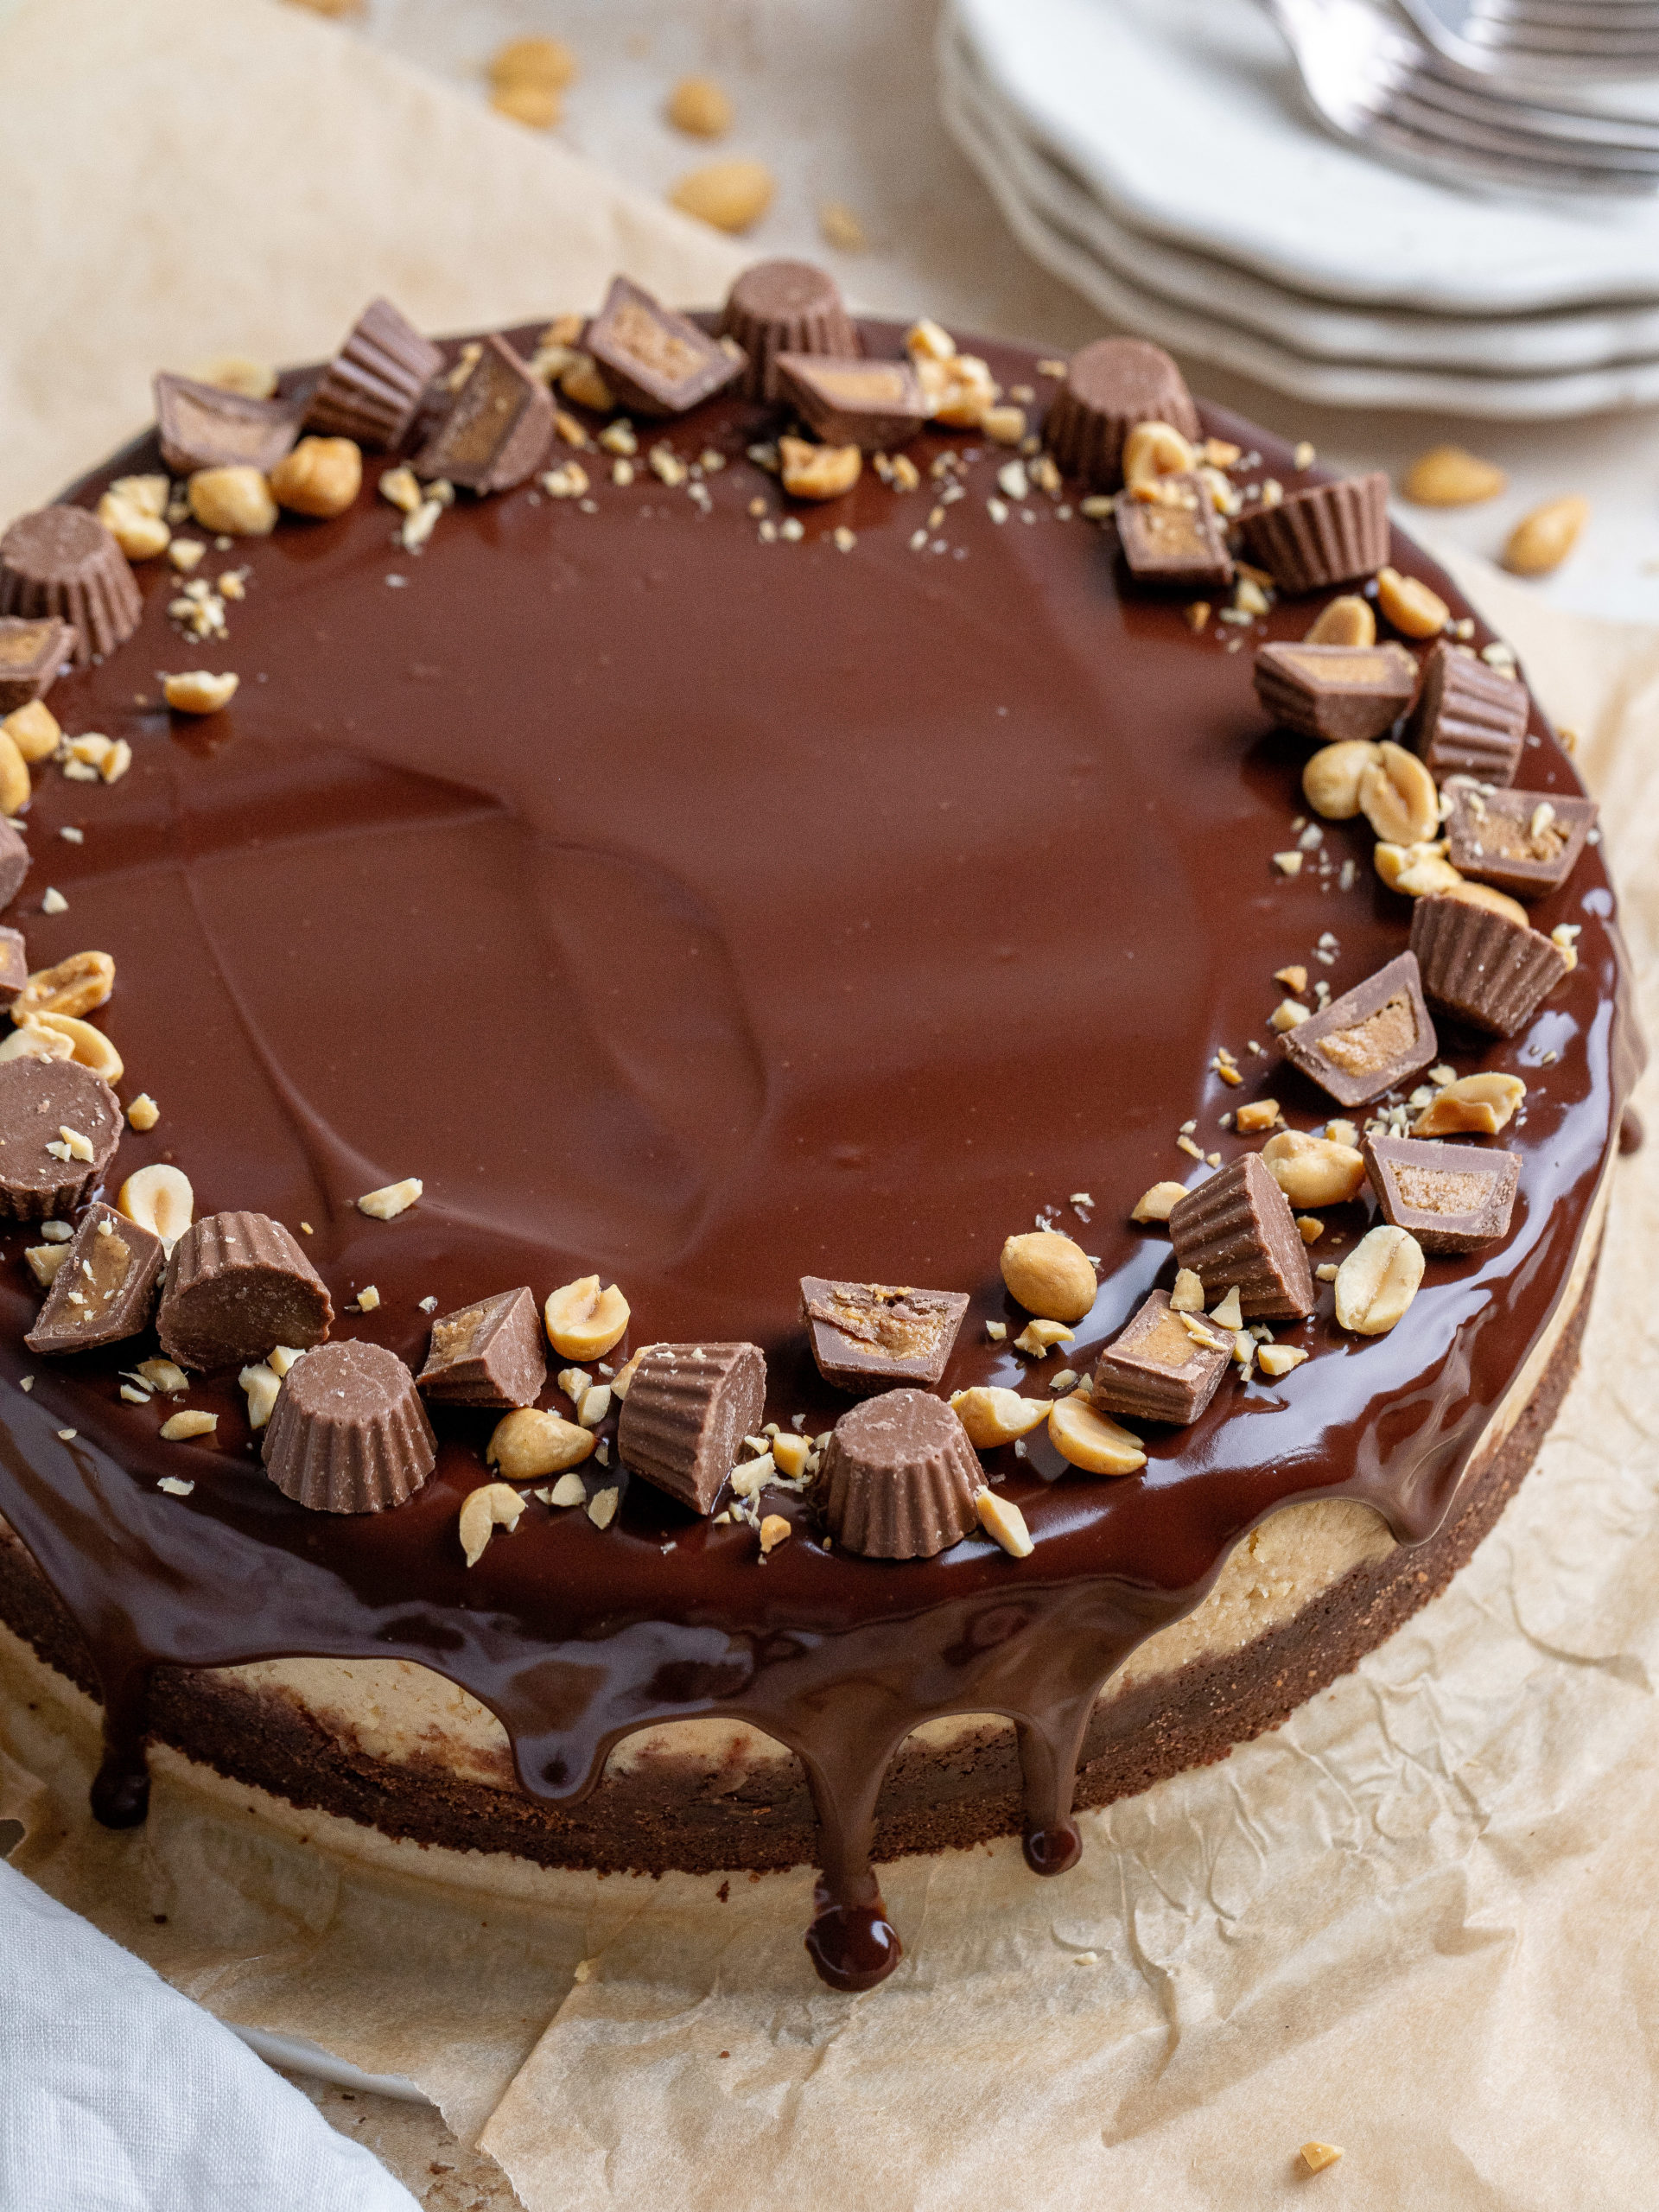
In this delicious Peanut Butter Chocolate Cheesecake recipe, a cocoa cookie crust lays the foundation for a smooth and creamy peanut butter cheesecake filling! It’s so creamy and it is topped with a dark chocolate ganache, mini peanut butter cups and peanuts, taking it to another level of goodness.
For more cheesecake recipes, try Lemon Meringue Cheesecake, Tiramisu Cheesecake and Biscoff Cheesecake.
Jump to:
WHY THIS RECIPE WORKS
- Cocoa cookie crust: The cheesecake sits perfectly on top of a cocoa cookie crust.
- Peanut butter cheesecake filling: This peanut butter cheesecake is full of peanut butter flavor and is super creamy.
- Chocolate ganache: It topped the most delicious dark chocolate ganache.
INGREDIENT NOTES
These are some of the key ingredients for this recipe. For a full list of ingredients, check out the recipe card below.
- Digestive biscuits: We don't have graham crackers in Danmark, so I therefore use Digestive cookies. But if you can buy graham crackers then you can definitely use those instead if you want to make graham cracker crust.
- Cocoa powder: I recommend using a high quality dutch process cocoa powder for the best flavor, my favorite is from Valrhona or Ghirardelli.
- Cream cheese: It's important that it's full-fat cream cheese and it's at room temperature when using it. Take the cream cheese out of the fridge 1-2 hours before baking.
- Sour cream: Measure and let the sour cream come to room temperature 1-2 hours before baking.
- Eggs: Take the eggs out of the fridge 1-2 hours before baking.
- Peanut Butter: Use a smooth peanut butter for the best result.
- Chocolate: I recommend using semi-sweet chocolate chips for the ganache.
STEP BY STEP INSTRUCTIONS
Here is how to make and bake this Chocolate Peanut Butter Cheesecake. This recipe needs a stand mixer or an electric hand mixer, and a 23 cm/9 in spring pan lined with baking paper.
The full recipe is down below in the recipe card.
Before starting preheat the oven to 160ºC/ 325ºF conventional oven. Prepare a 23 cm/9 in spring pan lined with parchment paper in the bottom.
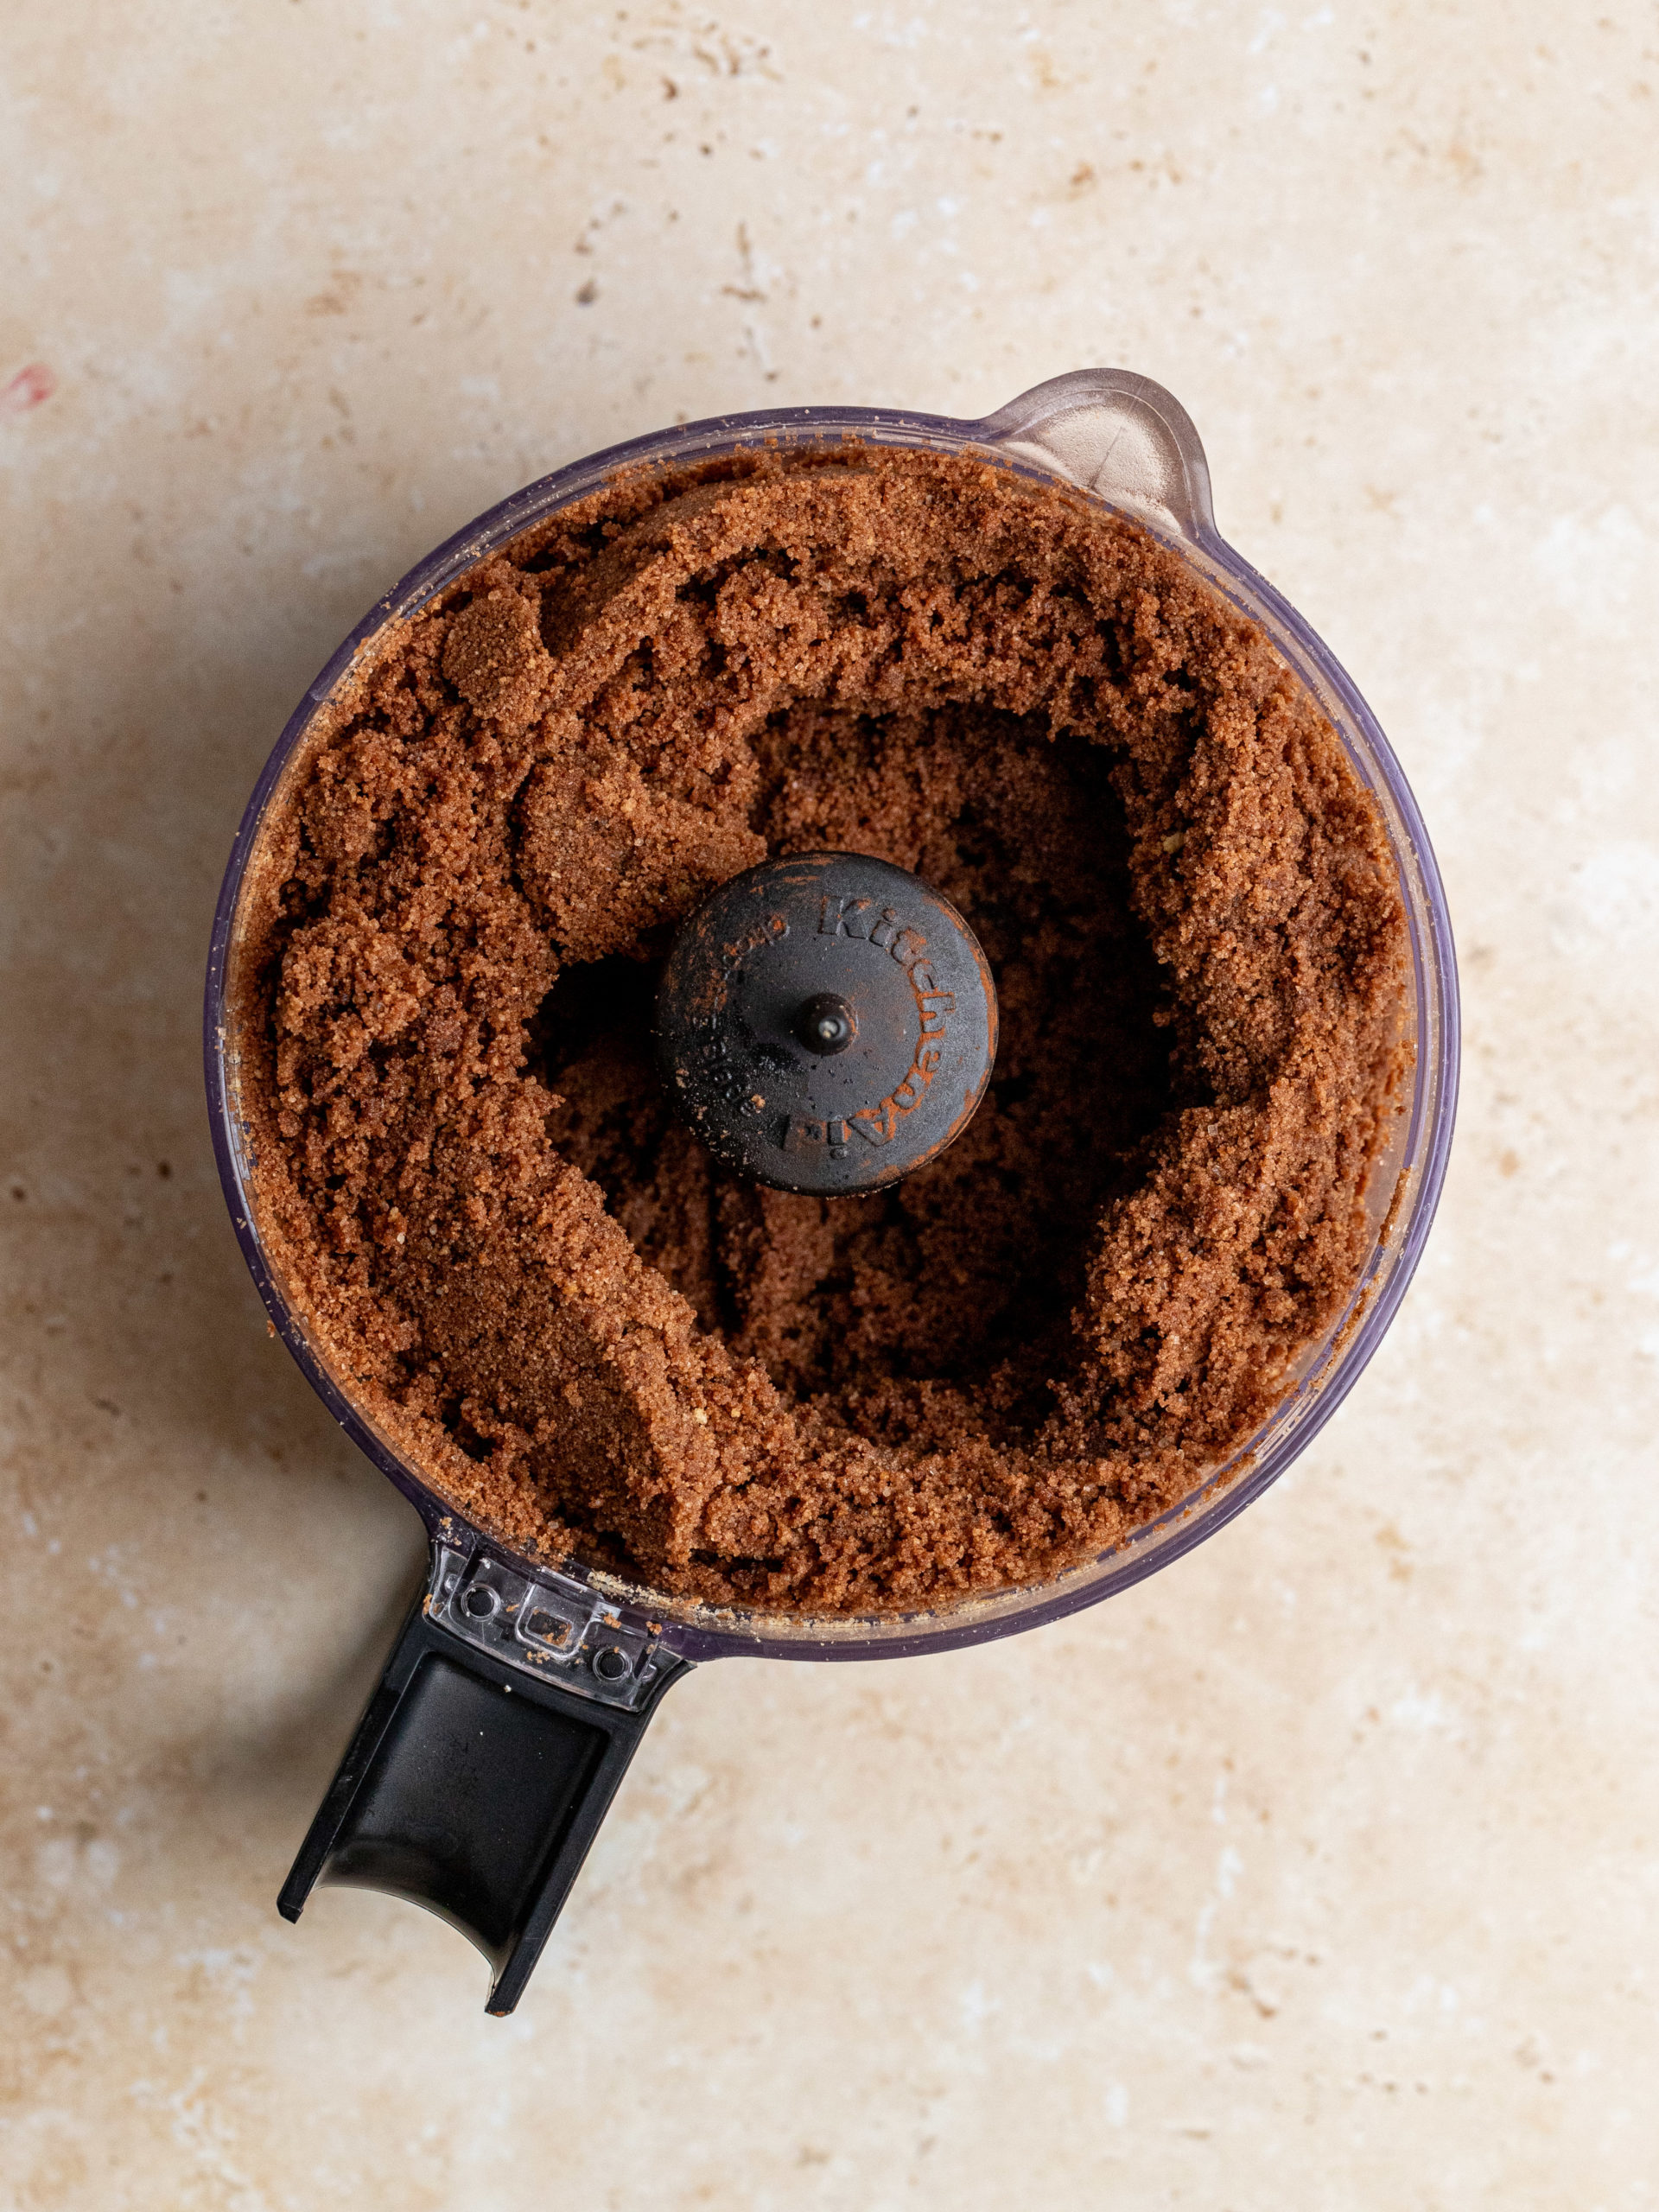
STEP 1: In a food processor, add the cookies, cocoa powder and granulated sugar and blend it all together until a fine crumbs texture. Add the melted butter to the food processor and blend it together with the blended cookies.
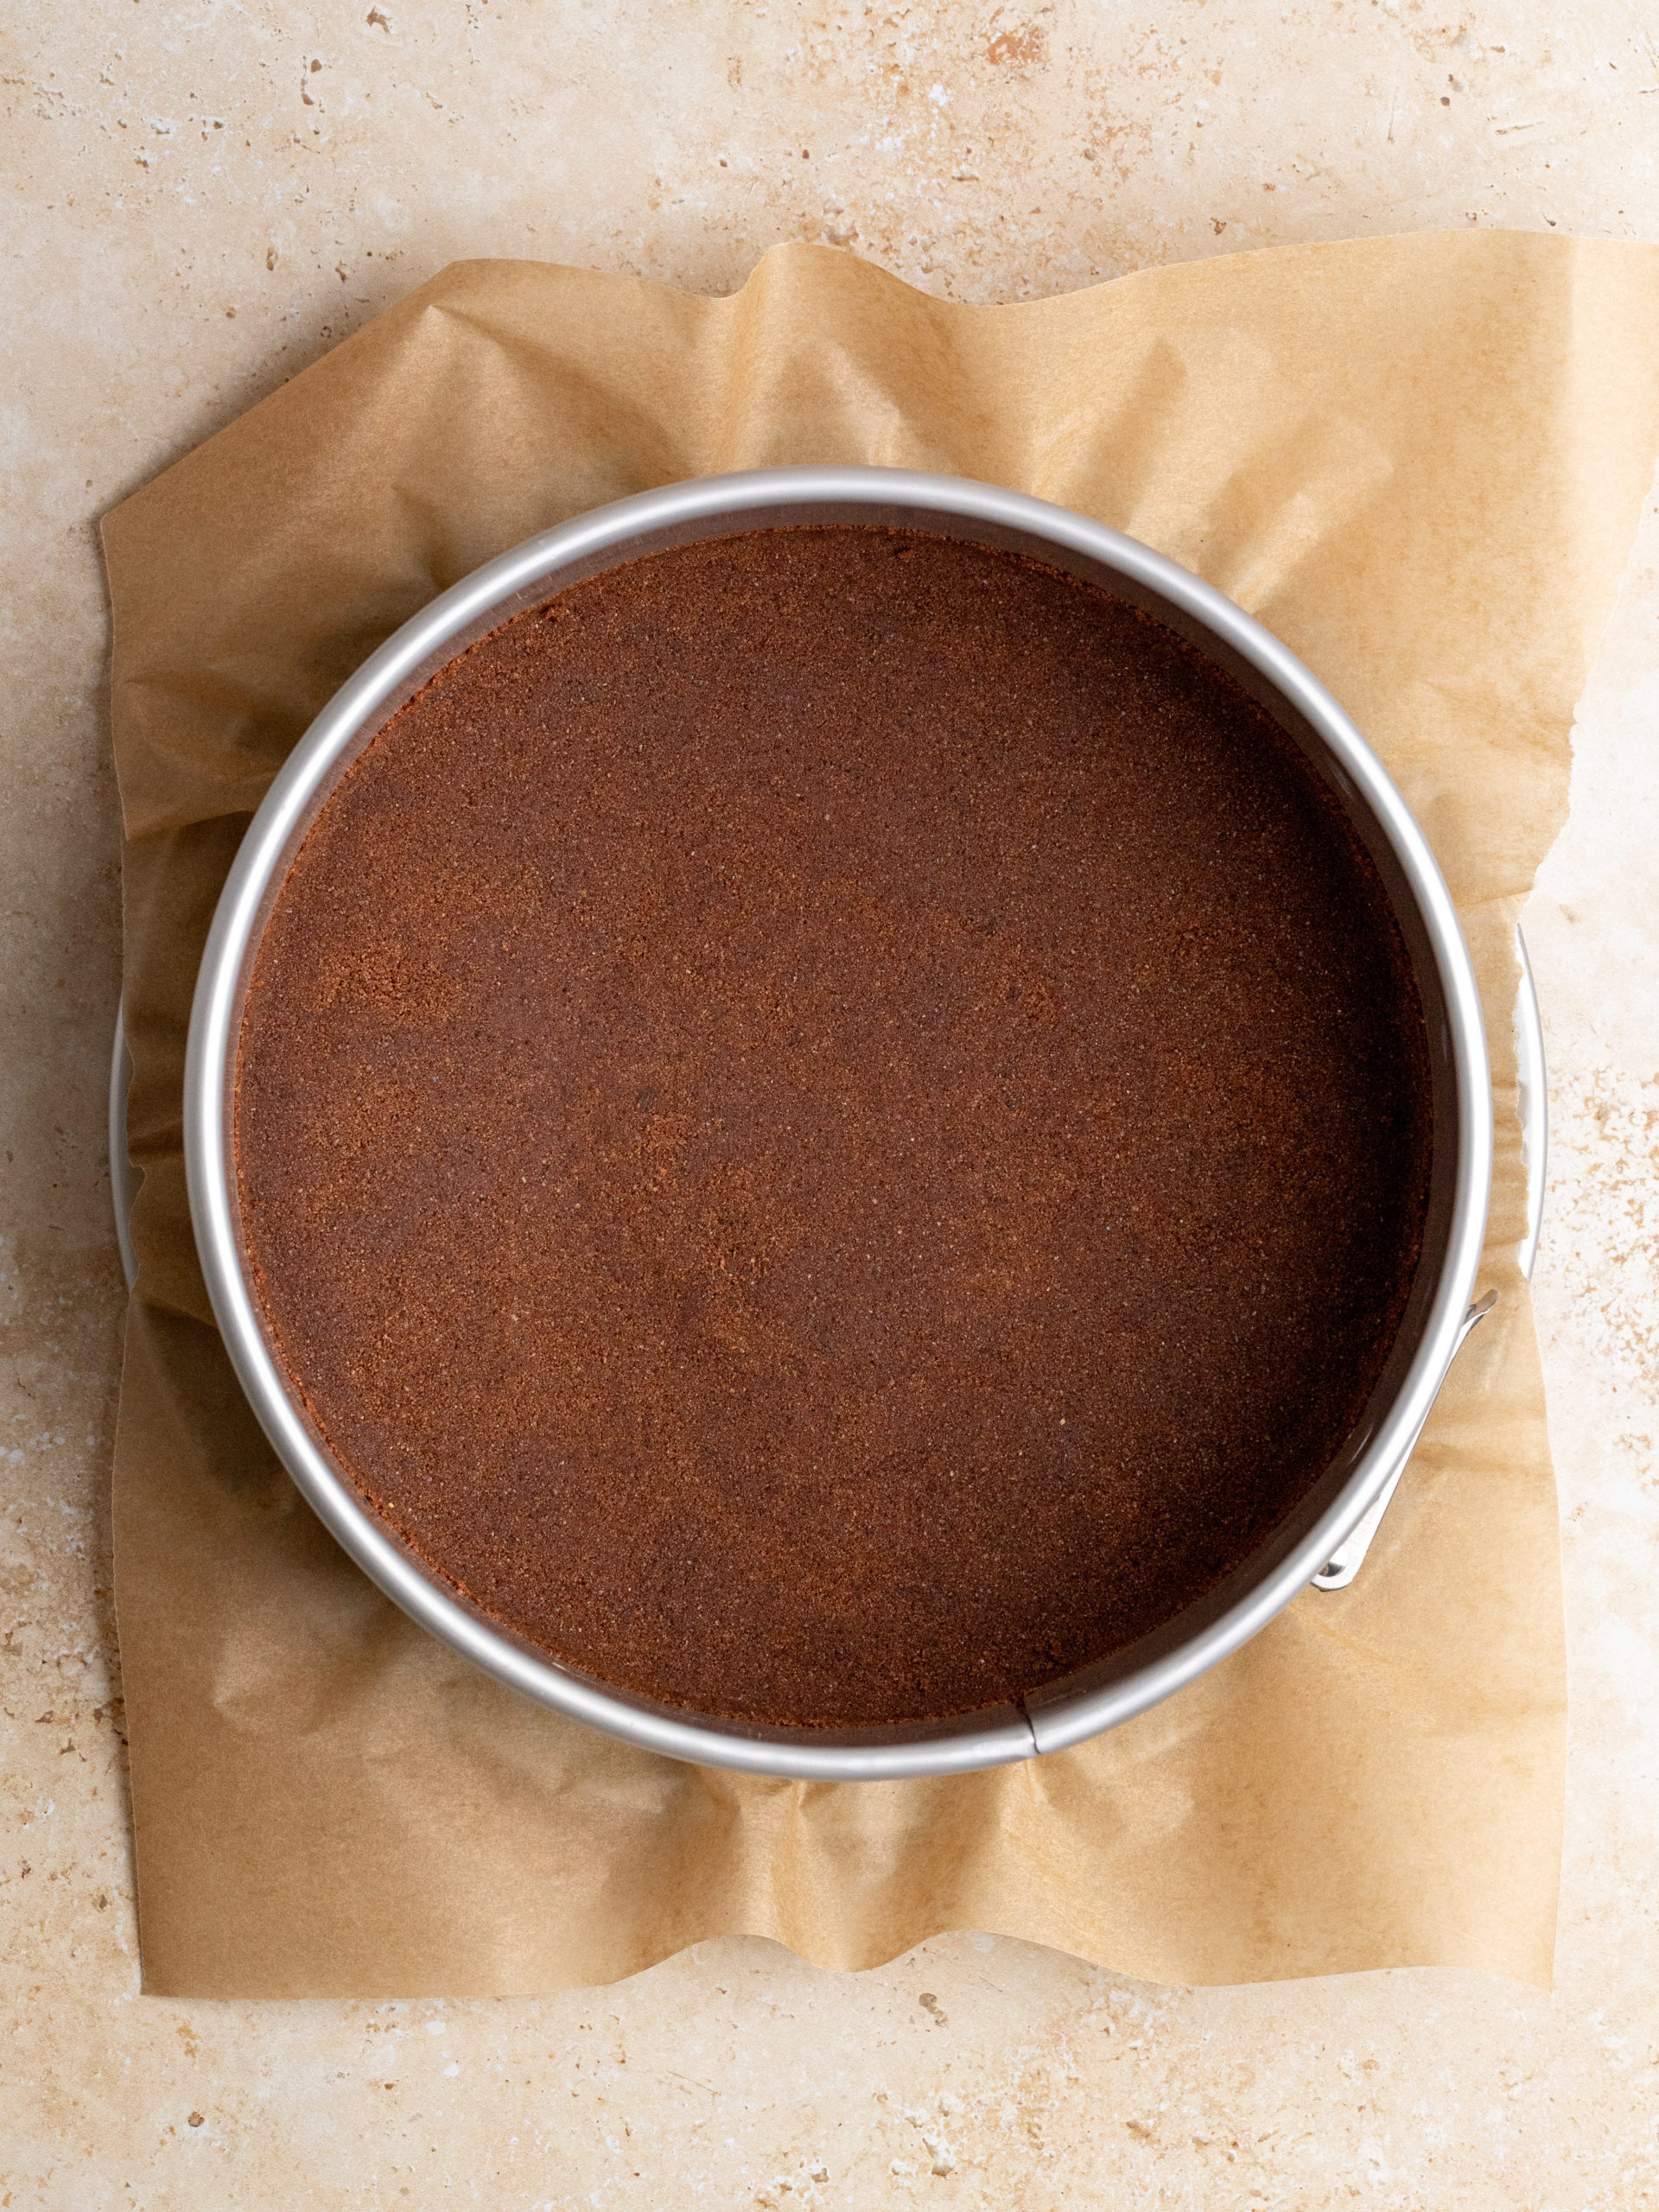
STEP 2: Add the cookie crumbs to the spring pan and press the cookie crumbs down with the bottom of a glass, and up agains the side of the pan, so it’s well packed together and flattened out. Bake it for 10 minutes. Then let it cool down so that it’s cool to touch.
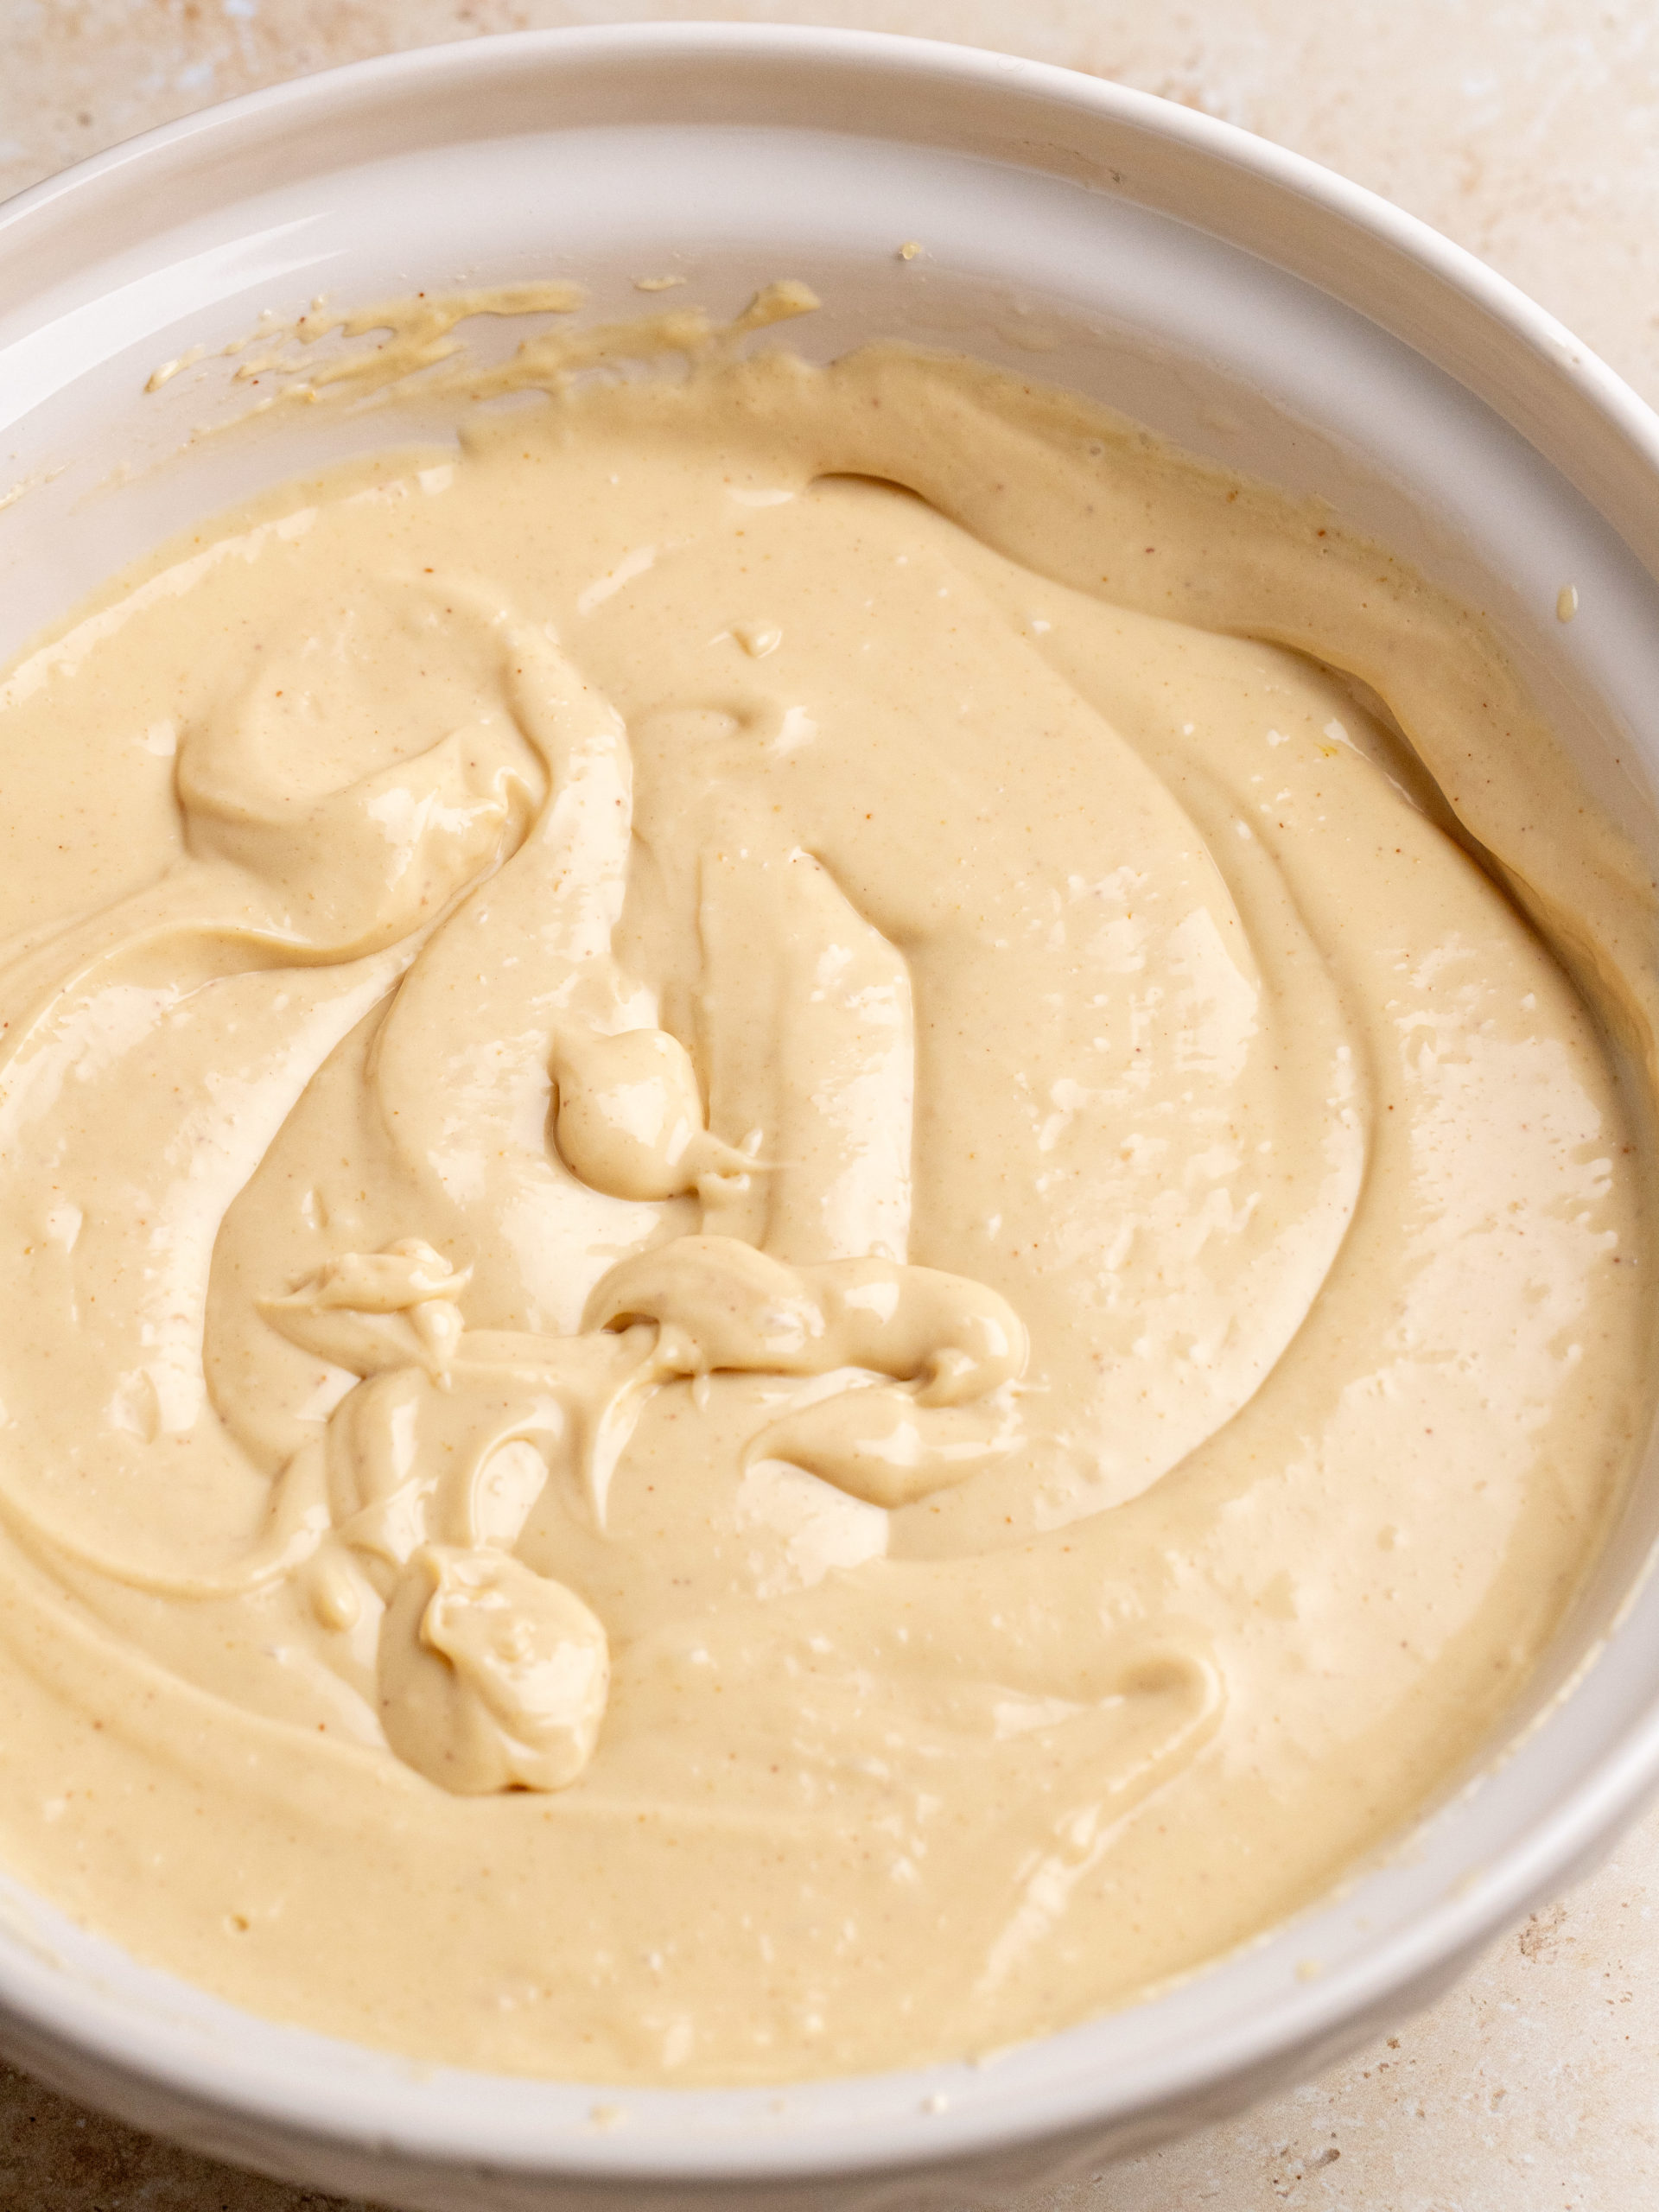
STEP 3: For the cheesecake filling, with a hand mixer or in a stand mix using the paddle attachment, cream the cream cheese for 1 minute. Then add the peanut butter and mix until smooth. Add granulated sugar and let it mix for 1 minute on low speed.
STEP 4: In a small bowl, mix together the sour cream and cornstarch. Add it to the cream cheese mixture with the vanilla extract and let it mix until combined. Then add two eggs at a time and let it mix on low speed until combined.
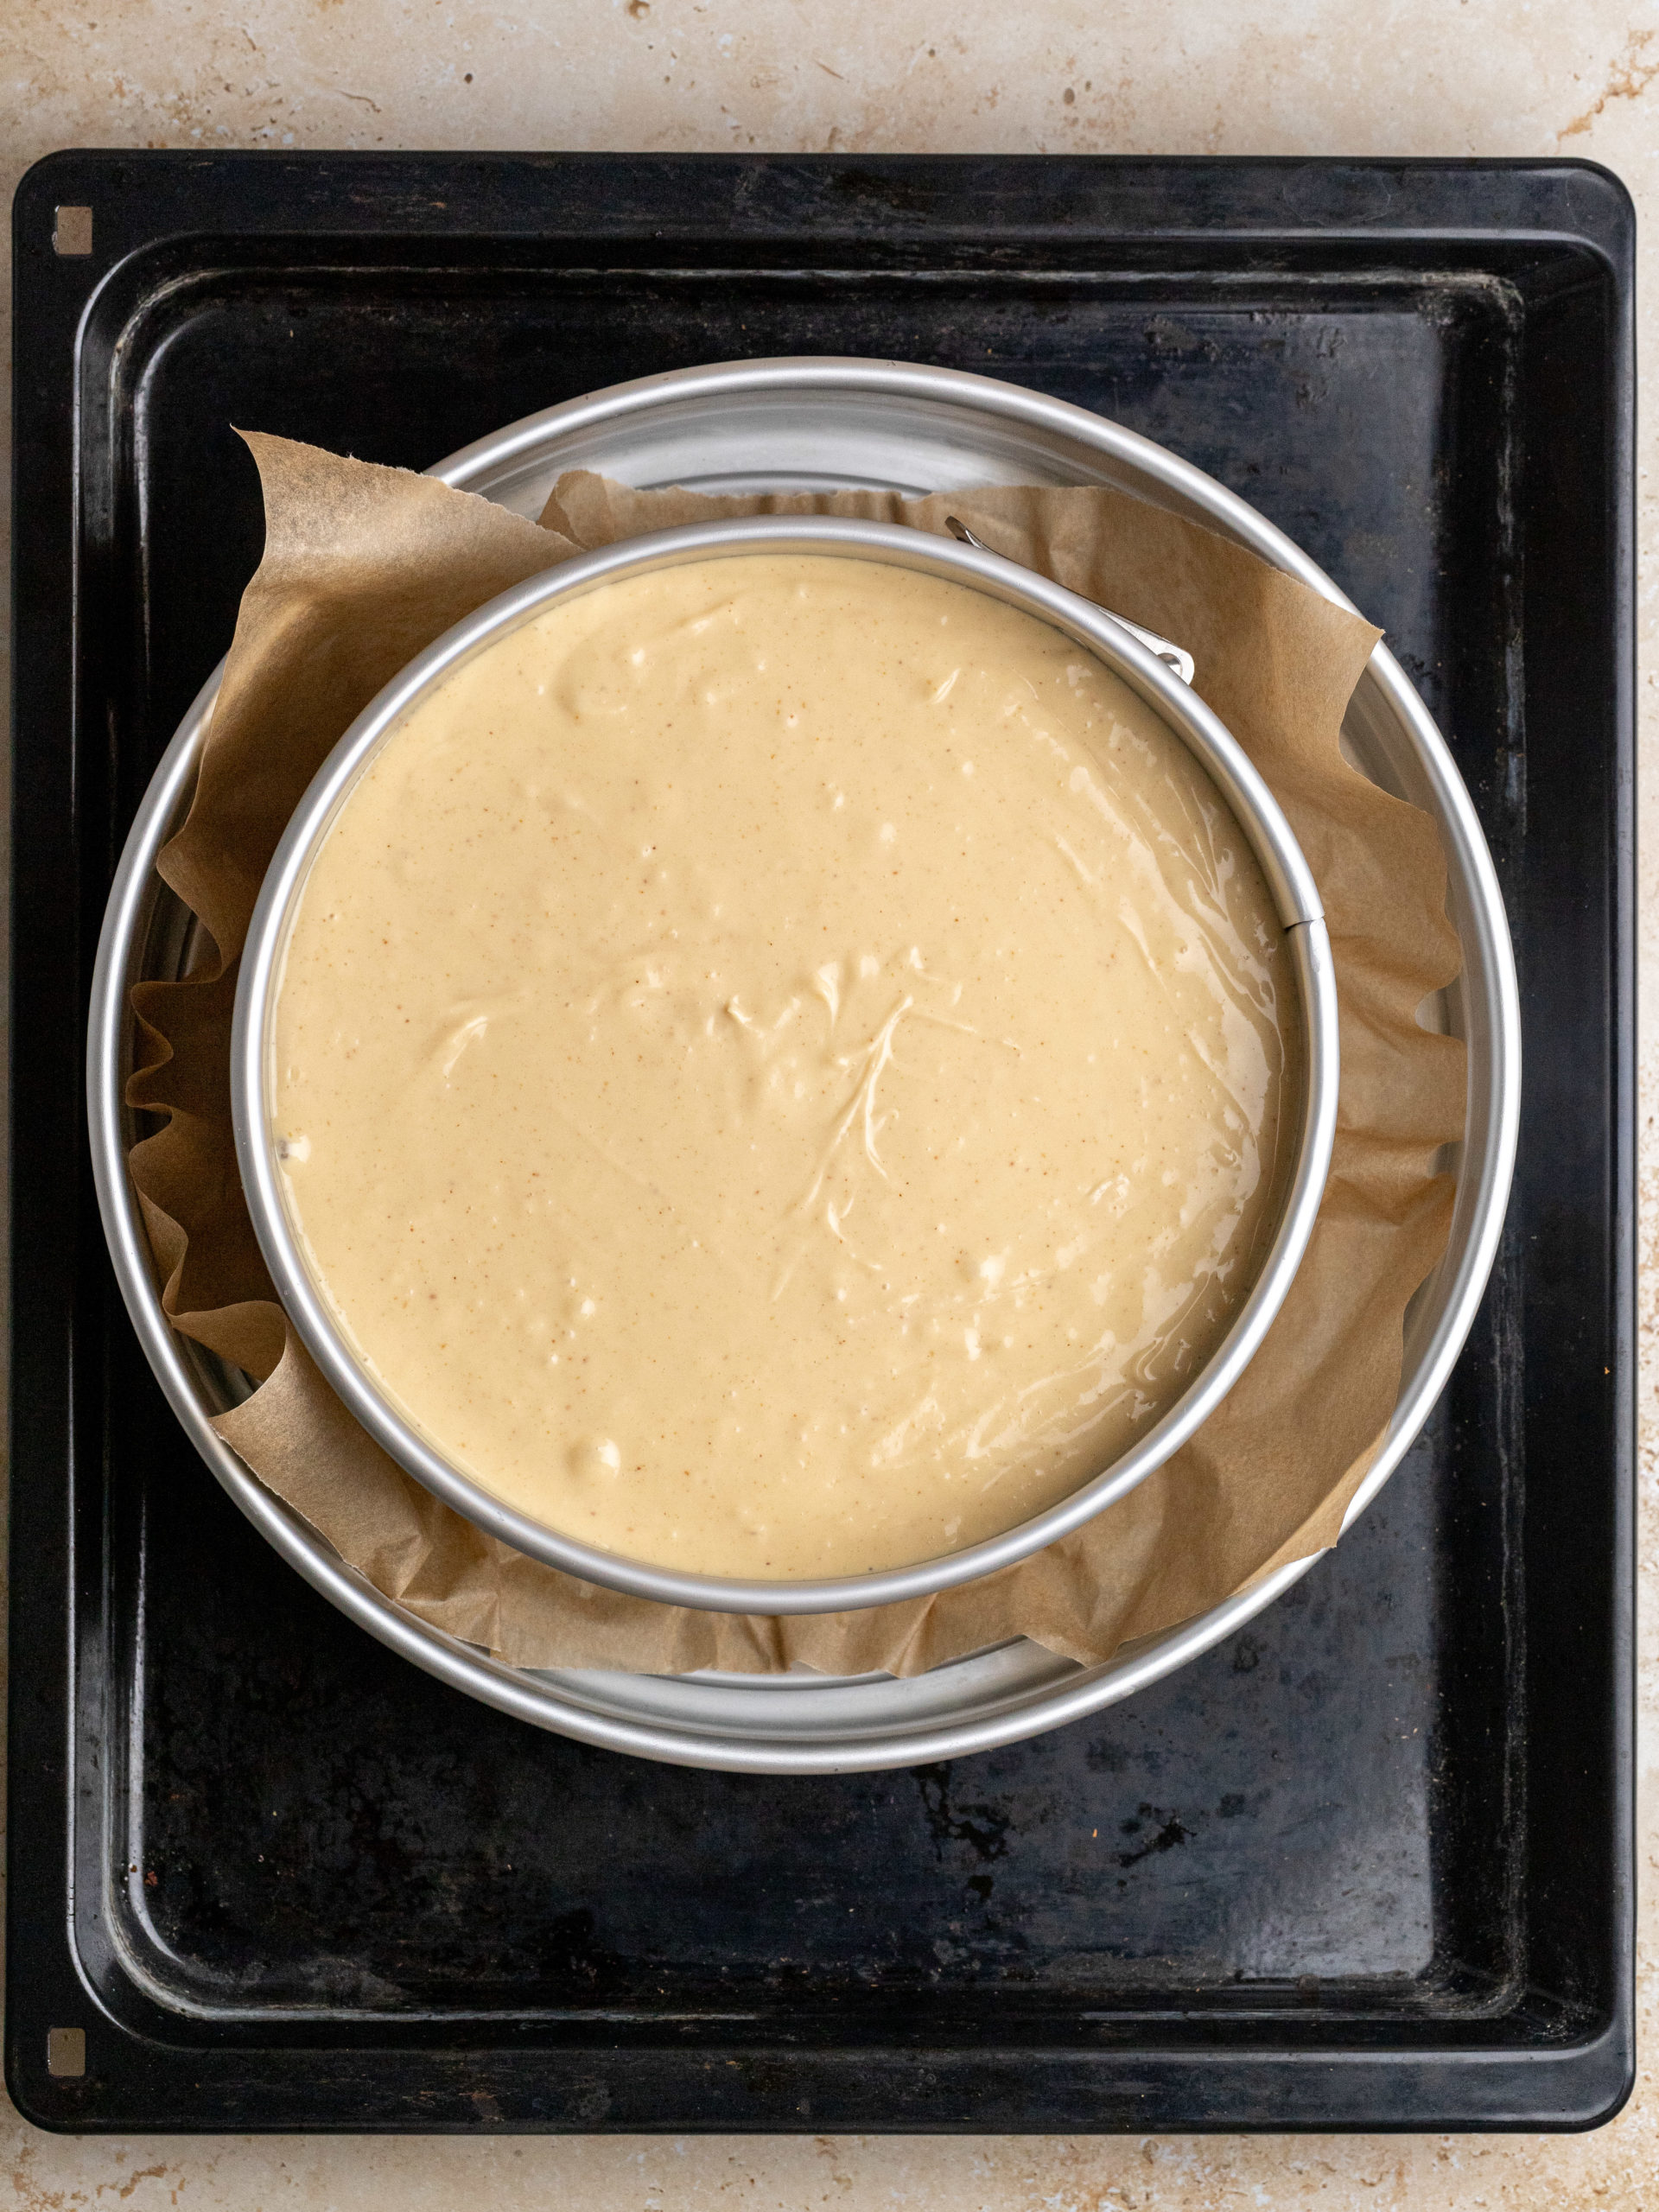
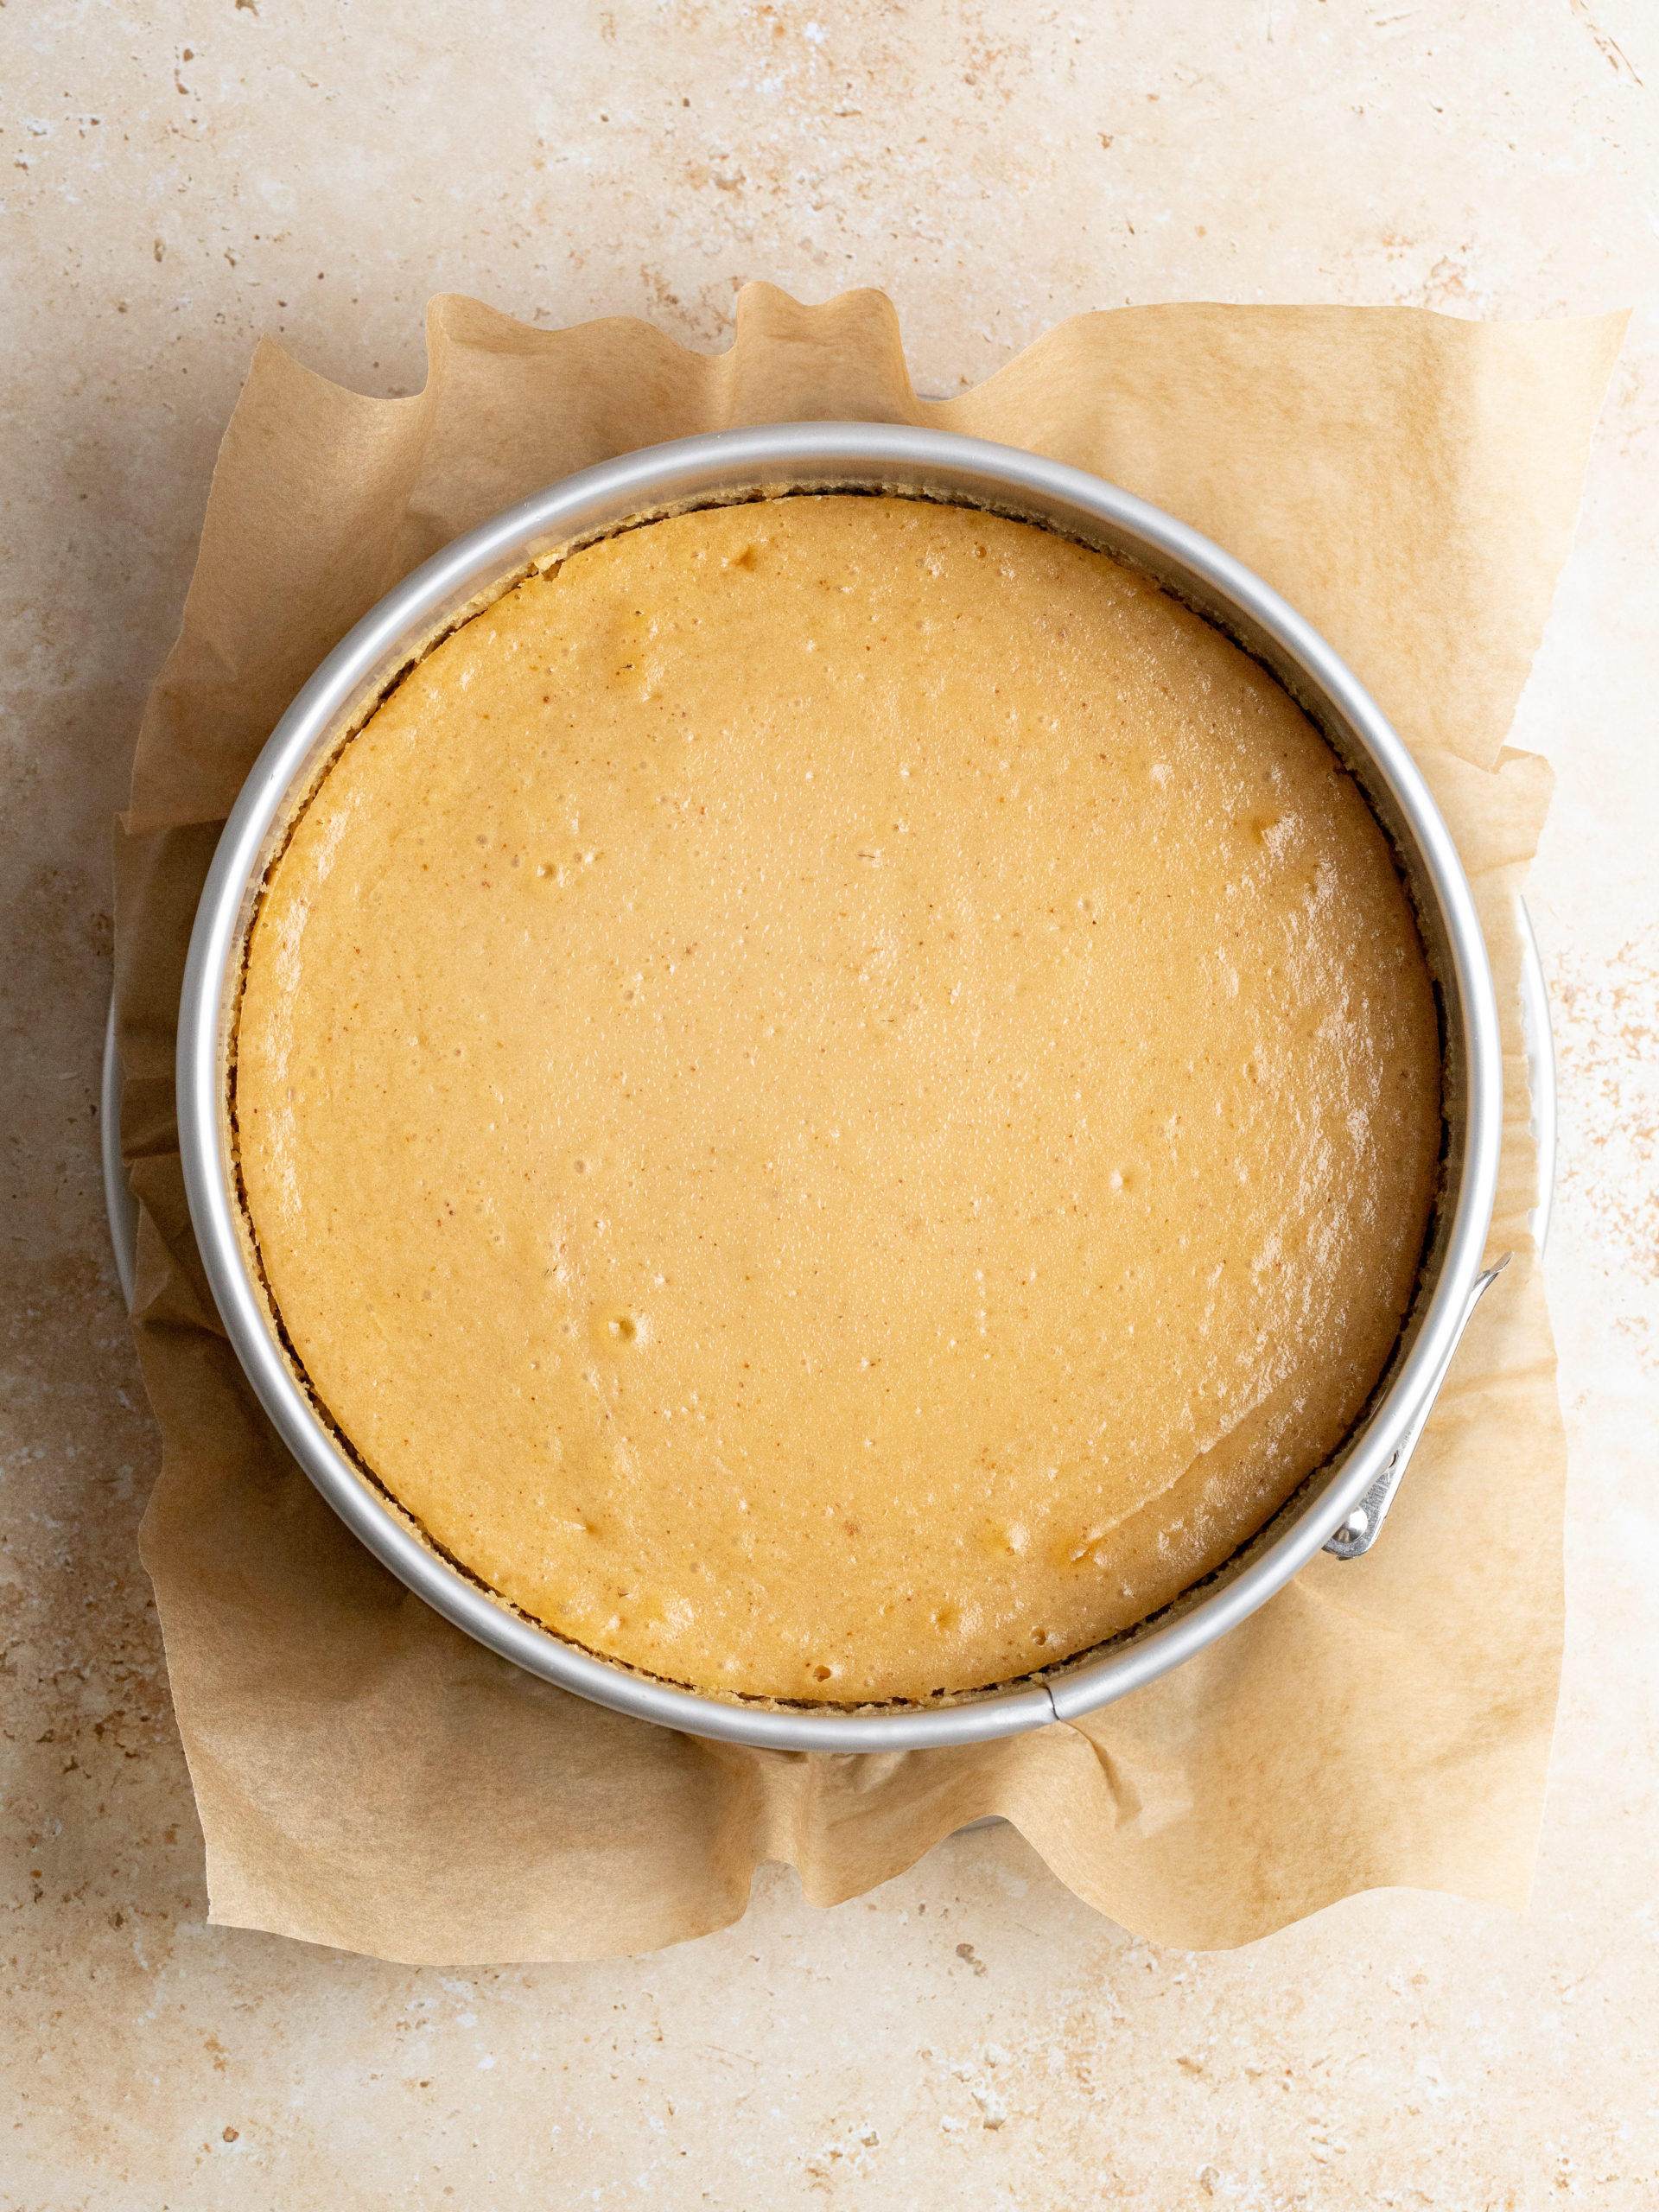
STEP 5: Pour the cheesecake batter into the spring pan. Bake for 1 hour and 20 minutes. Once baked, turn off the oven and with the oven door slightly open let the cheesecake cool down in the oven for 1 hour. Finally, place it in the fridge and let it set for at least 6 hours, preferable overnight.
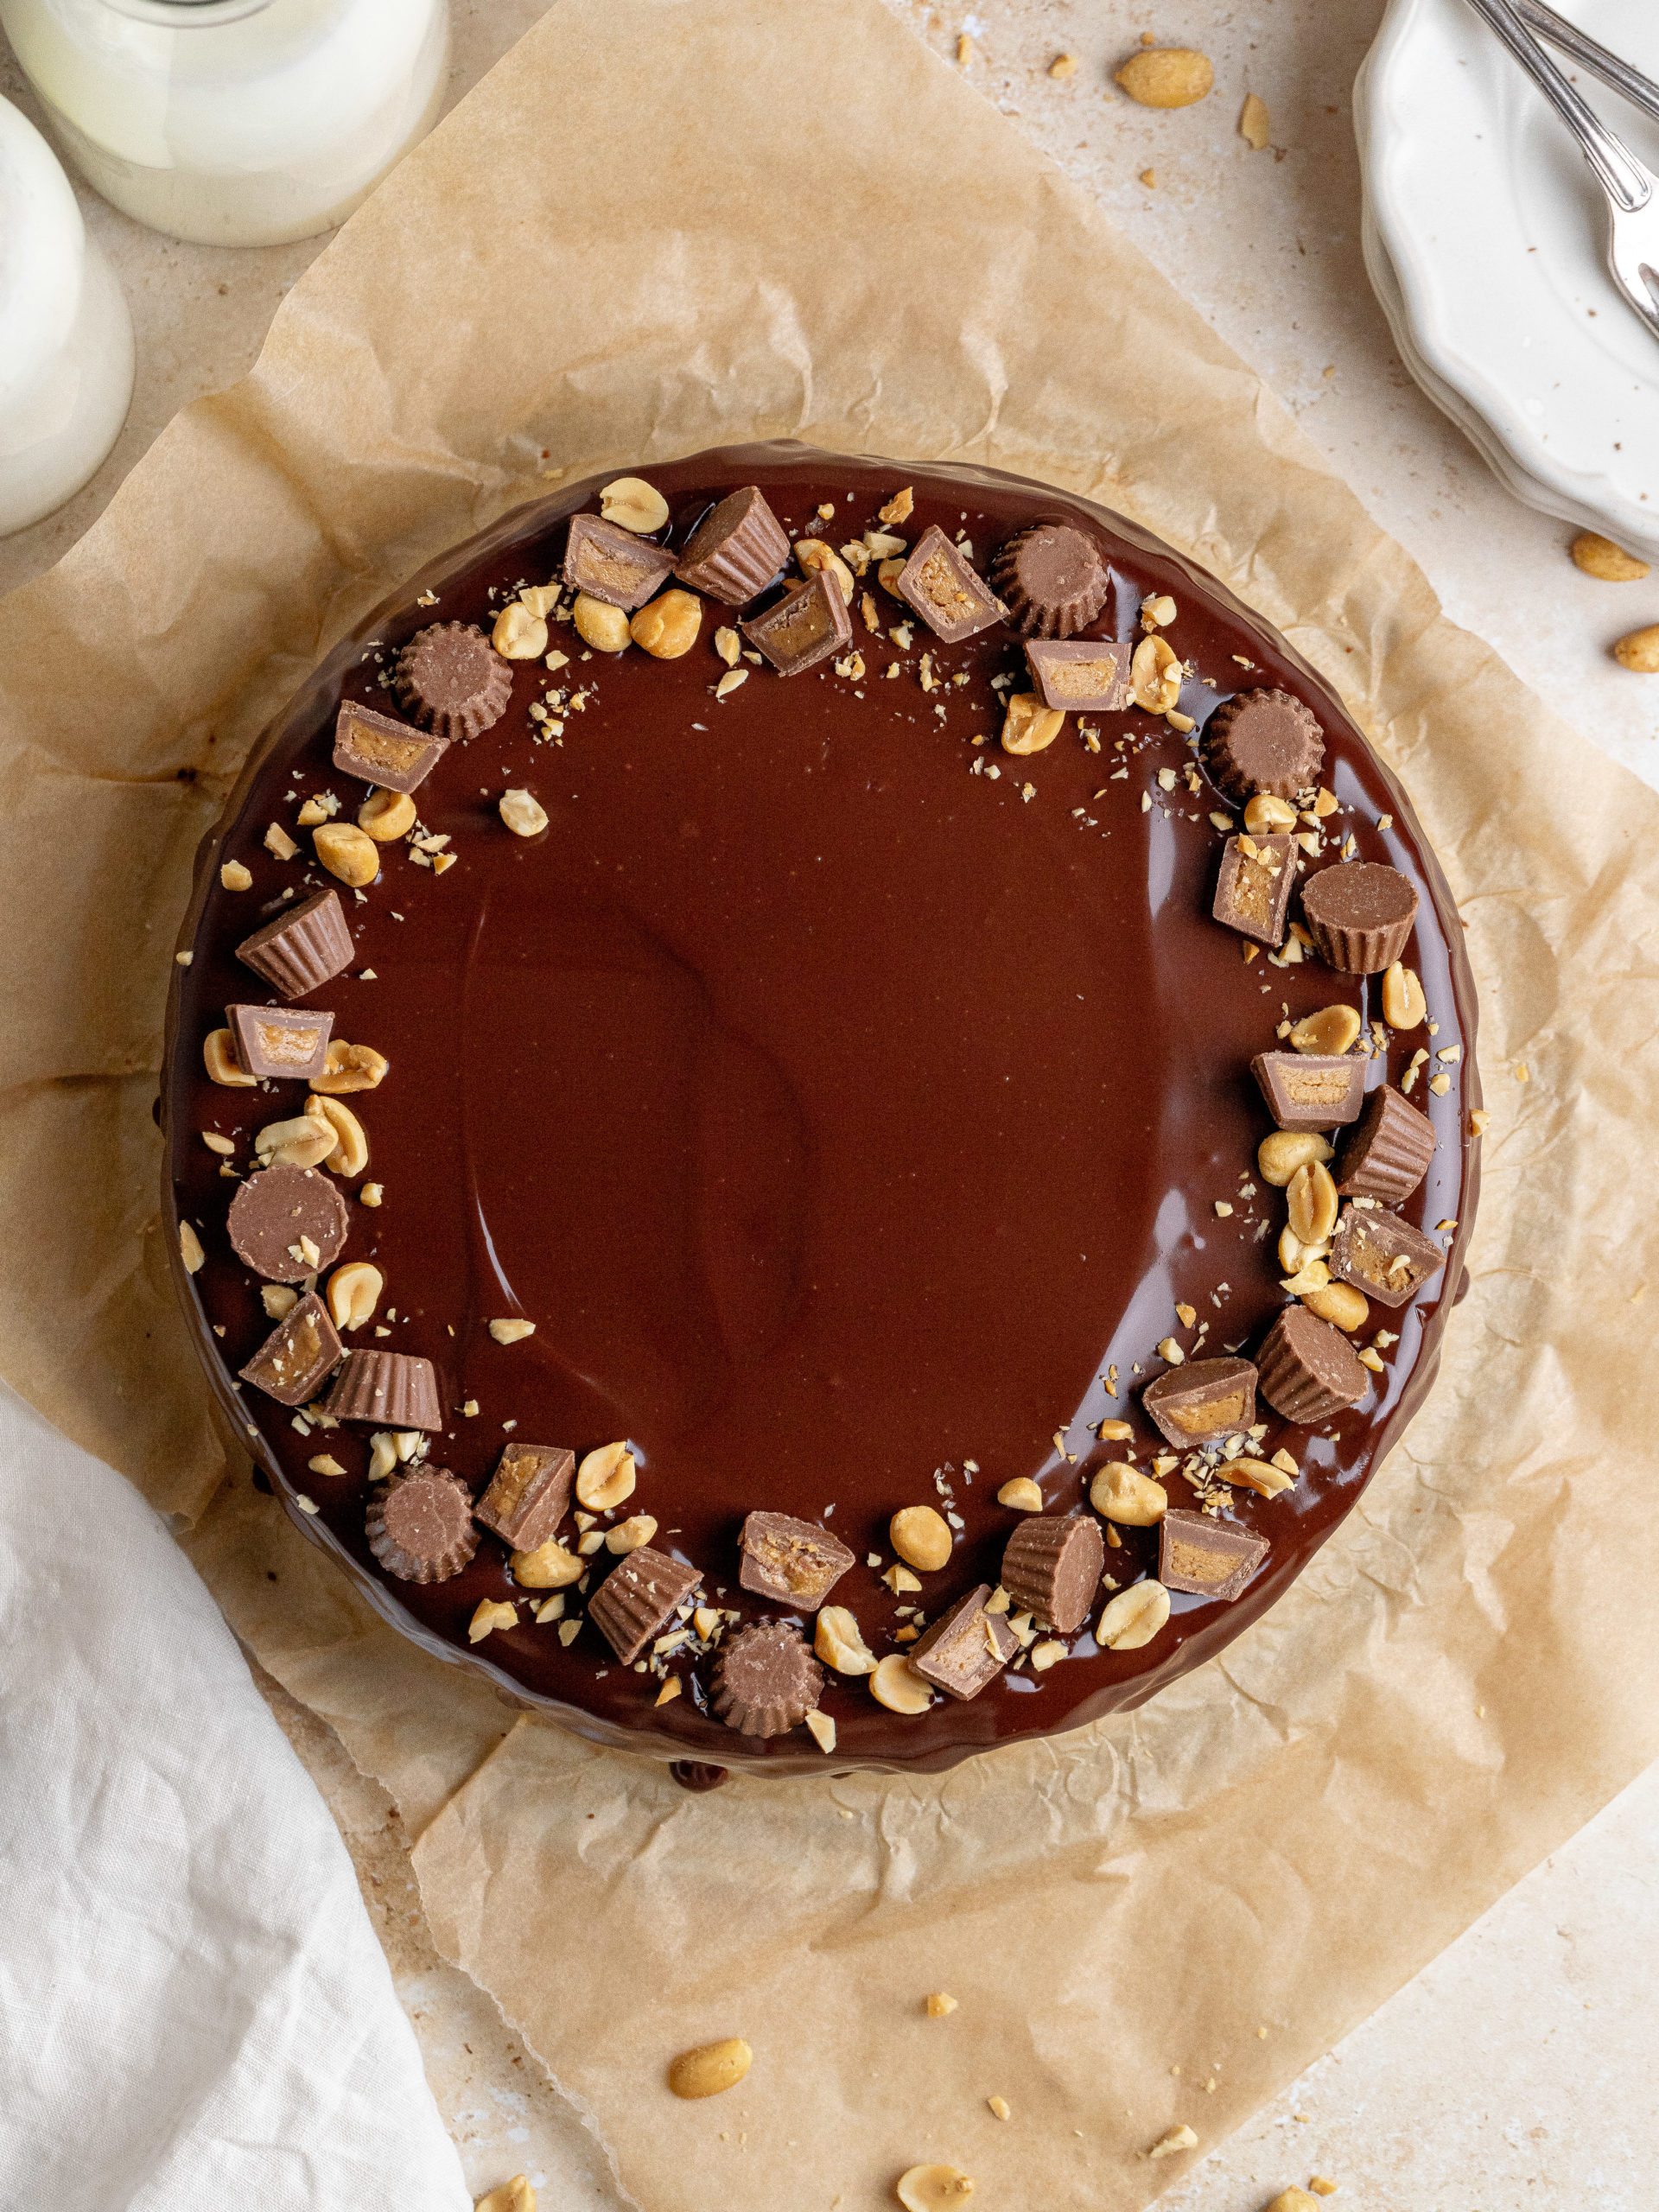
STEP 6: Melt the chocolate, heavy cream and butter in the microwave or over a double boiler. Once melted with a rubber spatula gently stir it together until smooth. Pour the ganache over the cheesecake. Decorate with mini Reese's cups and peanuts. Store in the fridge until ready to serve.
EXPERT BAKING TIPS
- Use a kitchen scale: My default setting for my recipes is grams. It is the most precise way of measuring out your ingredients, I therefore highly recommend using a kitchen scale.
- Don't over mix your batter: I always use a spatula after everything has mixed together, to give it one final gentle fold together. This makes sure everything in the bottom of the mixing bowl has been mixed into the batter.
- Light vs. dark baking pans: For the best result, use an aluminum baking pan, greased with butter and lined with baking paper in the bottom. Aluminum pans are light in color and therefore attract less heat. That means it bakes more gently which results in a softer cake. If you use a black baking pan it'll attract a lot more heat. That will then give a darker crust, which can result in a dryer cake.
FAQ
Yes, you can replace it 1:1 for full-fat greek yogurt.
Give the cheesecake pan a small shake, it's only slightly jiggling in the center of the cheesecake then it's done.
Yes, cover it with plastic wrap and you can store it up to 3-4 days in the fridge.
WHY BAKE THE CHEESECAKE IN A WATER BATH
Why is baking a cheesecake in a water bath so important? What the water bath does, is that it makes the cheesecake bake more gentle. When baking a cheesecake without a water bath, it is more likely for it to over-bake, which will give a curdled texture, a cracked and lopsided top. The hot water protects your cheesecake while it's baking in the oven. It makes sure your cheesecake comes out smooth and cream
STORAGE
Store the Peanut Butter Chocolate Cheesecake wrapped with plastic wrap or in an airtight container in the fridge. You can store it in the fridge for up to 3-4 days.
Other Cheesecake Recipes To Try
Make sure leave a STAR REVIEW if you loved this recipe! Make sure to tag me on Instagram @juliemarieeats. To get more ideas by following me on Pinterest.
Peanut Butter Chocolate Cheesecake
Equipment
- 30 cm /12 inch cake pan optional for the water bath
Ingredients
COOKIE CRUST
- 250 g digestive or graham crackers
- 2 tablespoon dutch process cocoa powder
- 2 tablespoon granulated sugar
- 75 g butter melted
CHEESECAKE
- 800 g full fat cream cheese room temperature
- 340 g smooth peanut butter 1 cup
- 260 g granulated sugar
- 100 g sour cream 18% room temperature
- 1 ½ tablespoon cornstarch
- 2 ½ teaspoon vanilla extract
- 4 large eggs
GANACHE
- 100 g semi sweet dark chocolate
- 100 g heavy cream
- 10 g butter
The US customary cup measurement serves as a rough estimate, as it can have uncertainties, so for precise results, it's recommended to weigh your ingredients using a digital scale in grams. Baking is both an art and a science, which most often requires precision and accuracy.
Instructions
COOKIE CRUST
- Before starting, preheat the oven to 160ºC/ 325ºF conventional oven. Prepare a 23 cm/9-inch springform tin lined with parchment paper in the bottom.
- In a food processor, add the cookies and granulated sugar and blend it all together until a fine sand-like texture. Melt the butter. Add the melted butter to the food processor and blend it together with the blended cookies.250 g digestive or graham crackers, 2 tablespoon dutch process cocoa powder, 2 tablespoon granulated sugar, 75 g butter
- Add the cookie crumbs to the springform and press the cookie crumbs down with the bottom of a glass, so it’s well packed together and flattened out.
- Bake it for 10 minutes. Then let it cool down so that it’s cool to touch. Keep the oven turned on.
CHEESECAKE
- With a hand mixer or in a stand mix using the paddle attachment, cream the cream cheese for 1 minute on low speed. Then add the peanut butter and mix until smooth. Add granulated sugar and let it mix for 1 minute on low speed.800 g full fat cream cheese, 260 g granulated sugar, 340 g smooth peanut butter
- In a small bowl, mix together the sour cream and cornstarch until smooth. Add it to the cream cheese with the vanilla extract and let it mix on low speed until combined.100 g sour cream, 1 ½ tablespoon cornstarch, 2 ½ teaspoon vanilla extract
- Then add two eggs at a time and let it mix on low speed until combined. Once all the eggs have mixed in, scrape down the sides of the bowl and give it a final mix to make sure all the ingredients have incorporated.4 large eggs
- Pour the cheesecake batter into the springform.
- Boil up water in a kettle. Place the springform pan in a 25 cm/10 inch cake pan. Place the cake pan in another baking pan or roasting pan and fill it with hot water. This method will prevent water from getting into the crust. (See photo further up in the blogpost)
- Alternatively, add a triple layer of aluminium foil around the cake pan to safely seal it from the water before placing it in a water bath. There might be a possibility of water leaking in, so make sure it's covered well if choosing this method.
- Bake for 1 hour and 20-30 minutes.
- Once the time has passed, give the tray a very gentle shake. The cheesecake should still be a small wobble in the middle. Turn off the oven and have the oven door slightly open and let the cheesecake cool down in the oven for 1 hour.
- Then take it out of the oven and remove it from the water bath. Take off the aluminium foil, if added, and place the cheesecake on a cooling rack. Let it cool down fully for about 1 hour to room temperature.
- Finally, once at room temperature, place it in the fridge and let it set for at least 6 hours, preferable overnight.
GANACHE
- Melt the chocolate, heavy cream and butter together in the microwave or over a double boiler. Once melted with a rubber spatula gently stir it together until smooth.100 g semi sweet dark chocolate, 100 g heavy cream, 10 g butter
- Move the cheesecake to a serving dish and pour the ganache over the cheesecake.
- Decorate with mini Reese's peanut butter cups and peanuts. Store in the fridge until ready to serve.



Miriam
Hello! This looks marvelous, and I can’t wait to make it! Just one question, does the water go in the 2nd 10-inch baking pan, or does it go in the 3rd roasting pan?
Julie Marie
I'm so happy to hear that. It goes into the 3rd so the 2nd works as a protector from the water 🙂
Marna Hoffman
Gonna make this Wed for a high school friend luncheon on Thurs. love the 2nd & 3rd pan to jeep the ban marie away from my pan! Great idea!!! Thnx