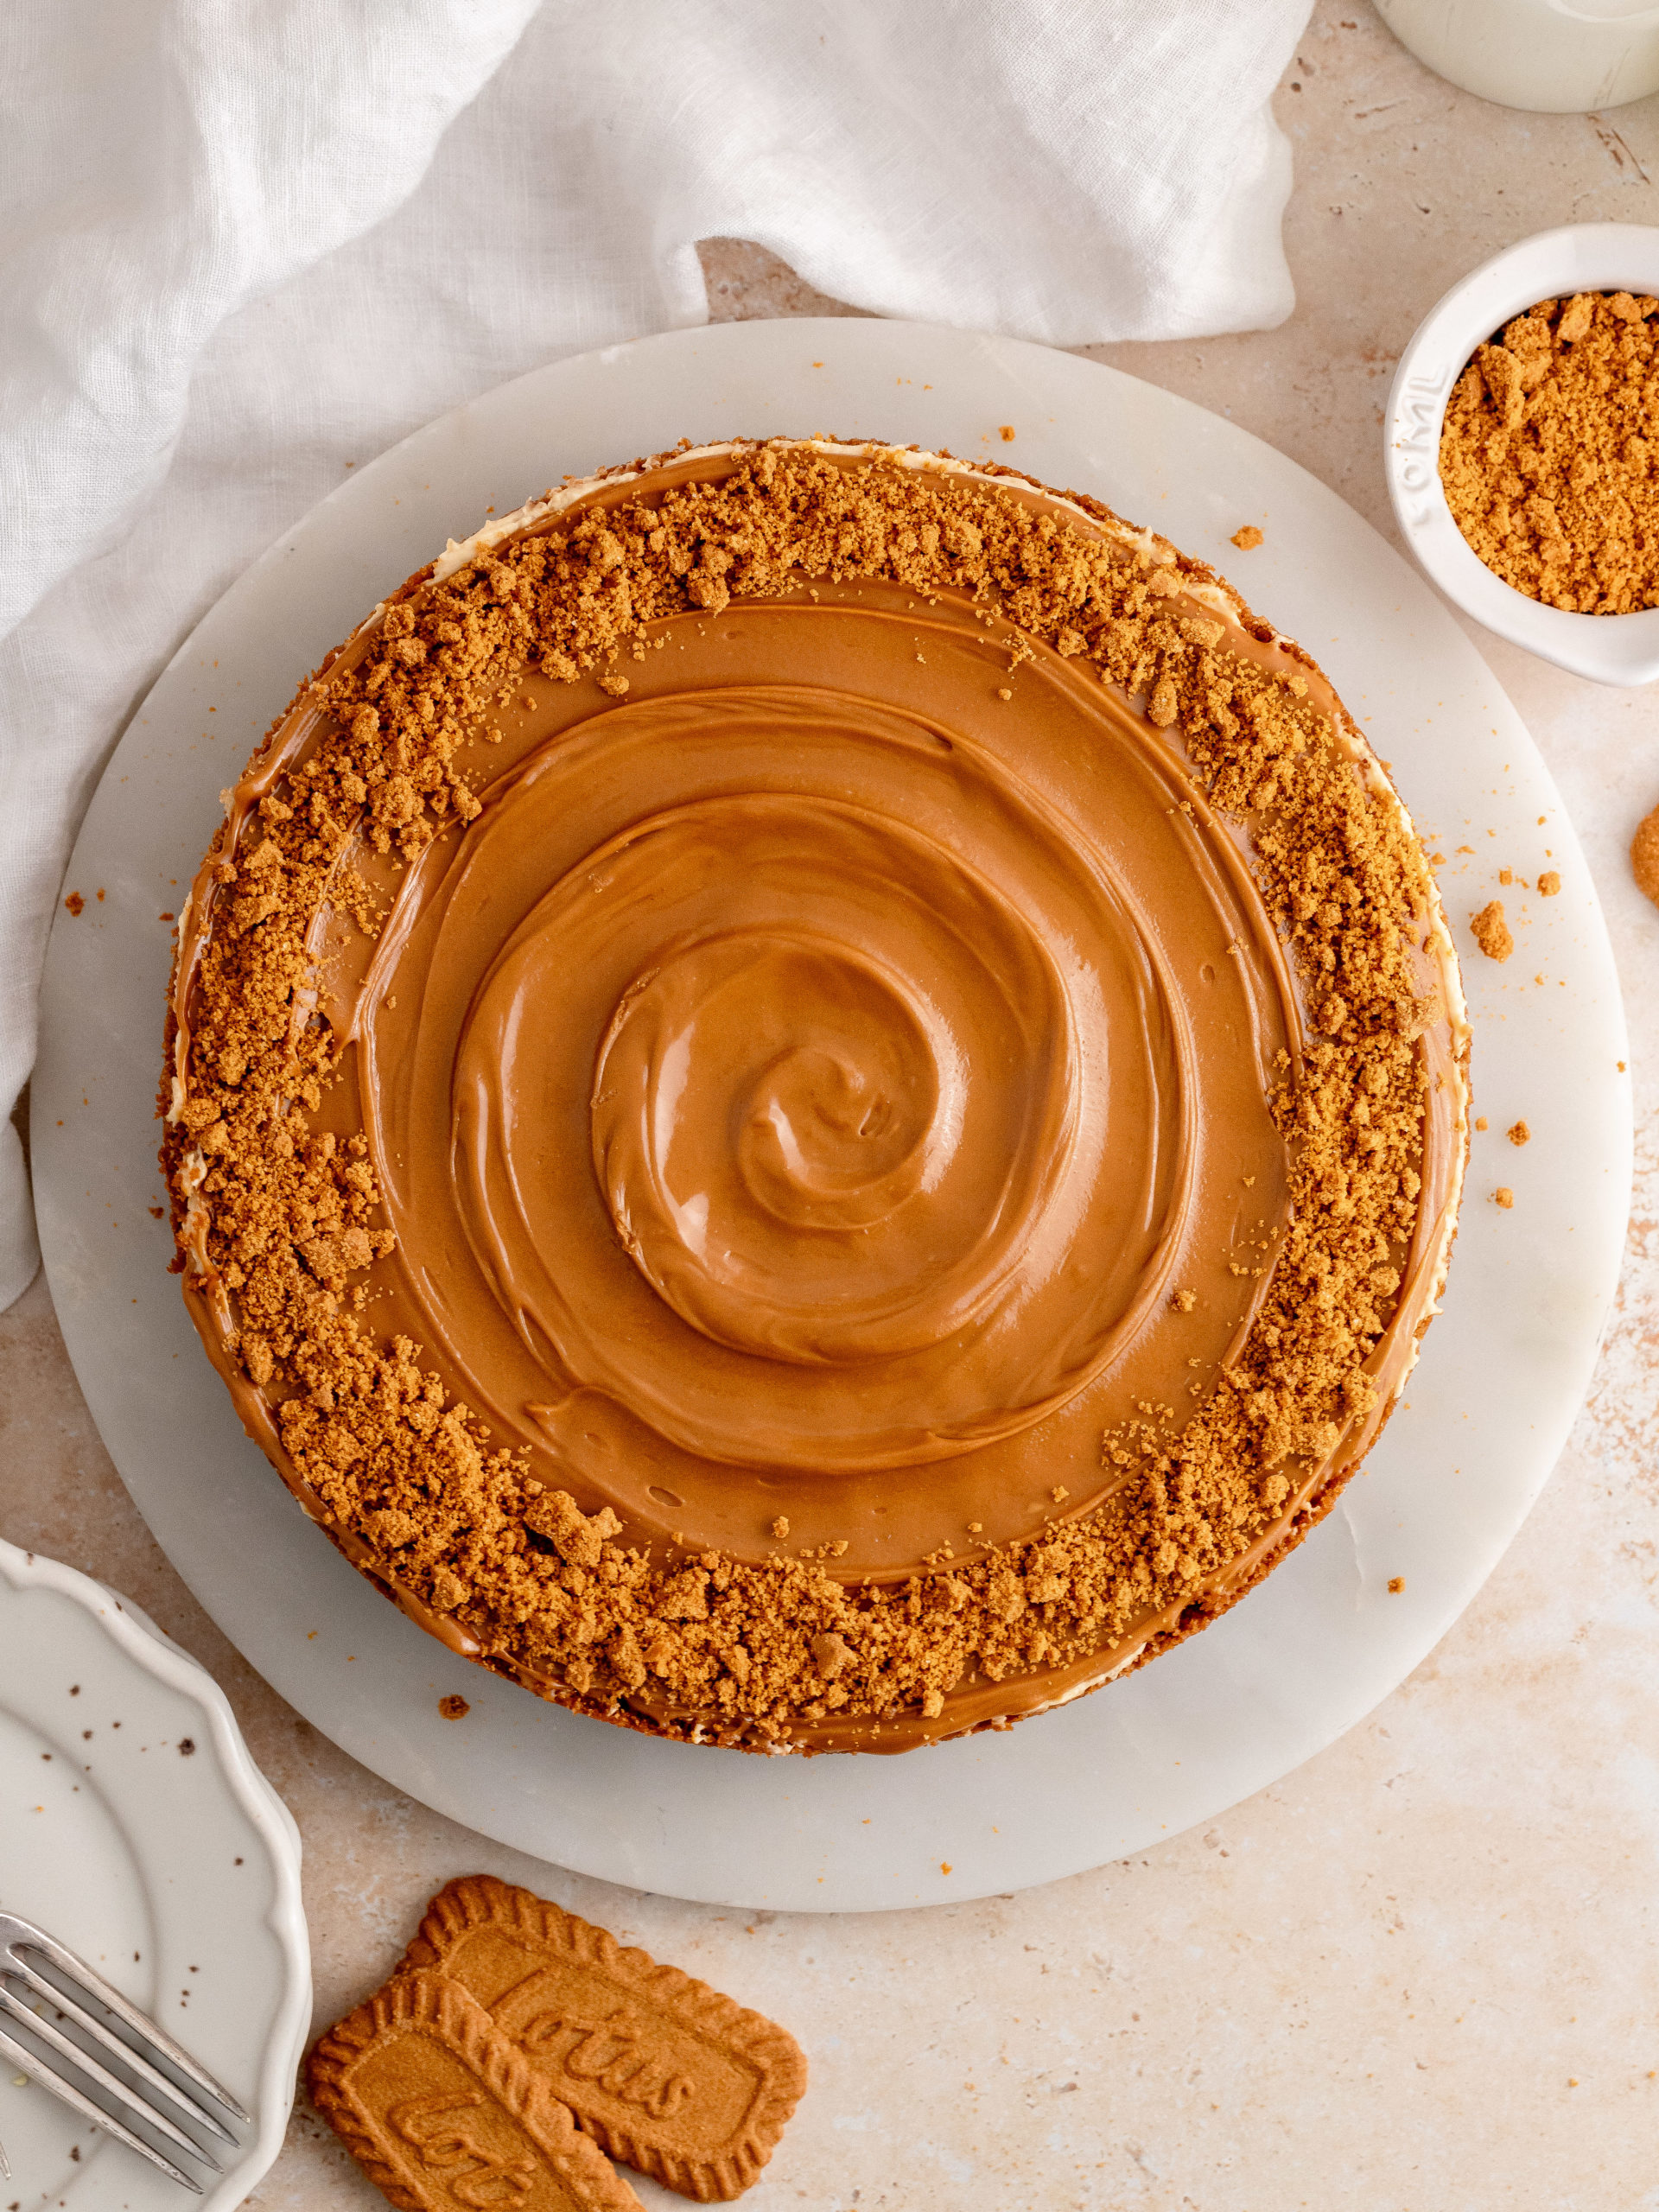
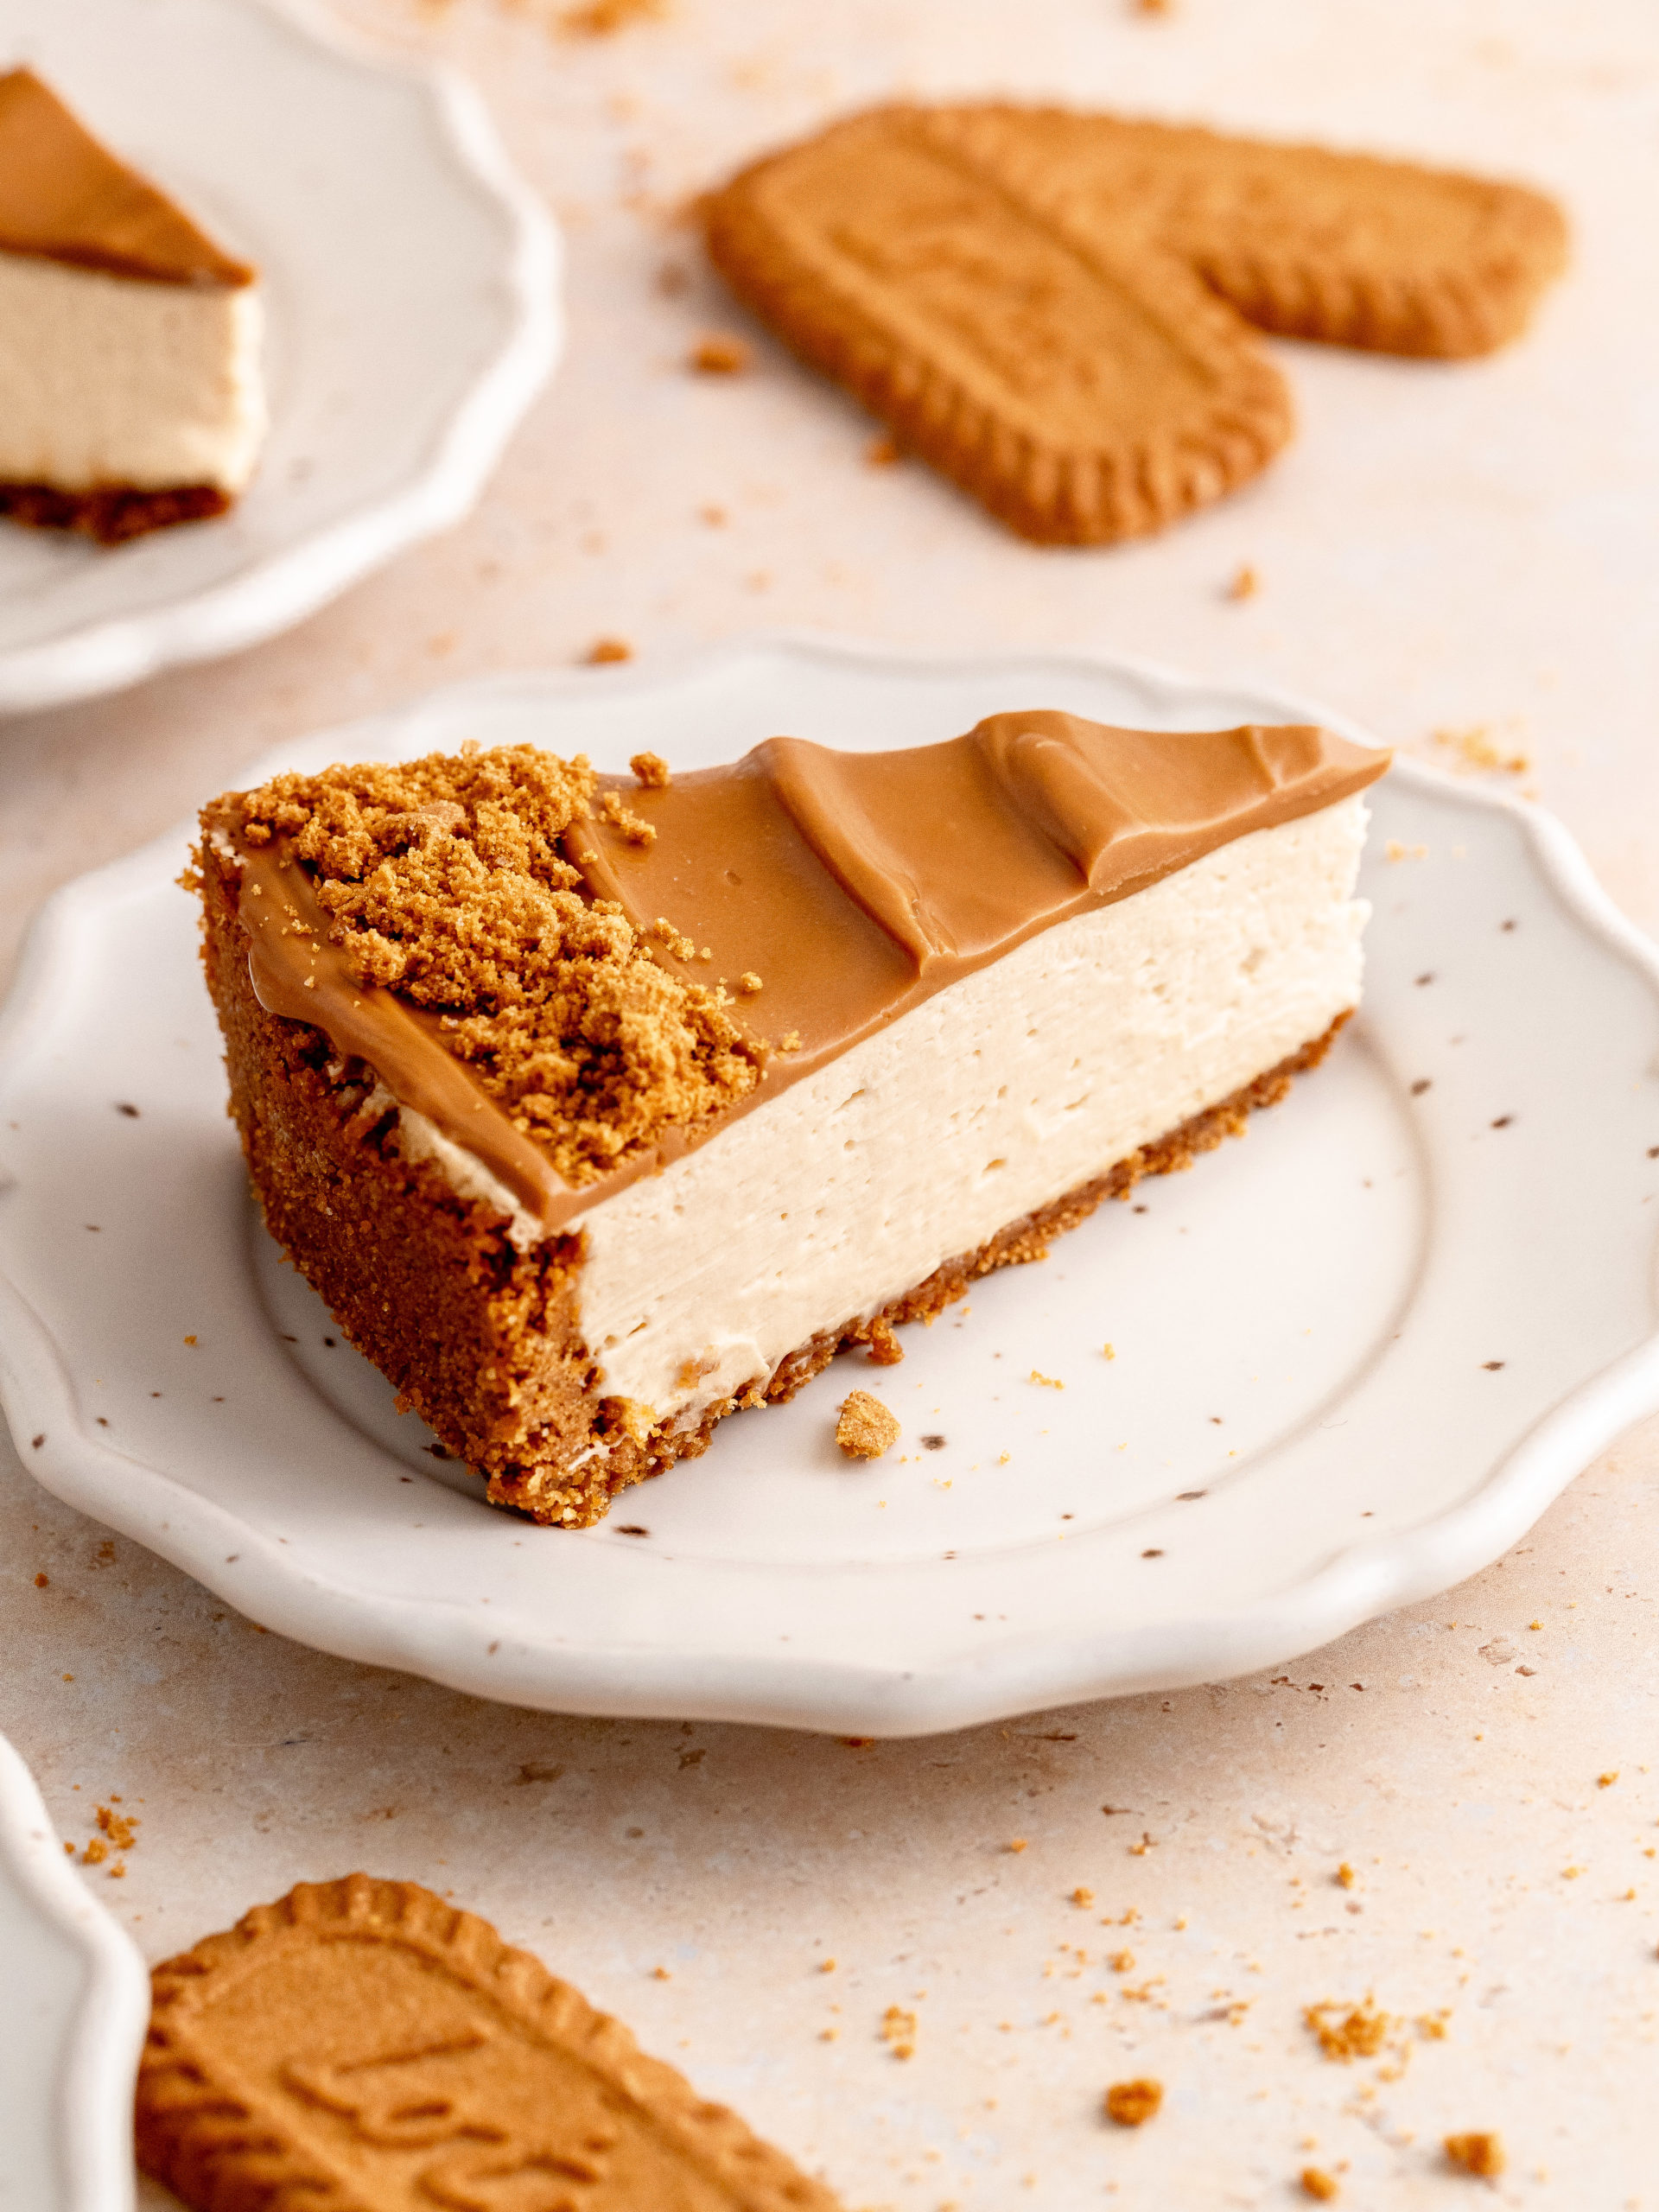
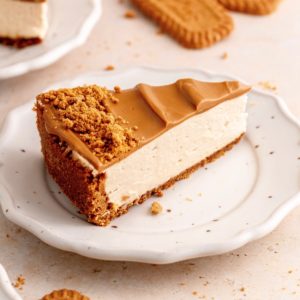
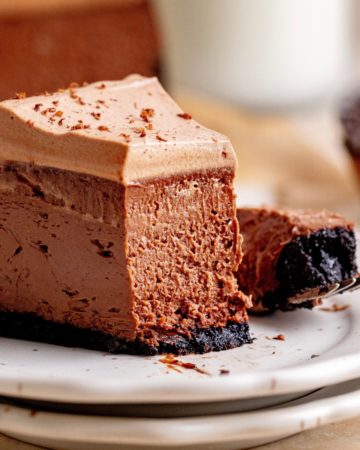
This super creamy Biscoff Cheesecake is so delicious and easy to make. It has a Biscoff cookie crust with a delicious Biscoff cheesecake filling. It is topped with even more delicious Biscoff spread! This cheesecake has no gelatine, is so delicious and has lots Biscoff flavor!
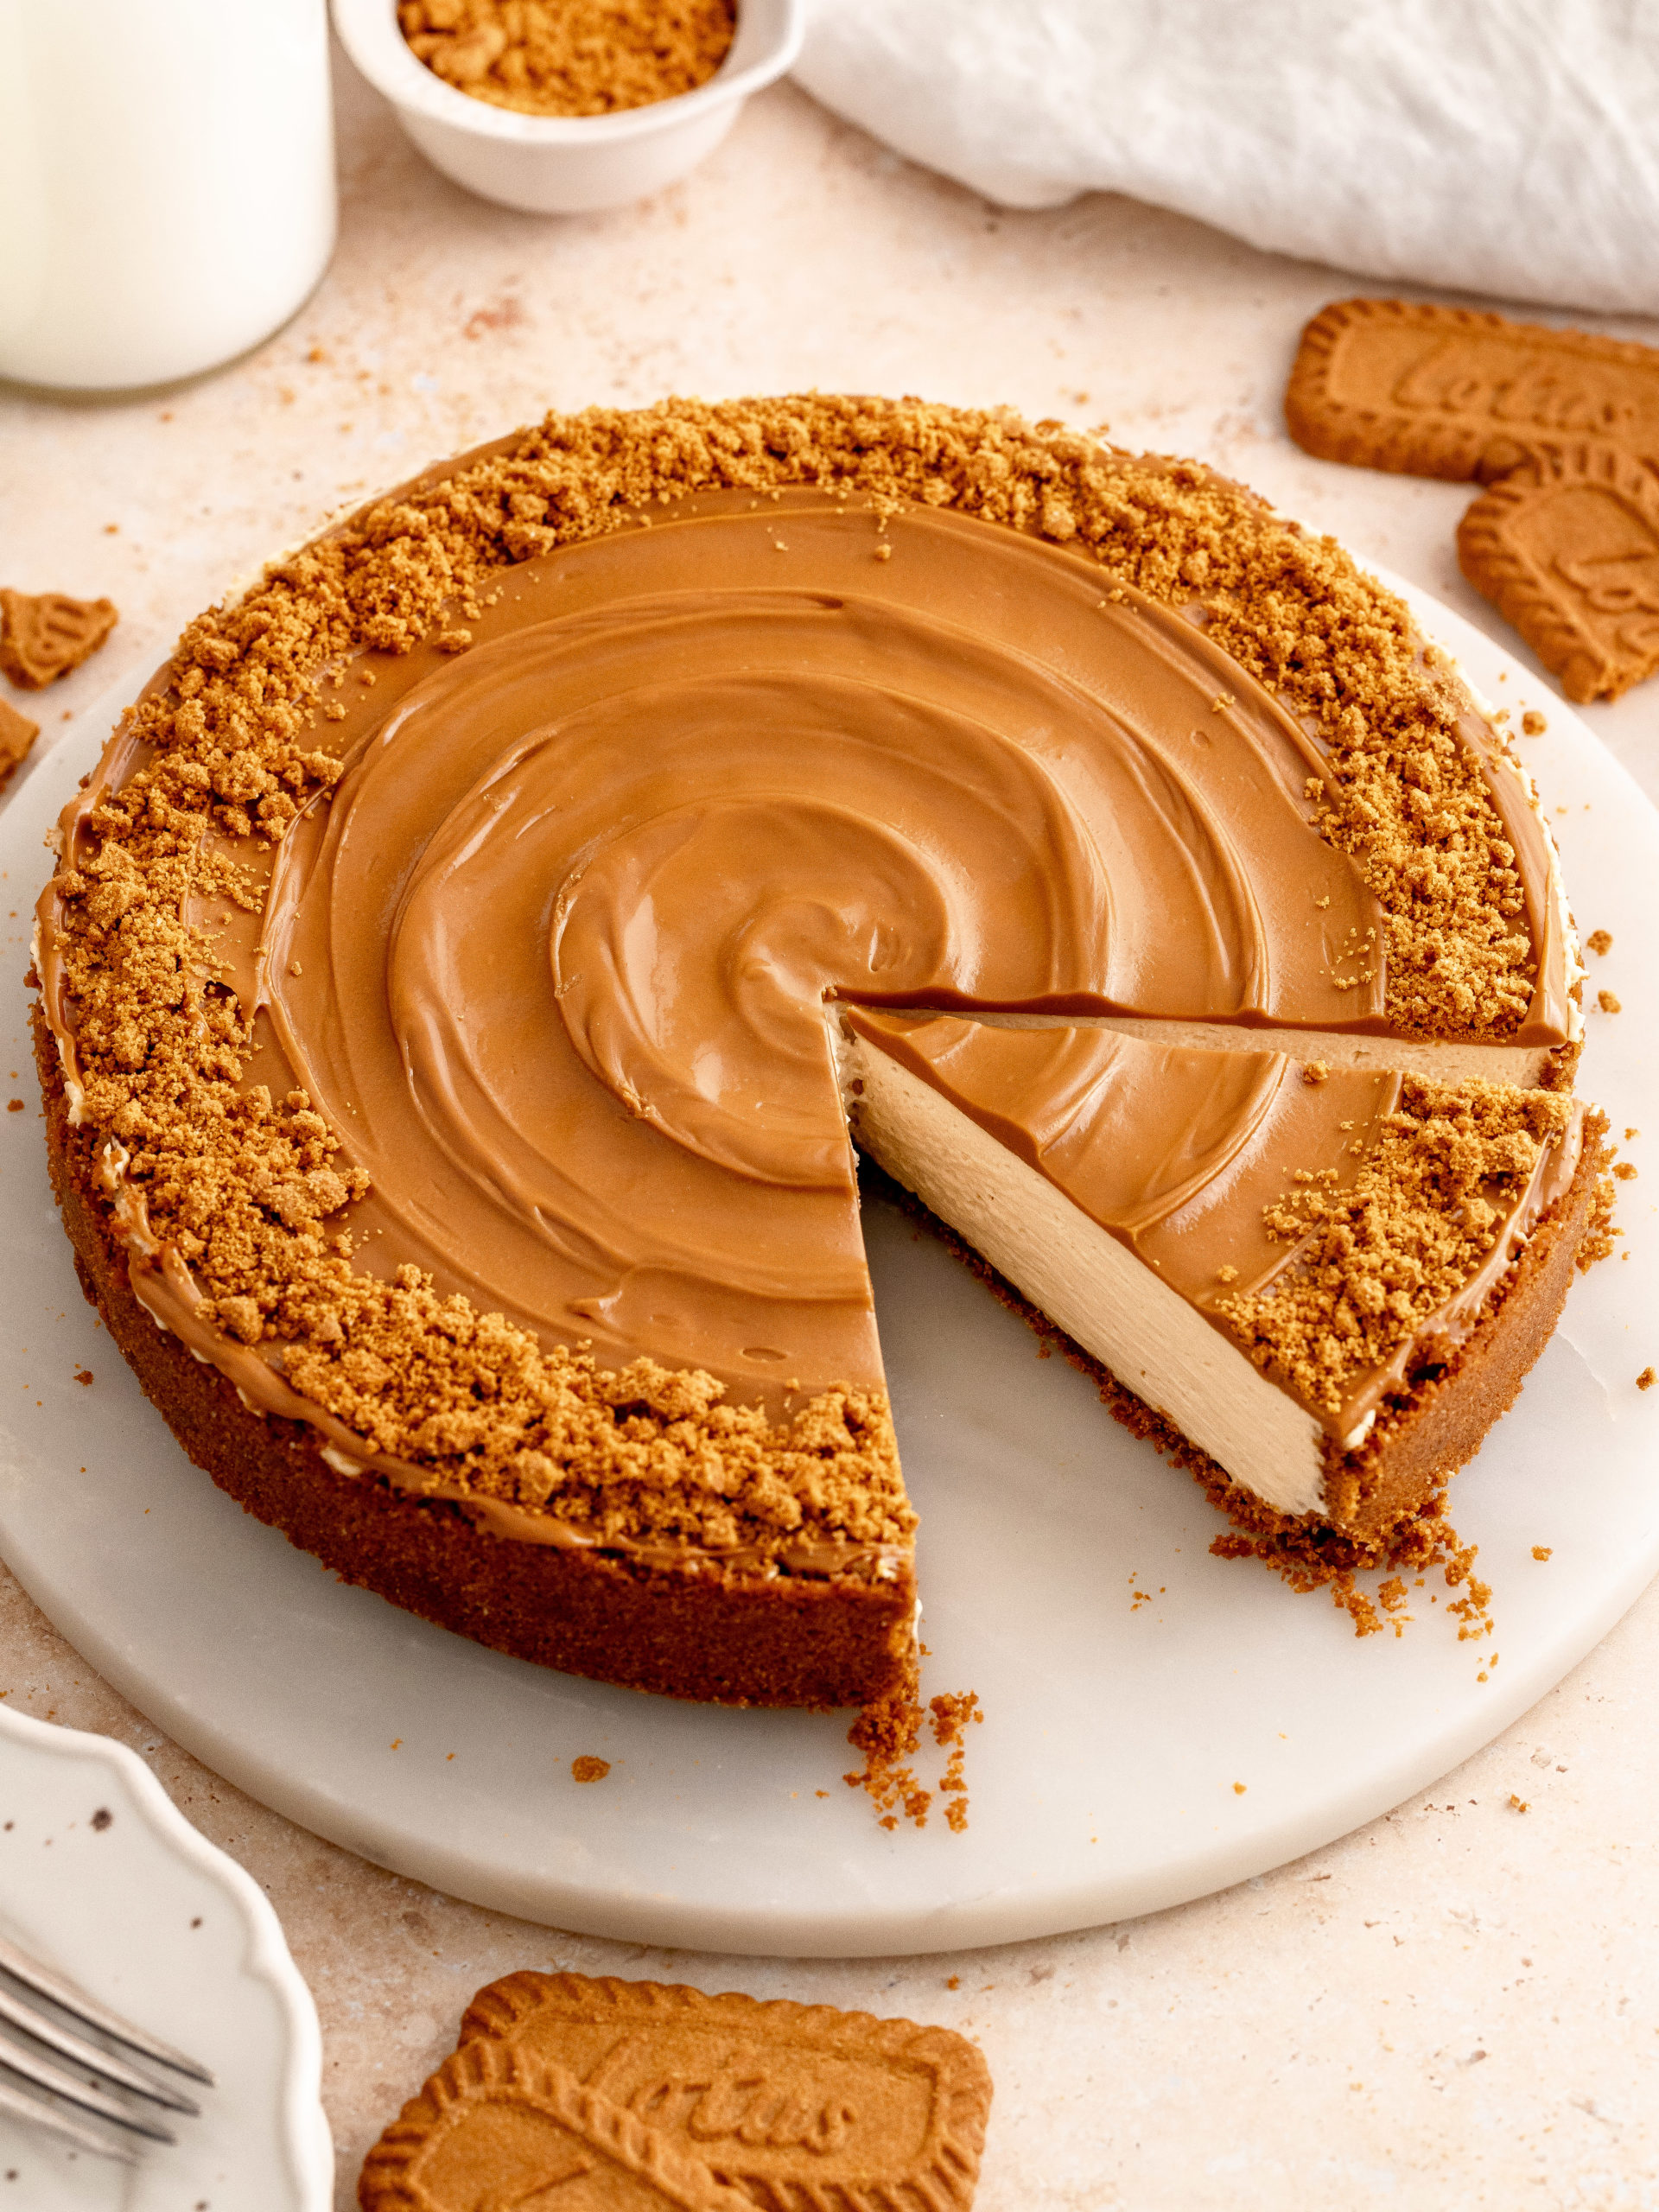
Biscoff cheesecake recipe tastes absolute amazing, and is must make! The super creamy cheesecake is so smooth and covered by melted cookie butter. It has a crunchy Biscoff cookie crust as a delicious base. This delicious cheesecake is for Biscoff lovers and is a perfect dessert to serve your loved ones.
This Lotus Biscoff cheesecake is super easy to make. The hardest part is wait for it to set in the fridge!
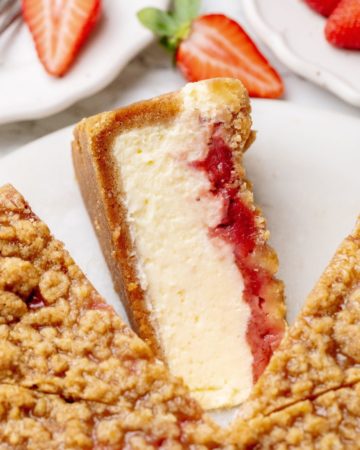
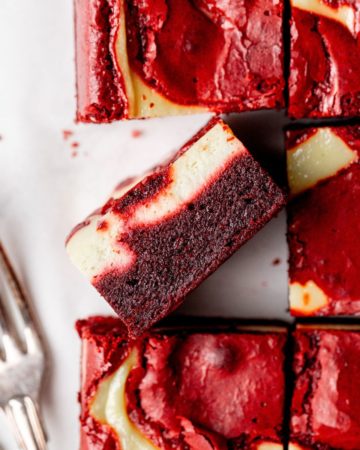
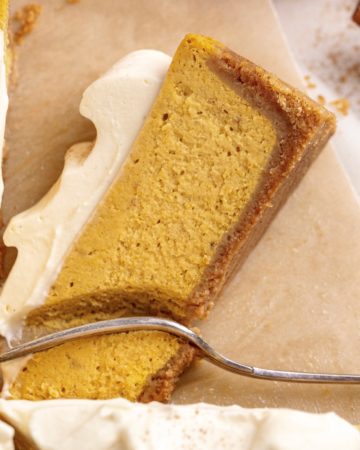
For more cheesecake recipes, try Apple Crumble Cheesecake, Espresso Chocolate Cheesecake and Caramel Pecan Cheesecake.
Jump to:
WHY THIS RECIPE WORKS
- No-Bake Cheesecake: This Biscoff cheesecake is so easy to make. It's a no-bake cheesecake making it so quick and easy. The hardest part is waiting to be able to eat it!
- Biscoff spread: Lotus Biscoff spread is so delicious and is used both in the cheesecake filling and on top of the cheesecake!
- Decadent dessert: This cheesecake is a showstopper of a cake and will impress all your friends and family.

INGREDIENT NOTES
These are some of the key ingredients for this recipe. For a full list of ingredients, check out the recipe card below.
- Biscoff cookies: The Biscoff cookies are crushed and used both as the base of the cheesecake and as decorations on top.
- Cream cheese: It's important that it's full-fat cream cheese. Use it straight out of the fridge.
- Heavy cream: The heavy cream is whipped up to a very stiff peak but be careful not to whip it into butter. It'll take about 2-3 minutes on medium/high speed.
- Biscoff spread: The Biscoff cookie butter is used in both the cheesecake filling and on top of the cheesecake.
STEP BY STEP INSTRUCTIONS - CRUST
Here is how to make this Biscoff Cheesecake. This recipe needs a blender and stand mixer or electric hand mixer.
The full recipe is down below in the recipe card.
Prepare a 22 cm spring pan lined with parchment paper in the bottom and up the sides of the pan.
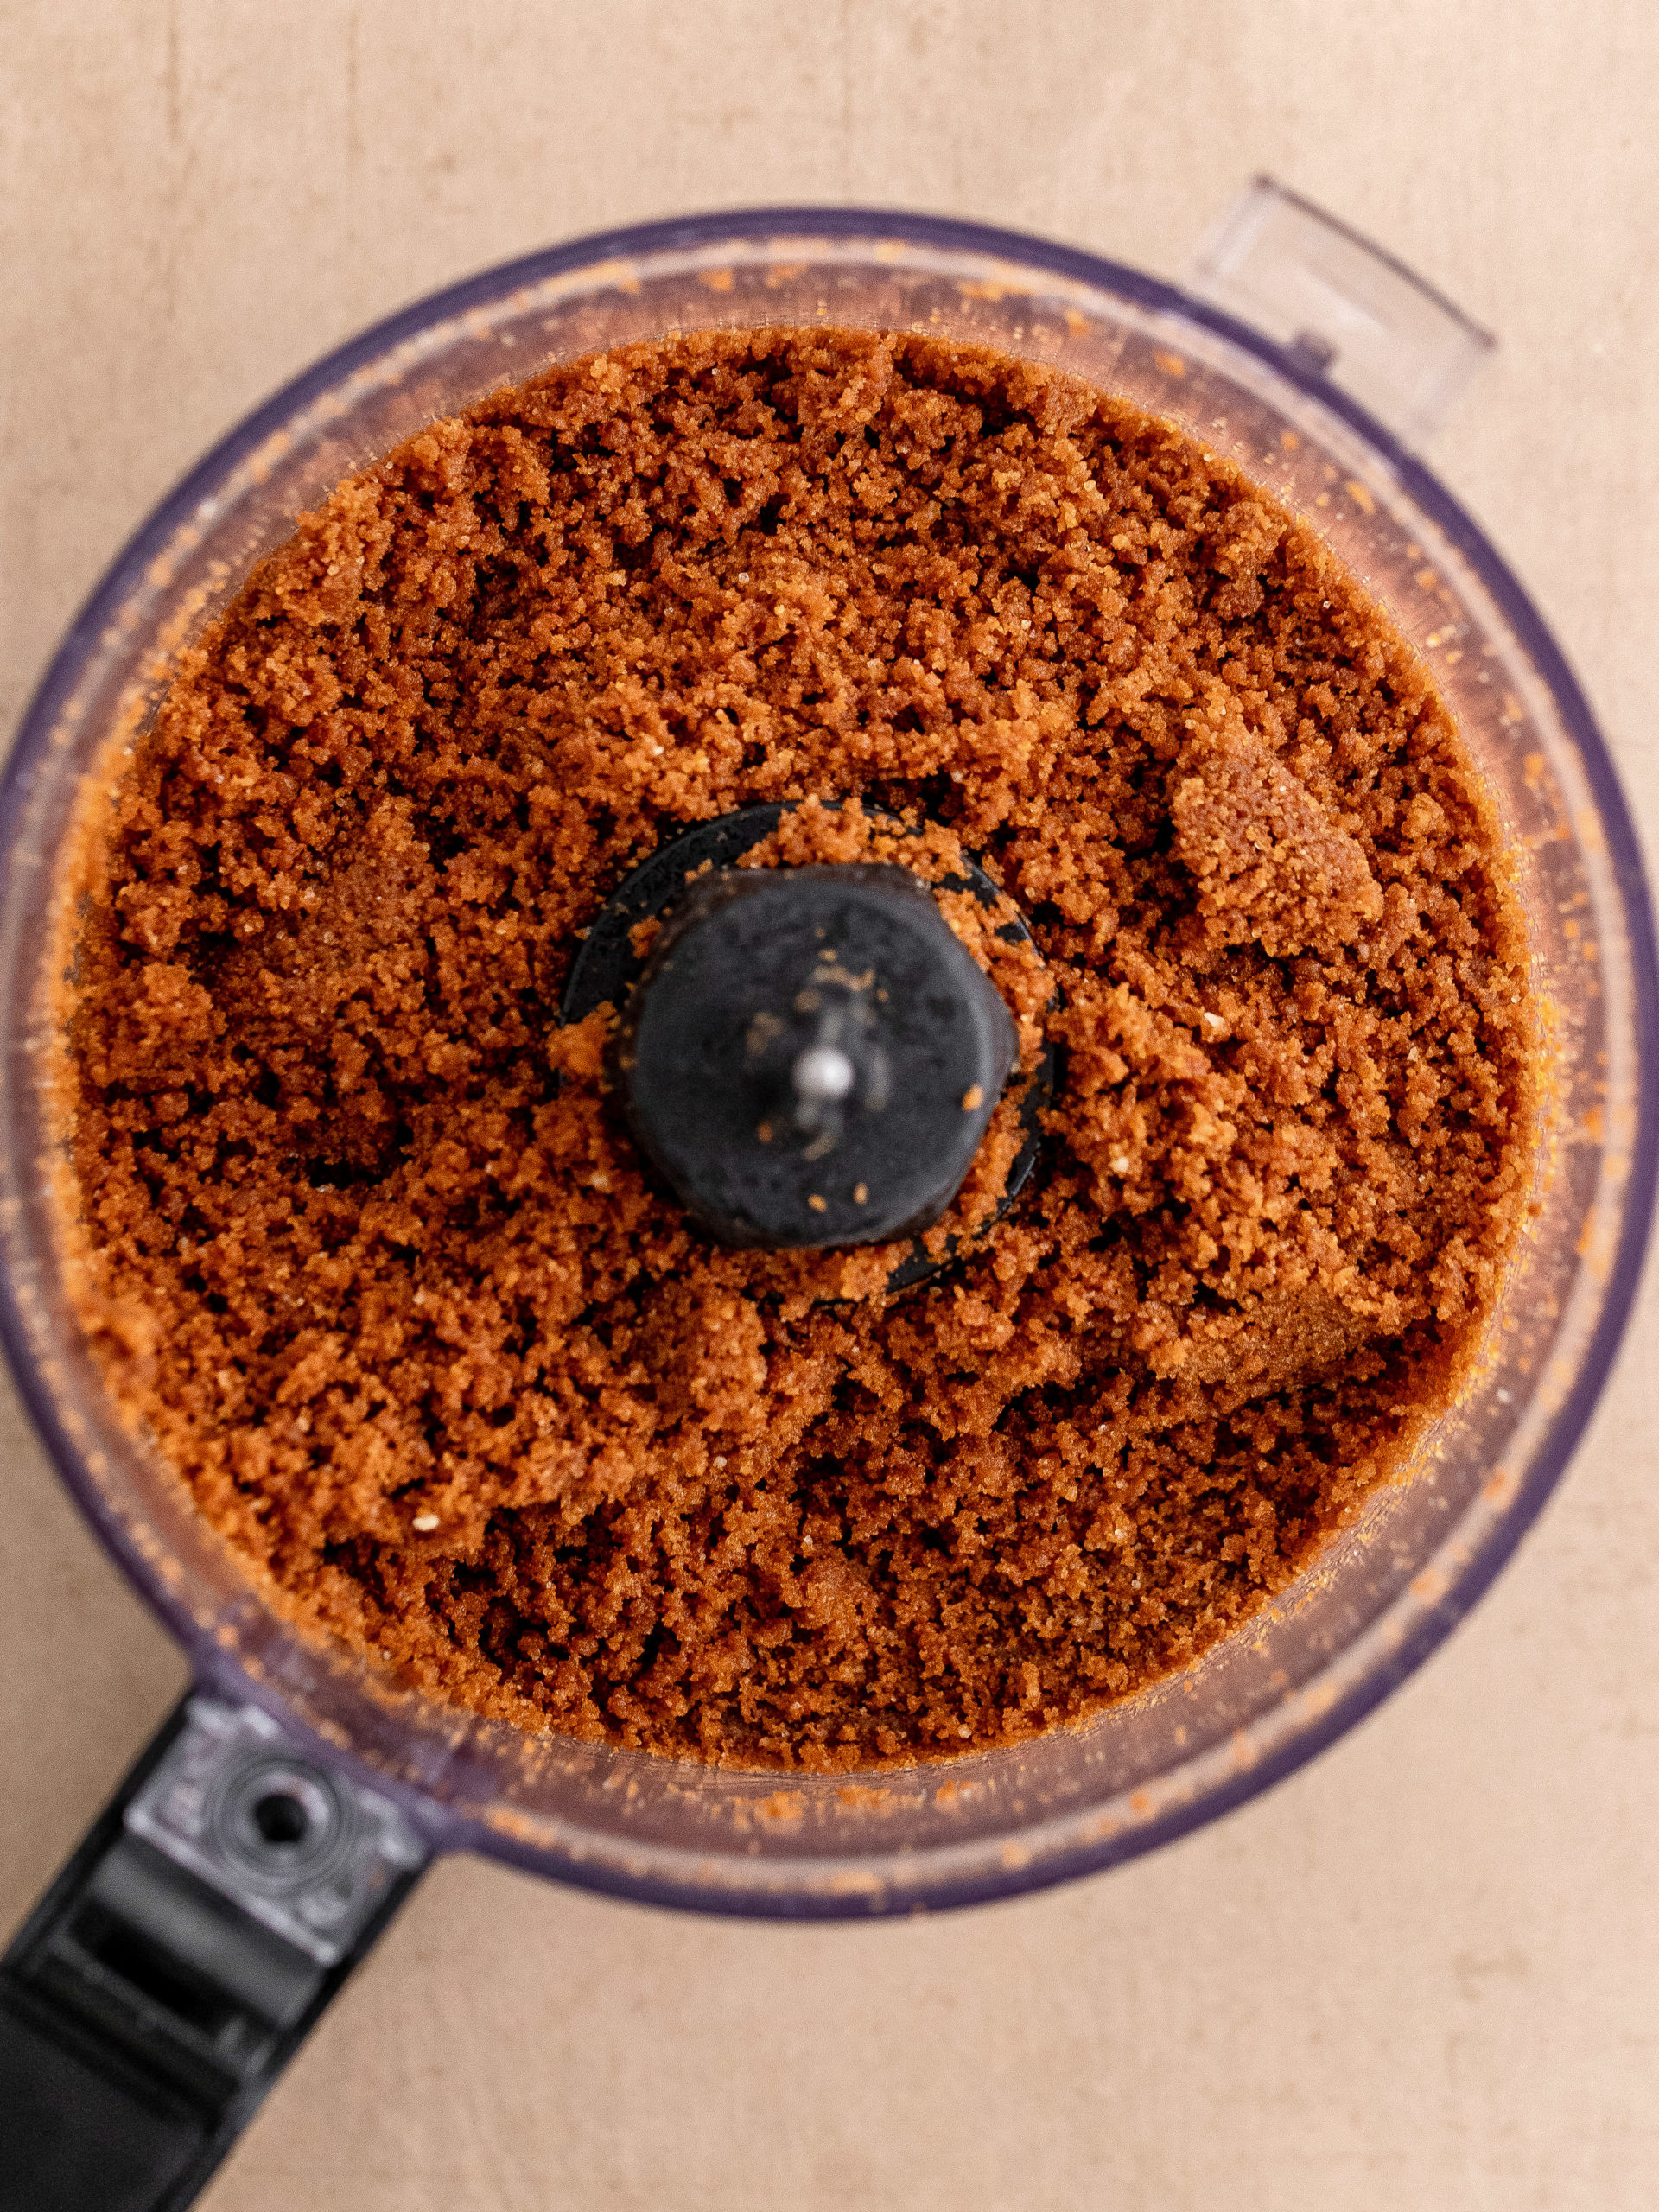
STEP 1: In a food processor, blend the Biscoff cookies until fine crumbs. Melt the butter. Add the melted butter to the food processor and blend it together with the blended cookies.
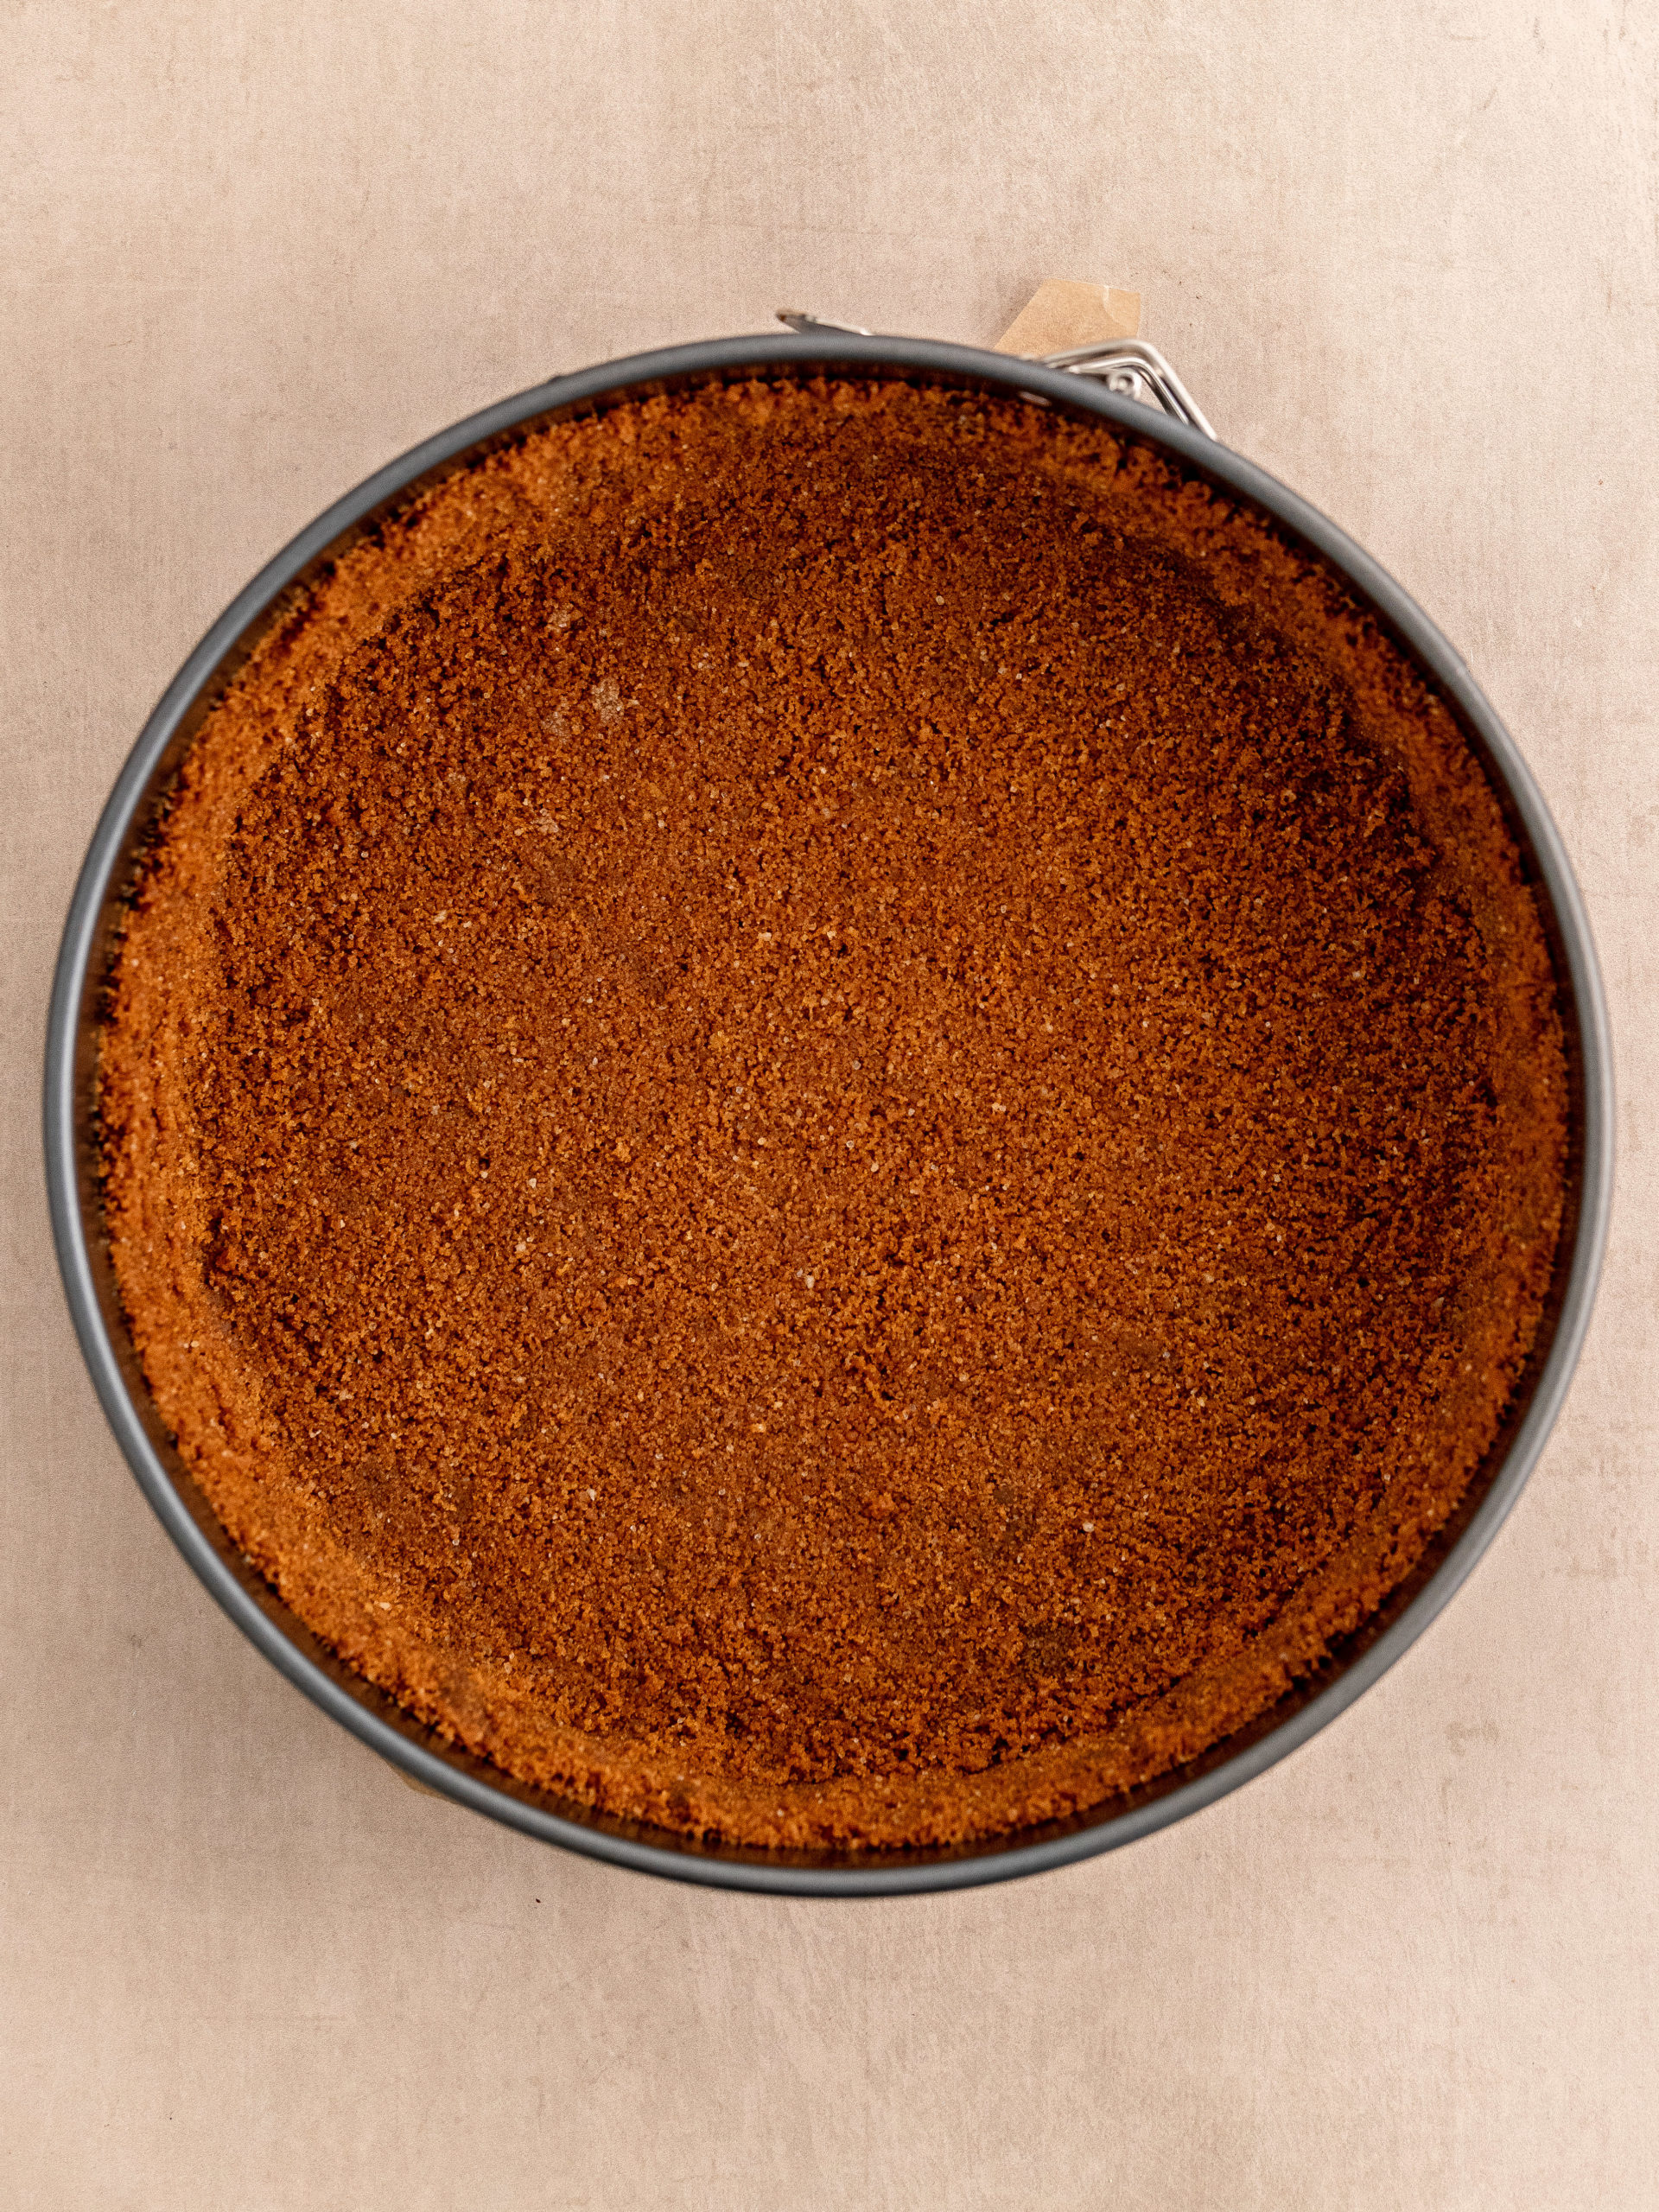
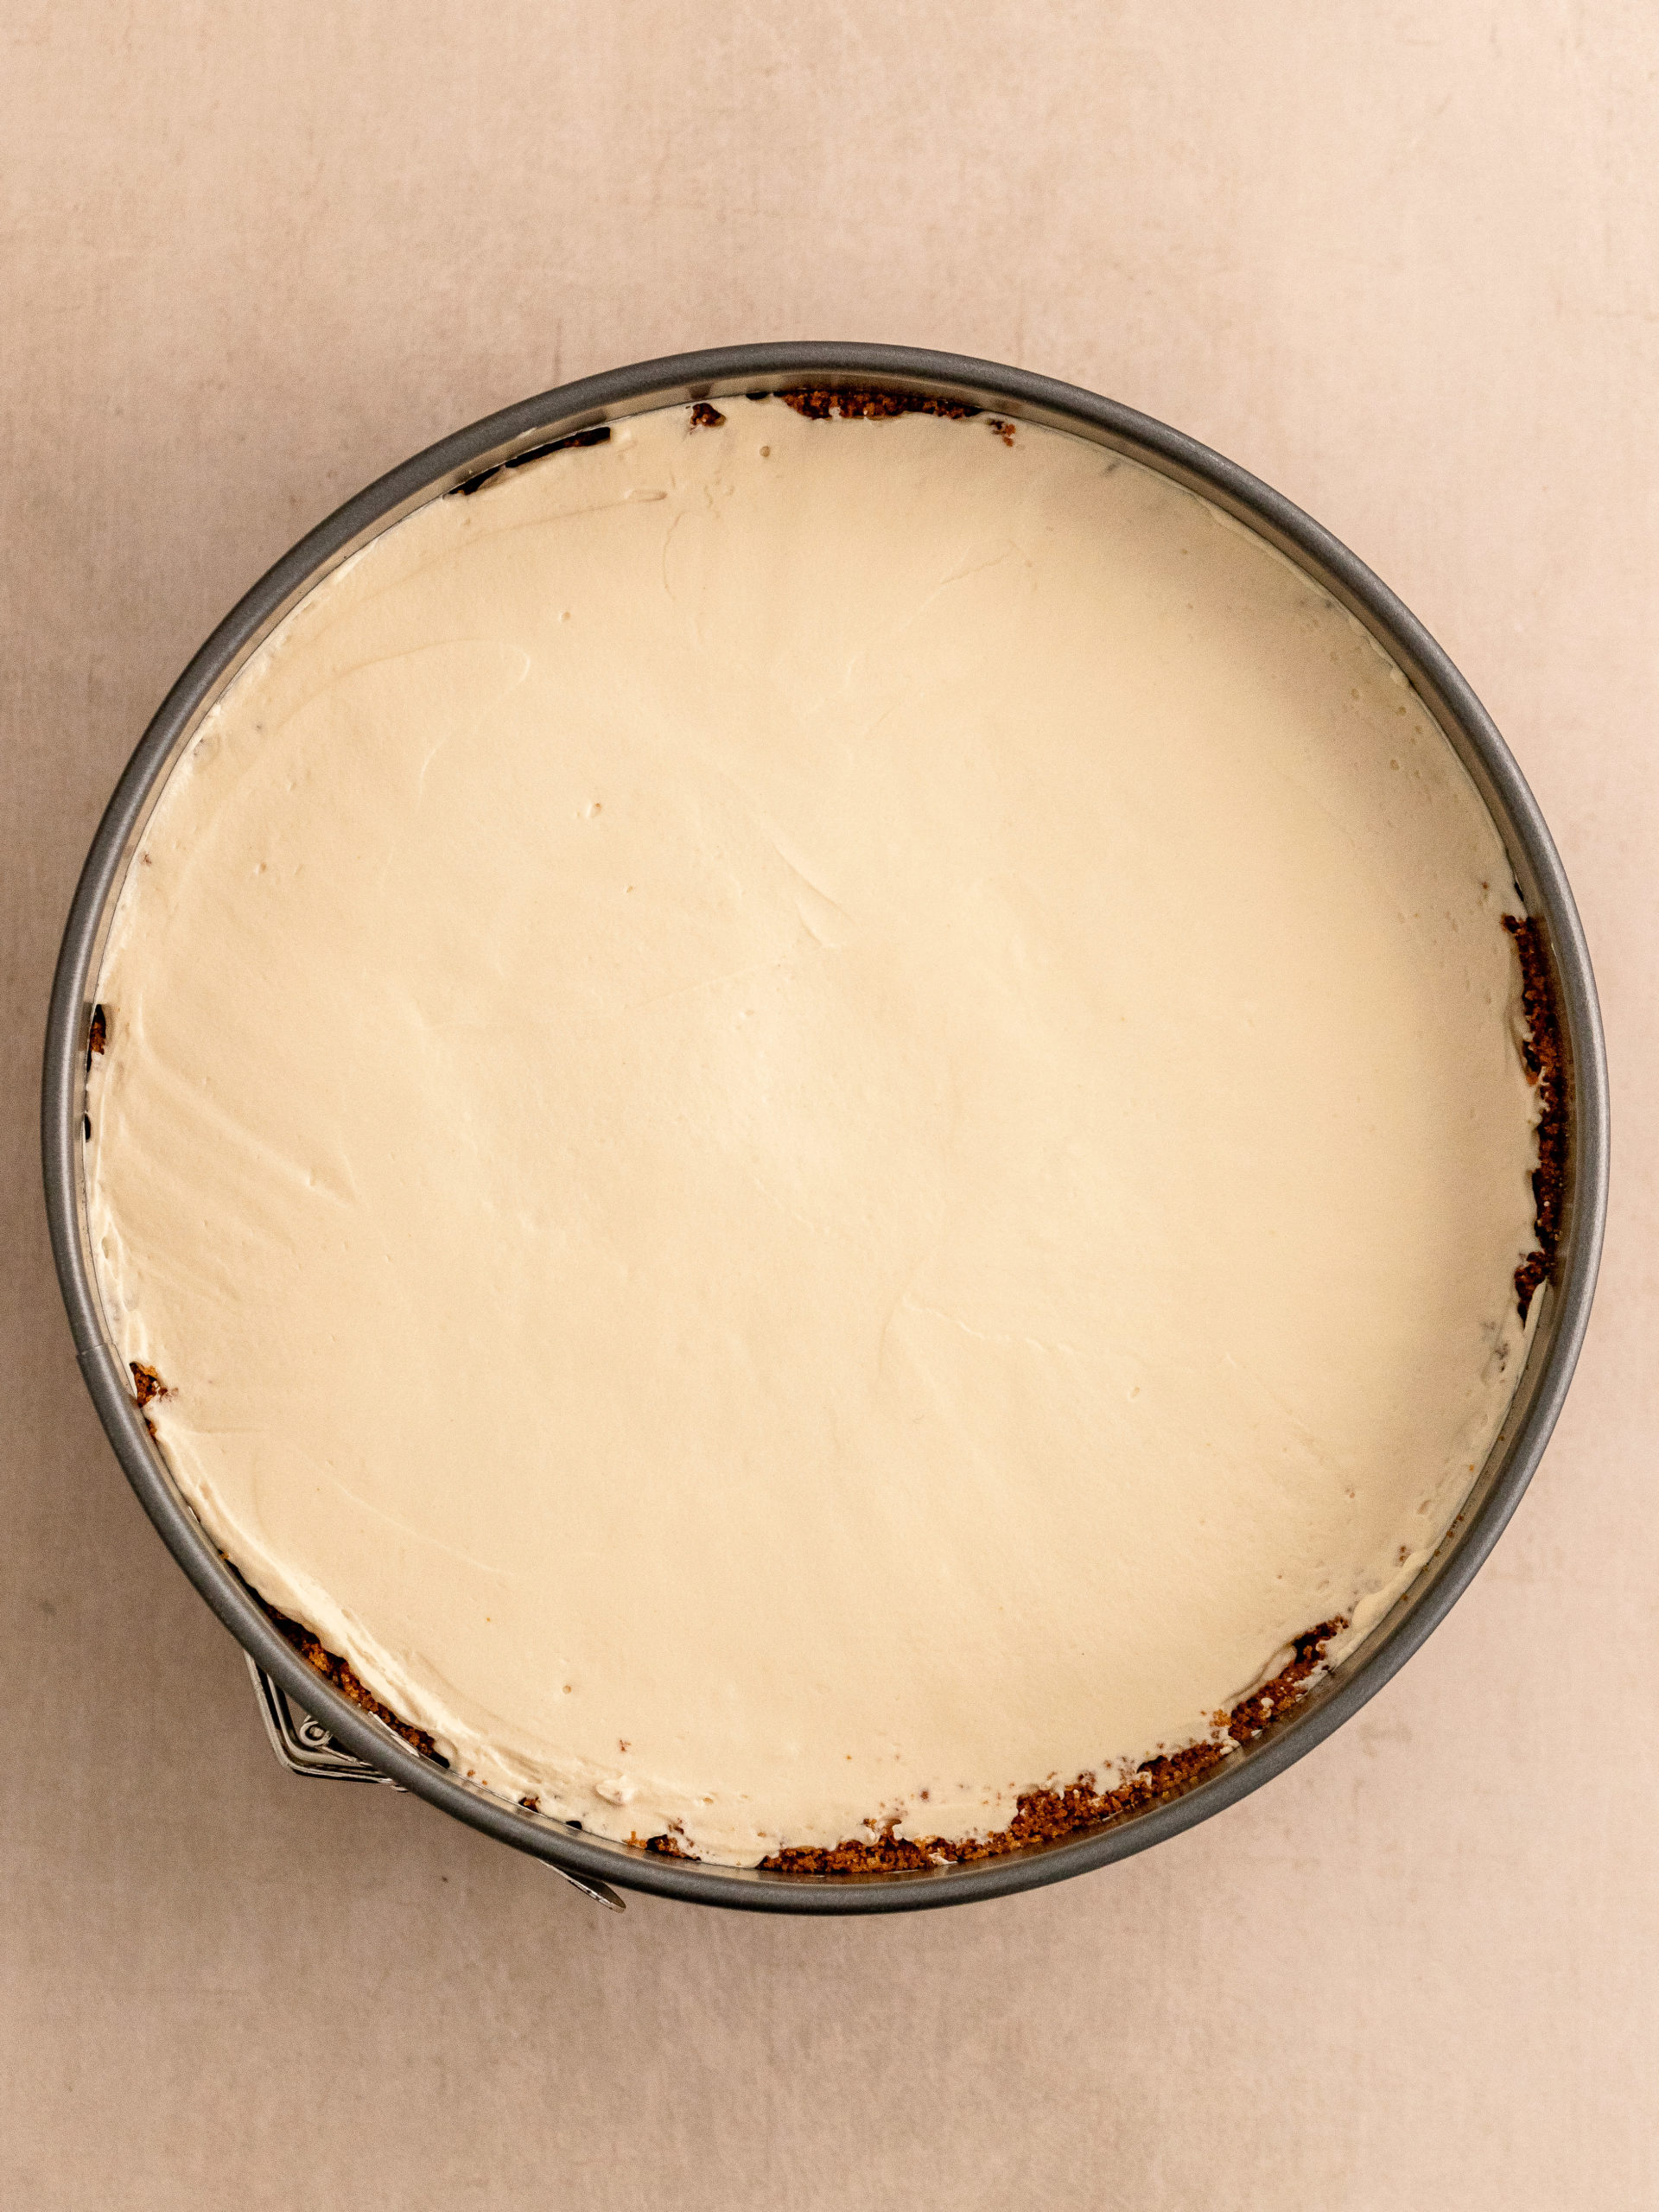
STEP 2: In a 22 cm spring spring pan add parchment paper. Add the cookie crumbs and press the cookie crust down into the bottom of the pan with the bottom of a glass, and up against the side of the pan, so it’s well packed together and flattened out. Place it in the freezer while preparing the cheesecake filling.
STEP BY STEP INSTRUCTIONS - FILLING AND DECORATION
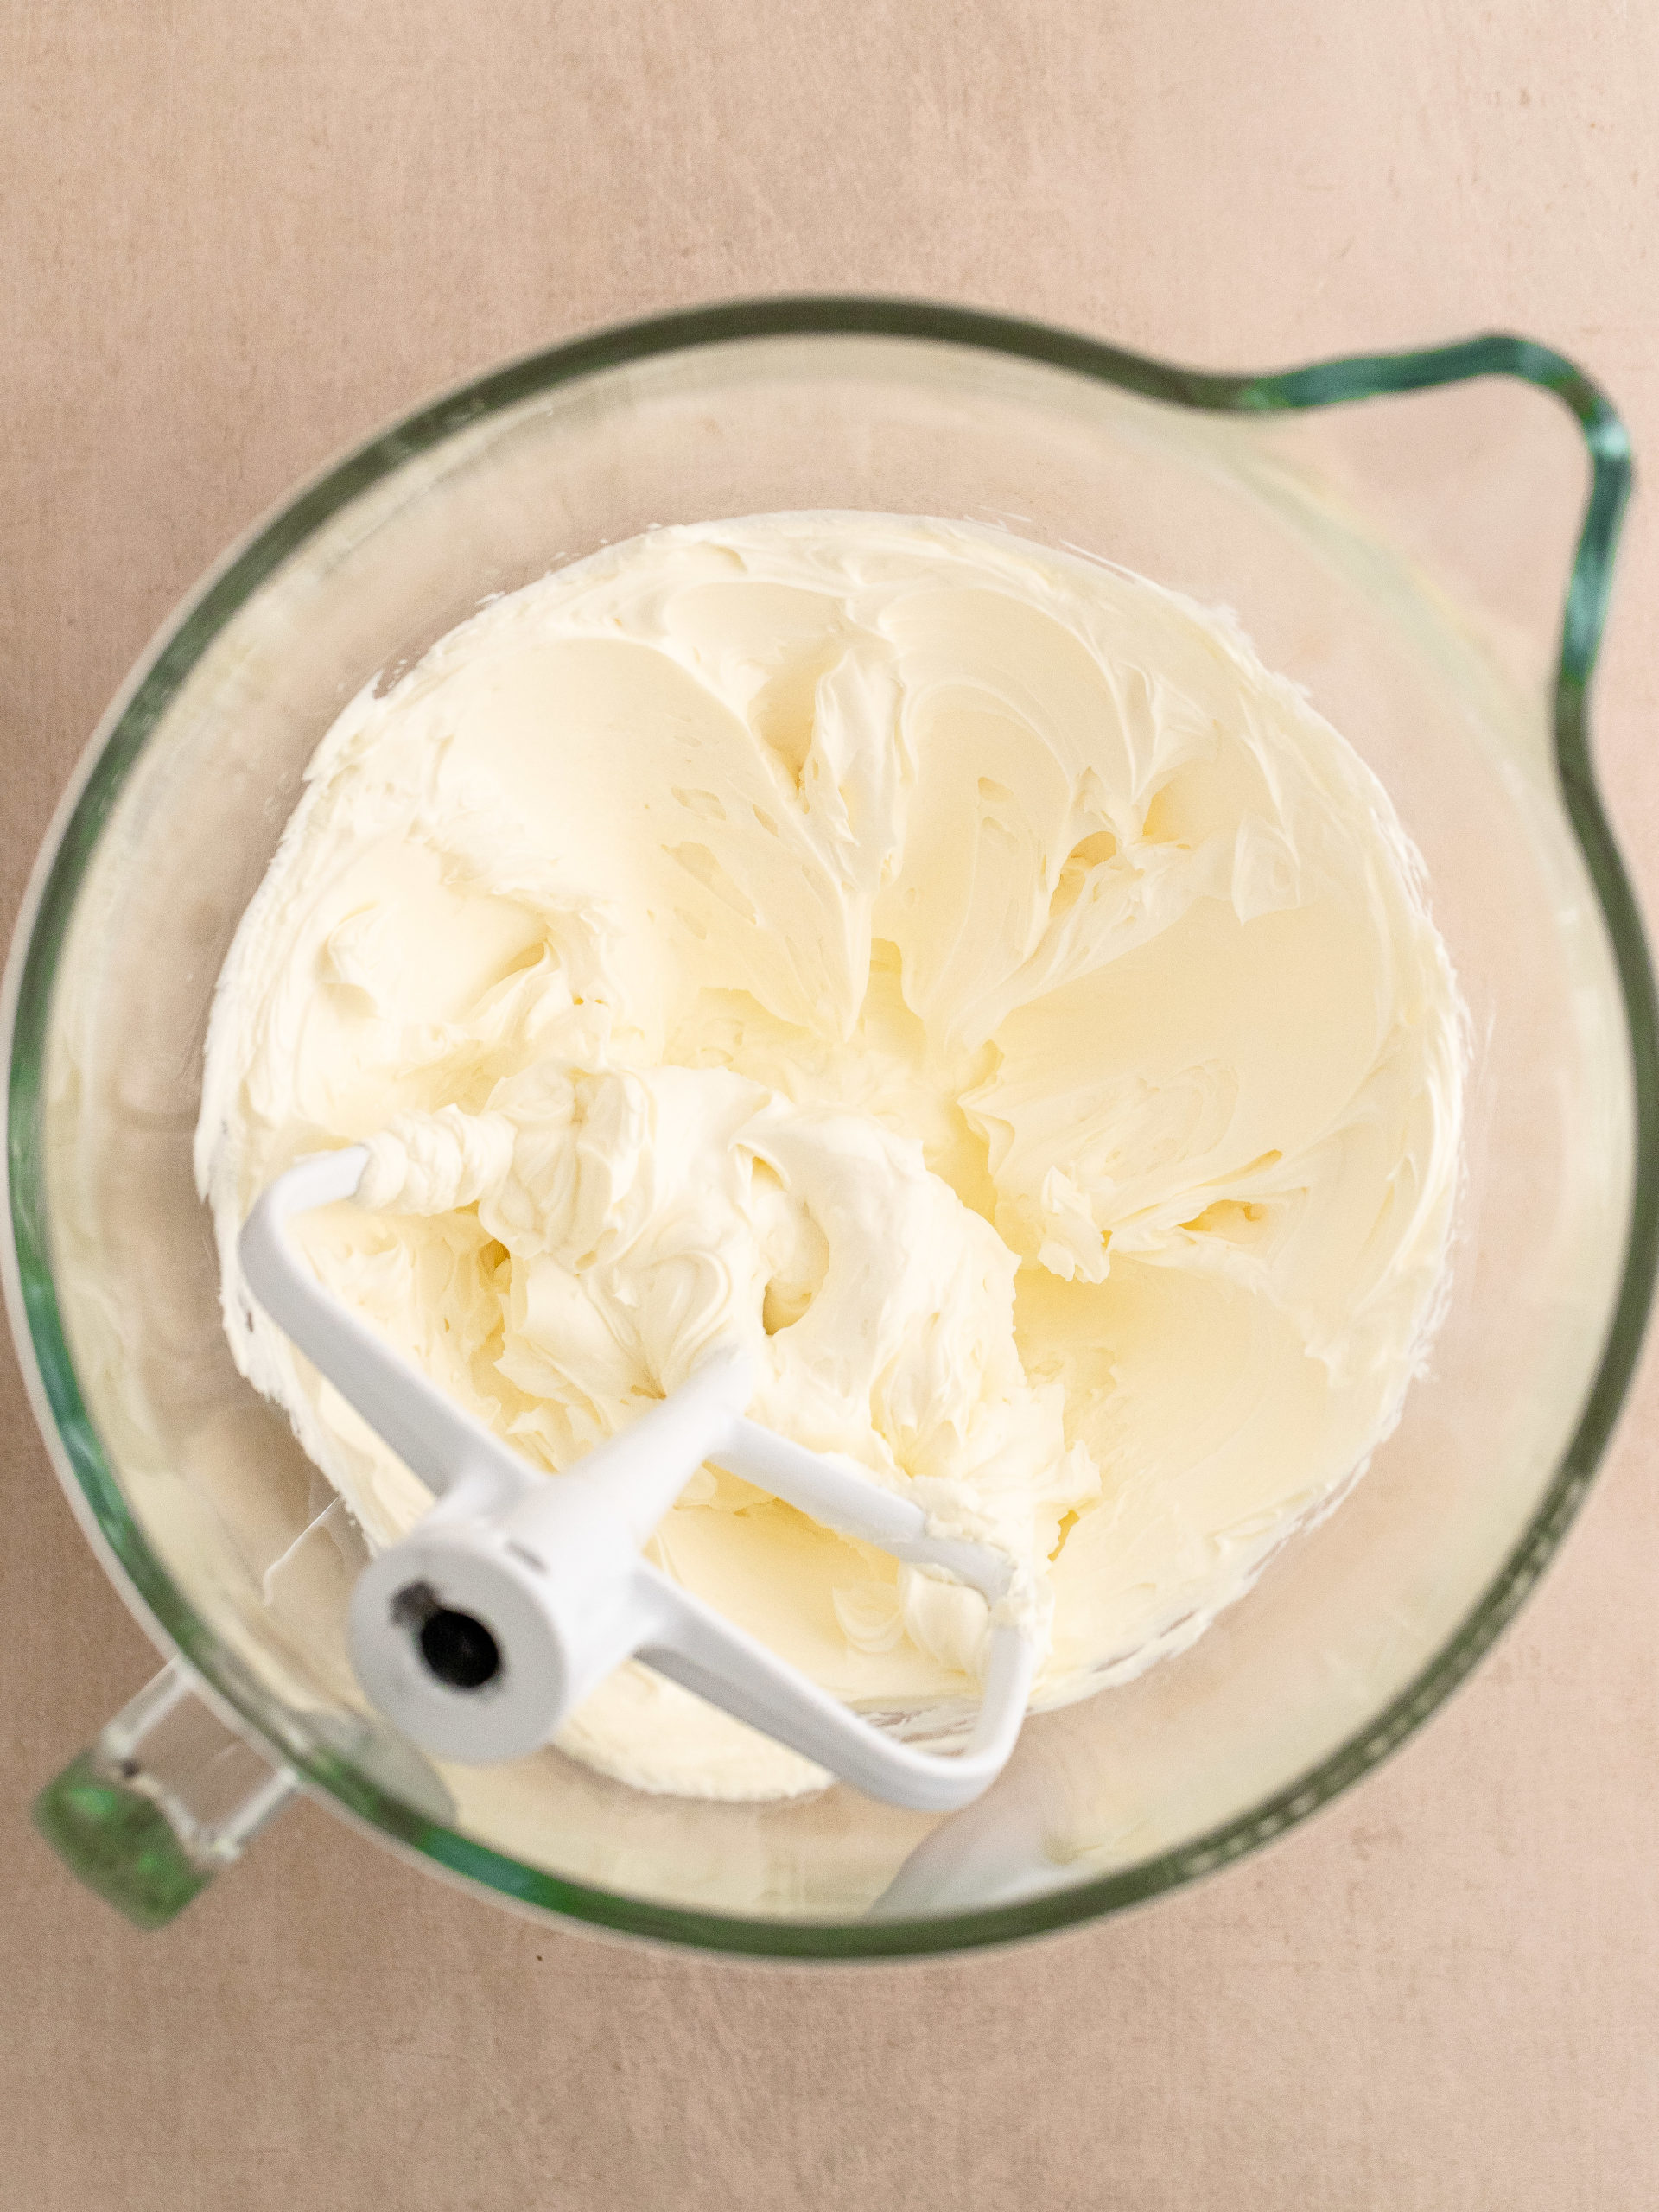
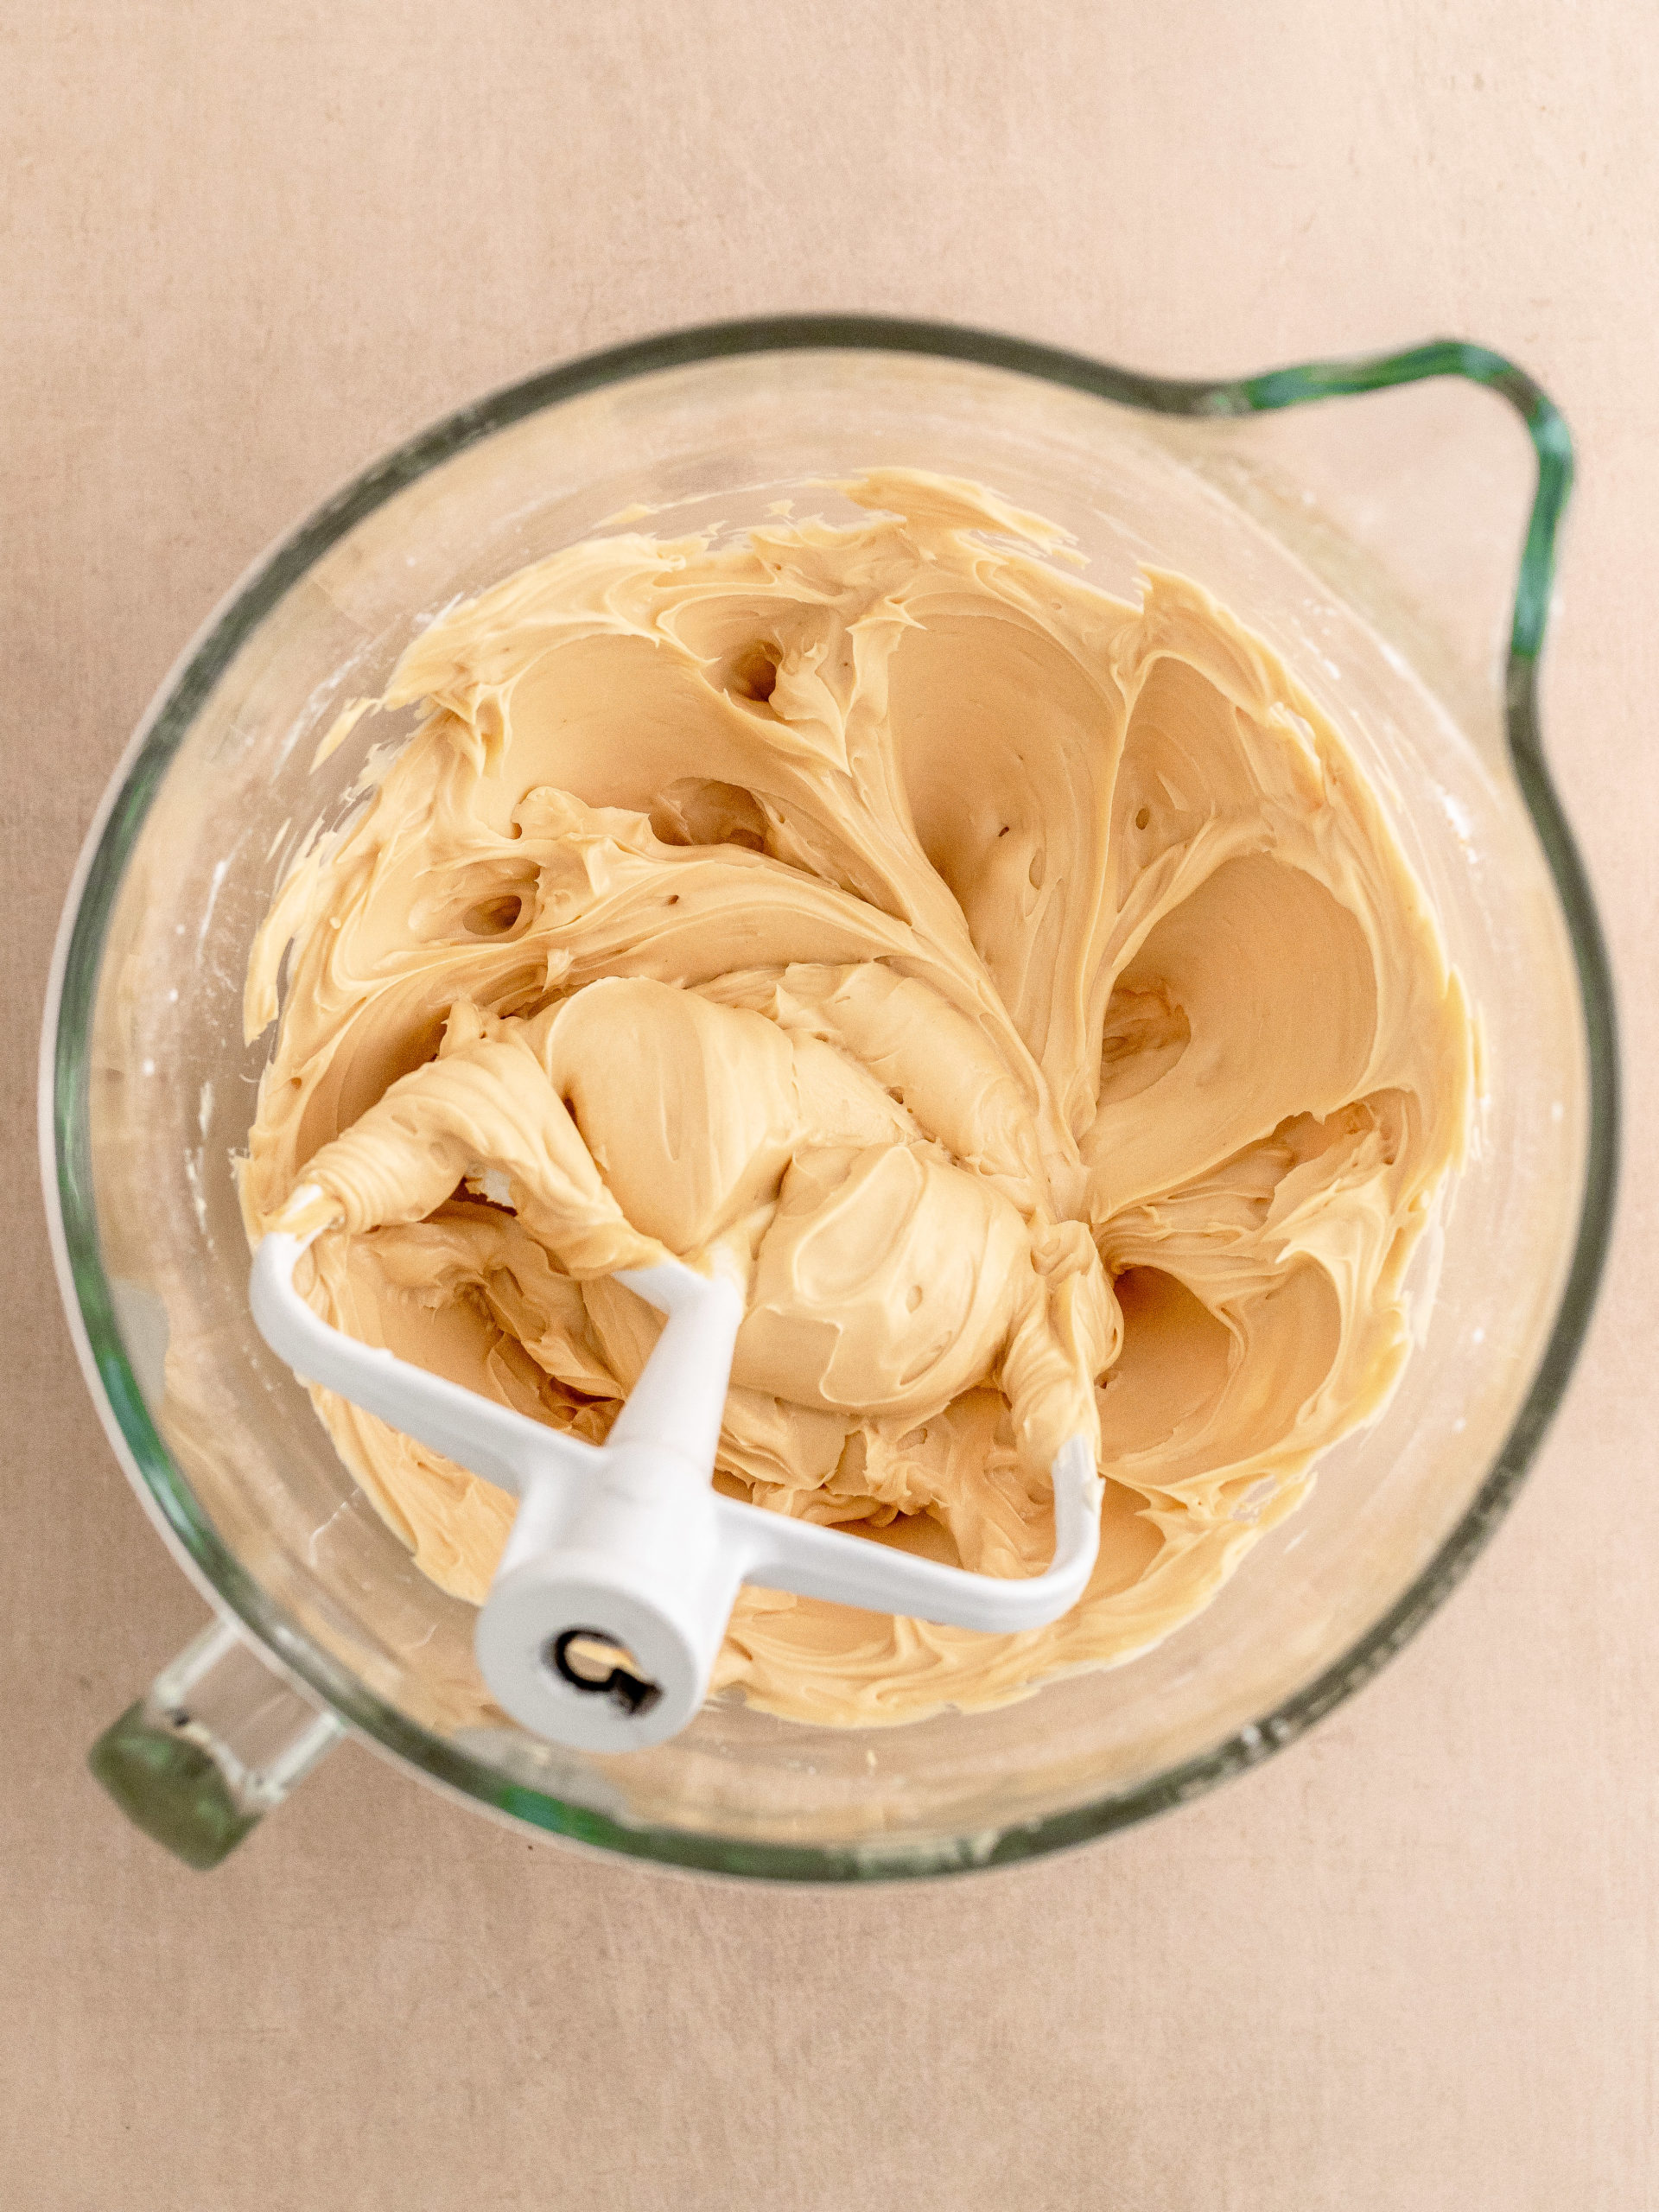
STEP 1: With a hand mixer or in a stand mix using the paddle attachment, cream the cream cheese for 1 minute on medium speed. Then add the Biscoff spread, powdered sugar and vanilla extract and mix until smooth, about 1 minute. Scrape down the sides of the bowl and at low speed let it mix until everything is combined.
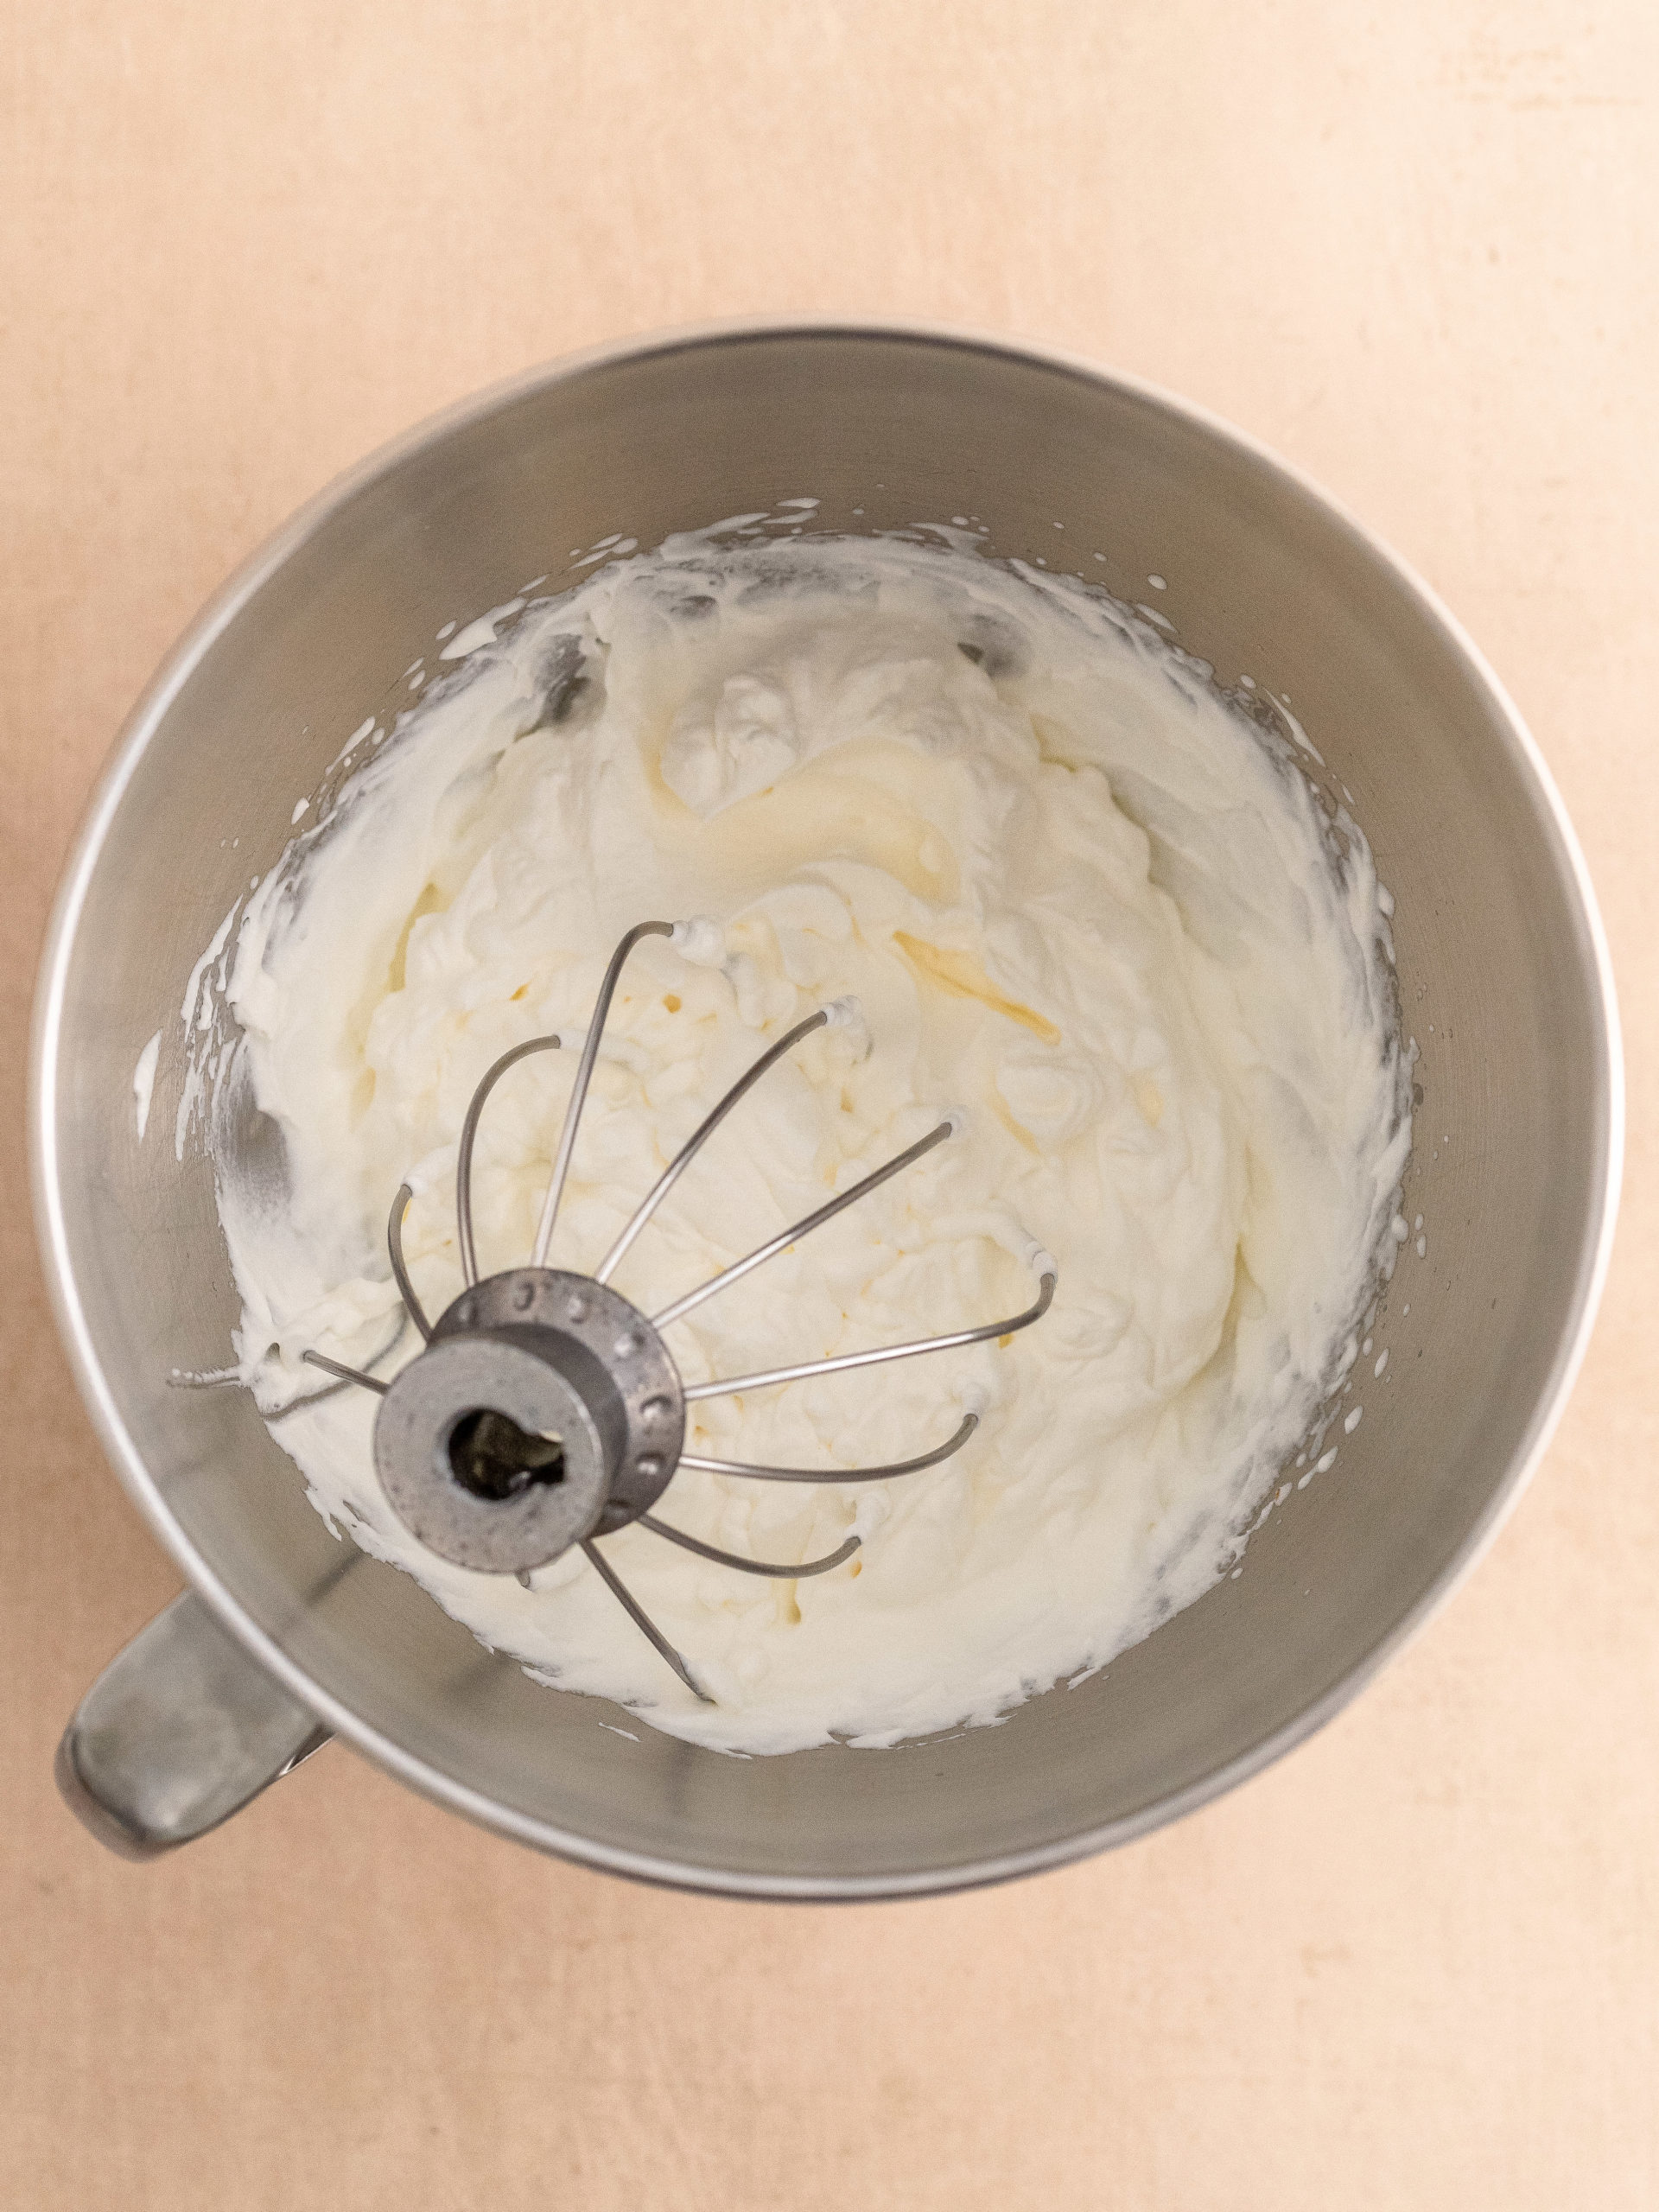
STEP 2: In another bowl, using the whisk attachment or a hand mixer, whisk the heavy cream until stiff peaks.
TIP: Be careful not to whip it to butter, but stiff enough that you should be able to turn over the bowl without the whipped cream moving.
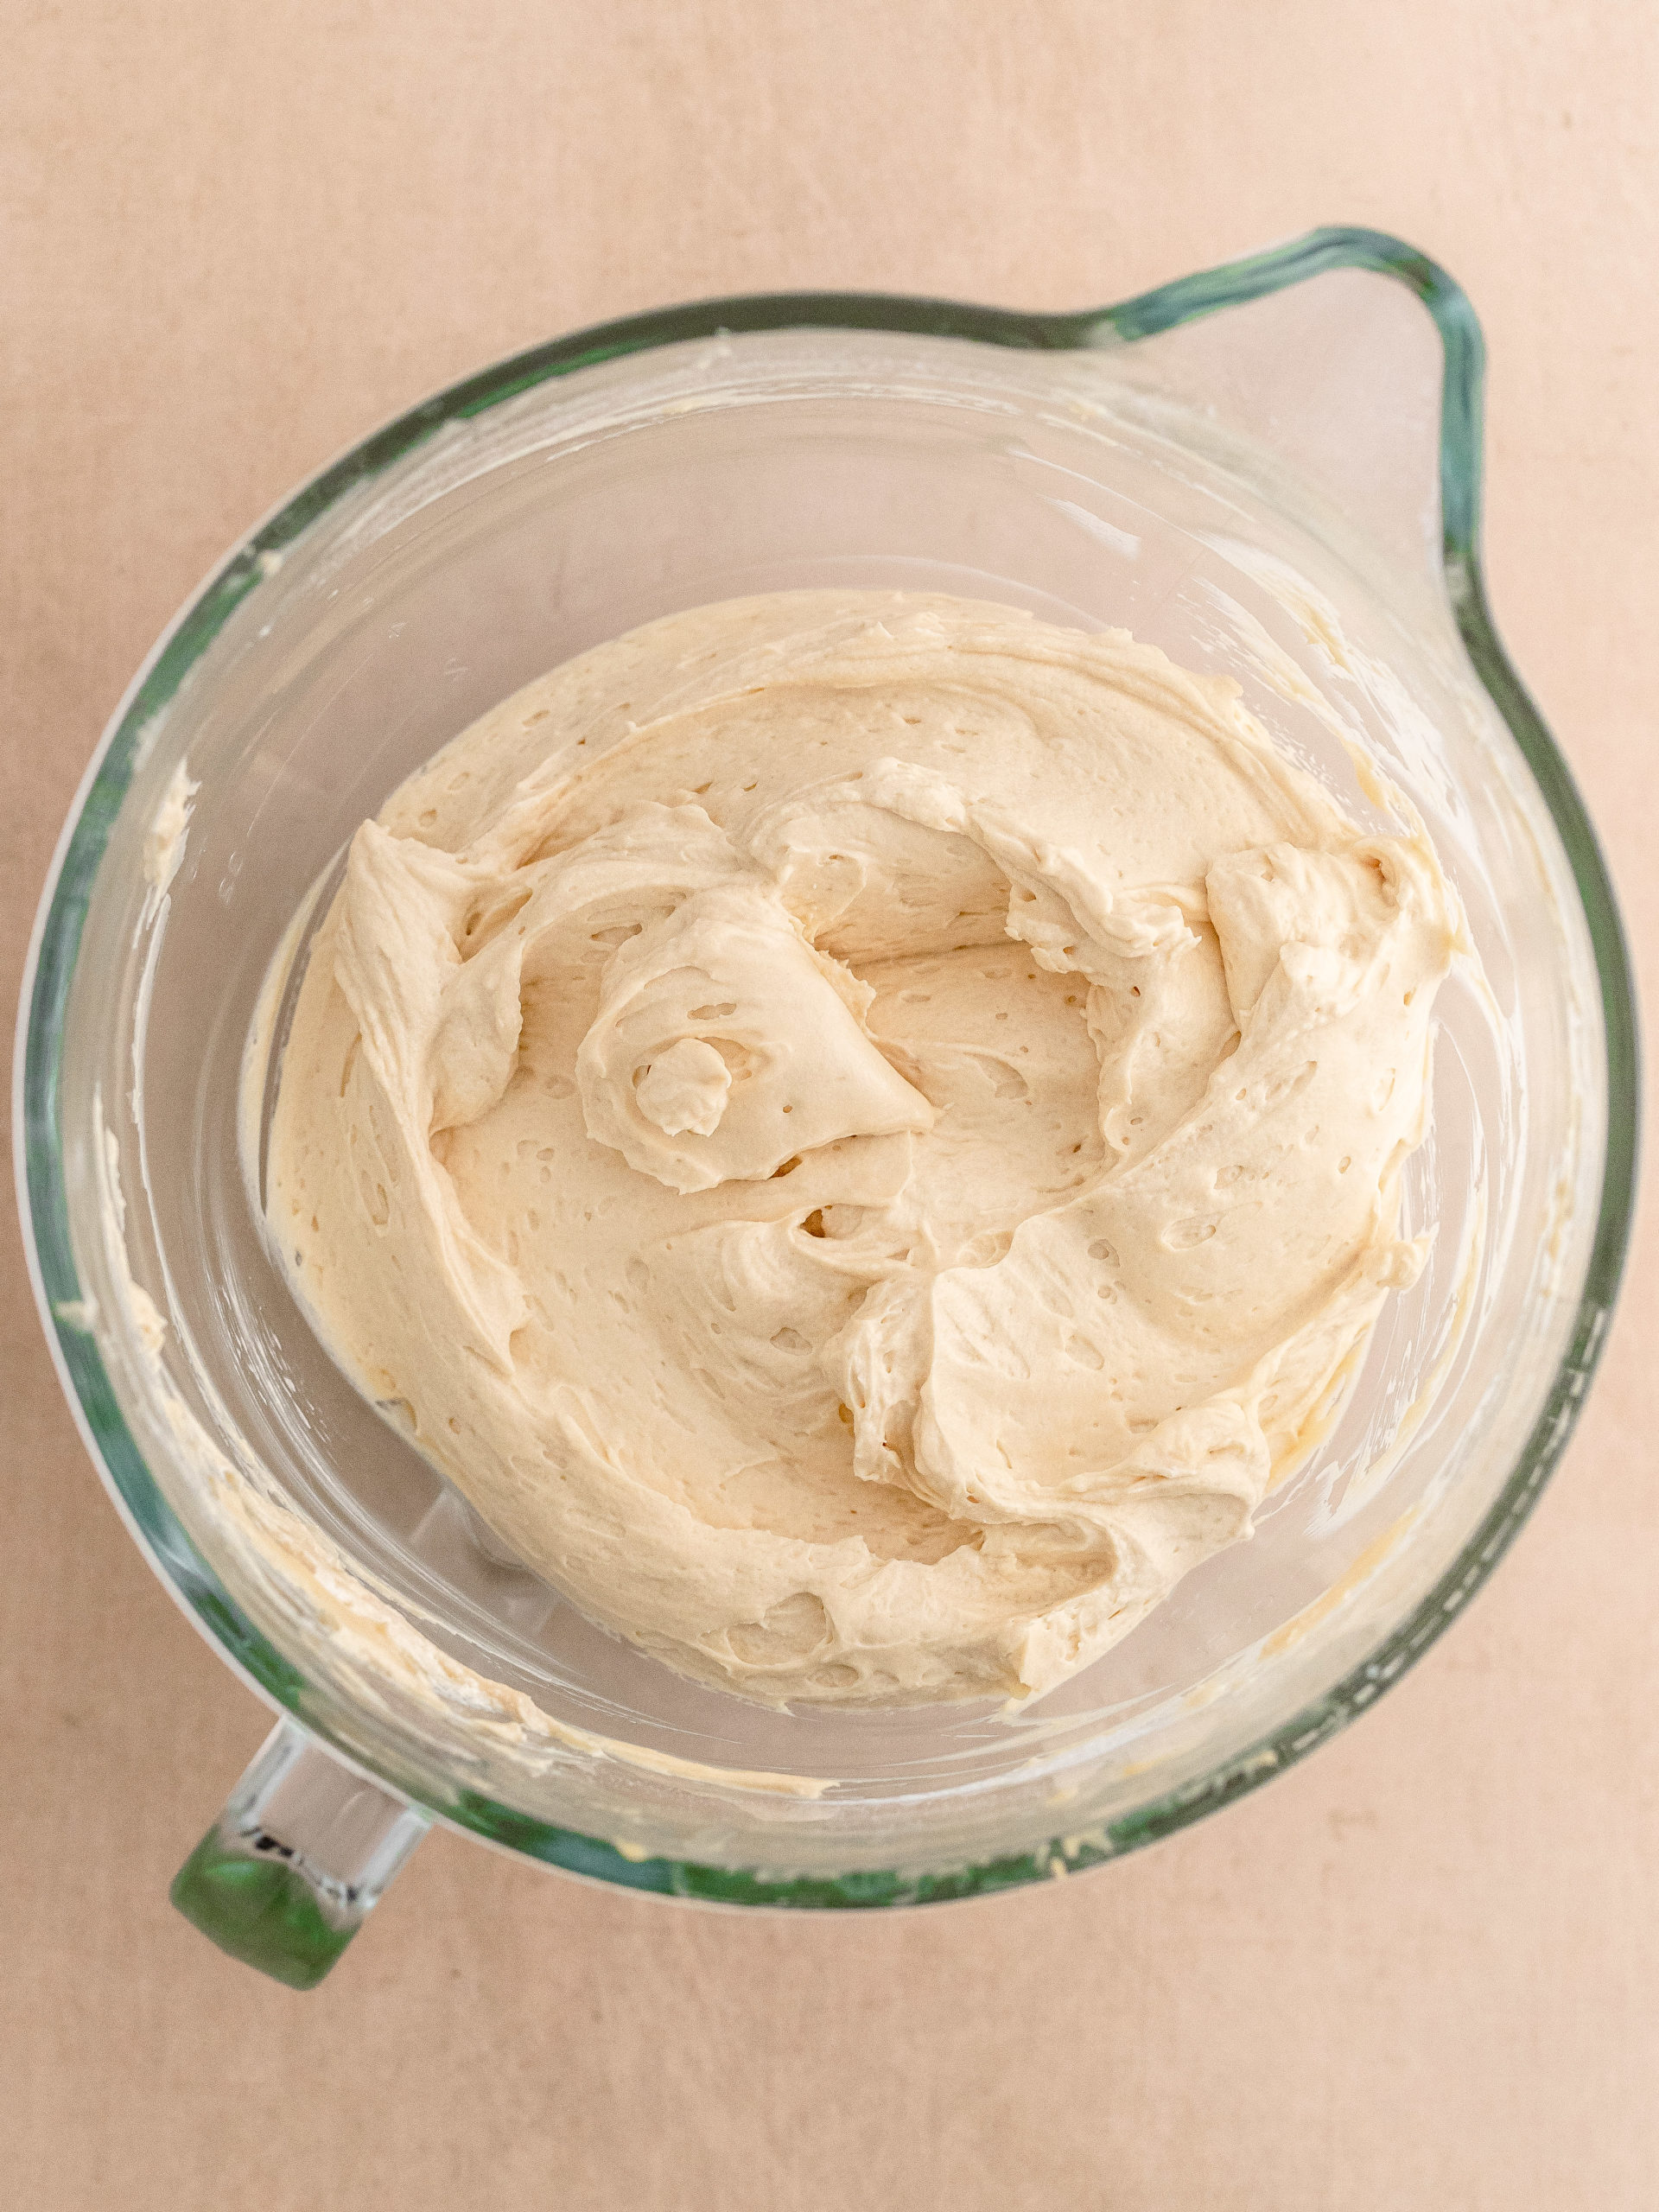
STEP 3: With a rubber spatula gently fold in the whipped cream with the cream cheese. Be careful not to deflate the whipped cream. Once all combined add the cheesecake filling into the spring pan and with an offset spatula even out the cheesecake filling. Cover the spring pan with cling film and place it in the fridge for a minimum of 8-12 hours.
STEP 4: Move the chilled cheesecake to a serving dish. Melt the Biscoff spread in the microwave and pour it over the cheesecake. Crumble 2 Biscoff cookies and sprinkle them around the edge of the cheesecake.
Tip: To cut clean slices, clean a sharp knife between each slice you cut.
EXPERT BAKING TIPS
- Use a kitchen scale: My default setting for my recipes is grams. It is the most precise way of measuring out your ingredients, I therefore highly recommend using a kitchen scale.

FAQ
When you can turn the bowl over on its head without it sliding, you have whipped it enough.
Yes, covered by cling film you can store it up to 5 days in the fridge.
STORAGE
Store the Biscoff Cheesecake wrapped with plastic wrap or in an airtight container in the fridge. You can store it in the fridge for up to 5 days.
Other Cheesecake Recipes To Try
Make sure leave a STAR REVIEW if you loved this recipe! Make sure to tag me on Instagram @juliemarieeats. To get more ideas by following me on Pinterest.
Biscoff Cheesecake
Equipment
Ingredients
COOKIE CRUST
- 250 g Biscoff cookies blended
- 75 g butter melted
CHEESECAKE FILLING
- 400 g cream cheese
- 110 g Biscoff spread
- 100 g powdered sugar
- 1 teaspoon vanilla extract
- 240 g heavy cream
TOPPING
- 150 g Biscoff spread
- 2 biscoff cookies
Instructions
COOKIE CRUST
- In a food processor, blend the Biscoff cookies until a fine sand-like texture. Melt the butter. Add the melted butter to the food processor and blend it together with the blended cookies.250 g Biscoff cookies, 75 g butter
- In a 22 cm spring cake pan add parchment paper, both in the bottom and on sides of the pan. Add the cookie crumbs and press the cookie crust down with the bottom of a glass, and up against the side of the pan, so it’s well packed together and flattened out. Place it in the freezer while preparing the cheesecake filling.
CHEESECAKE FILLING
- With a hand mixer or in a stand mix using the paddle attachment, cream the cream cheese for 1 minute on medium speed.400 g cream cheese
- Then add the Biscoff spread, powdered sugar and vanilla extract and mix until smooth, about 1 minute. Scrape down the sides of the bowl and at low speed let it mix until everything is combined.110 g Biscoff spread, 100 g powdered sugar, 1 teaspoon vanilla extract
- In another bowl, using the whisk attachment or a hand mixer, whisk the heavy cream until stiff peaks. Be careful not to whip it to butter, but stiff enough that you should be able to turn over the bowl without the whipped cream moving.240 g heavy cream
- With a rubber spatula gently fold in the whipped cream with the cream cheese. Be careful not to deflate the whipped cream. Once all combined add the cheesecake filling into the spring pan and with an off-set spatula even out the cheesecake filling. Cover the spring pan with cling film and place it in the fridge for a minimum of 8-12 hours.
TOPPING
- Move the chilled cheesecake to a serving dish. Melt the Biscoff spread in the microwave and pour it over the cheesecake. Crumble 2 Biscoff cookies and sprinkle them around the edge of the cheesecake.150 g Biscoff spread, 2 biscoff cookies

Josephine
Easily one of the most delicious cheesecakes I've tried so far! Great recipe!
Sasha Migalyuk
Was a hit!! Definitely on the sweeter side, so paired it with a fresh fruit salad and it was sooooo delicious.
Jessica
Made this for my coworkers and they loved it! They finished it off in a day and a half and asked me to make it again! So easy to make and delicious.
Sandeep Cavill
One of the yummiest cheesecakes - it's a fantastic recipe!
It's a great dessert to make if you're having friends and family over, or if you are guests heading to a dinner party and are looking for a dessert to take along.
@sandeep_cavill
gc
So easy to make, cost efficient for a desert that looks good and tastes amazing!
Natalie
So easy and so good! Will make again
Jeff
My friends and I absolutely loved this cheesecake!
Audrey
I made this for my son's birthday and it was a hit! Reduced powdered sugar to only 60g and it was still delish! The kids loved it, the folks loved it too! Thank you for creating such easy to follow recipe!
Busayo
I loooooved making this sooo much and my family members loved it as well. It was delicious and looked stunning as well!!!!
Thanks for sharing it
Anna
This recipe is 12/10!!! The balance of spiced & sweet flavors, lightness of the cream cheese/whipped cream filling, and indulgence of the cookie butter topping cannot be beat. The no-bake aspect saves time and prevents any potential issues baking with a water bath. Can’t wait to make this again!
Selena
Looks amazing! Should the melted Biscoff Spread be poured over the cake just before serving? Or is it okay to refrigerate with the spread overnight?
Julie Marie
Thank you, so happy to hear that 🙂 The cheesecake needs to set for 8 hours before pouring over the Biscoff spread. It can be poured over the cheesecake anytime after that.
Iben Nielsen
There is not enough stars that can describe this cheese cake. Made it for a dinner with friends tonight and everyone just loved it. And it was so easy to make. I have to make soon again because sadly there were no left overs.