This post may contain affiliate links.
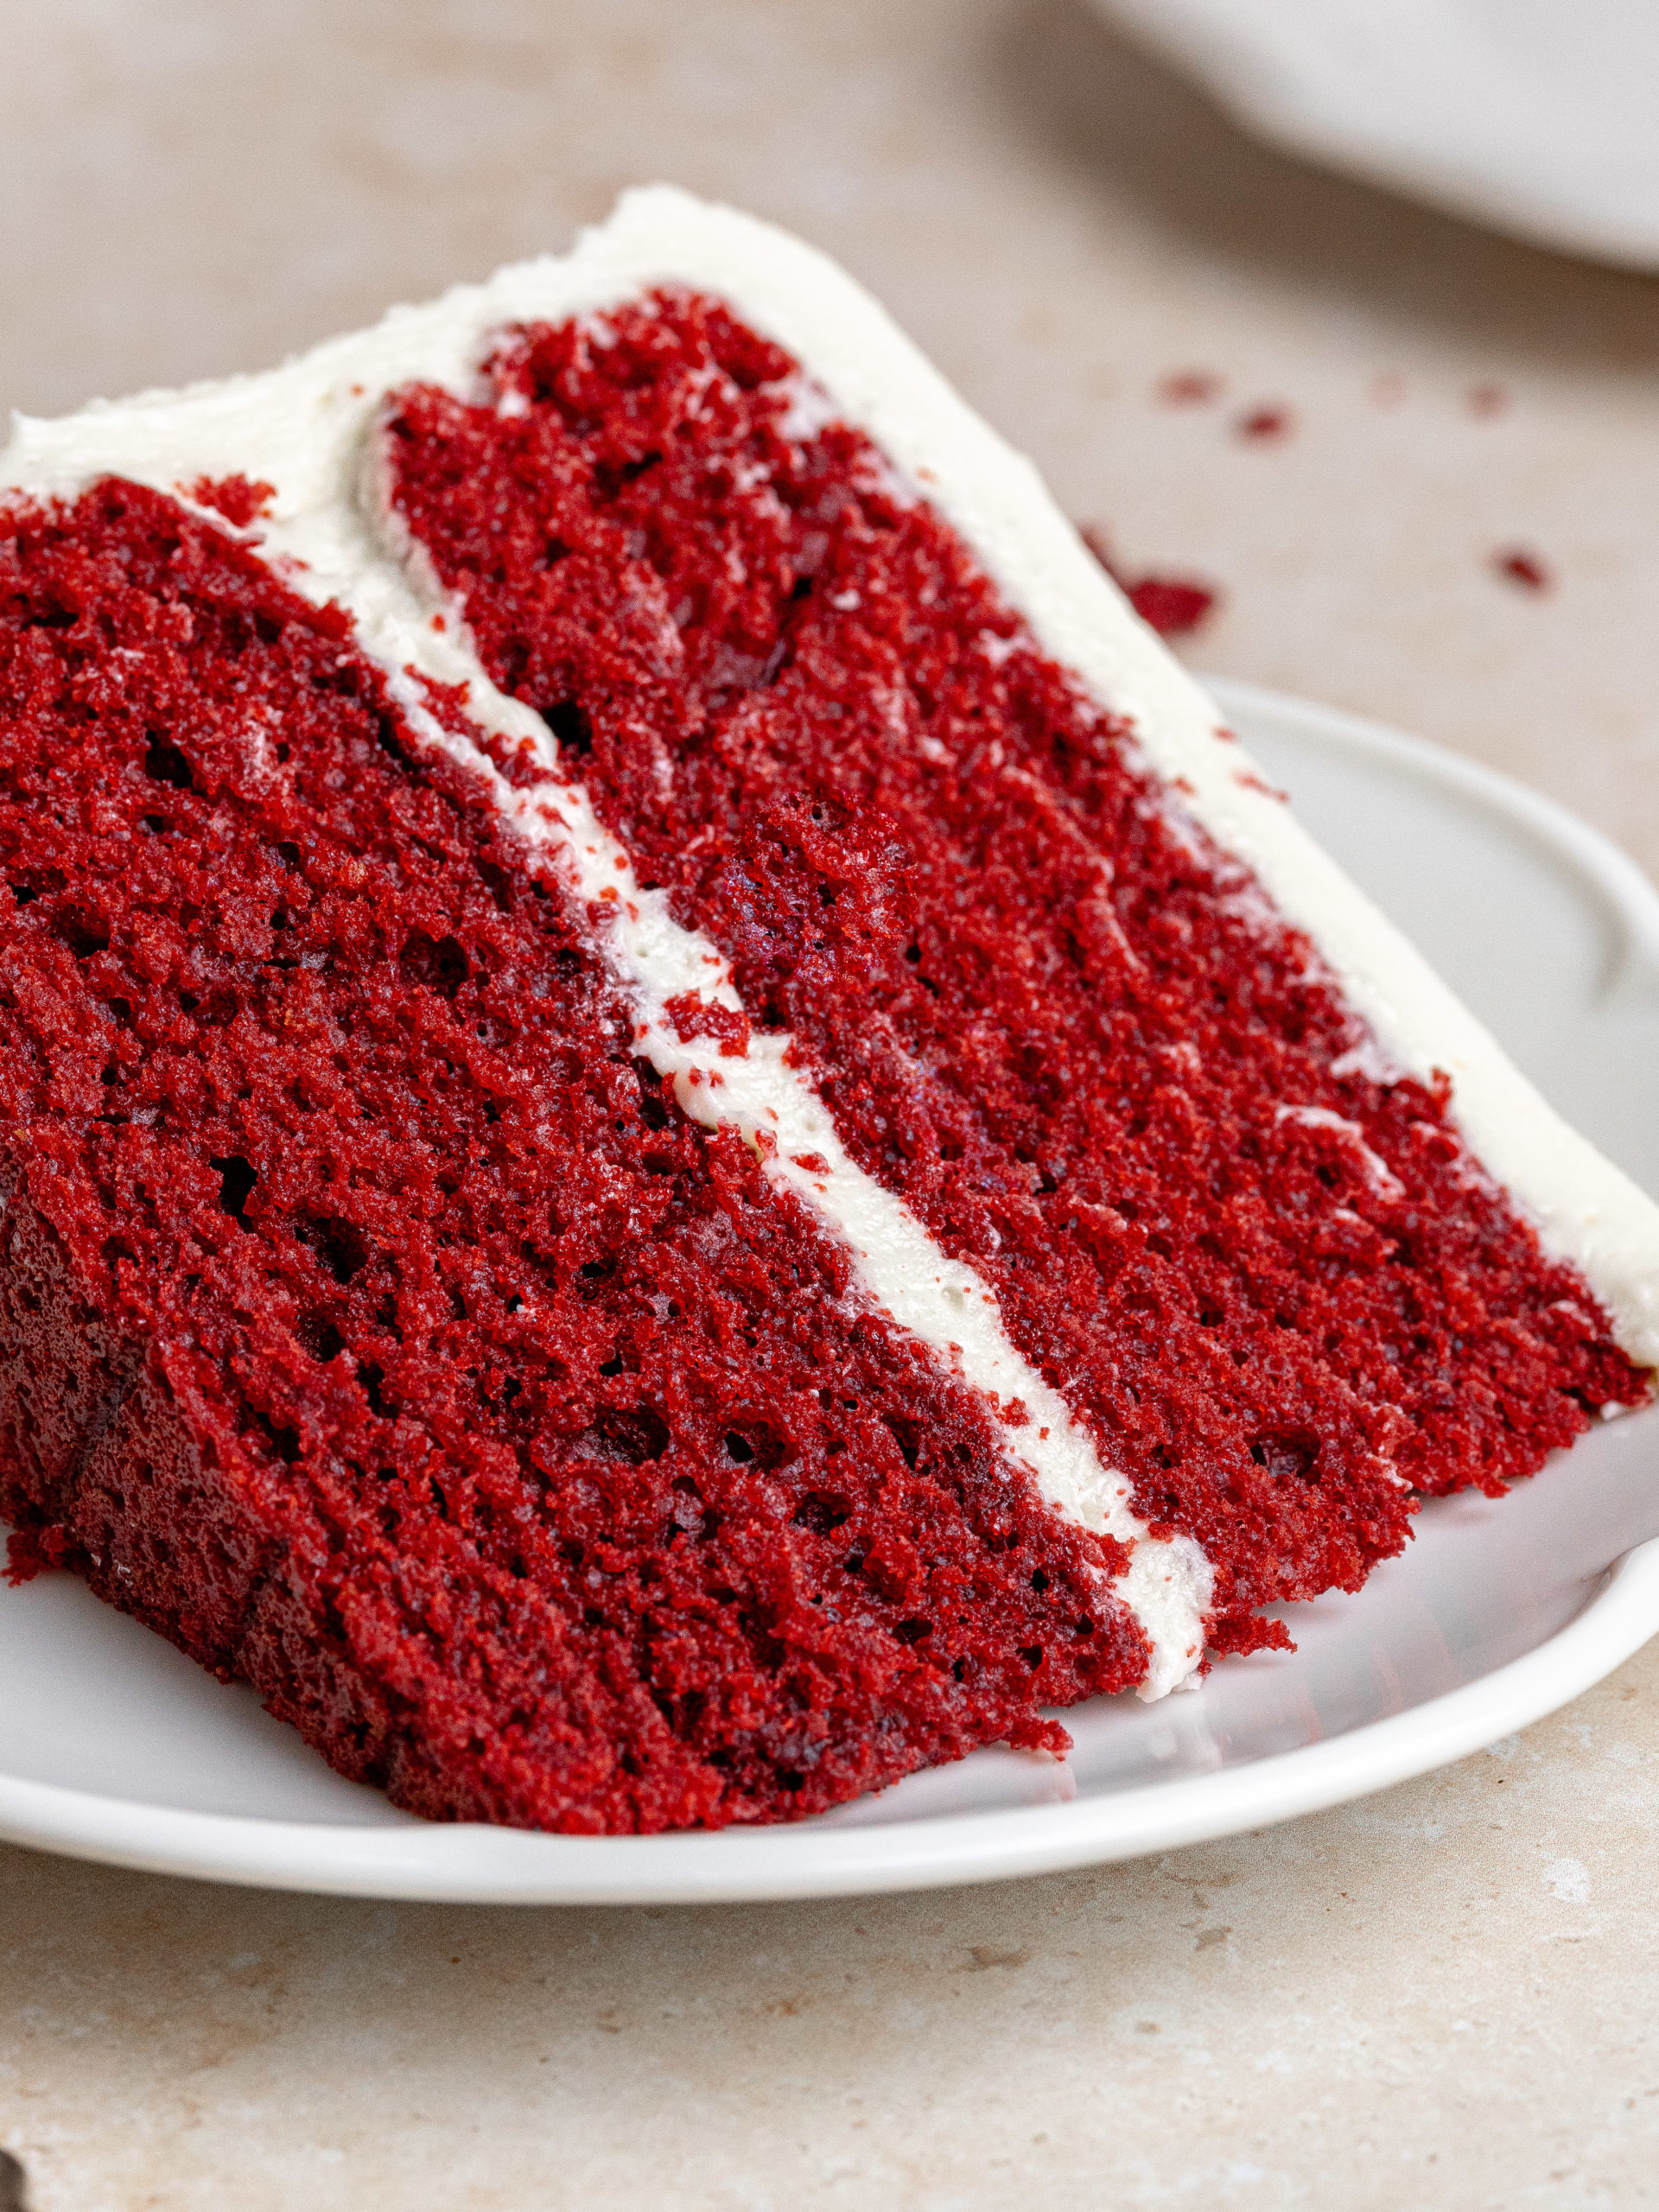
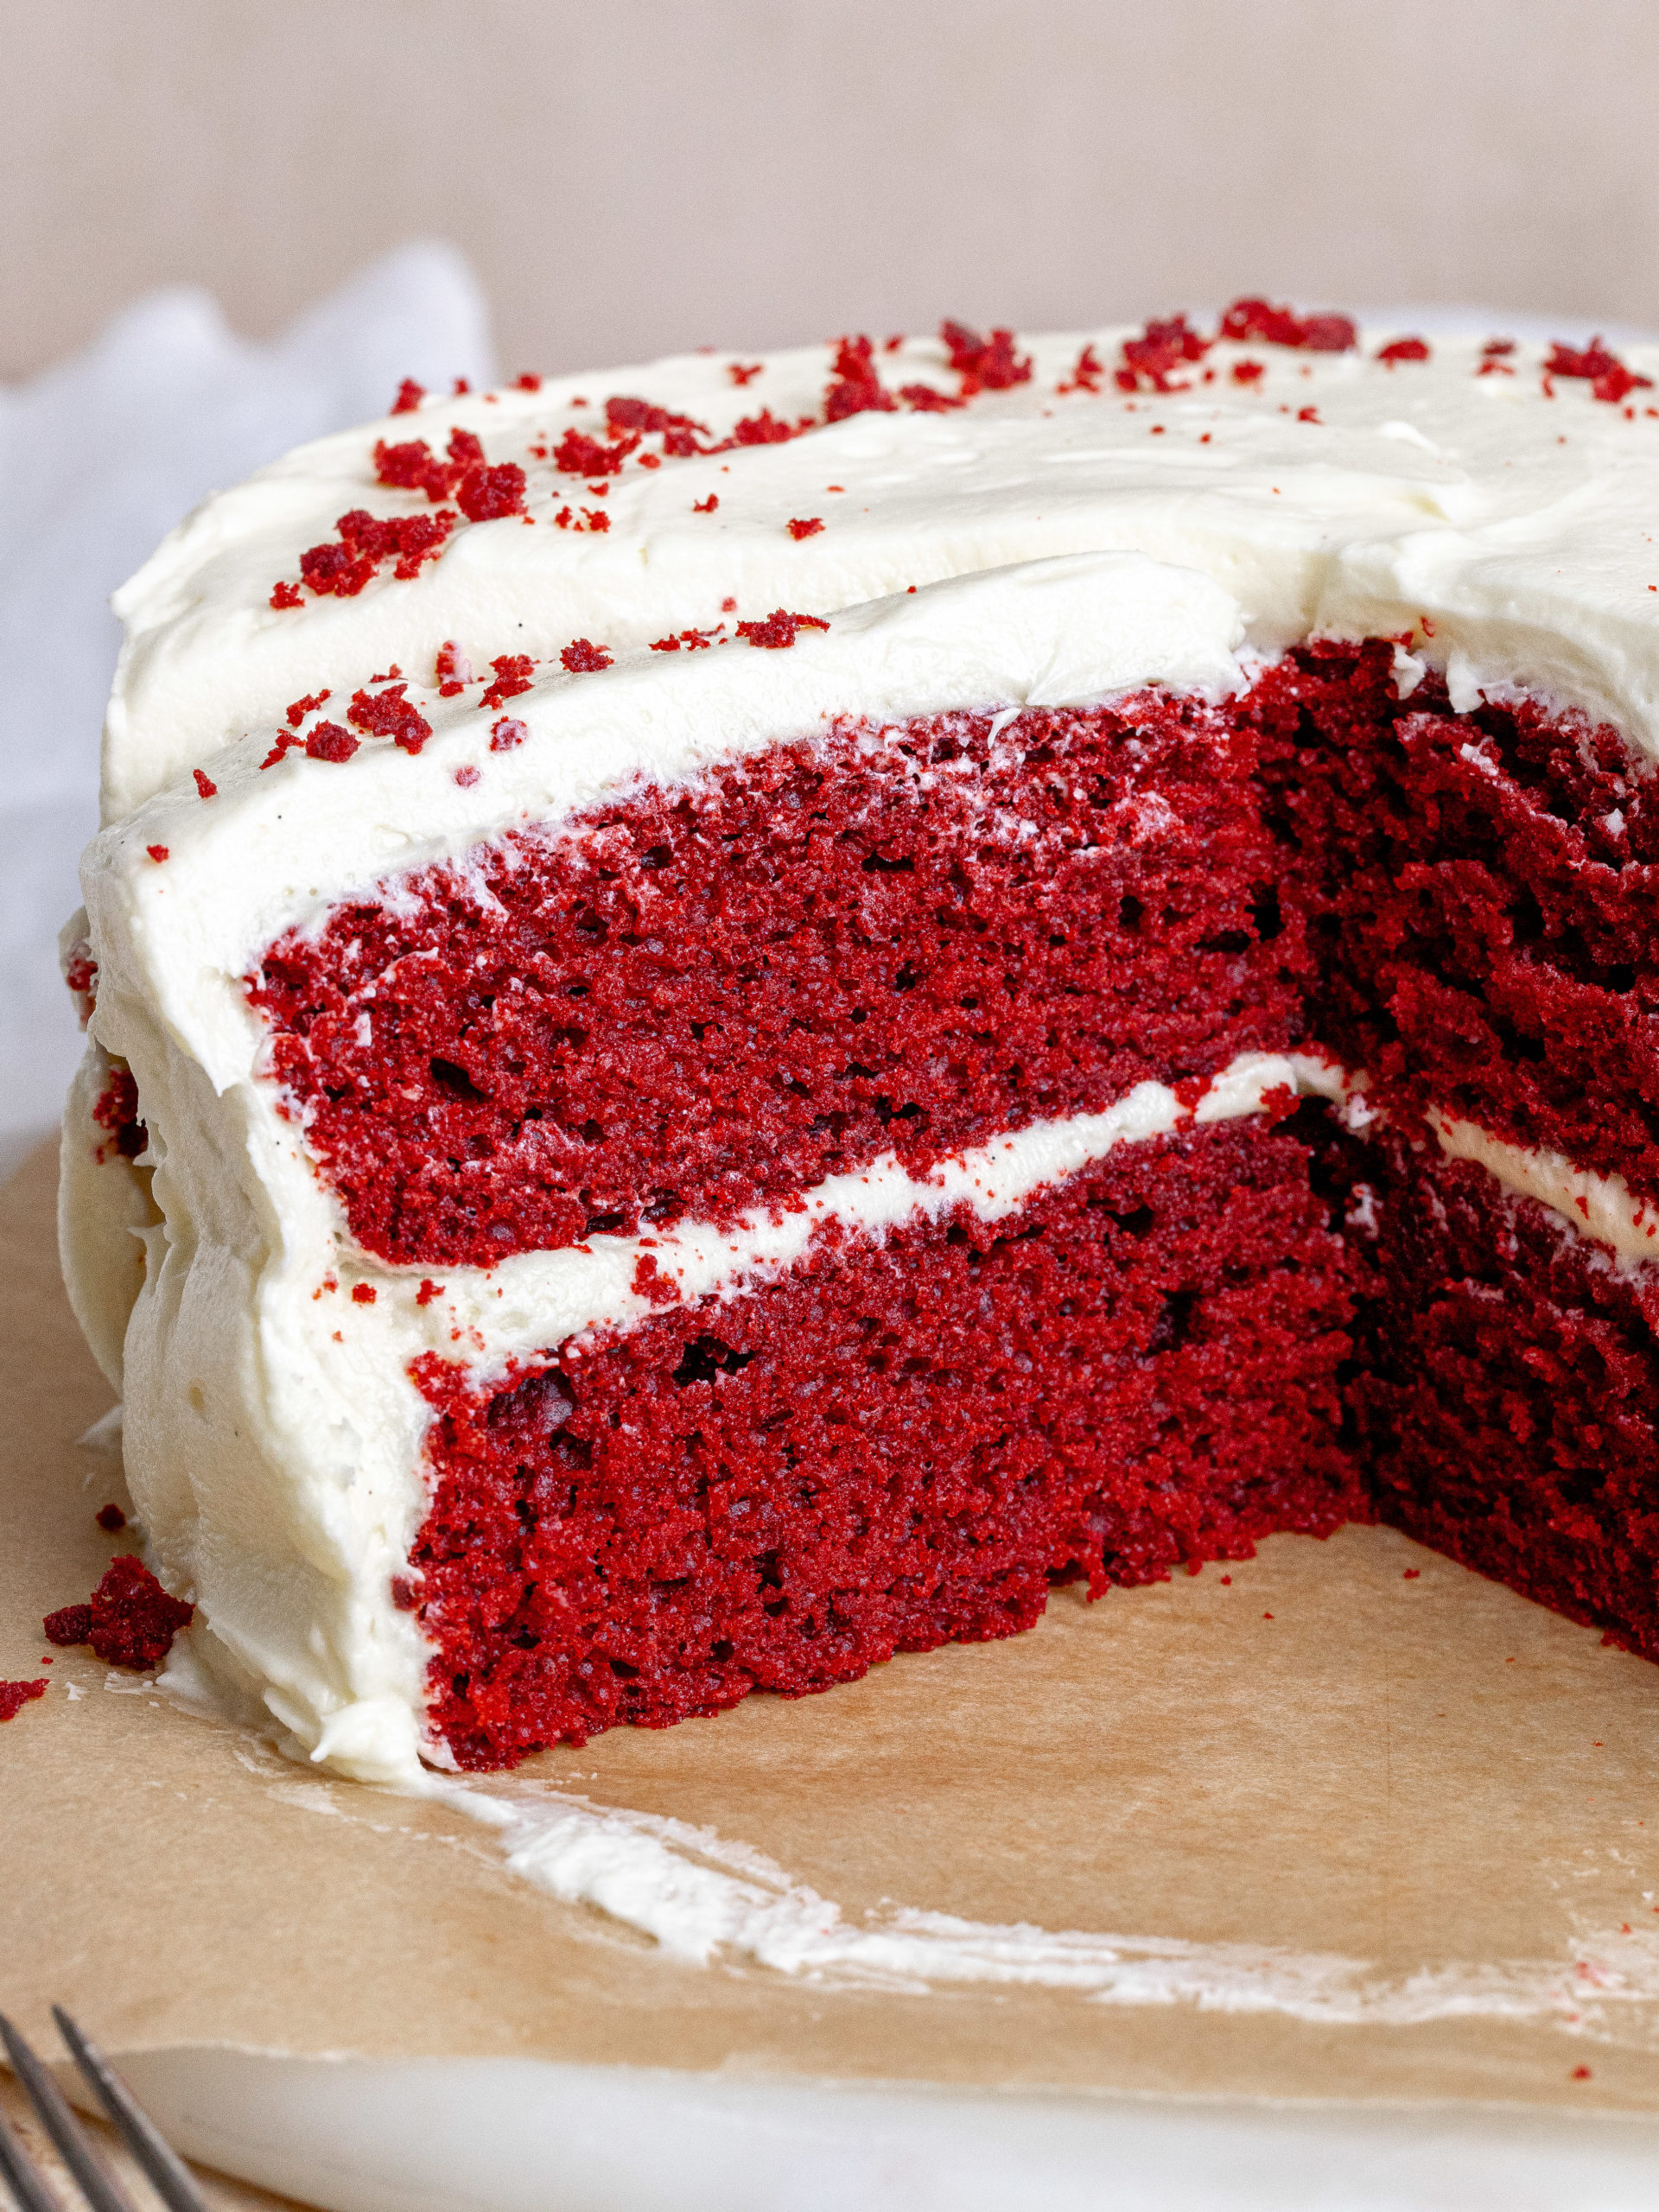
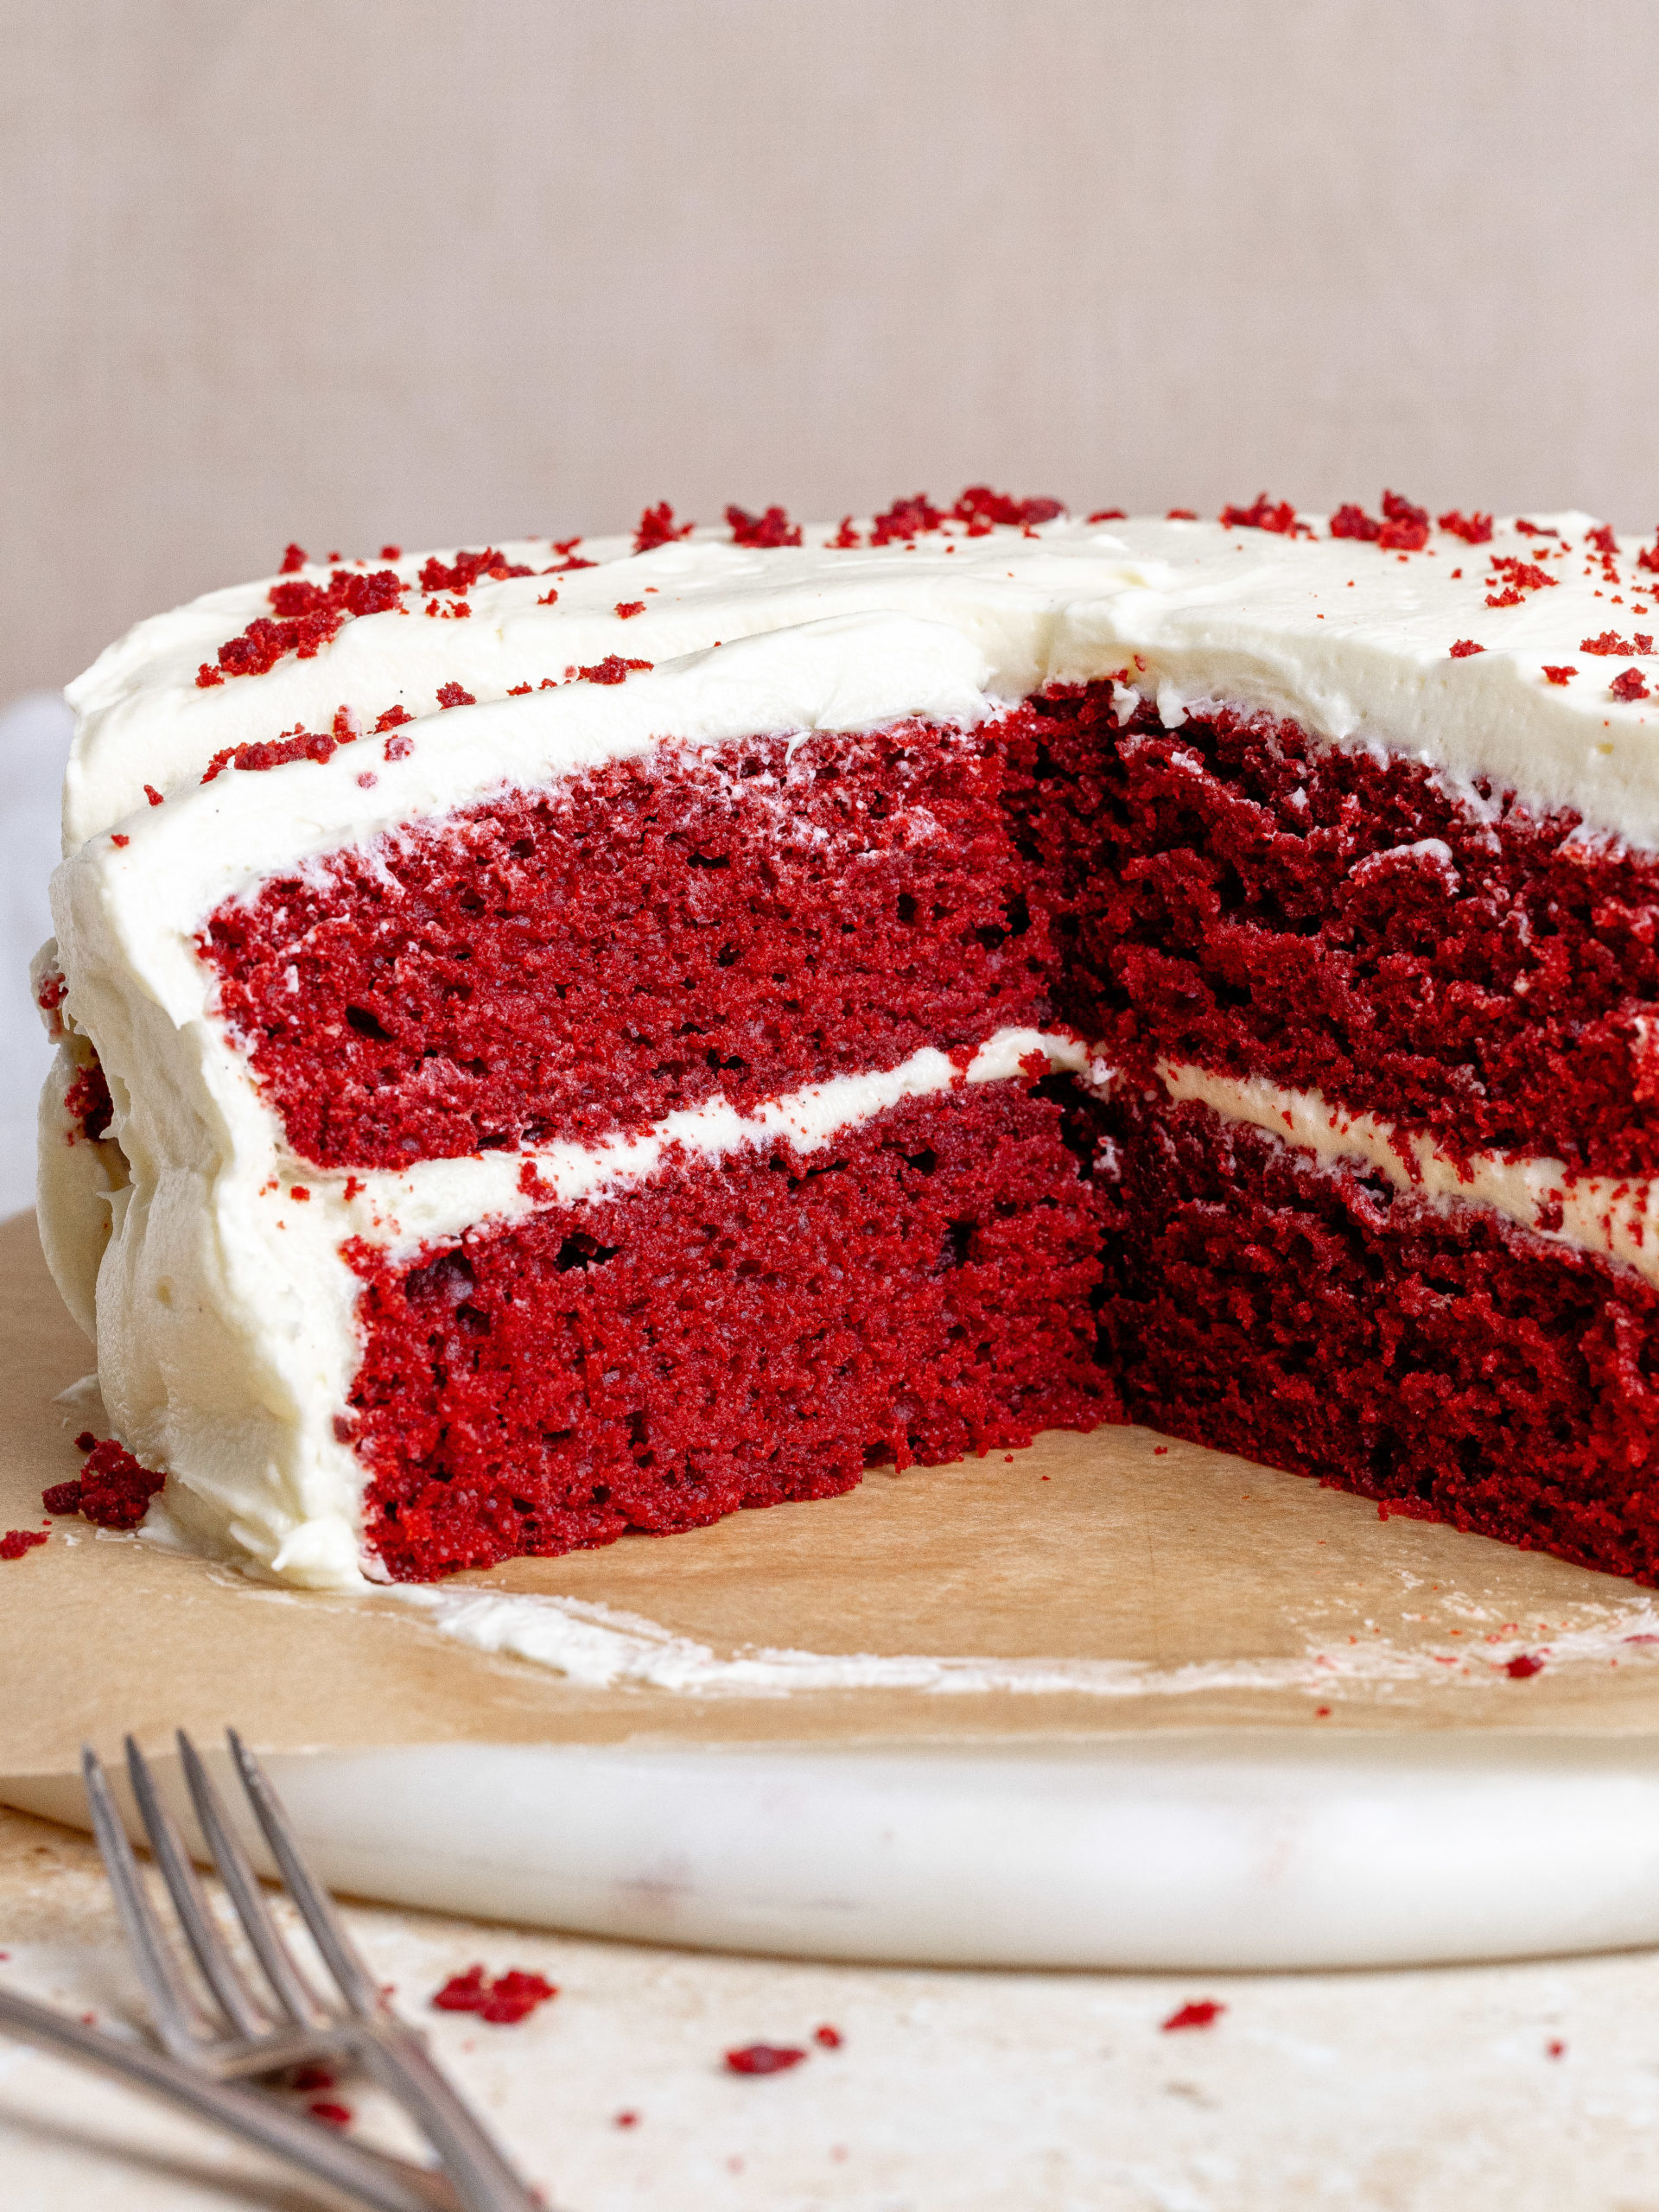
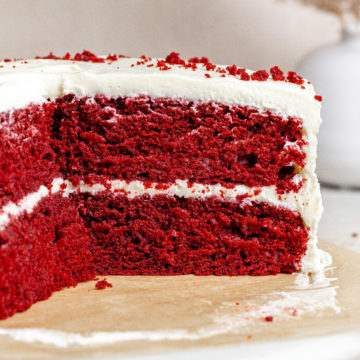
This is the most delicious soft and moist Red Velvet Cake! It has delicious layers of moist red velvet cake sandwiched together with a smooth cream cheese frosting that will send you straight to dessert paradise. This red velvet layer cake recipe is a classic that never fails and is perfect to serve at any birthday or celebration.
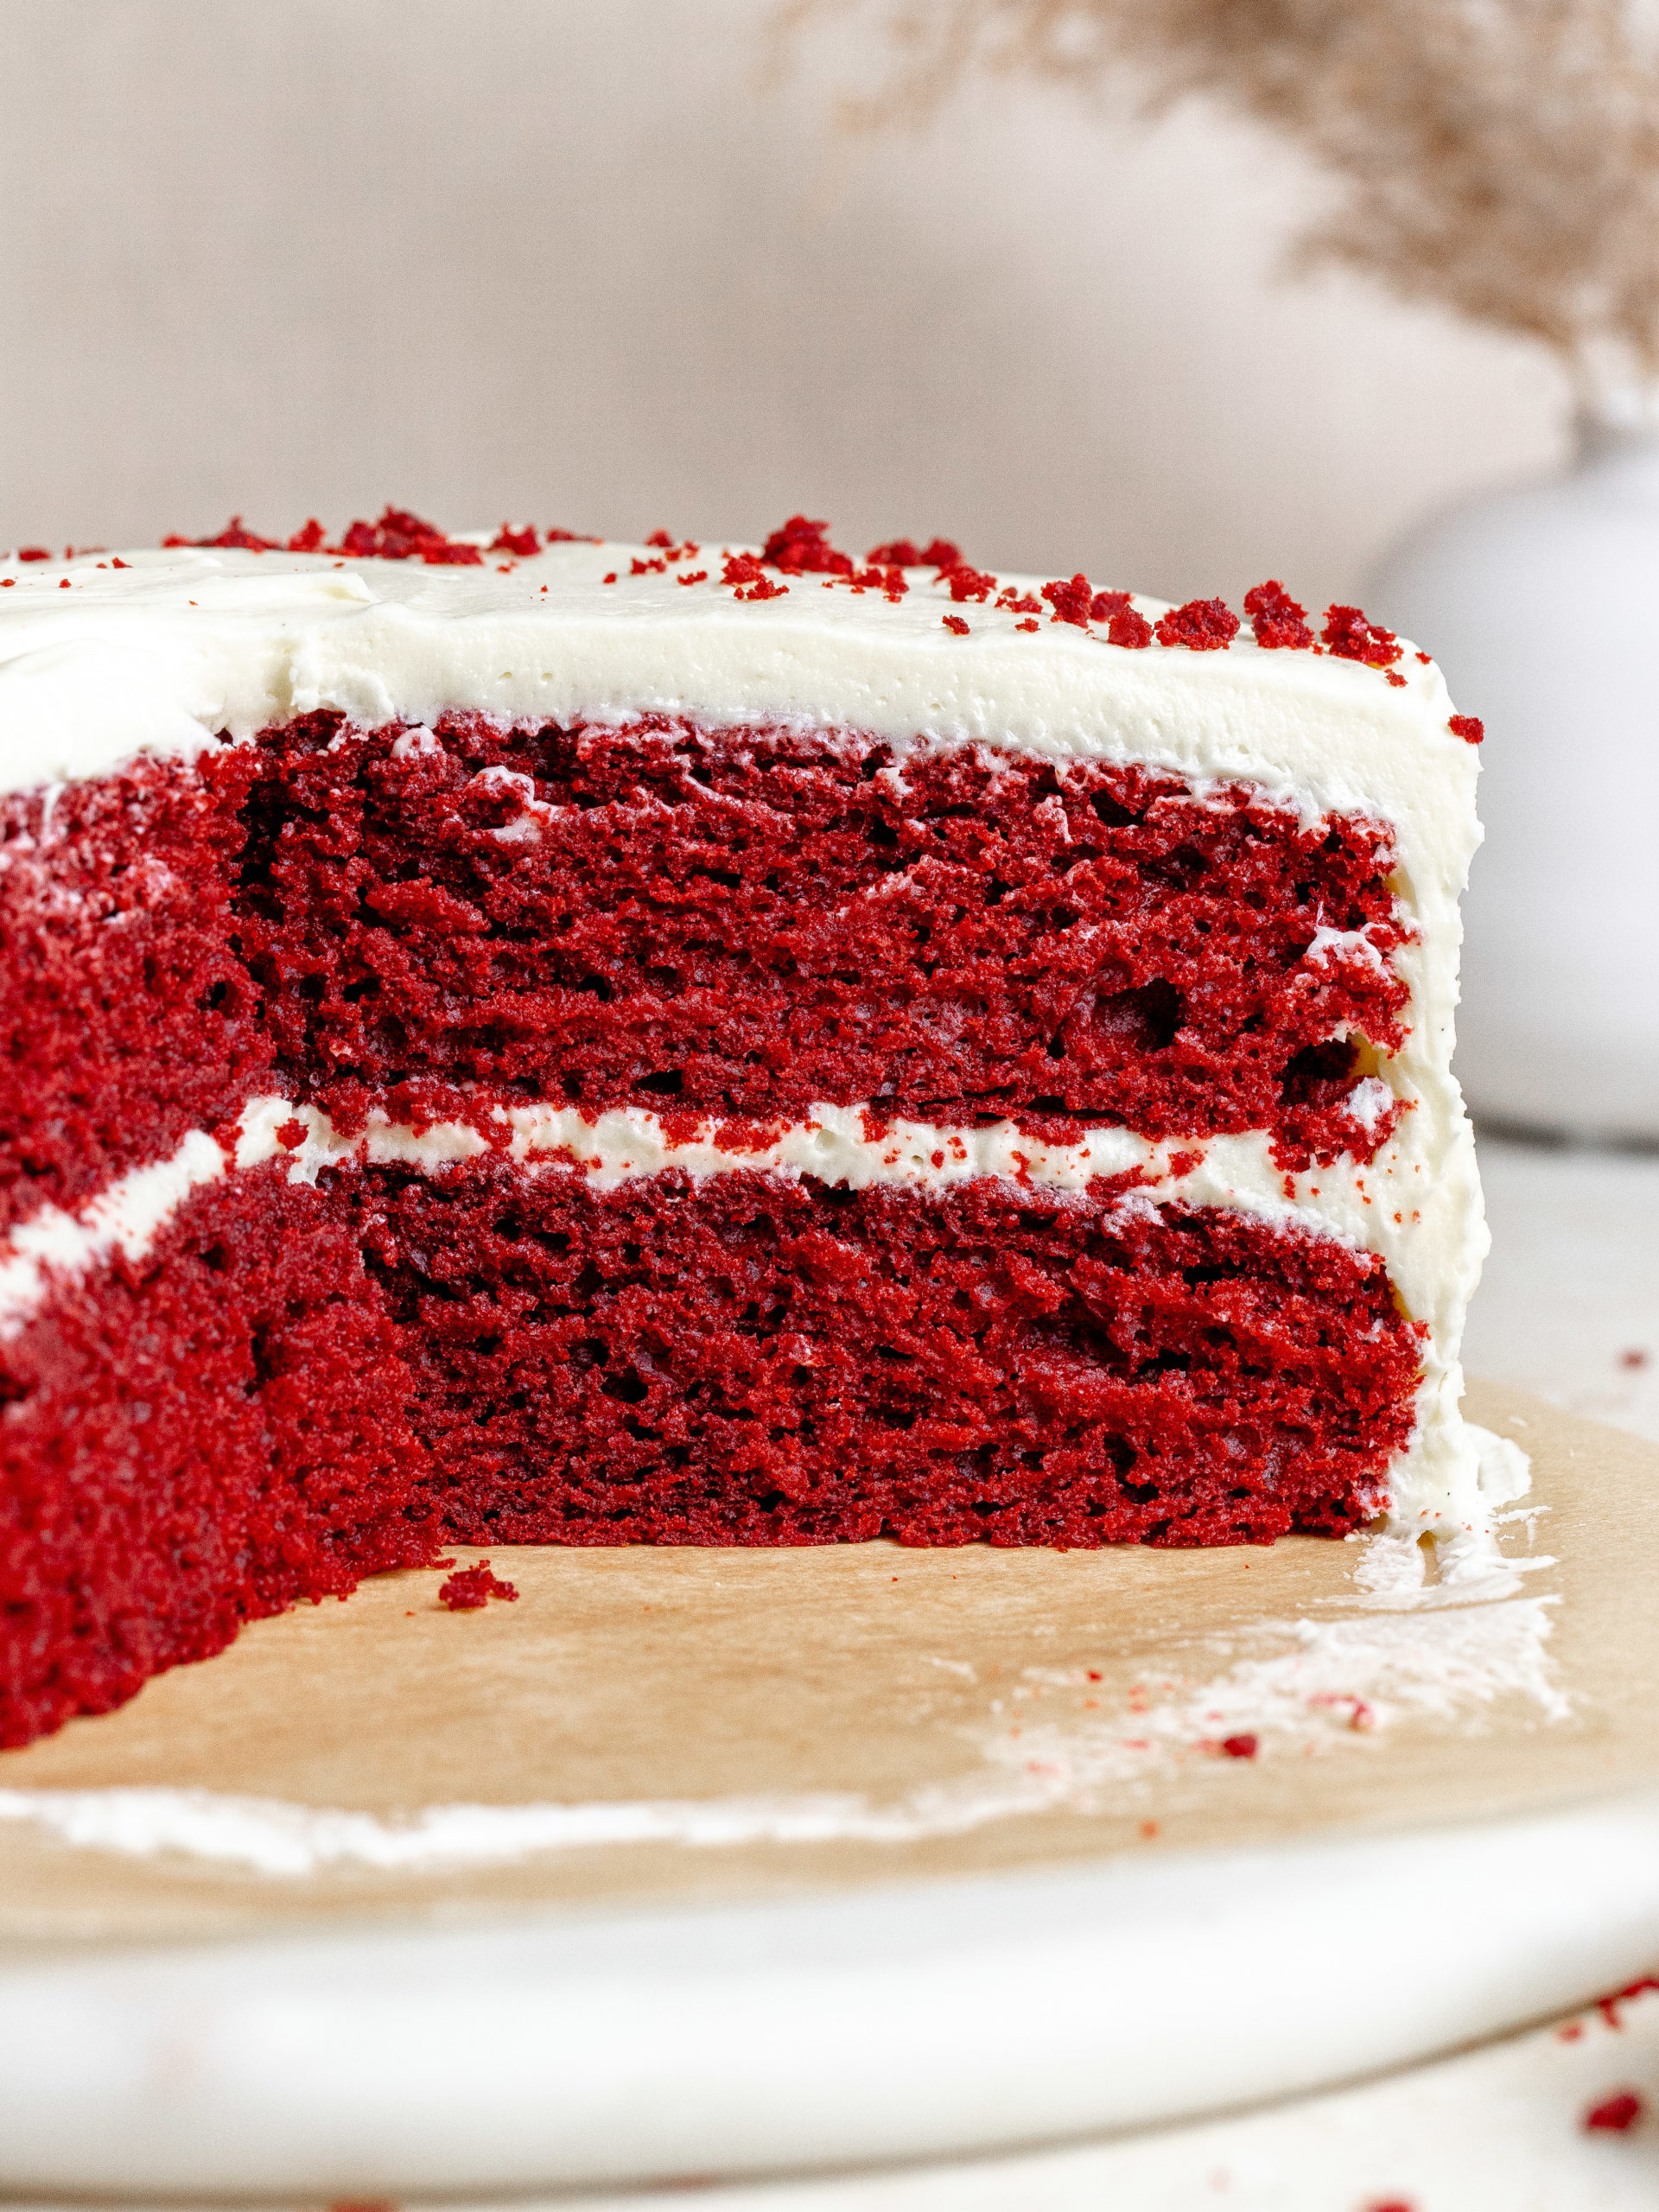
This is best red velvet cake recipe and it is perfectly light and airy. A red velvet cake recipe combines cocoa powder, buttermilk and white vinegar for that characteristic red velvet taste that balances tanginess and sweetness and has a subtle chocolate flavor. The red food coloring gives the cake layers their distinctive festive color and they are sandwiched together with the best cream cheese frosting.
This cake is perfect to serve at any occasions like Christmas, birthdays, Valentine’s Day or any other celebration.
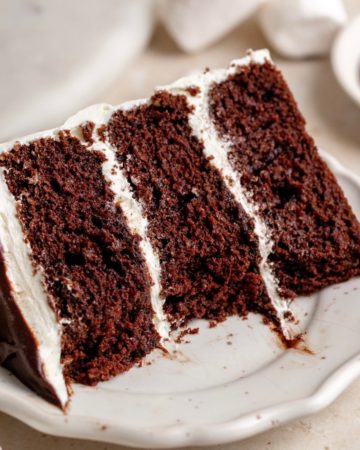
For more layer cake recipes, try Nutella Cake, Chocolate Fudge Cake and Chai Cake.
Jump to:
WHY THIS RECIPE WORKS
- Red velvet cake: The cake layers are super soft and fluffy, and is incredibly easy to make.
- Cream cheese frosting: It is super easy to make and is the perfect cream cheese frosting.
- Show stopper: This cake has a beautiful red color and is simple decorated with cake crumbs, making it a showstopper of a cake.
INGREDIENT NOTES
These are some of the key ingredients for this recipe. For a full list of ingredients, check out the recipe card below.
- All-purpose flour: Gives a light and airy cake. I prefer using all-purpose flour with a protein amount that is between 10-11%
- Sugar: The granulated sugar helps sweeten, as well as give moister to the cake.
- Baking powder and baking soda: Help leaven and rise the cake, so it has light and fluffy texture.
- Butter: The butter is used in the frosting. Bring it out and let it come to room temperature.
- Red gel food coloring: For the best result choose a gel paste over liquid food color. Food paste colors are more intense and you therefore need to use less of it. My favortie is Americolor or Sugarflair Extra Red.
- Eggs: Take the eggs out of the fridge 1-2 hours before baking (depending how warm your kitchen is).
- Sour Cream: Sour cream makes for a softer and more tender cake. Measure out the sour cream and let it come to room temperature 1-2 hours before baking (depending how warm your kitchen is).
- Buttermilk: Buttermilk gives a soft and tender cake as well as bringing a delicious tangy flavor that is characteristic of red velvet cake. Measure out the buttermilk and let it come to room temperature 1-2 hours before baking (depending how warm your kitchen is).
- White vinegar: White vinegar bring a delicious tangy flavor, to complement the sweetness, that is characteristic of red velvet cake.
- Cocoa powder: I recommend using high quality dutch processed cocoa powder for the best flavor, my favorite is from Valrhona or Ghirardelli.
- Vegetable oil: Use a flavor neutral oil, such as canola oil.
STEP BY STEP INSTRUCTIONS
Here is how to make and bake this Red Velvet Cake. This cake needs two bowl, a hand whisk and a stand mixer or electric hand mixer.
The full recipe is down below in the recipe card.
Before starting preheat the oven to 170ºC/ 340ºF conventional oven. Prepare 2 x 20 (8 inch) cake pans with parchment paper.
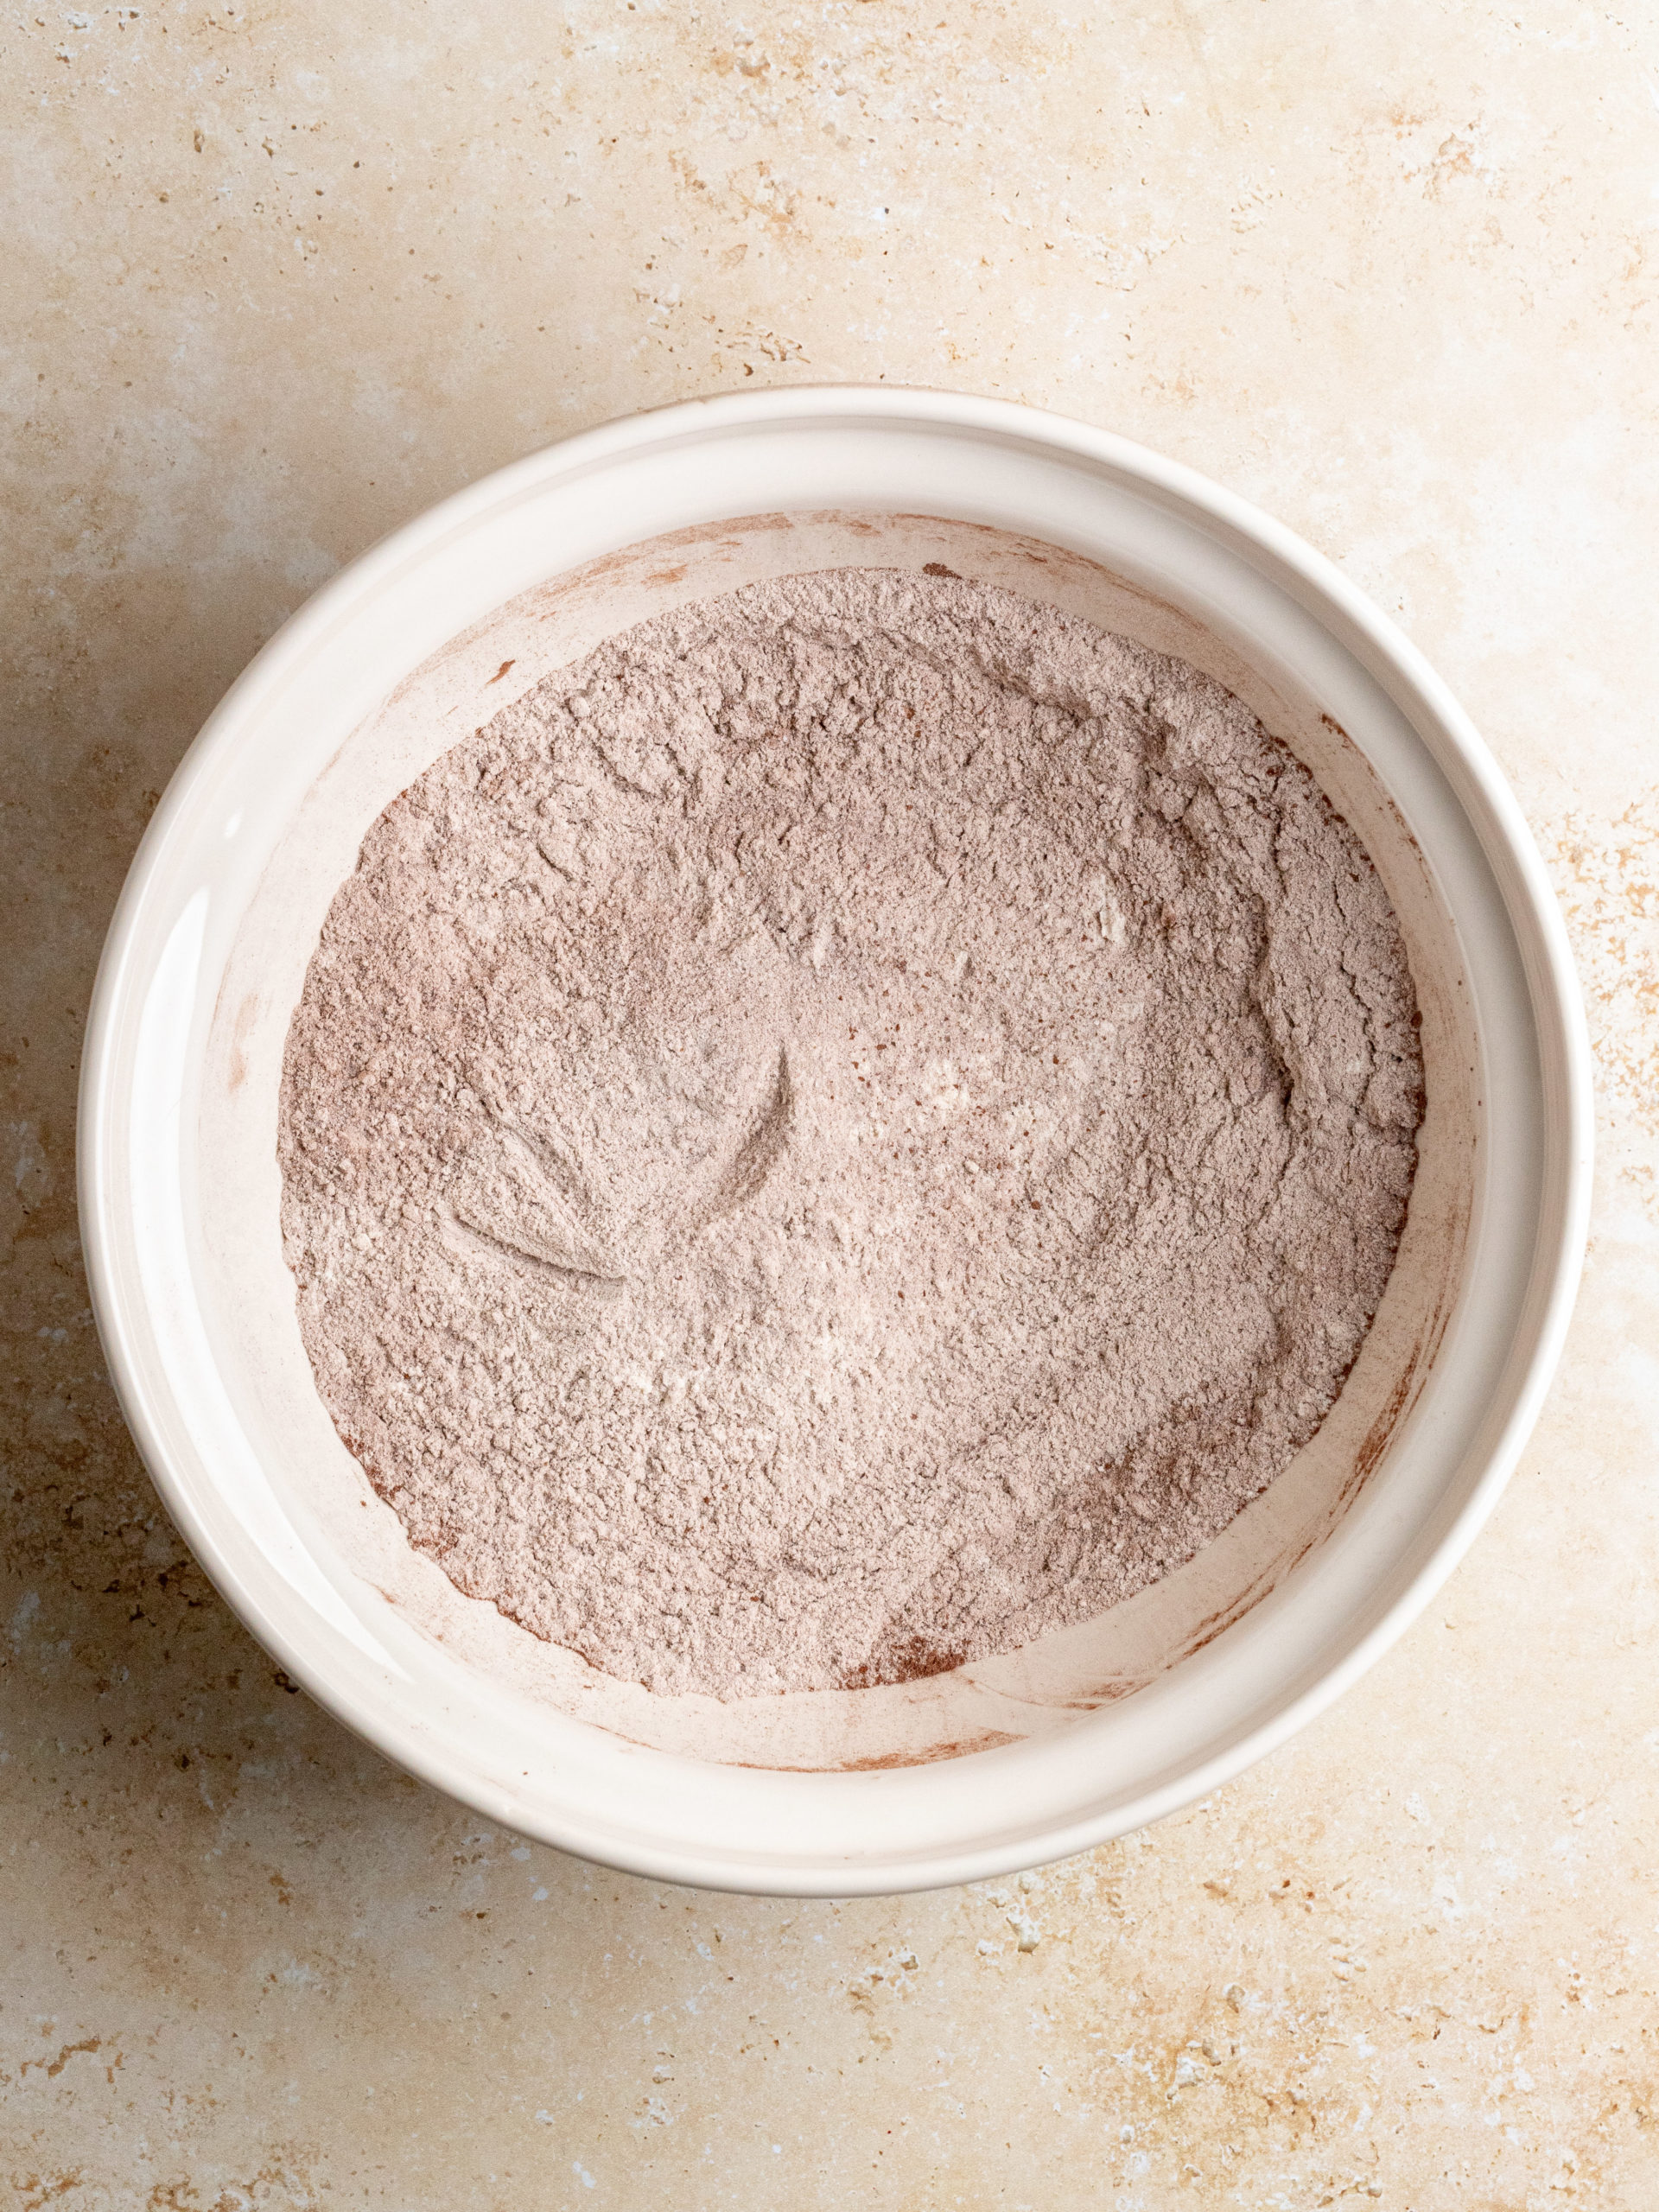
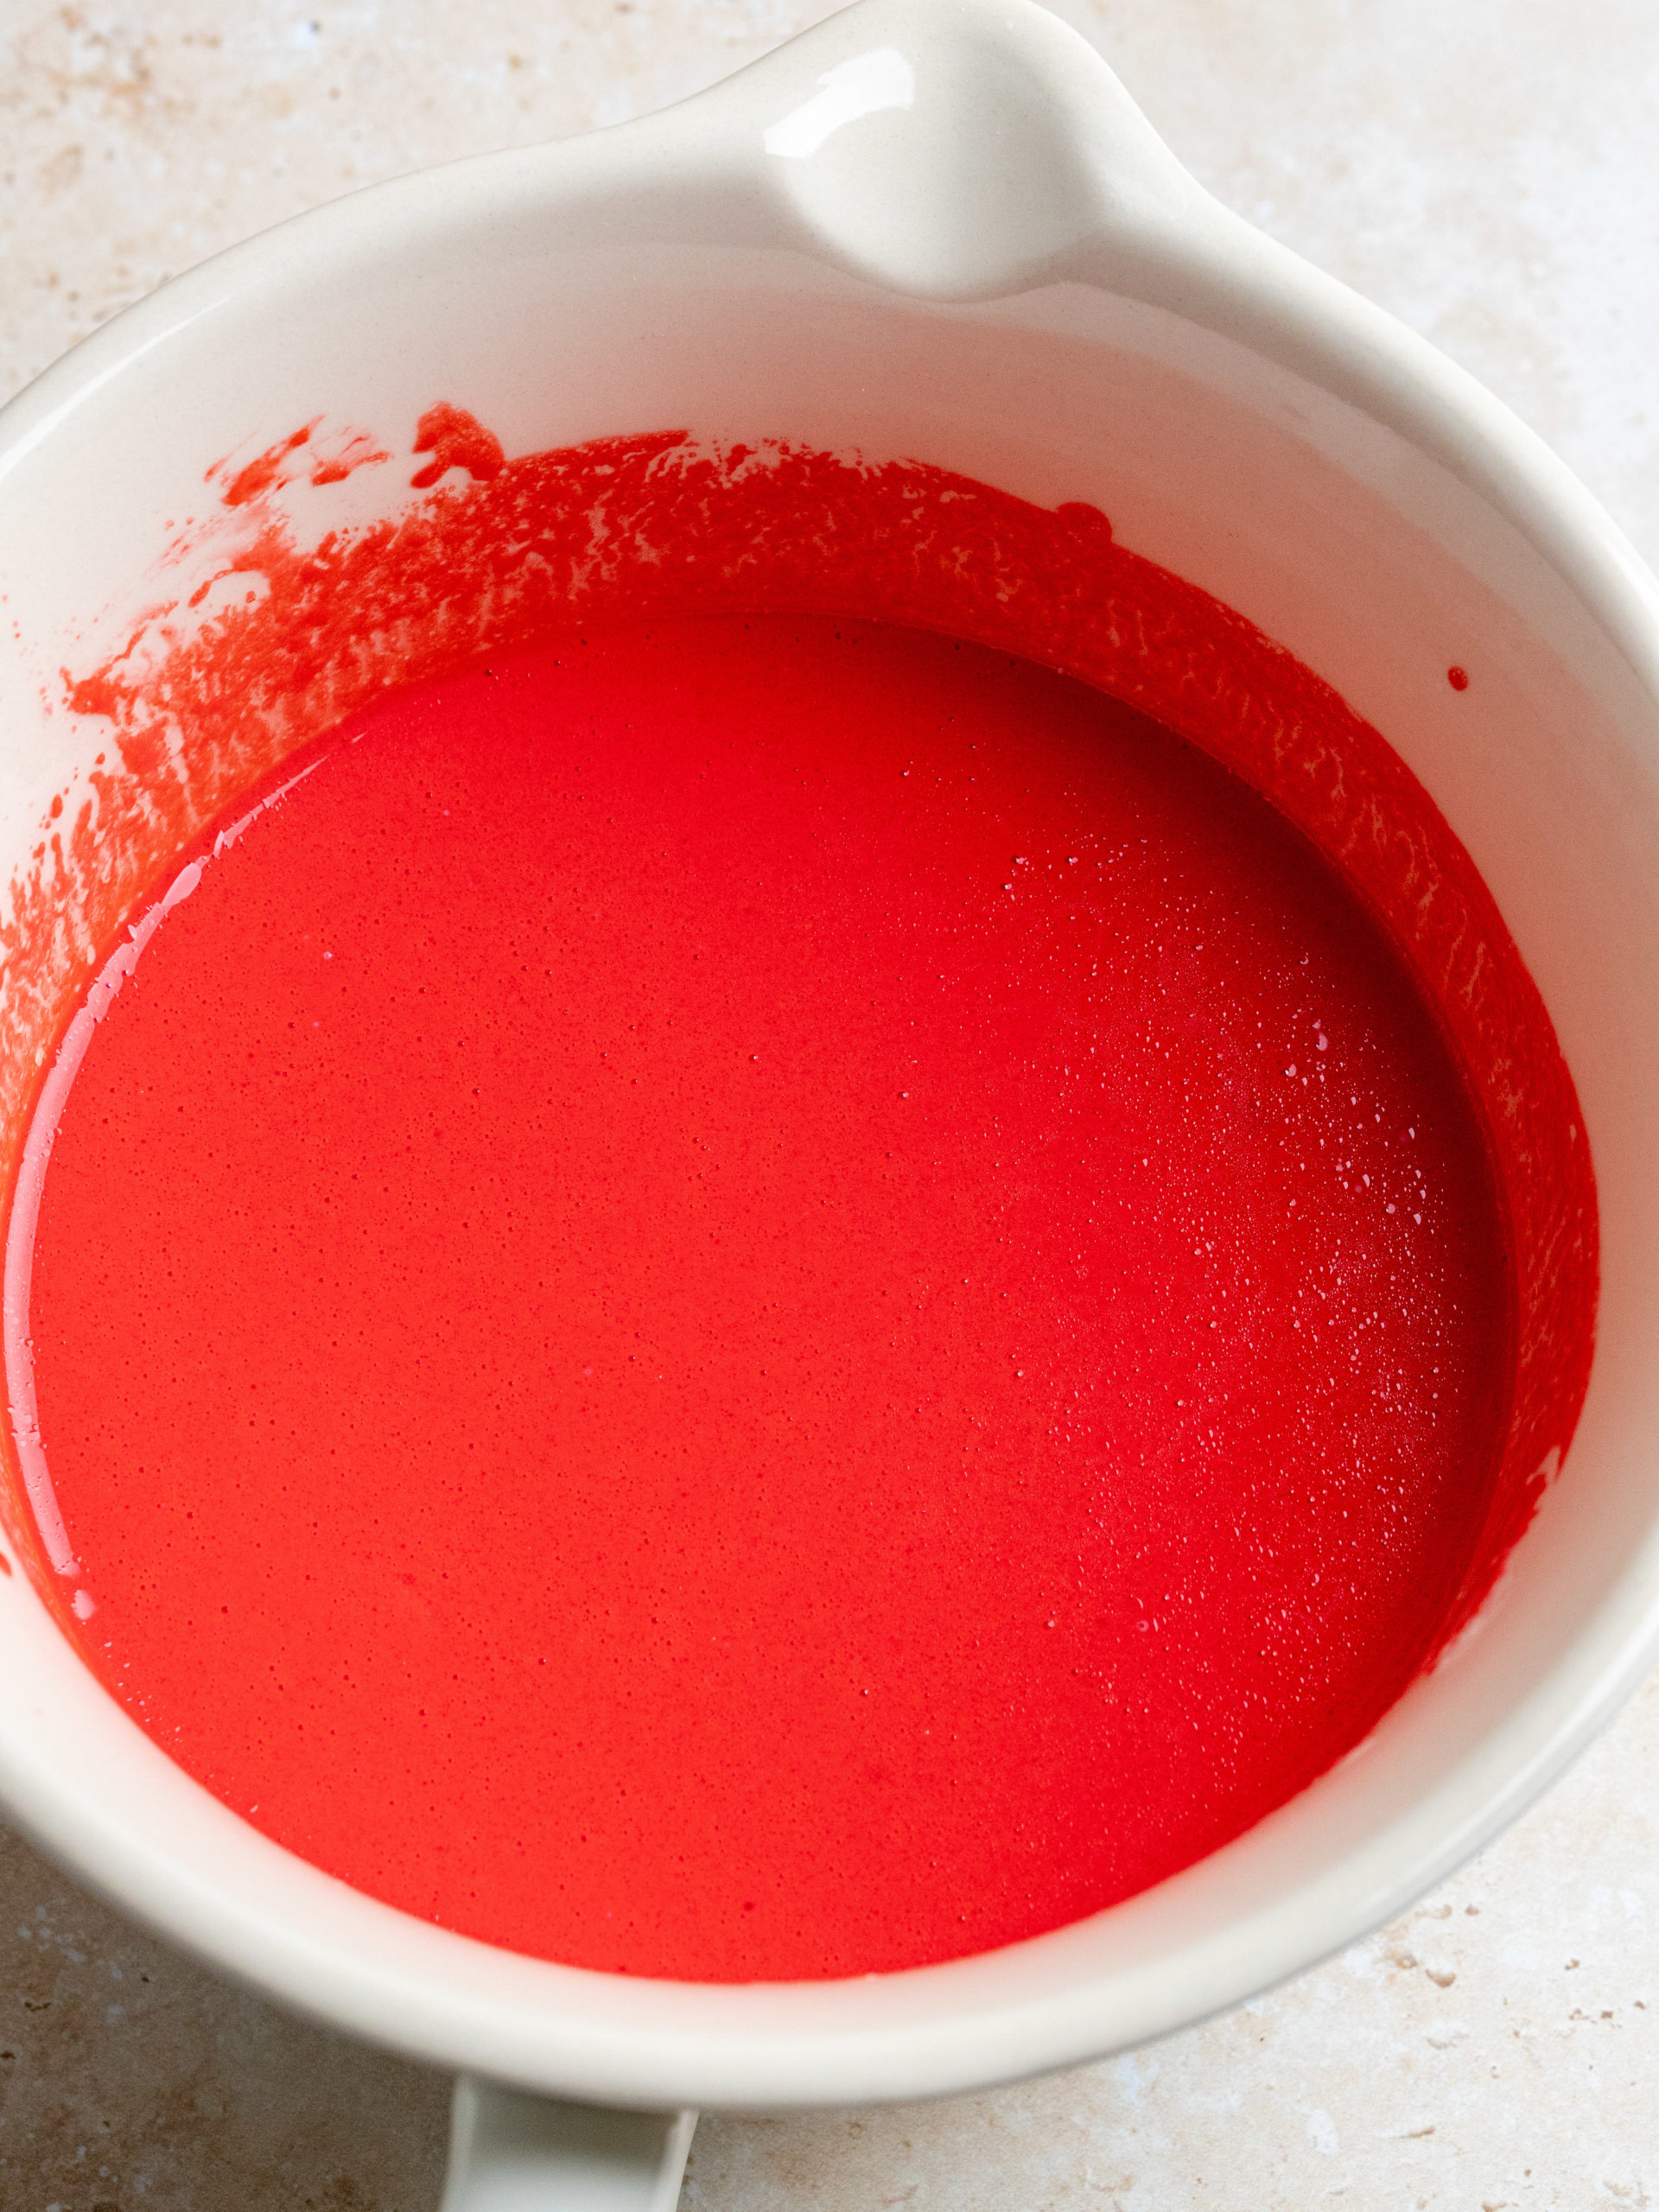
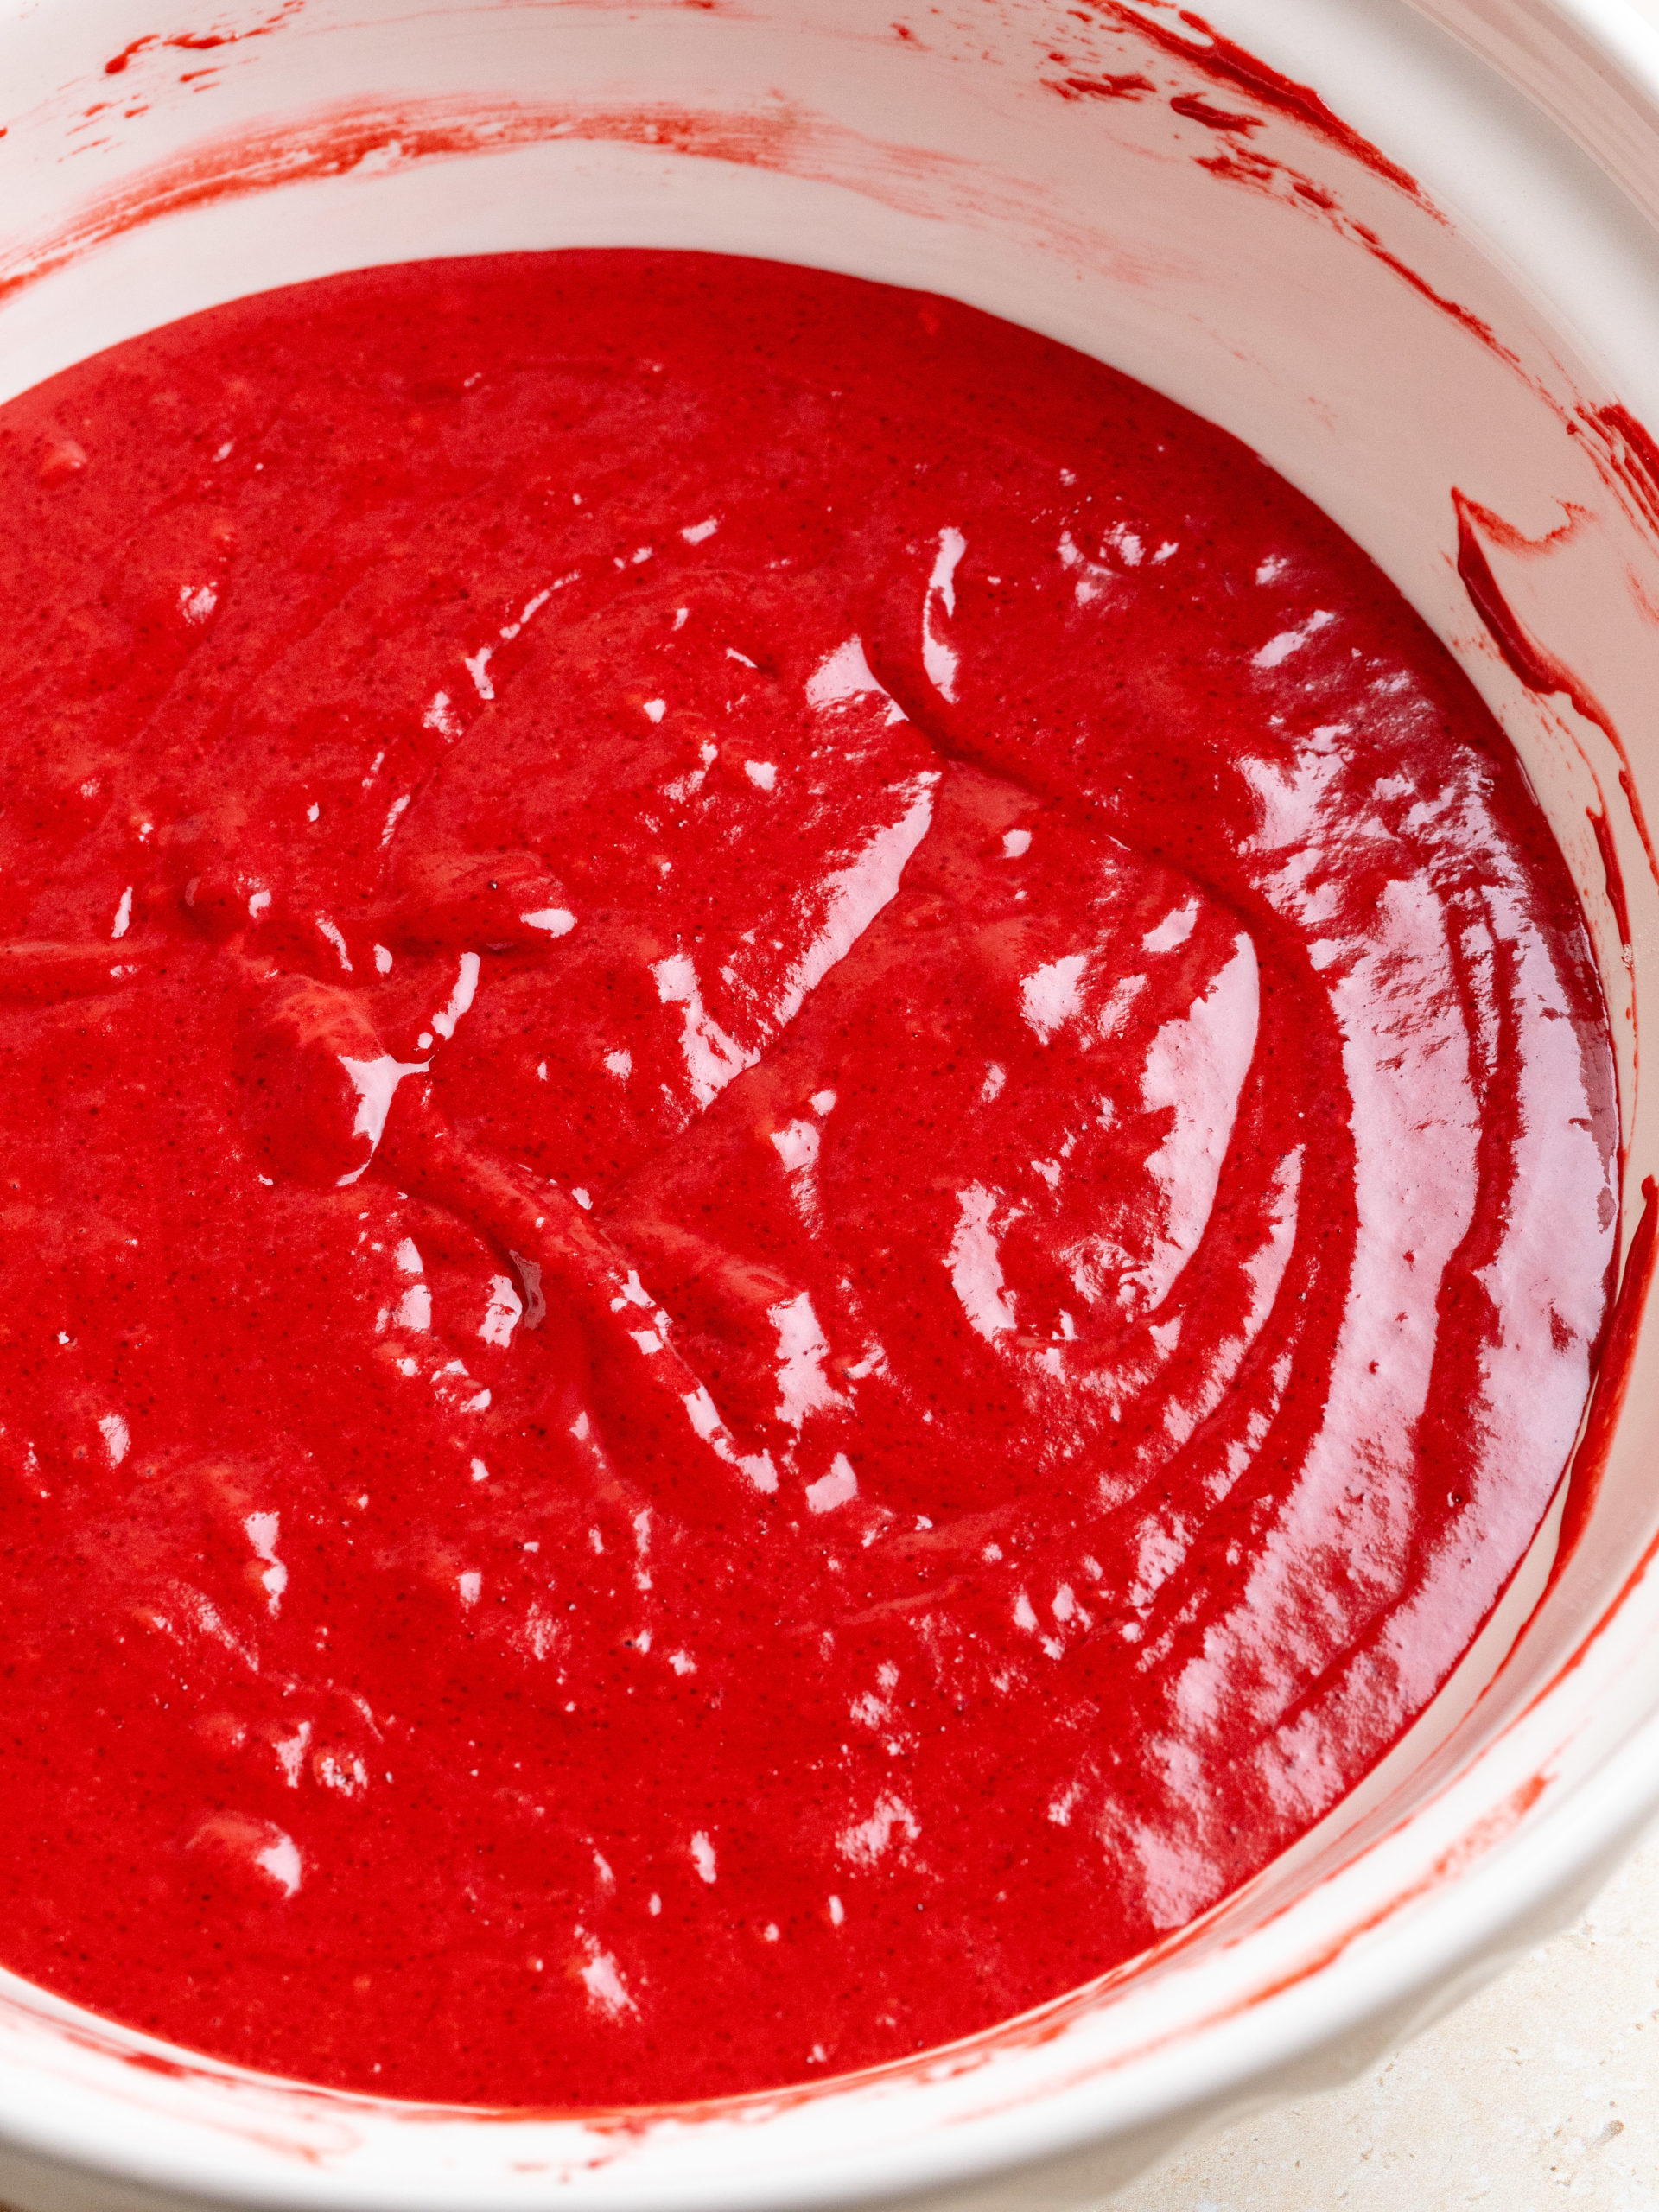
STEP 1: In a bowl, sift all of the dry ingredients together. Give it a stir to make sure everything is combined and set it aside. In another mixing bowl add all of the wet ingredients, and with a hand whisk, whisk them together until combined.
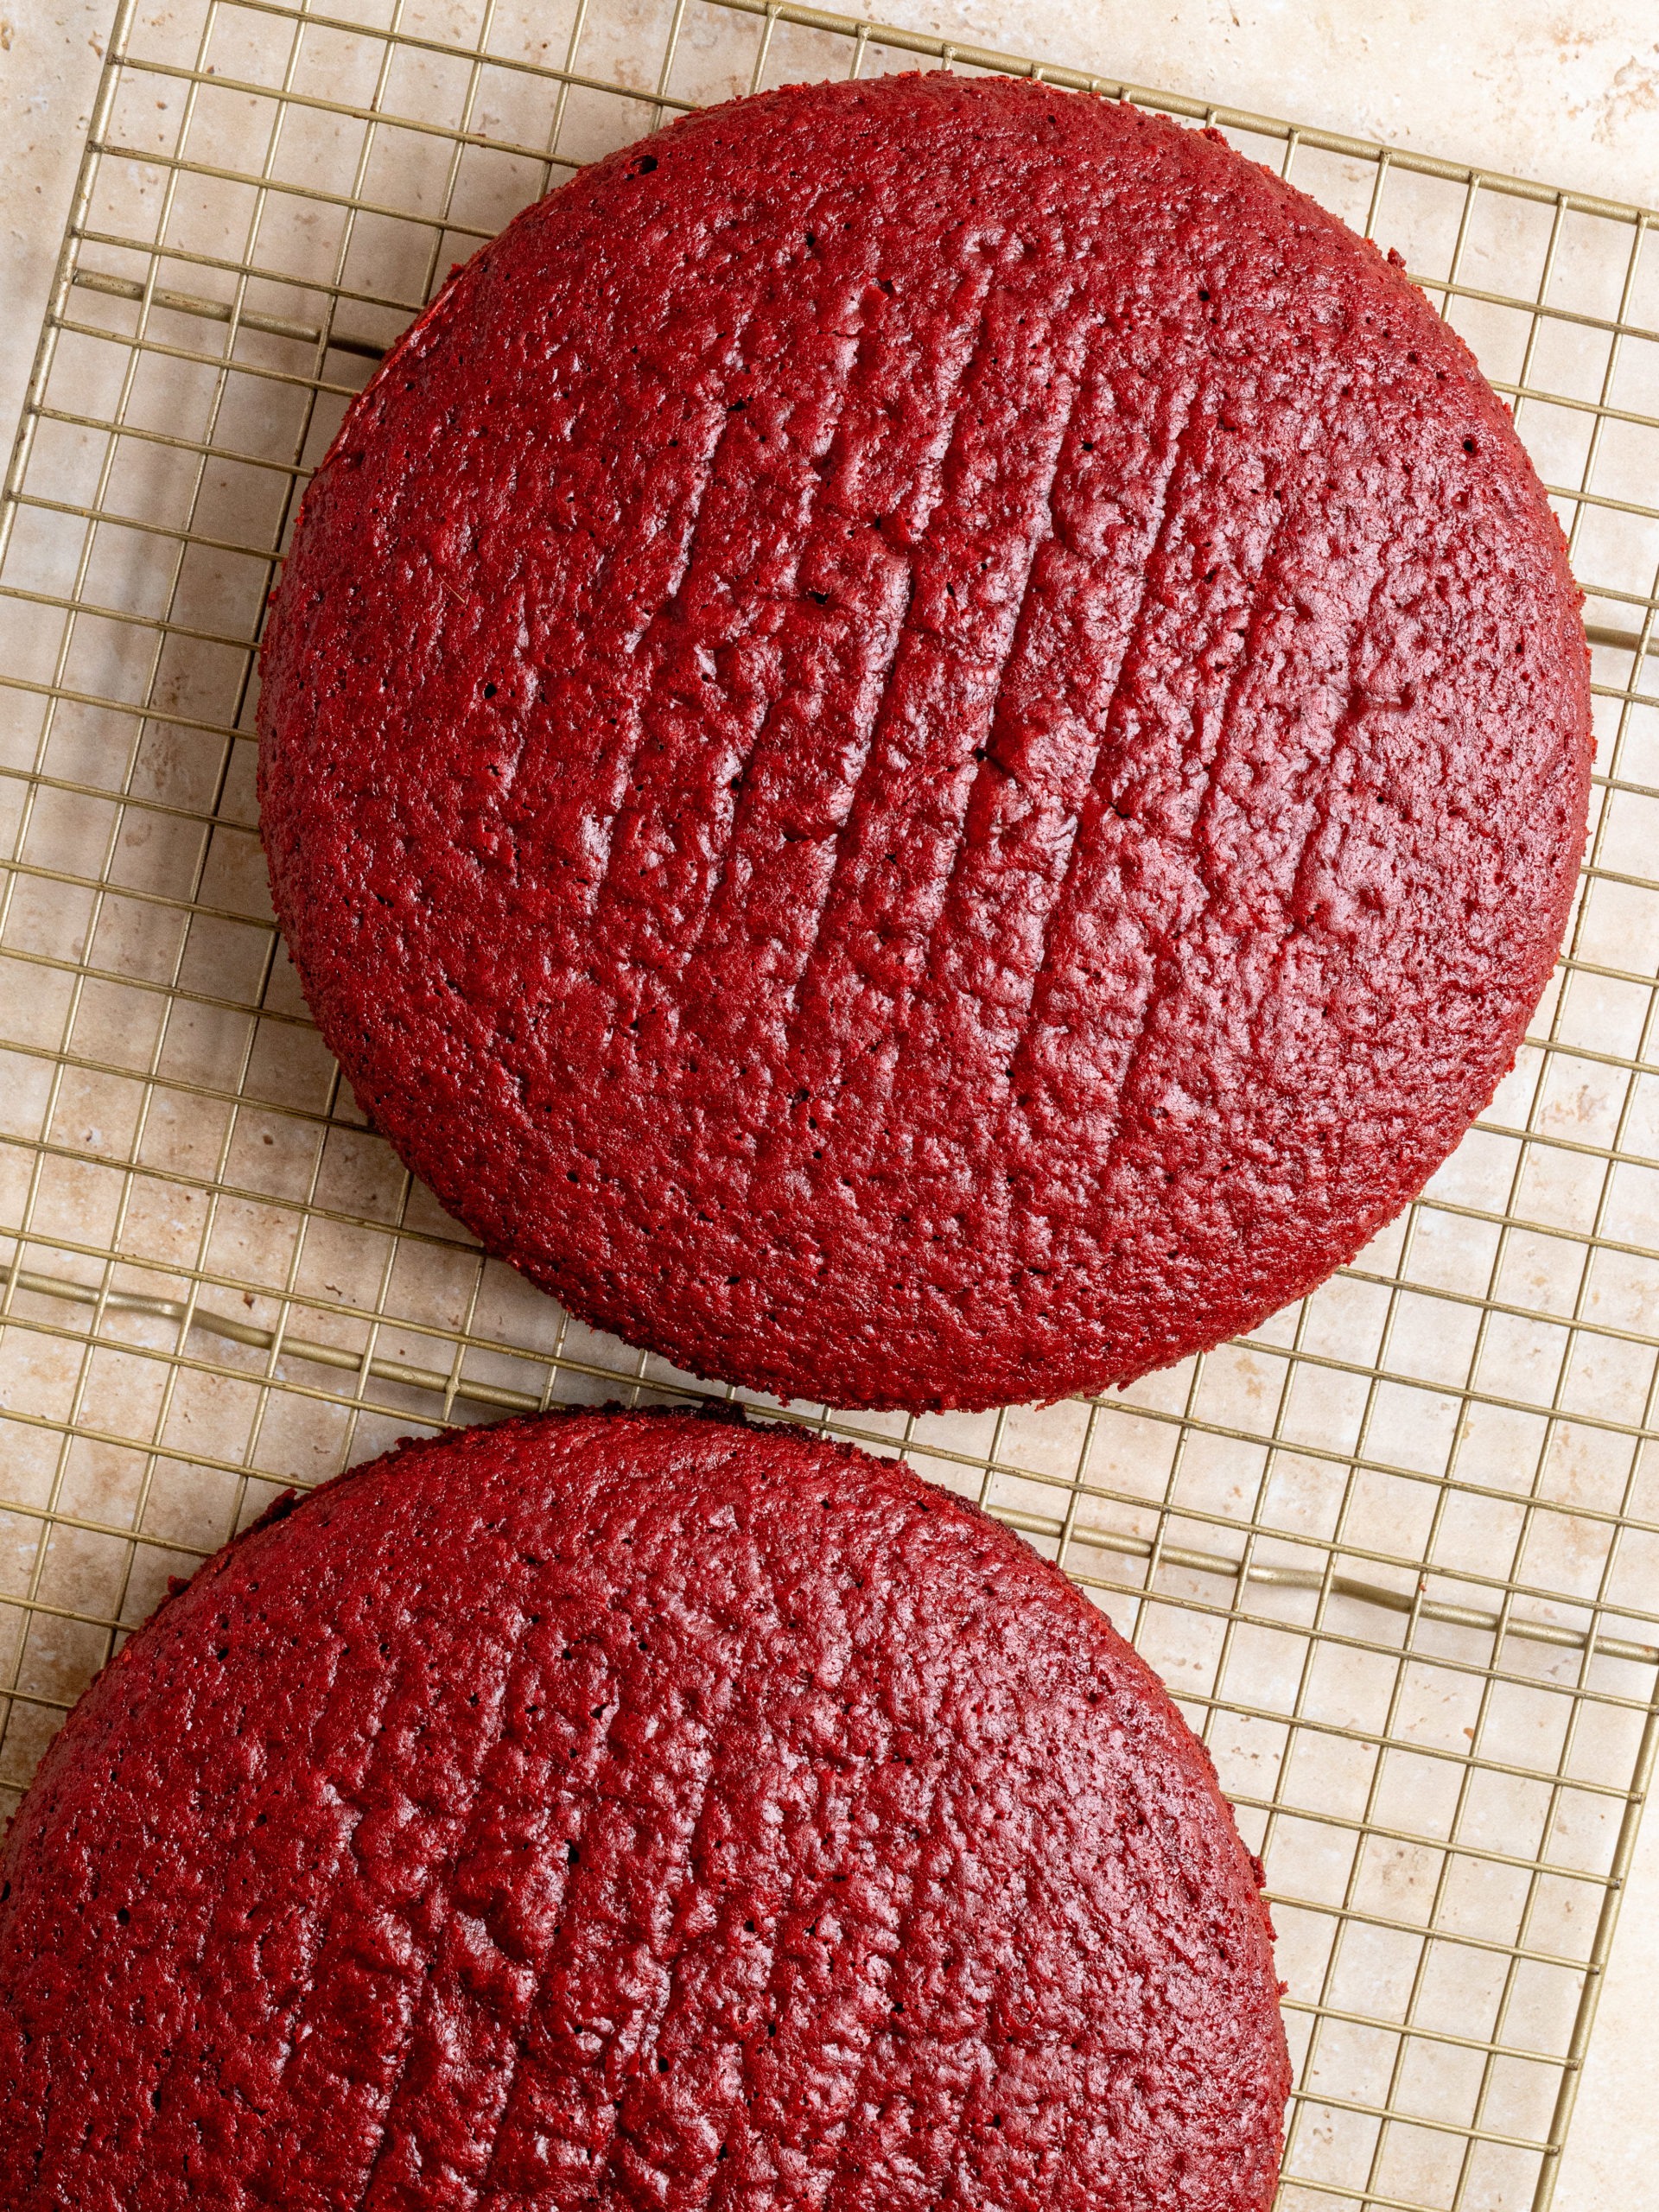
STEP 2: Slowly pour the wet ingredients into the flour mixture while gently stirring it all together. Make sure there are no lumps left in the batter. Pour the cake batter into the prepared baking tins and bake them for 28-30 minutes or until a cake tester comes out clean.
STEP 3: Let the cakes cool on a cooling rack. After 5 minutes, gently remove the cakes from the cake tins and let the cakes cool down completely.
STEP BY STEP INSTRUCTIONS - FROSTING AND ASSEMBLING
STEP 1: Take the butter and cream cheese out of the fridge 10 minutes before starting. Cut the butter into cubes. Sift the powdered sugar. In your stand mixer, using the paddle attachment, or using an electric mixer, start by creaming the butter for 5 minutes on medium-high speed. Scrape down the sides of the bowl and give it another mix for 2 minutes.
STEP 2: Add the vanilla bean paste and cream cheese and cream it together with the butter for 1 minute. Add the sifted powdered sugar in 2 parts, letting the powdered sugar mix in with butter and cream cheese before adding the next part. Scrape down the sides of the bowl and give it a final mix for 2 minutes.
STEP 3: Place the first cake layer on your serving dish or cake board on your turntable. Add 2 big scoops of frosting and with an offset spatula, even it out. Then add the other cake layer and cover the whole cake in a thin crumb coat. Add the remaining frosting, and even it out over the cake. Decorate with the cake crumbs from the leftover cake scraps.
EXPERT BAKING TIPS
- Use a kitchen scale: My default setting for my recipes is grams. It is the most precise way of measuring out your ingredients, I therefore highly recommend using a kitchen scale.
- Don't over mix your batter: I always use a spatula after everything has mixed together, to give it one final gentle fold together. This makes sure everything in the bottom of the mixing bowl has been mixed into the batter.
- Light vs. dark baking pans: For the best result, use an aluminum baking pan, greased with butter and lined with baking paper in the bottom. Aluminum pans are light in color and therefore attract less heat. That means it bakes more gently which results in a softer cake. If you use a black baking pan it'll attract a lot more heat. That will then give a darker crust, which can result in a dryer cake.
FAQ
Yes, replace it 1:1 with full-fat Greek yogurt.
Yes, let the cake layers cool down at room temperature, then wrap them in plastic wrap and store them at room temperature.
I recommend using a cake tester or a toothpick. Once the time has passed, per the recipe, insert the cake tester in the middle of the cake and once it comes out clean, with no cake batter on it, then it's done.
STORAGE
Store this red velvet cake in the fridge in an airtight container. When wanting to eat it, take it out of the fridge and let it come to room temperature. It's best enjoyed within a 2-3 days.
Other Layer Cake Recipes To Try
Make sure leave a STAR REVIEW if you loved this recipe! Make sure to tag me on Instagram @juliemarieeats. To get more ideas by following me on Pinterest.
Red Velvet Cake
Equipment
Ingredients
RED VELVET CAKE LAYERS
- 300 g all-purpose flour
- 300 g granulated sugar
- 2 tablespoon unsweetened Dutch cocoa powder
- 1 teaspoon baking powder
- 1 teaspoon baking soda
- 1 teaspoon salt
- 165 g buttermilk
- 180 g sour cream 14-18%, room temperature
- 110 g vegetable oil
- 2 large eggs room temperature
- 2 teaspoon white vinegar
- 2 teaspoon vanilla extract
- 1 teaspoon red gel food coloring or vegan food coloring the amount can depend on your food color, see if it needs more for a deep red color
CREAM CHEESE FROSTING
- 300 g butter
- 150 g full-fat cream cheese
- 540 g powdered sugar sifted
- ¾ teaspoon vanilla bean paste
The US customary cup measurement serves as a rough estimate, as it can have uncertainties, so for precise results, it's recommended to weigh your ingredients using a digital scale in grams. Baking is both an art and a science, which most often requires precision and accuracy.
Instructions
RED VELVET CAKE LAYERS
- Preheat the oven at 170ºC/340ºF conventional oven and line 2x 20 cm/8 inch baking pans with parchment paper.
- In a bowl, sift all of the dry ingredients together. Give it a stir to make sure everything is combined.300 g all-purpose flour, 300 g granulated sugar, 2 tablespoon unsweetened Dutch cocoa powder, 1 teaspoon baking powder, 1 teaspoon baking soda, 1 teaspoon salt
- In another mixing bowl add all of the wet ingredients, and with a hand whisk, whisk them together until combined. (Add 1-2 teaspoon more red gel food color if it's not a bright red. Food colors are very different and you therefore might need more depending on the brand you're using). Be sure to not mix the ingredients too vigorously so the eggs don’t get over mixed.165 g buttermilk, 180 g sour cream, 110 g vegetable oil, 2 large eggs, 2 teaspoon white vinegar, 2 teaspoon vanilla extract, 1 teaspoon red gel food coloring or vegan food coloring
- Slowly pour the wet ingredients into the flour mixture while gently stirring it all together. Make sure there are no lumps left in the batter.
- Divide the cake batter into the prepared baking pans and bake them for 28-30 minutes or until a cake tester comes out clean.
- Let the cakes cool on a cooling rack. After 5 minutes, gently remove the cakes from the cake tins and let the cakes cool down completely.
CREAM CHEESE FROSTING
- Take the butter and cream cheese out of the fridge 10 minutes before starting. Cut the butter into cubes. Sift the powdered sugar.300 g butter, 150 g full-fat cream cheese
- In your stand mixer, using the paddle attachment, start by creaming the butter for 5 minutes on high speed. Scrape down the sides of the bowl and give it another mix for 2 minutes.
- Add the vanilla bean paste and cream cheese and cream it together with the butter for 1 minute on medium speed.¾ teaspoon vanilla bean paste
- Scrape down the sides of the bowl and on low speed, mix the sifted powdered sugar in 2 parts, letting the powdered sugar mix in with butter and cream cheese before adding the next part. Scrape down the sides of the bowl and give it a final mix for 2 minutes.540 g powdered sugar sifted
- Take the bowl off the stand mixer and with a spatula or wooden spoon, beat it well by hand to make sure to remove the air bubbles in the buttercream.
ASSEMBLING
- Start by cutting the very top of the cooled down cake layers, with a serrated knife, so they have an even top. Save the cake scraps for decoration.
- Place the first cake layer on your serving dish or cake board on your turntable. If you don’t have a turntable, don’t worry, you can easily decorate the cake without it.
- Add 2 big scoops of frosting and with an offset spatula, even it out. Then add the other cake layer and cover the whole cake in a thin crumb coat. Add the remaining frosting, and even it out over the cake. Optional, make a wavy design with the buttercream, using the offset spatula and decorate with the cake crumbs from the leftover cake scraps.


Natalie Gill
Would I be able to make this an orange velvet cake?
Swapping out the same amount of red dye for orange?
Steffi
Hi ! Absolutely loved this recipe, made it and it was such a huge hit! I want to make this into a sheet cake, 12x18. Do need to double the recipe or should this size work?
Kate
I made this a while ago for Valentines day, and I love the result! I'm going to make it for my 25th Birthday too! I'm never going back to store bought red velvet cake ever again after making this. Thanks so much for the recipe!
Kayce
Thank you for this. Ive been looking for a red velvet recipe. Hope this work for me. Please post a recipe for butter milk. Im from philippines😊 thanks again
Ophelia
What is the next best substitute for sour cream in your recipes.. the place I stay sour cream is an expensive ingredient..
Julie Marie
Hi, Greek yogurt is the best replacement 🙂
Iben Nielsen
The most addictive cake ever. The whole family absolutely loved it.
Hend
Can i bake it in ONE high pan 20 cm then divide it to 2 layers after cooling?
Julie Marie
I would rather recommend baking one layer at a time. Add half of the batter into your baking pan. Bake it and let it rest for 5 minutes and remove it from the pan. Then clean the baking pan and add new baking paper. Pour the remaining batter into the baking pan and bake it as instructed. It's totally fine for the batter to sit on the kitchen counter while the other one bakes 🙂
Erin
Hi Julie,
I just wanted to say Thank You so much for this recipe. It was DELICIOUS-especially the creamy frosting! I made it for my daughter-her favorite is Red Velvet, she LOVED it! I also appreciated the way that you formatted the recipe. I didnt have to scroll all the way up to the top to know what came next and how much of it that I would need. Thanks again!
HH
Hi Julie,
I’ve got a fan oven how can I adjust the temperature/time for this recipe
Julie Marie
Try reducing the temperature with 20 degrees so to 150ºC / 300ºF. Then the baking time should be the same, but check it at 26 minutes to be sure 🙂
Kayce
Thank you for this. Hope you can out recipe for the buttercream! Im from philippines😊