This post may contain affiliate links.
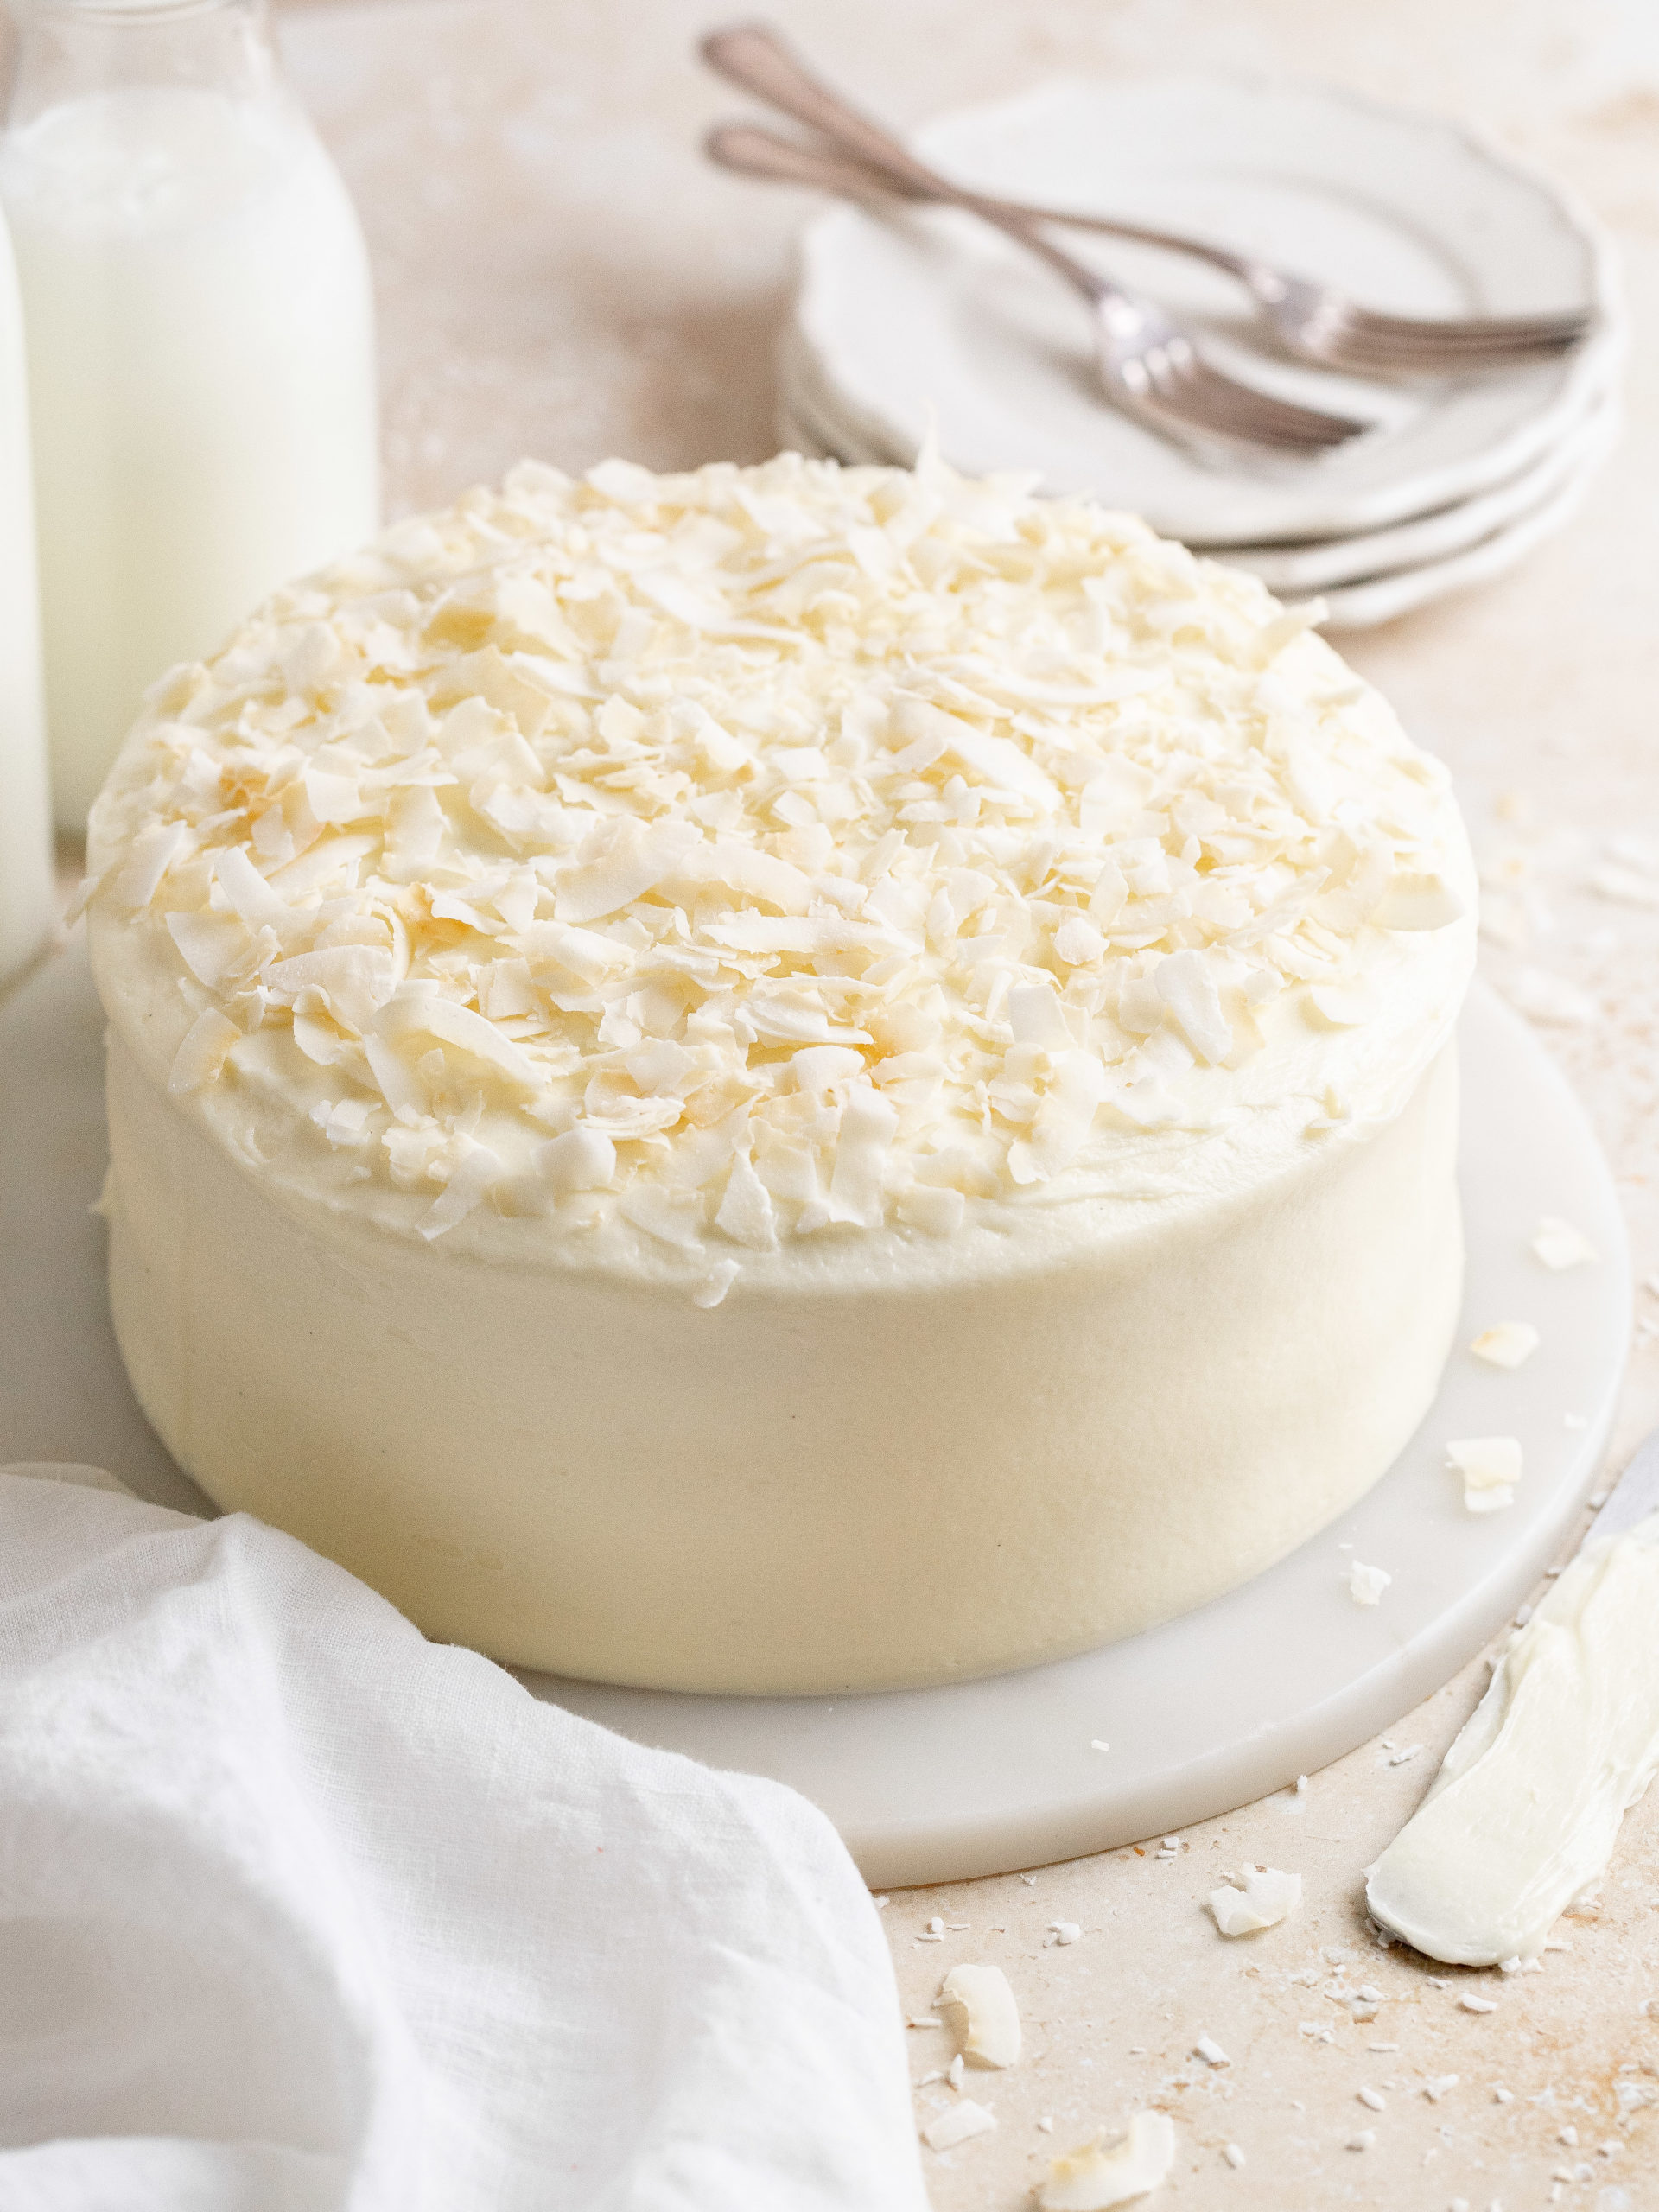
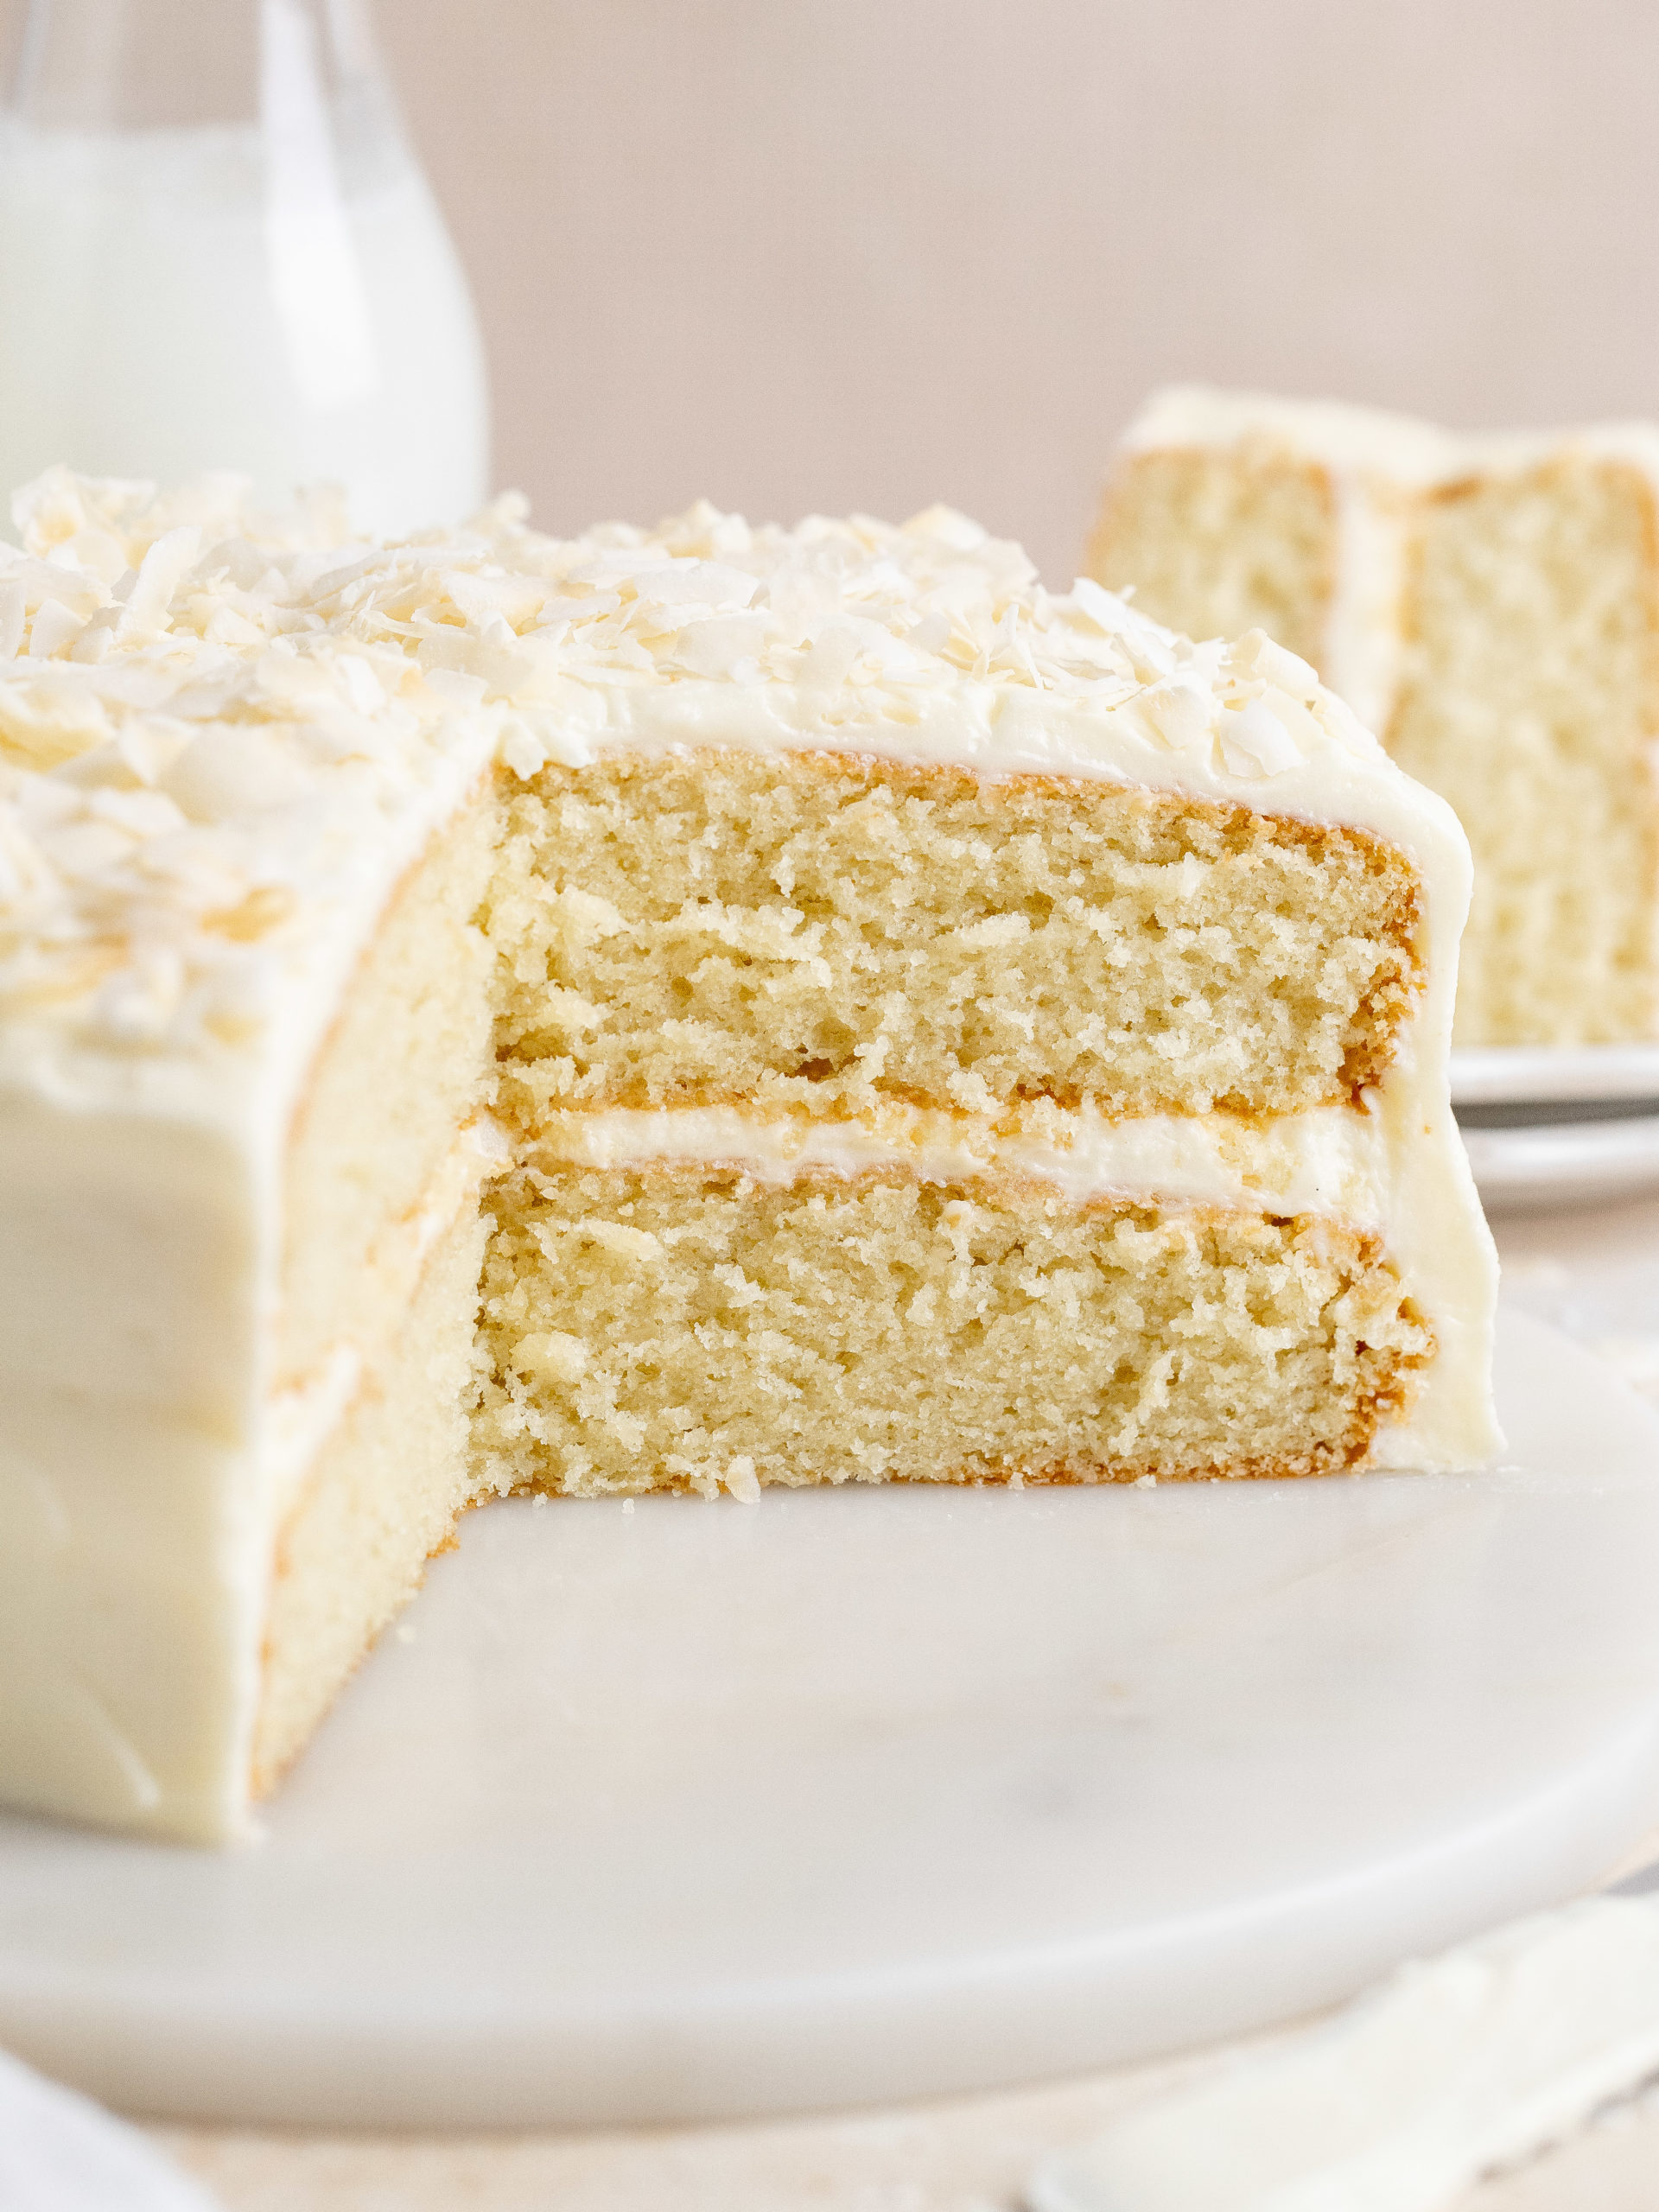
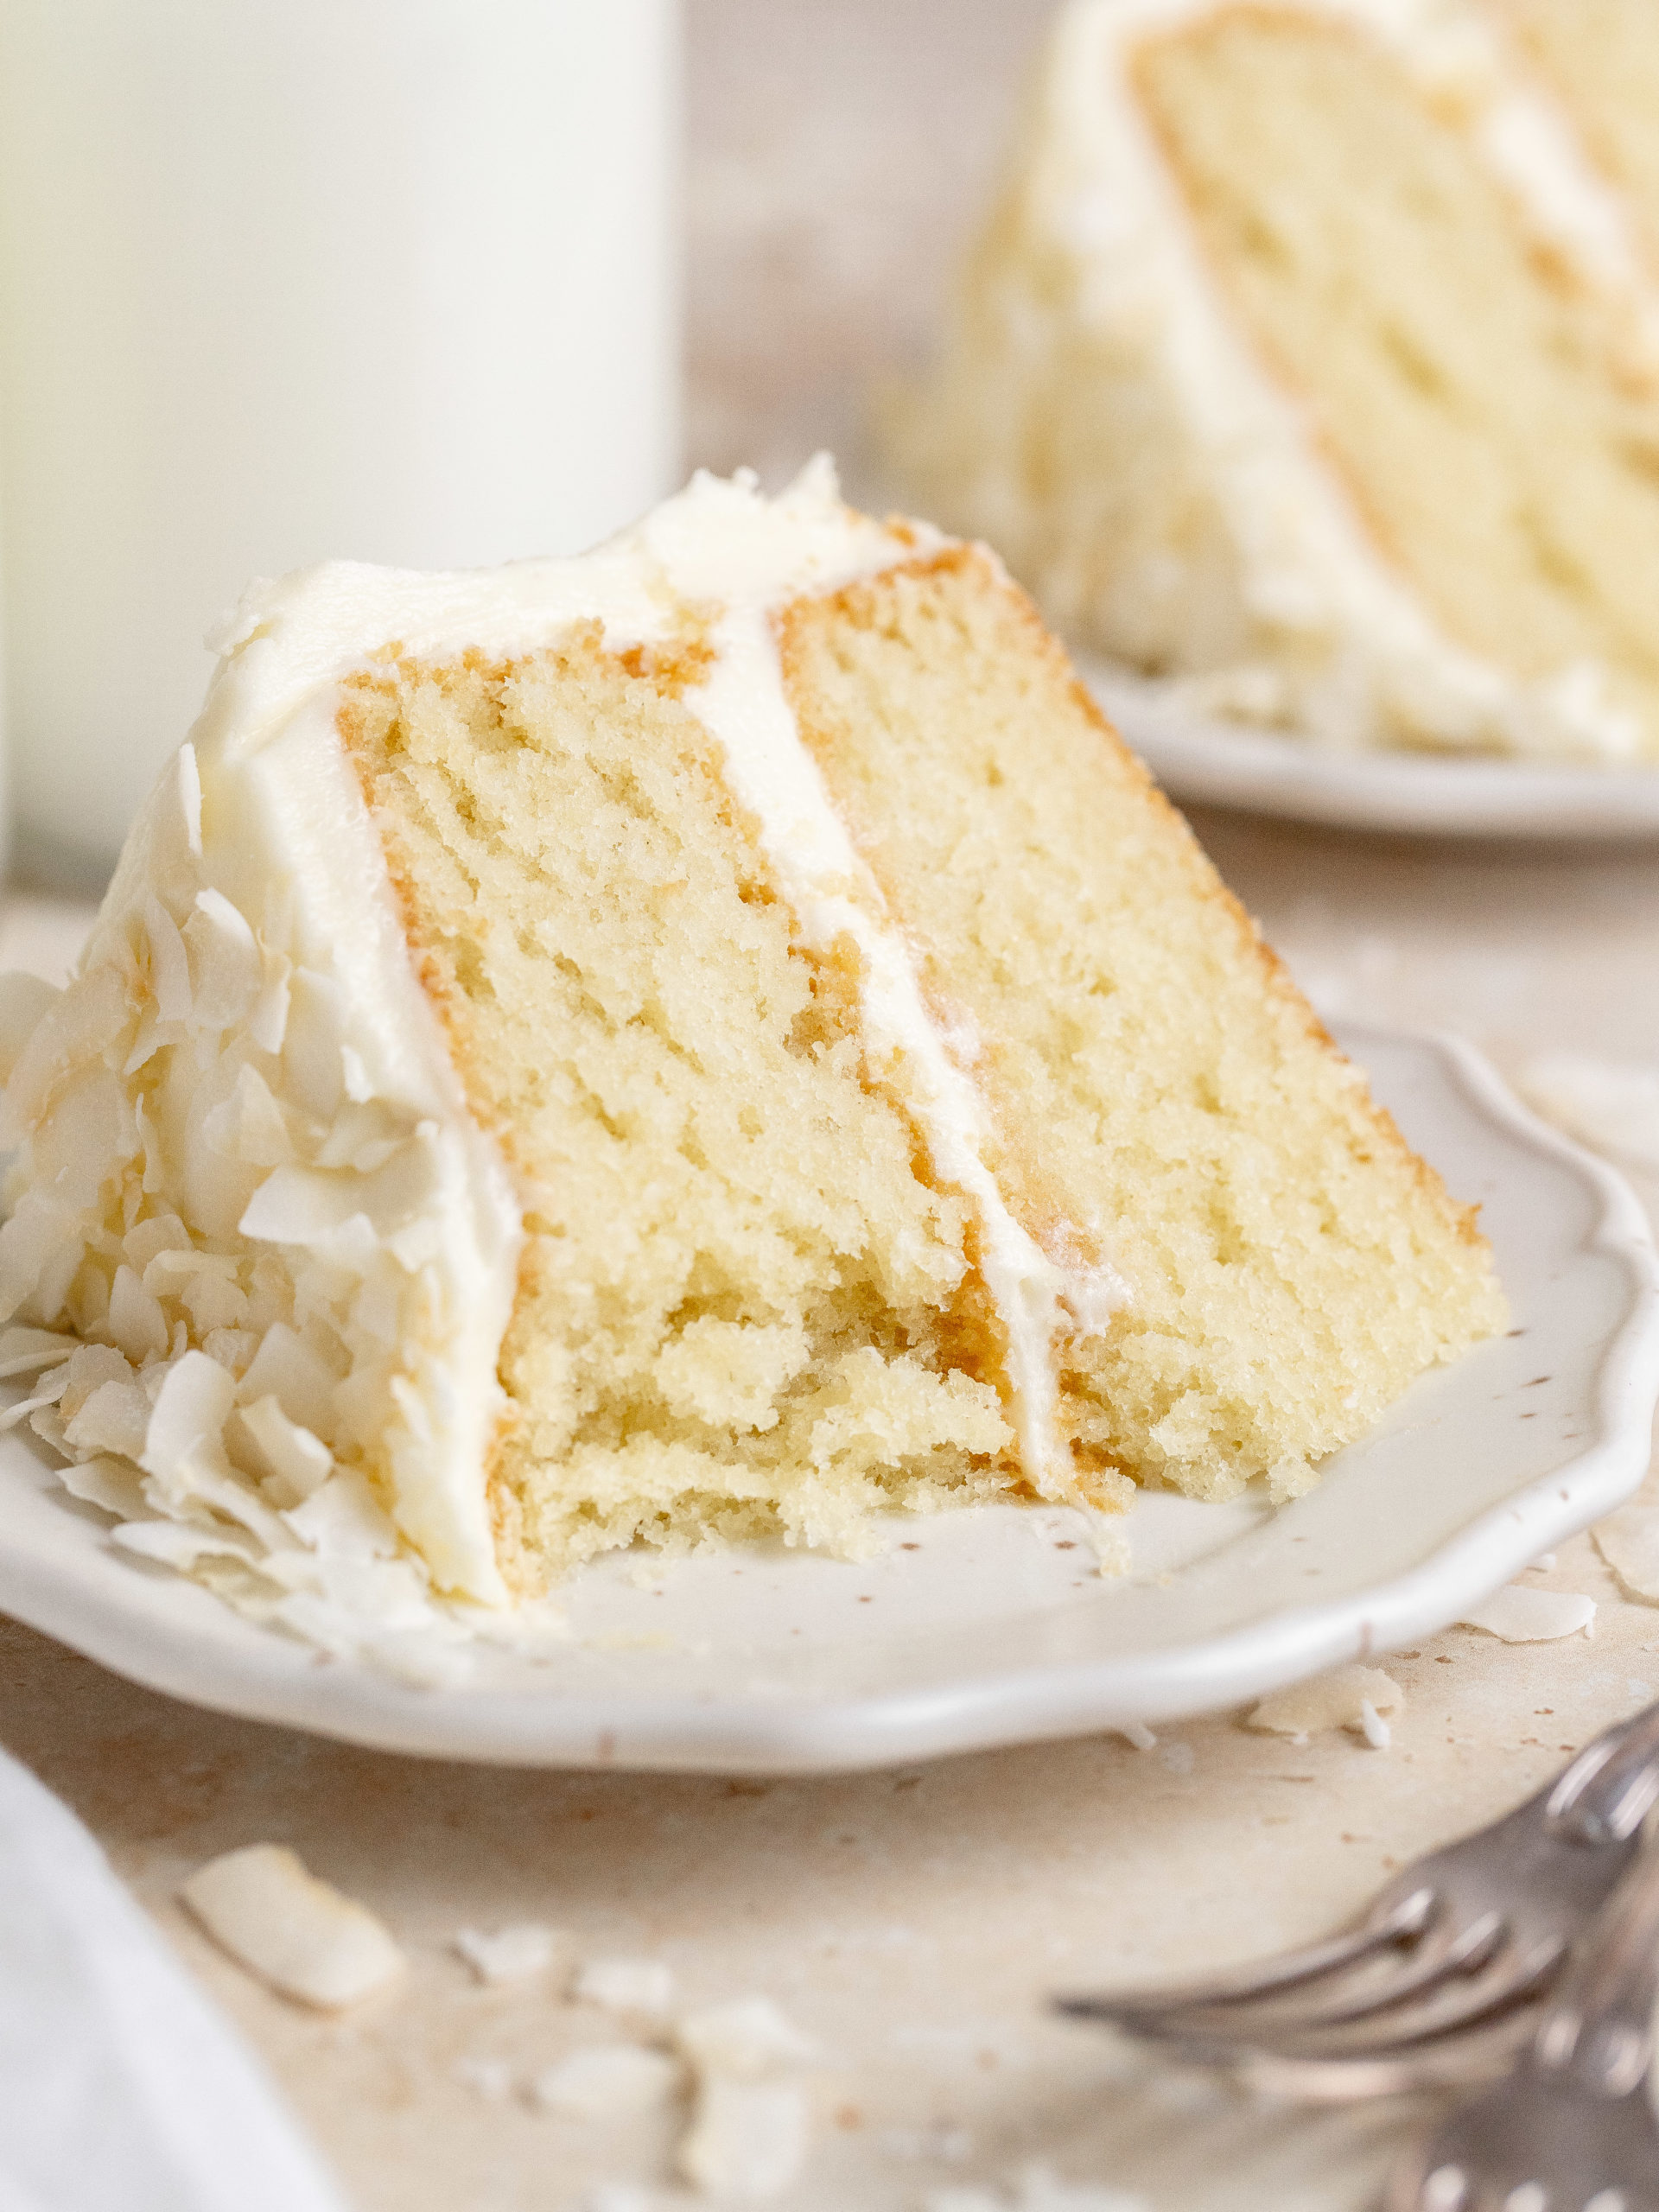
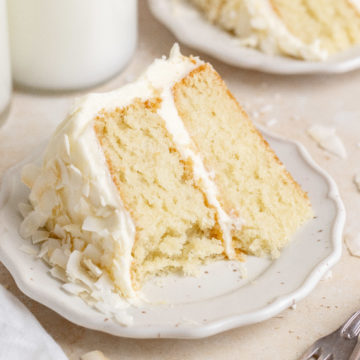
This is the best Coconut Cake recipe! Two layers of incredibly moist and fluffy cake layers that are infused with lots of coconut flavor in every bite. The coconut cream cheese frosting adds a perfect coconut and slight tangy flavor, that will make you want to reach for a second slice. It is topped with coconut flakes for a beautiful finish that makes it perfect for any occasion.

This delicious Coconut Cake has two layers of soft and fluffy coconut cake layers that are infused with lots of coconut flavor. Plus the coconut cream cheese frosting adds a perfect coconut and tangy flavor. It is decorated with coconut flakes for beautiful finish that makes it perfect for Easter, the Holidays or any other occasion.
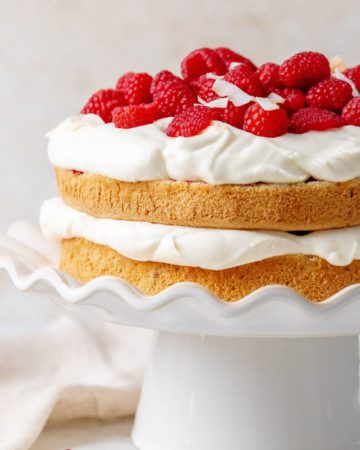
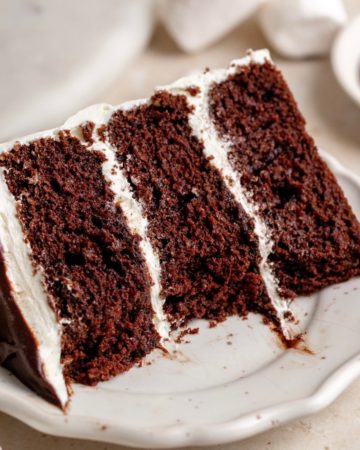
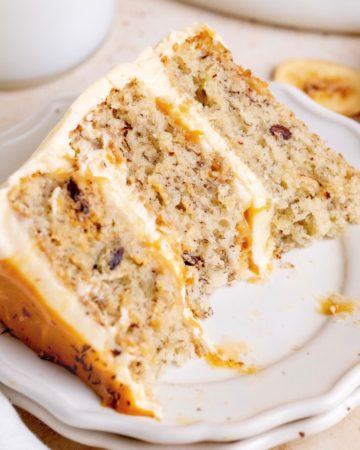
For more layer cake recipes, try Salted Caramel Cake, Classic Vanilla Birthday Cake and Tiramisu Layer Cake.
Jump to:
WHY THIS RECIPE WORKS
- Coconut cake layers: The cake layers are full of delicious coconut flavor.
- Coconut buttercream: The coconut cream cheese frosting add a perfect coconut and slight tangy flavor.
- Perfect for celebrations: This cake is perfect for any celebration, like Christmas or Easter.
INGREDIENT NOTES
These are some of the key ingredients for this recipe. For a full list of ingredients, check out the recipe card below.
- Butter: Take it out of the fridge 1-2 hours before baking.
- Eggs: Take them out of the fridge 1-2 hours before baking.
- Coconut: The unsweeted shredded coconut is blended into a flour like consistency to give the perfect cake texture.
- Sour cream: Sour cream makes for a softer and more tender cake. Measure out the sour cream and let it come to room temperature 1-2 hours before baking
- Coconut milk: To enhance the coconut flavor, full-fat coconut milk is added, plus it gives lots of moister.
STEP BY STEP INSTRUCTIONS - CAKE LAYERS
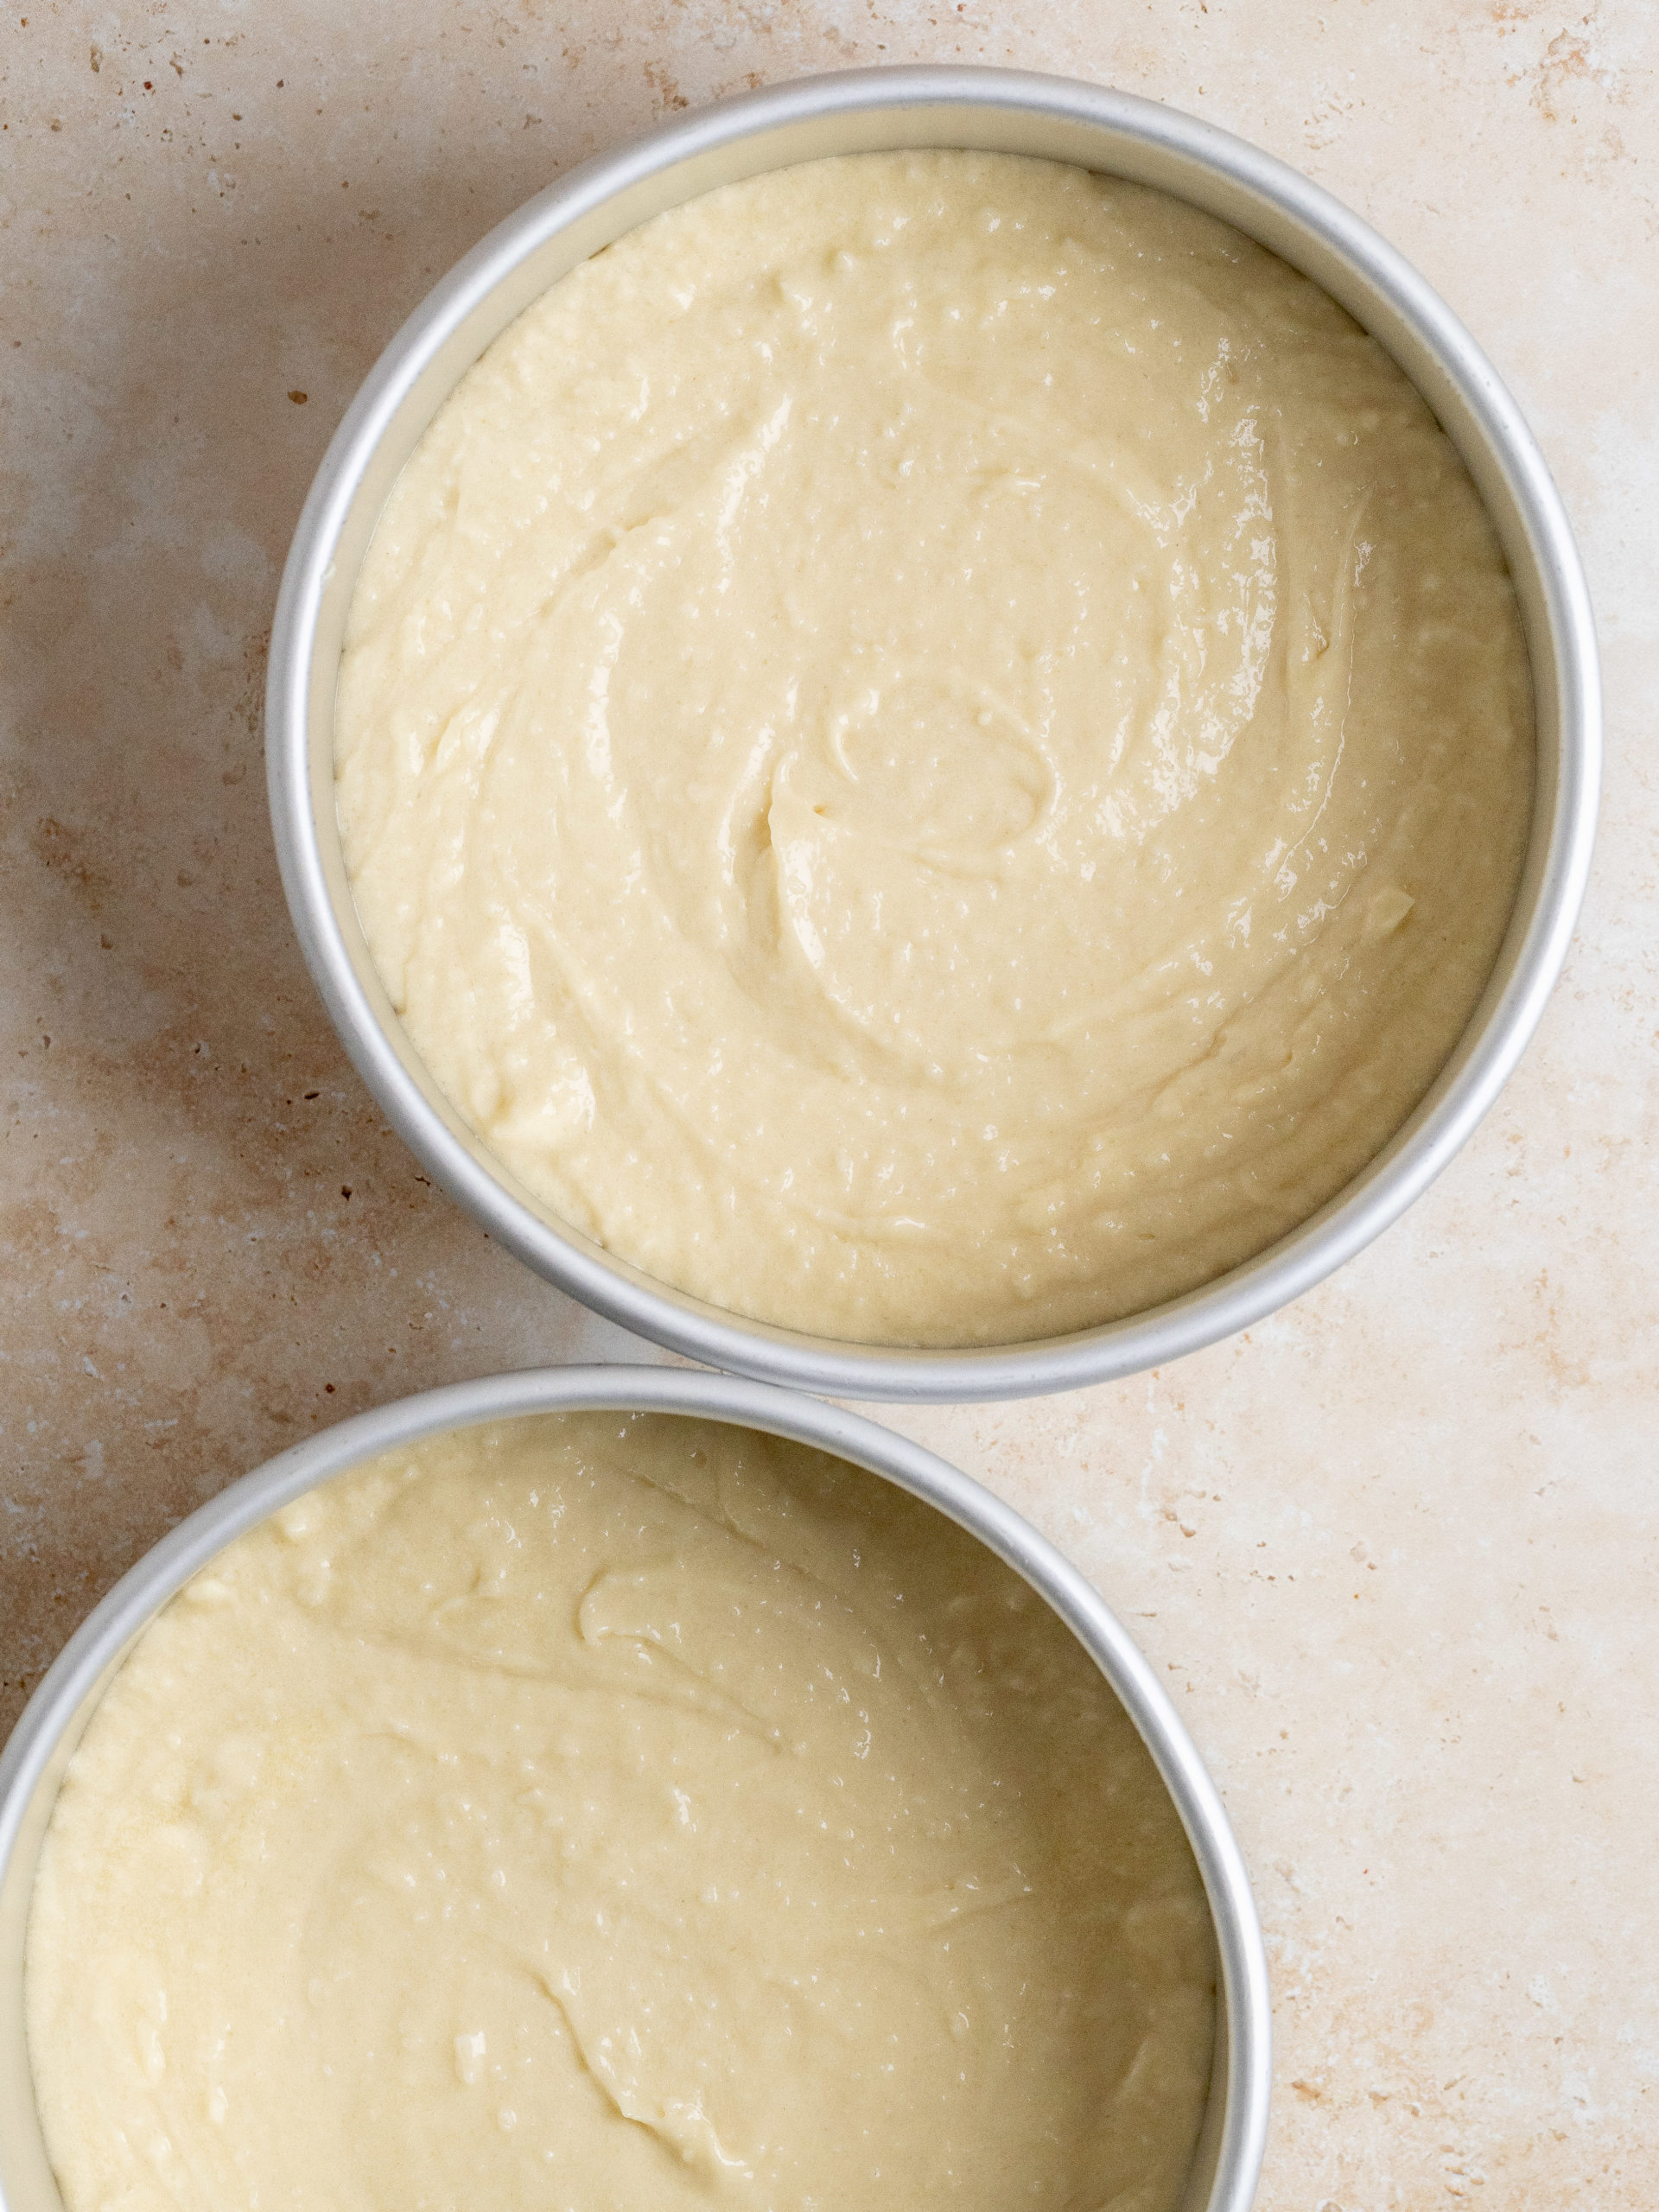
Here is how to make and bake this Coconut Cake. This recipe needs a stand mixer with a paddle attachment, or a hand mixer. You will need 2 x 20 cm baking pan lined with baking paper.
The full recipe is down below in the recipe card.
Preheat the oven to 170ºC/ 340ºF conventional oven. Prepare the 2 x 20 cm baking pan lined with baking paper.
STEP 1: Start by blending the coconut into a flour-like consistency. Sift together the blended coconut, all-purpose flour, baking powder, baking soda and salt and set it aside.
STEP 2: In a large bowl using an electric hand mixer or in a bowl of a stand mixer, add the butter, and granulated sugar and mix it until light and fluffy on medium-high speed.
STEP 3: Add the eggs two at a time into the mixture and mix it in until combined. Continue by adding half the dry ingredients, on low speed, mixing until just combined.
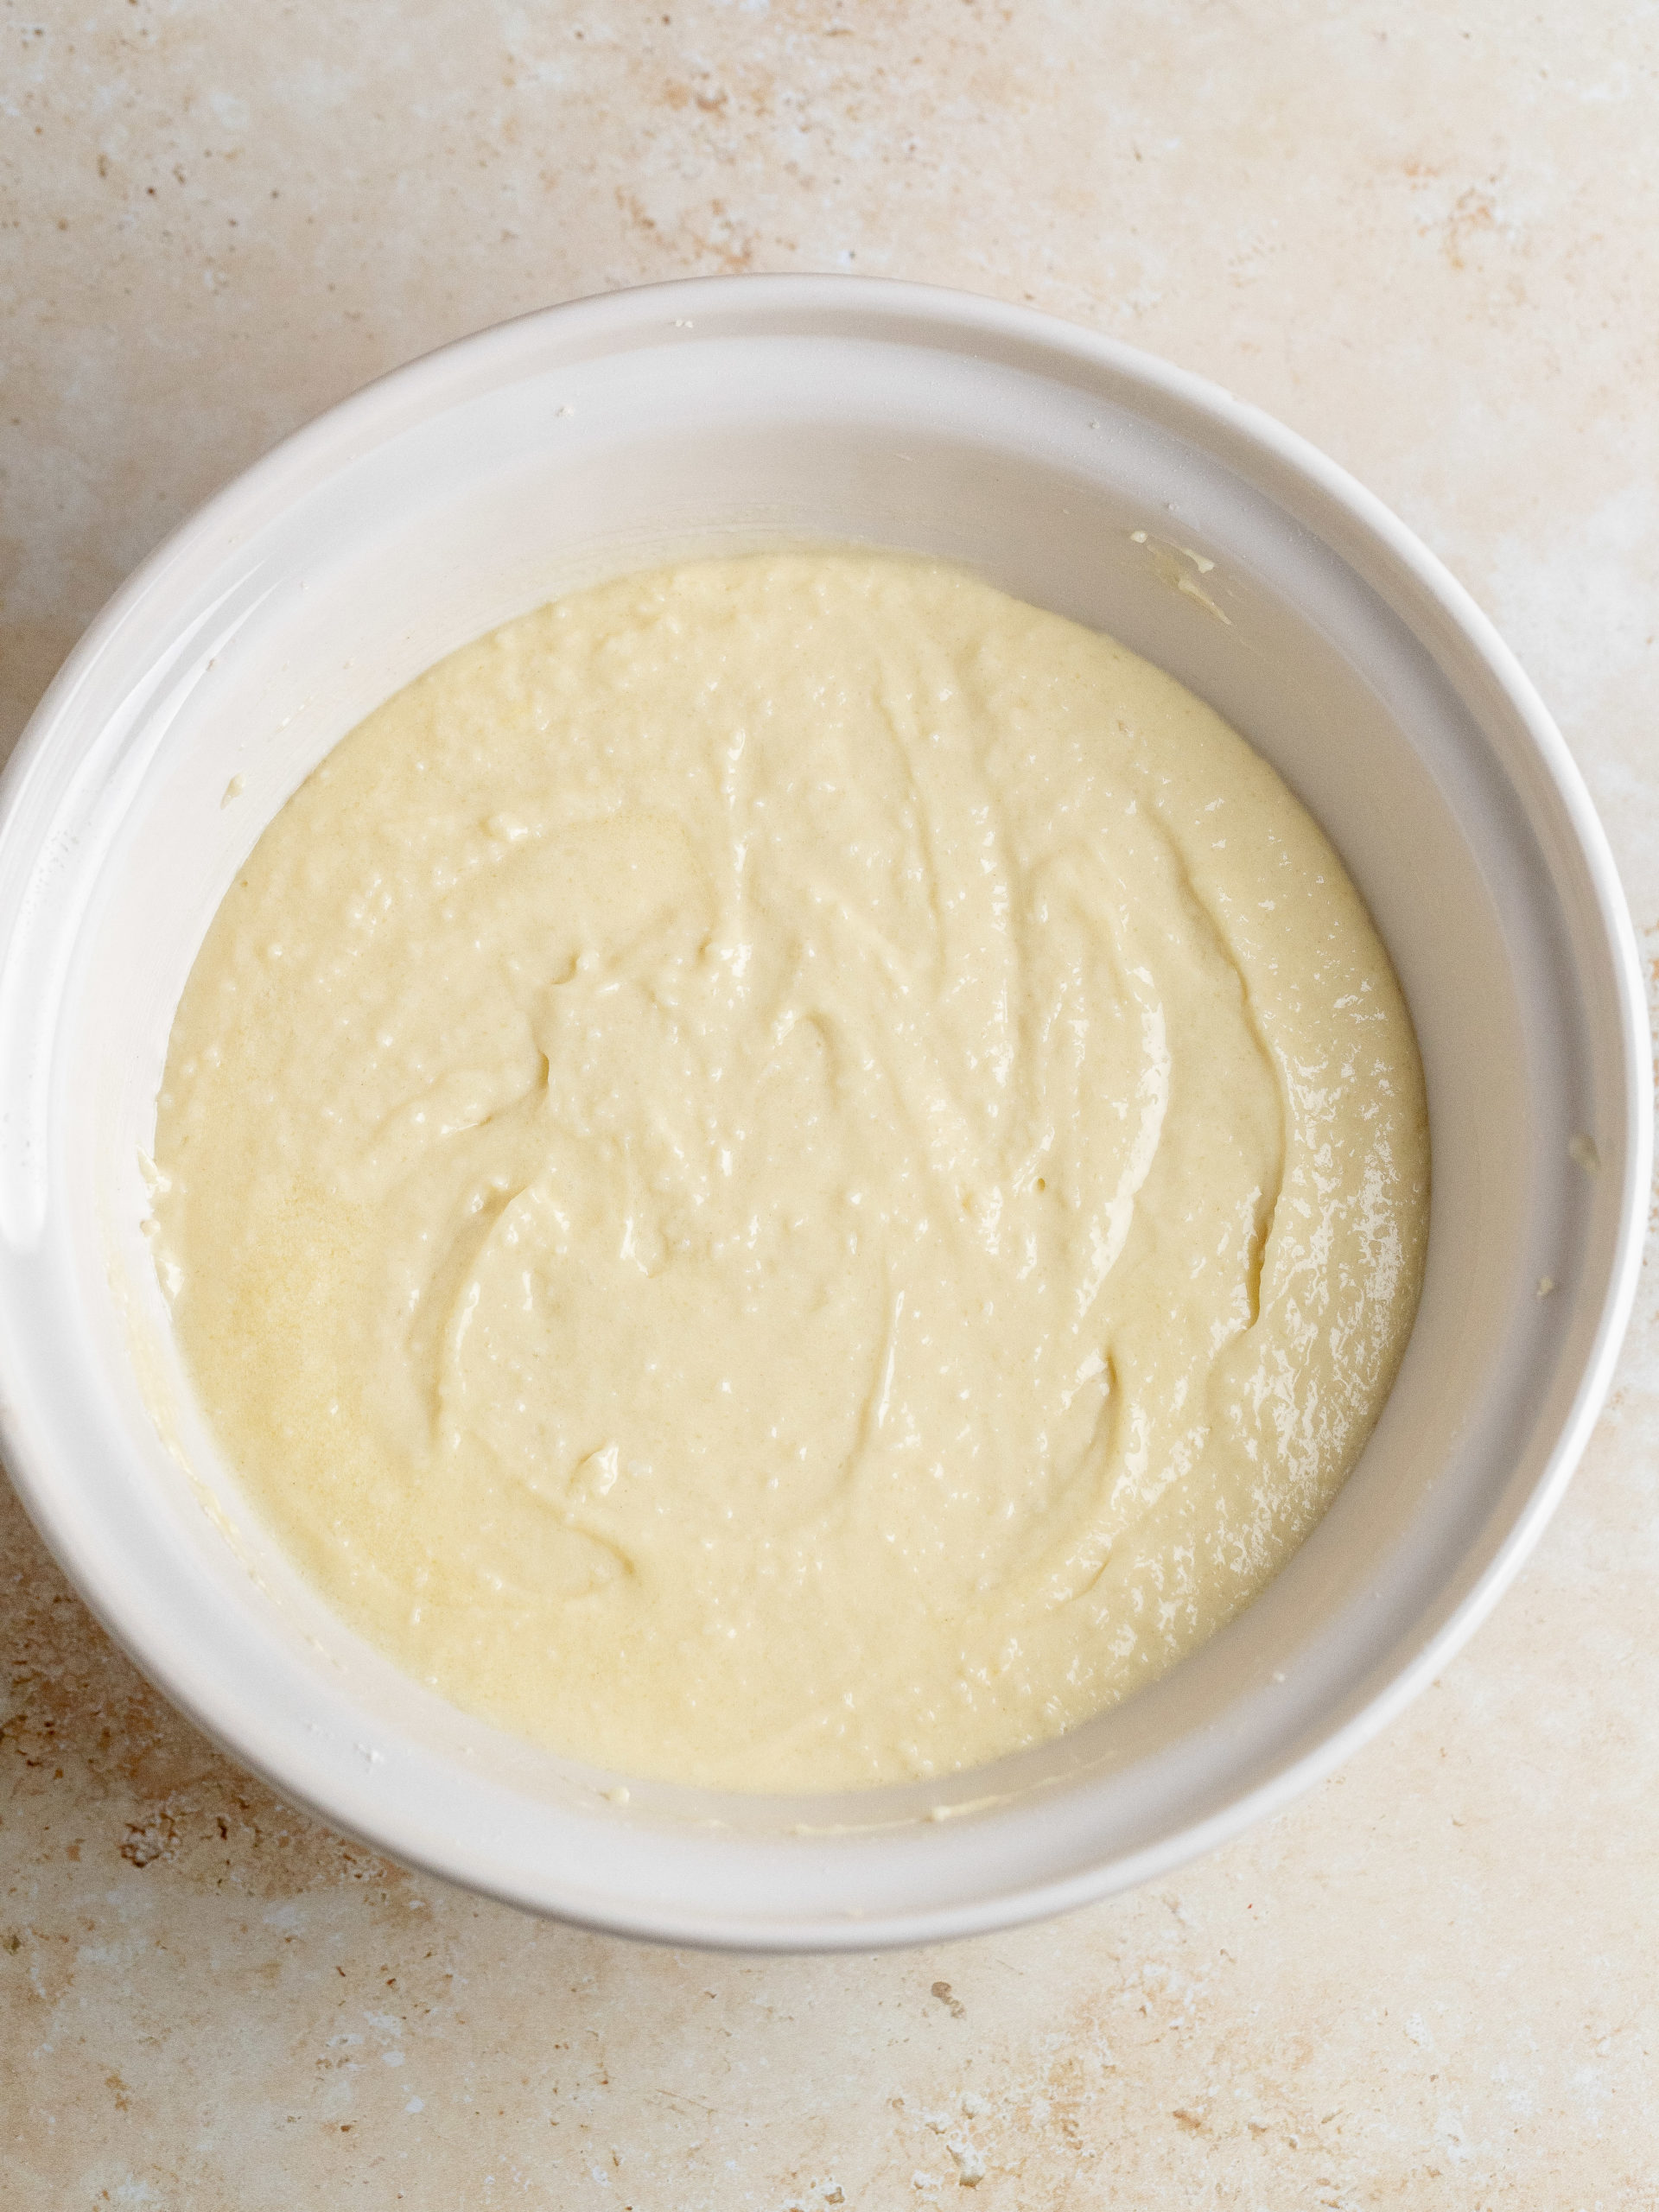
STEP 4: Then add the sour cream, coconut milk, vegetable oil, vanilla extract and coconut extract and mix until just combined. Then add the other half of the dry ingredients and mix until combined.
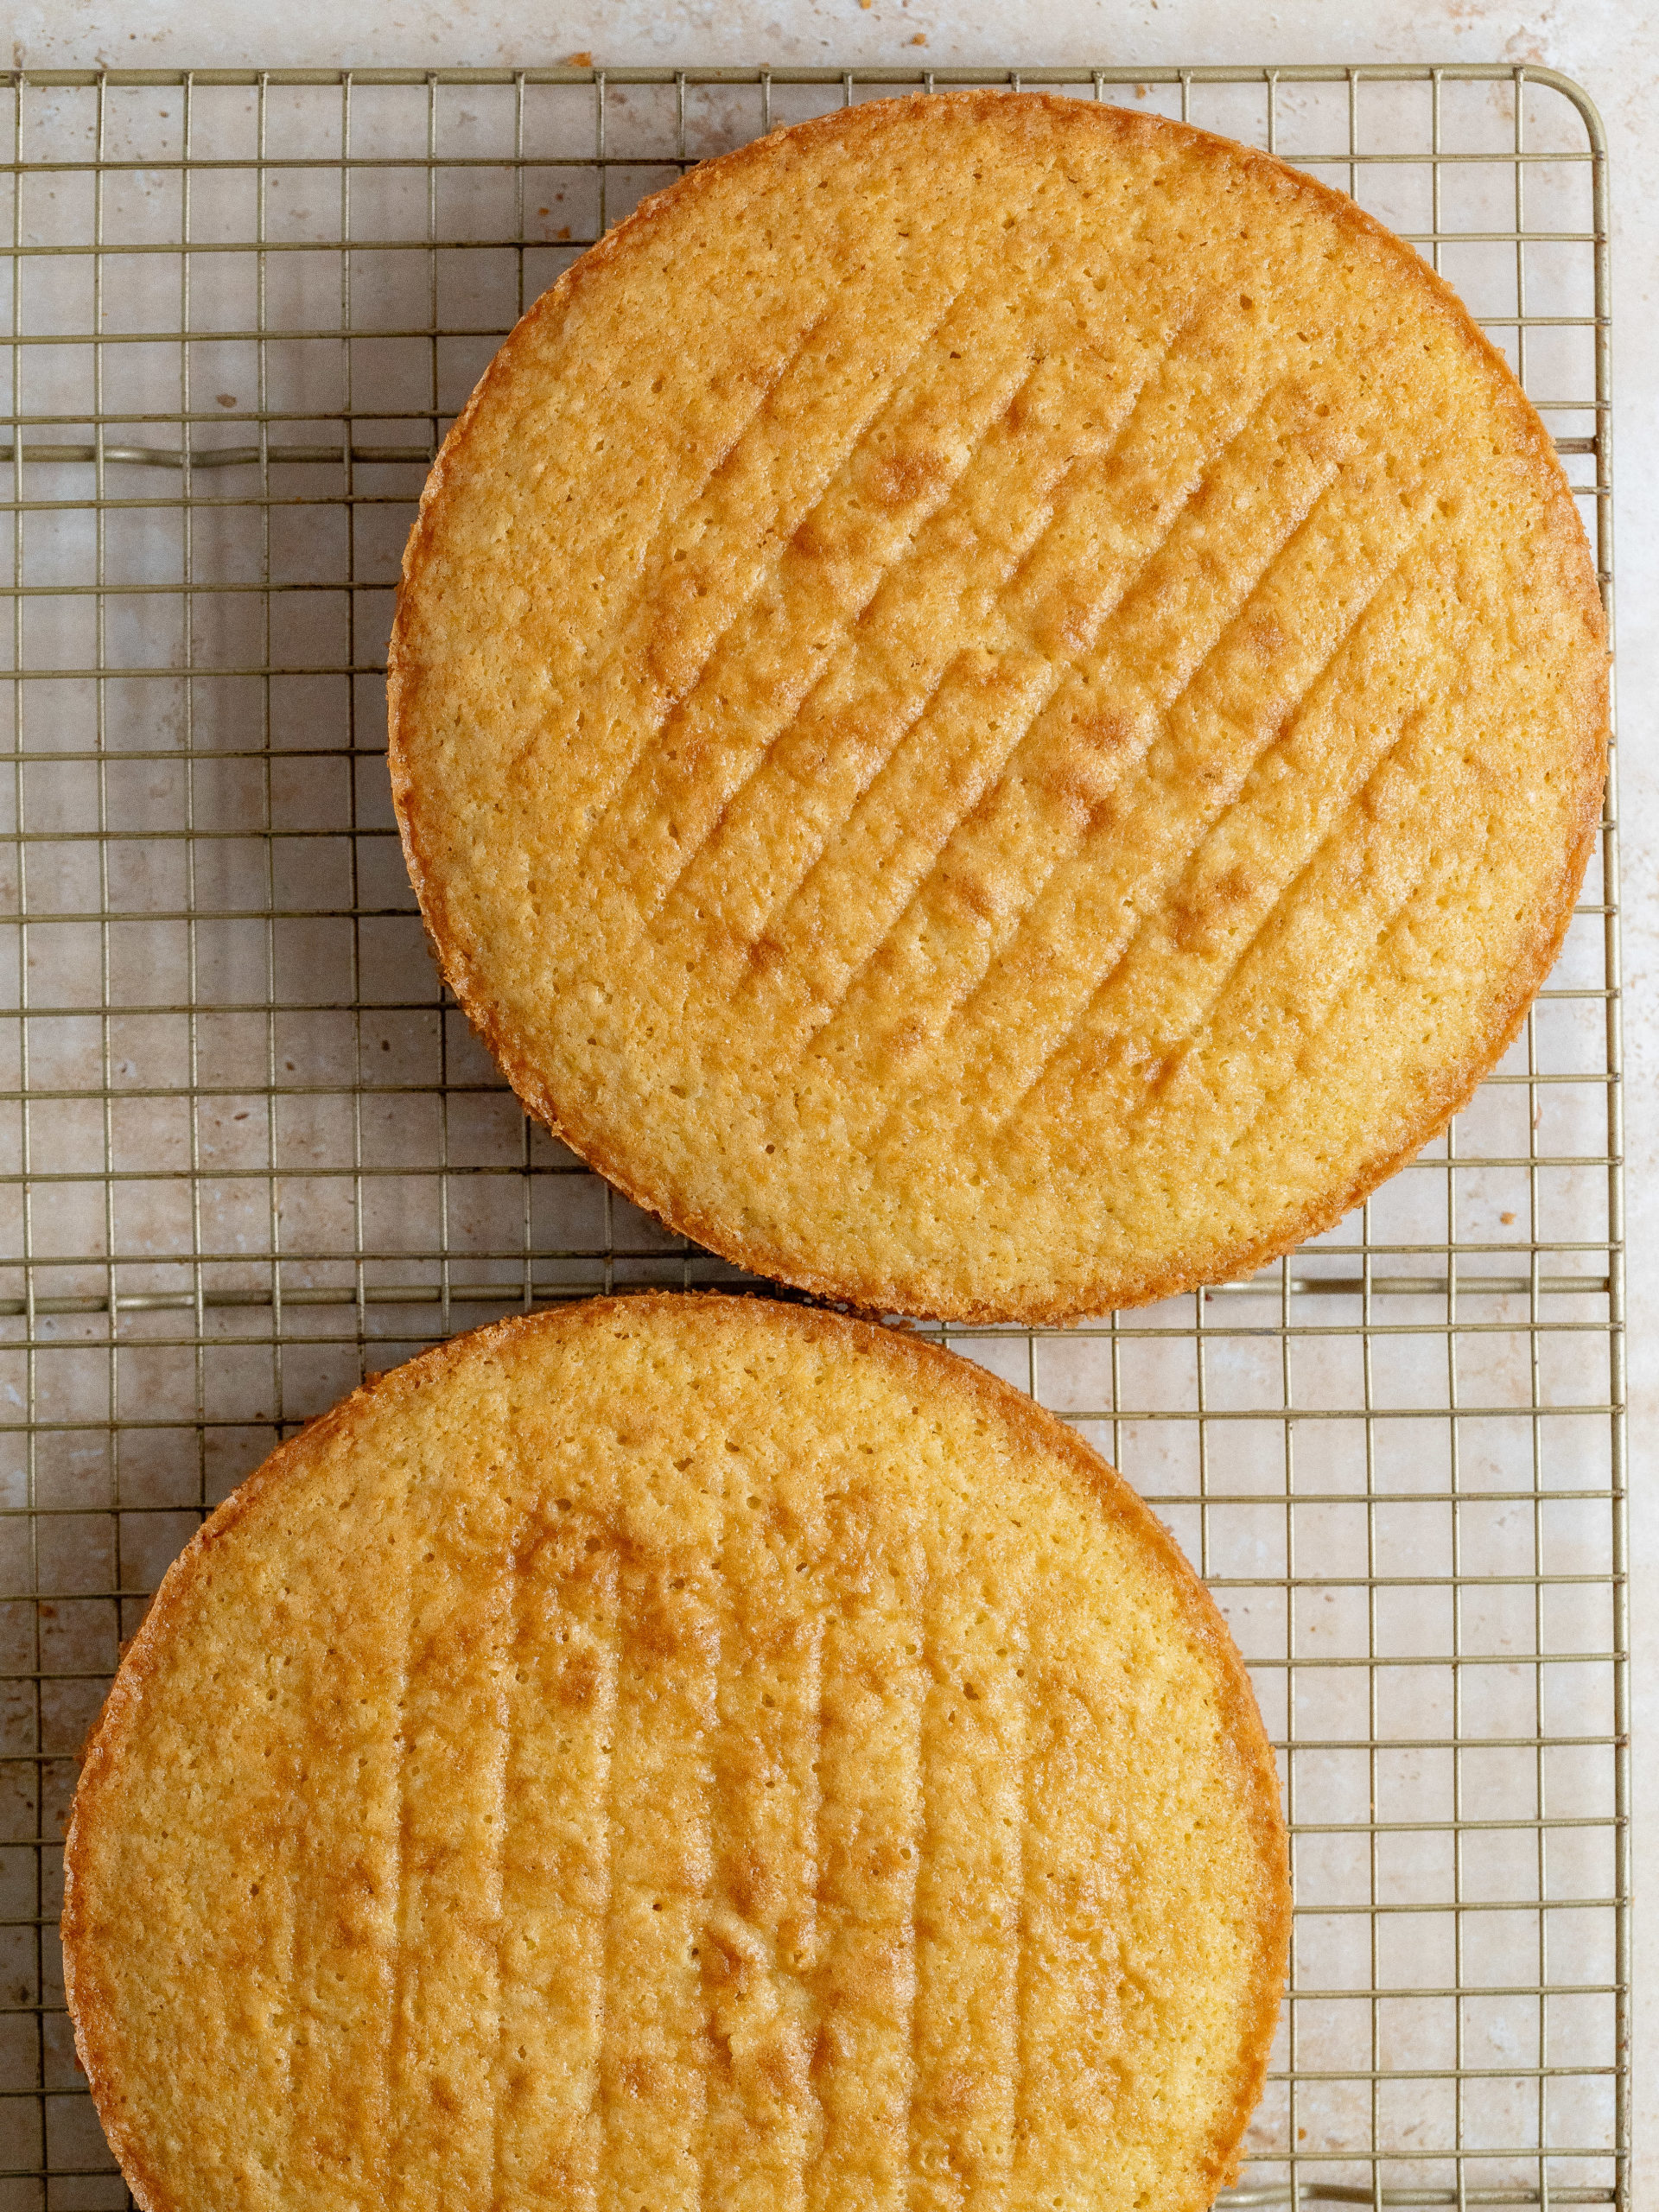
STEP 5: Pour the cake into the prepared pans and bake for 20-23 minutes or until a cake tester comes out clean. Let the cakes cool on a wire rack.
STEP BY STEP INSTRUCTIONS - FROSTING AND ASSEMBLING
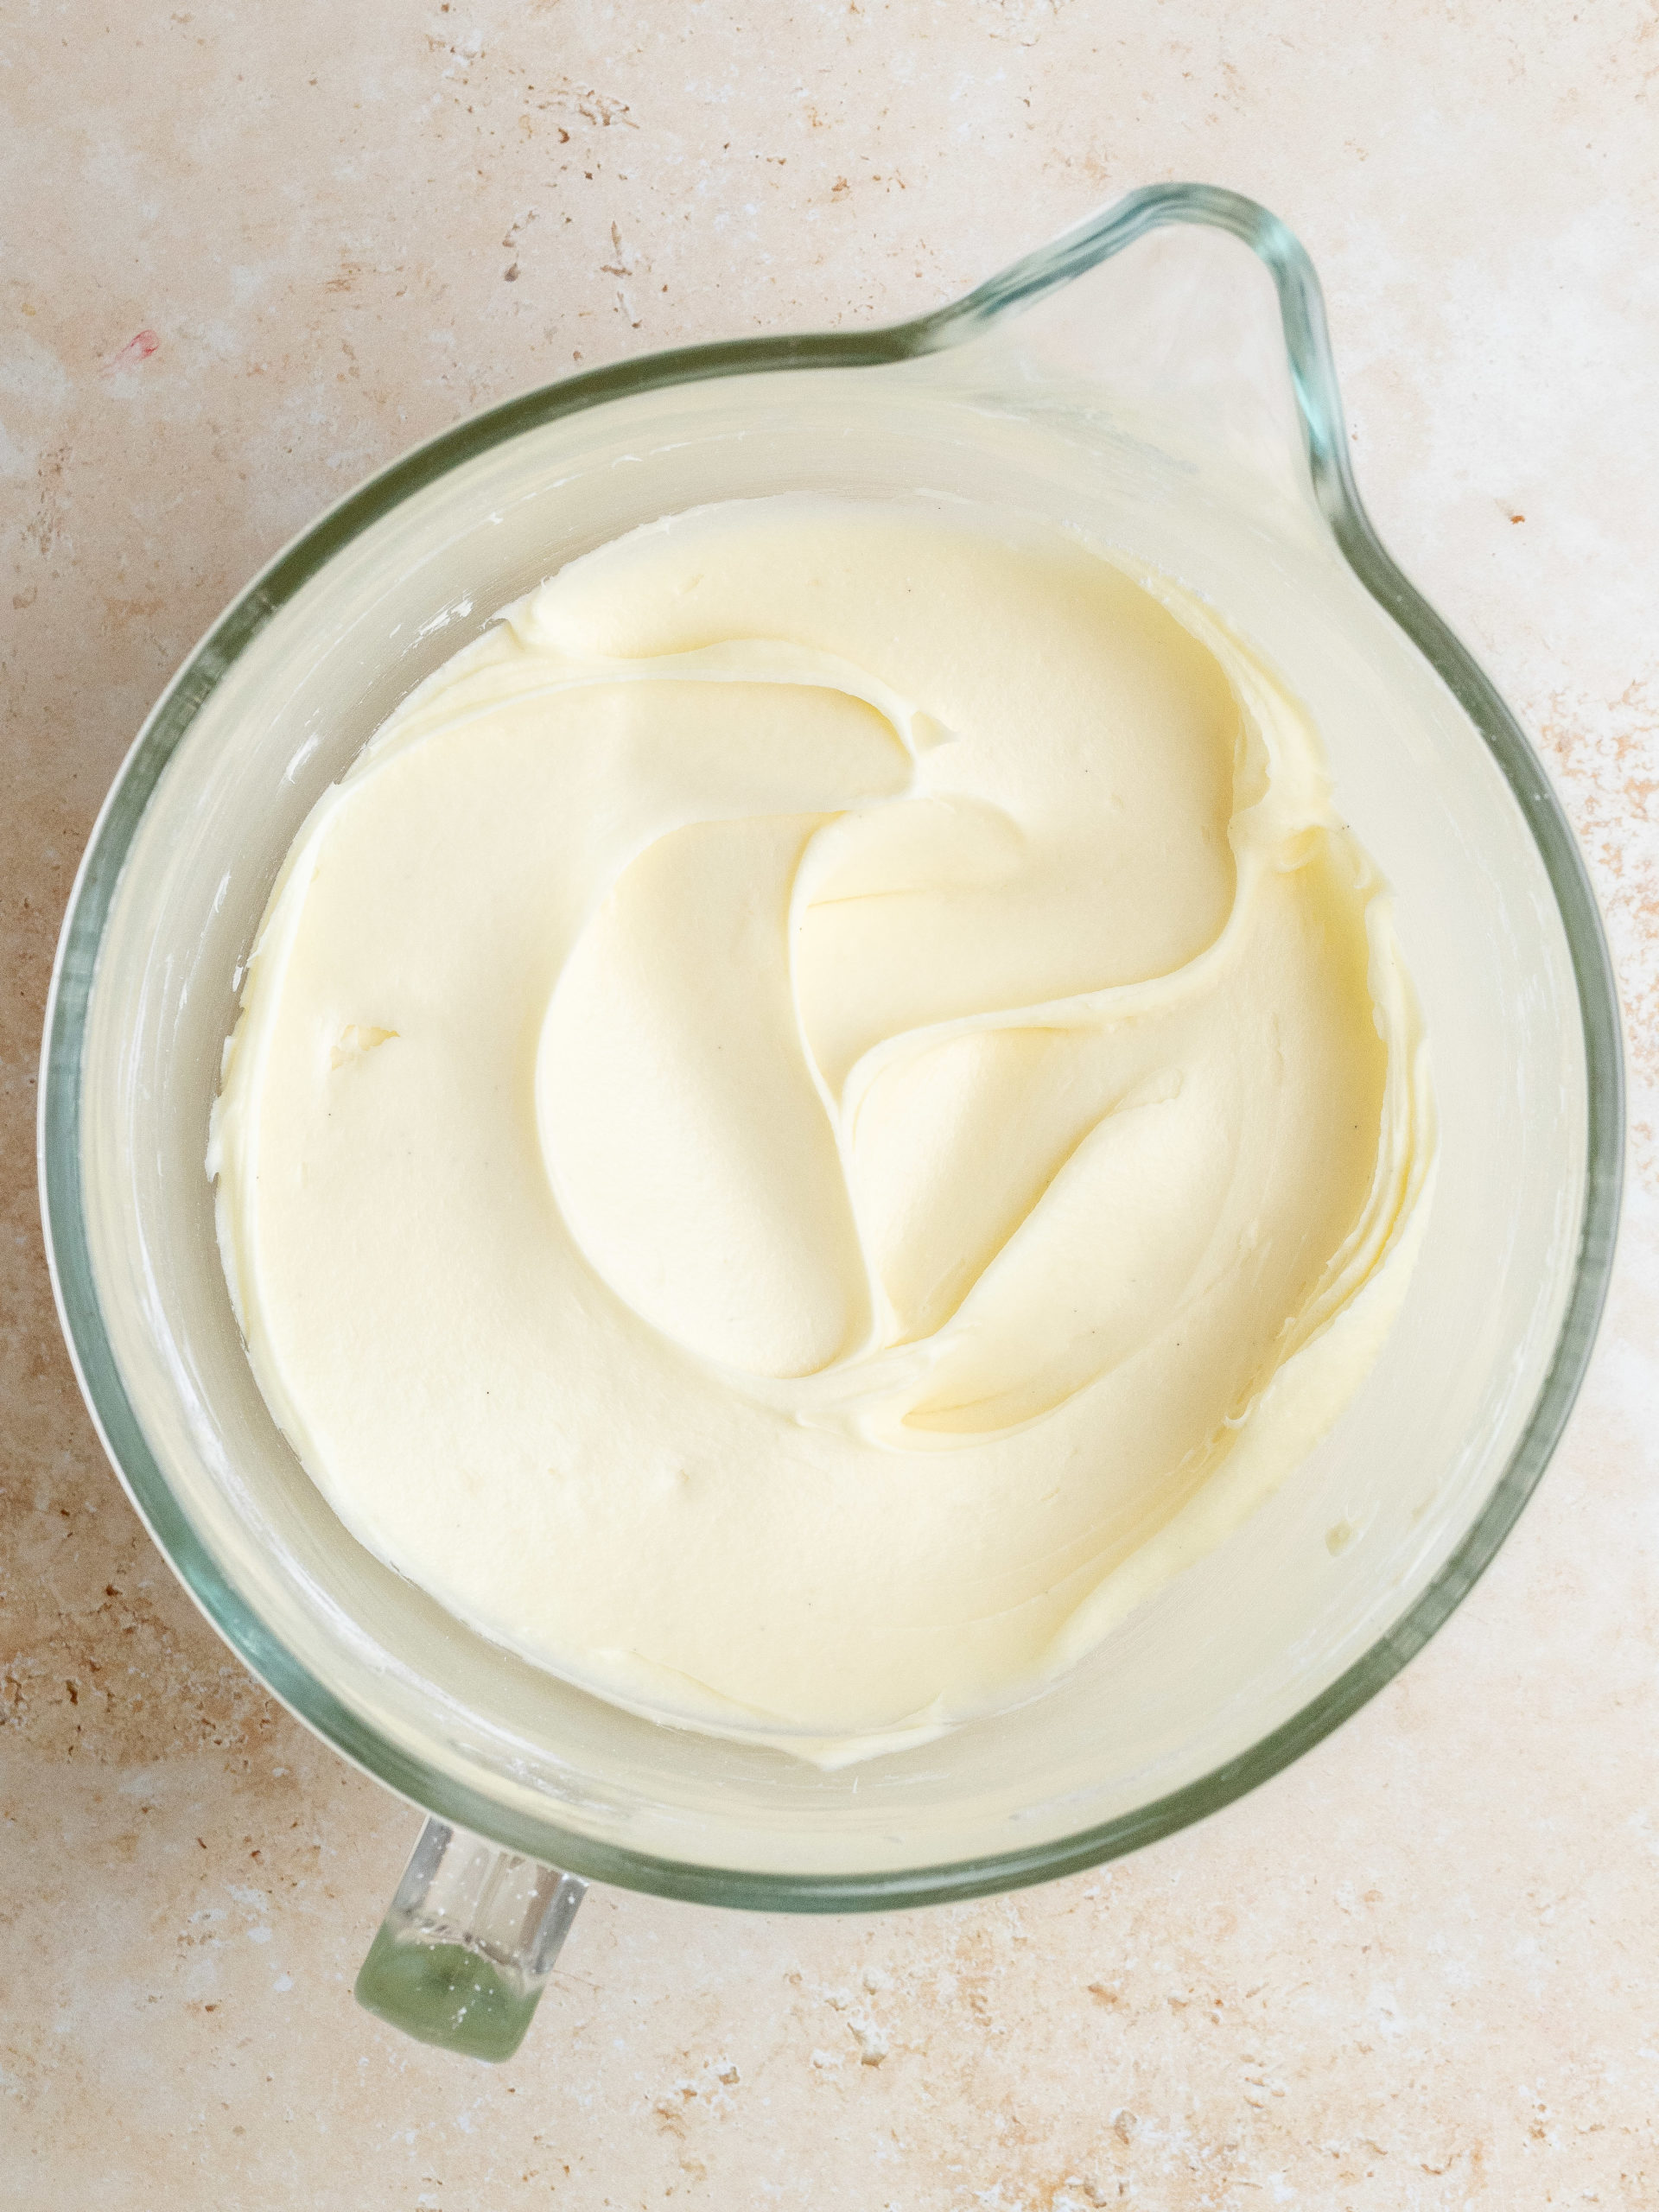
STEP 6: For the frosting, in your stand mixer, using the paddle attachment, start by creaming the butter on high speed. Add the vanilla bean paste, coconut milk, coconut extract and cream cheese and cream it together with the butter.
STEP 7: Add the sifted powdered sugar in 2 parts, letting the powdered sugar mix in with the butter and cream cheese before adding the next part.
STEP 8: Place the first cake layer on your serving dish or cake board on your turntable. Add 2 big scoops of frosting and with an offset spatula, even it out. Then add the other cake layer and cover the whole cake in a thin crumb coat. Add the remaining frosting, and even it out over the cake. Optionally decorate with toasted coconut flakes.
EXPERT BAKING TIPS
- Use a kitchen scale: My default setting for my recipes is grams. It is the most precise way of measuring out your ingredients, I therefore highly recommend using a kitchen scale.
- Don't over mix your batter: I always use a spatula after everything has mixed together, to give it one final gentle fold together. This makes sure everything in the bottom of the mixing bowl has been mixed into the batter.
- Light vs. dark baking pans: For the best result, use an aluminum baking pan, greased with butter and lined with baking paper in the bottom. Aluminum pans are light in color and therefore attract less heat. That means it bakes more gently which results in a softer cake. If you use a black baking pan it'll attract a lot more heat. That will then give a darker crust, which can result in a dryer cake.
FAQ
Yes, you can make both the cake layers and the buttercream the day before, so you only need to assemble it the next day. Store the cake layers on the kitchen counter wrapped in plastic wrap, out of direct sunlight. Store the buttercream in the fridge in an airtight container. Before using it, let it sit at room temperature for 30 minutes. Then give a remix in the you stand mixer, until smooth, and it ready to be assembled.
I recommend using a cake tester or a toothpick. Once the time has passed, per the recipe, insert the cake tester in the center of cake and once it comes out clean, with no cake batter on it, then it's done.
HOW TO STORE
Store the frosted coconut cake in an airtight container in the fridge. Let it come to room temperature before enjoying it. It is best enjoyed within 1-2 days.
Other Layer Cake Recipes To Try

Make sure leave a STAR REVIEW if you loved this recipe! Make sure to tag me on Instagram @juliemarieeats. To get more ideas by following me on Pinterest.
Coconut Cake
Equipment
Ingredients
COCONUT CAKE LAYERS
- 100 g unsweetened shredded coconut
- 260 g all-purpose flour
- ¾ teaspoon baking powder
- ¾ teaspoon baking soda
- ¾ teaspoon salt
- 180 g butter room temperature
- 300 g granulated sugar
- 4 large eggs room temperature
- 120 g sour cream room temperature
- 120 g full-fat coconut milk room temperature
- 60 g vegetable oil e.g. canola oil
- 2 teaspoon vanilla extract
- ¼ teaspoon coconut extract optional
COCONUT CREAM CHEESE FROSTING
- 300 g butter
- 150 g full-fat cream cheese
- 550 g powdered sugar
- 1 teaspoon full-fat coconut milk
- ½-1 teaspoon coconut extract
- ½ teaspoon vanilla bean paste
- coconut flakes for decoration
The US customary cup measurement serves as a rough estimate, as it can have uncertainties, so for precise results, it's recommended to weigh your ingredients using a digital scale in grams. Baking is both an art and a science, which most often requires precision and accuracy.
Instructions
COCONUT CAKE
- Preheat the oven at 170ºC/340ºF conventional oven and line 2x 20 cm/8 inch baking pan with parchment paper.
- Start by blending the shredded coconut into a flour-like consistency.100 g unsweetened shredded coconut
- Sift together the blended coconut, all-purpose flour, baking powder, baking soda and salt and set it aside.260 g all-purpose flour, ¾ teaspoon baking powder, ¾ teaspoon baking soda, ¾ teaspoon salt
- In a large bowl using an electric hand mixer or in a bowl of a stand mixer, add the butter, and granulated sugar and mix it on medium-high speed for 3 minutes.180 g butter, 300 g granulated sugar
- Add the eggs two at a time into the mixture and mix until combined.4 large eggs
- Continue by adding half the dry ingredients, on low speed, mixing until just combined.
- Then add the sour cream, coconut milk, vegetable oil, vanilla extract and coconut extract and mix until just combined. Then add the other half of the dry ingredients and mix until combined.120 g sour cream, 120 g full-fat coconut milk, 60 g vegetable oil, 2 teaspoon vanilla extract, ¼ teaspoon coconut extract
- Using a rubber spatula, give the batter a gentle fold to make sure all of the ingredients are combined.
- Pour the cake into the prepared pans and bake for 20-23 minutes or until a cake tester comes out clean.
- Let the cakes cool on a cooling rack. After 10 minutes, gently remove the cake from the cake tin and let the cakes cool down completely.
CREAM CHEESE FROSTING
- Take the butter and cream cheese out of the fridge 10 minutes before starting. Cut the butter into cubes. Sift the powdered sugar.300 g butter, 150 g full-fat cream cheese, 550 g powdered sugar
- In your stand mixer, using the paddle attachment, start by creaming the butter for 5 minutes on high speed. Scrape down the sides of the bowl and give it another mix for 2 minutes.
- Add the cream cheese, vanilla bean paste, coconut milk and coconut extract and cream it together with the butter for 1 minute.1 teaspoon full-fat coconut milk, ½-1 teaspoon coconut extract, ½ teaspoon vanilla bean paste
- Scrape down the sides of the bowl and on low speed, mix the sifted powdered sugar in 2 parts, letting the powdered sugar mix in with butter and cream cheese before adding the next part. Scrape down the sides of the bowl and give it a final mix for 2 minutes.
ASSEMBLING
- Place the first cake layer on your serving dish or cake board on your turntable. If you don’t have a turntable, don’t worry, you can easily decorate the cake without it.
- Add 2 big scoops of frosting and with an offset spatula, even it out. Then add the other cake layer and cover the whole cake in a thin crumb coat. Place it in the refrigerator for 20 minutes so it is easier to frost the cake with the remaining buttercream.
- Add the remaining frosting, and even it out over the cake. Optionally decorate with coconut flakes.

Ellen
I recently baked this cake for my father for his birthday and it was delicious! Thank you for sharing this wonderful recipe, as it made it all the way to Idaho, USA.
Sanaz
Hej Julie,
Jeg vil vildt gerne prøve denne opskrift, men jeg vil lave den i en 18 cm kageform, da vi ikke bliver så mange. Hvordan skal jeg så regne det hele ud?
Bh, Sanaz
Julie Marie
Hej Sanaz. Vil du lave den stadig i 2 lag eller bare i 1 lag? 🙂
Maggie
I'm finding difficult to use this recipe because the ingredients are listed in grams. I'm not familiar with the metric system, so I'll have to convert each ingredient to cups or spoons.
Julie Marie
Right above the ingredients list you'll see a toggle where you can switch from Metrics to US cups 🙂
Selina Stephens
Can I make this gluten free using Bobs 1-1 GF flour?
Julie Marie
Yes, that should be no problem 🙂
Everline
Why is it written in Graham, I'm used to the regular measurements can you send me the written recipe please..
Julie Marie
Right above the ingredients list you'll see a toggle where you can switch from Metrics to US cups 🙂