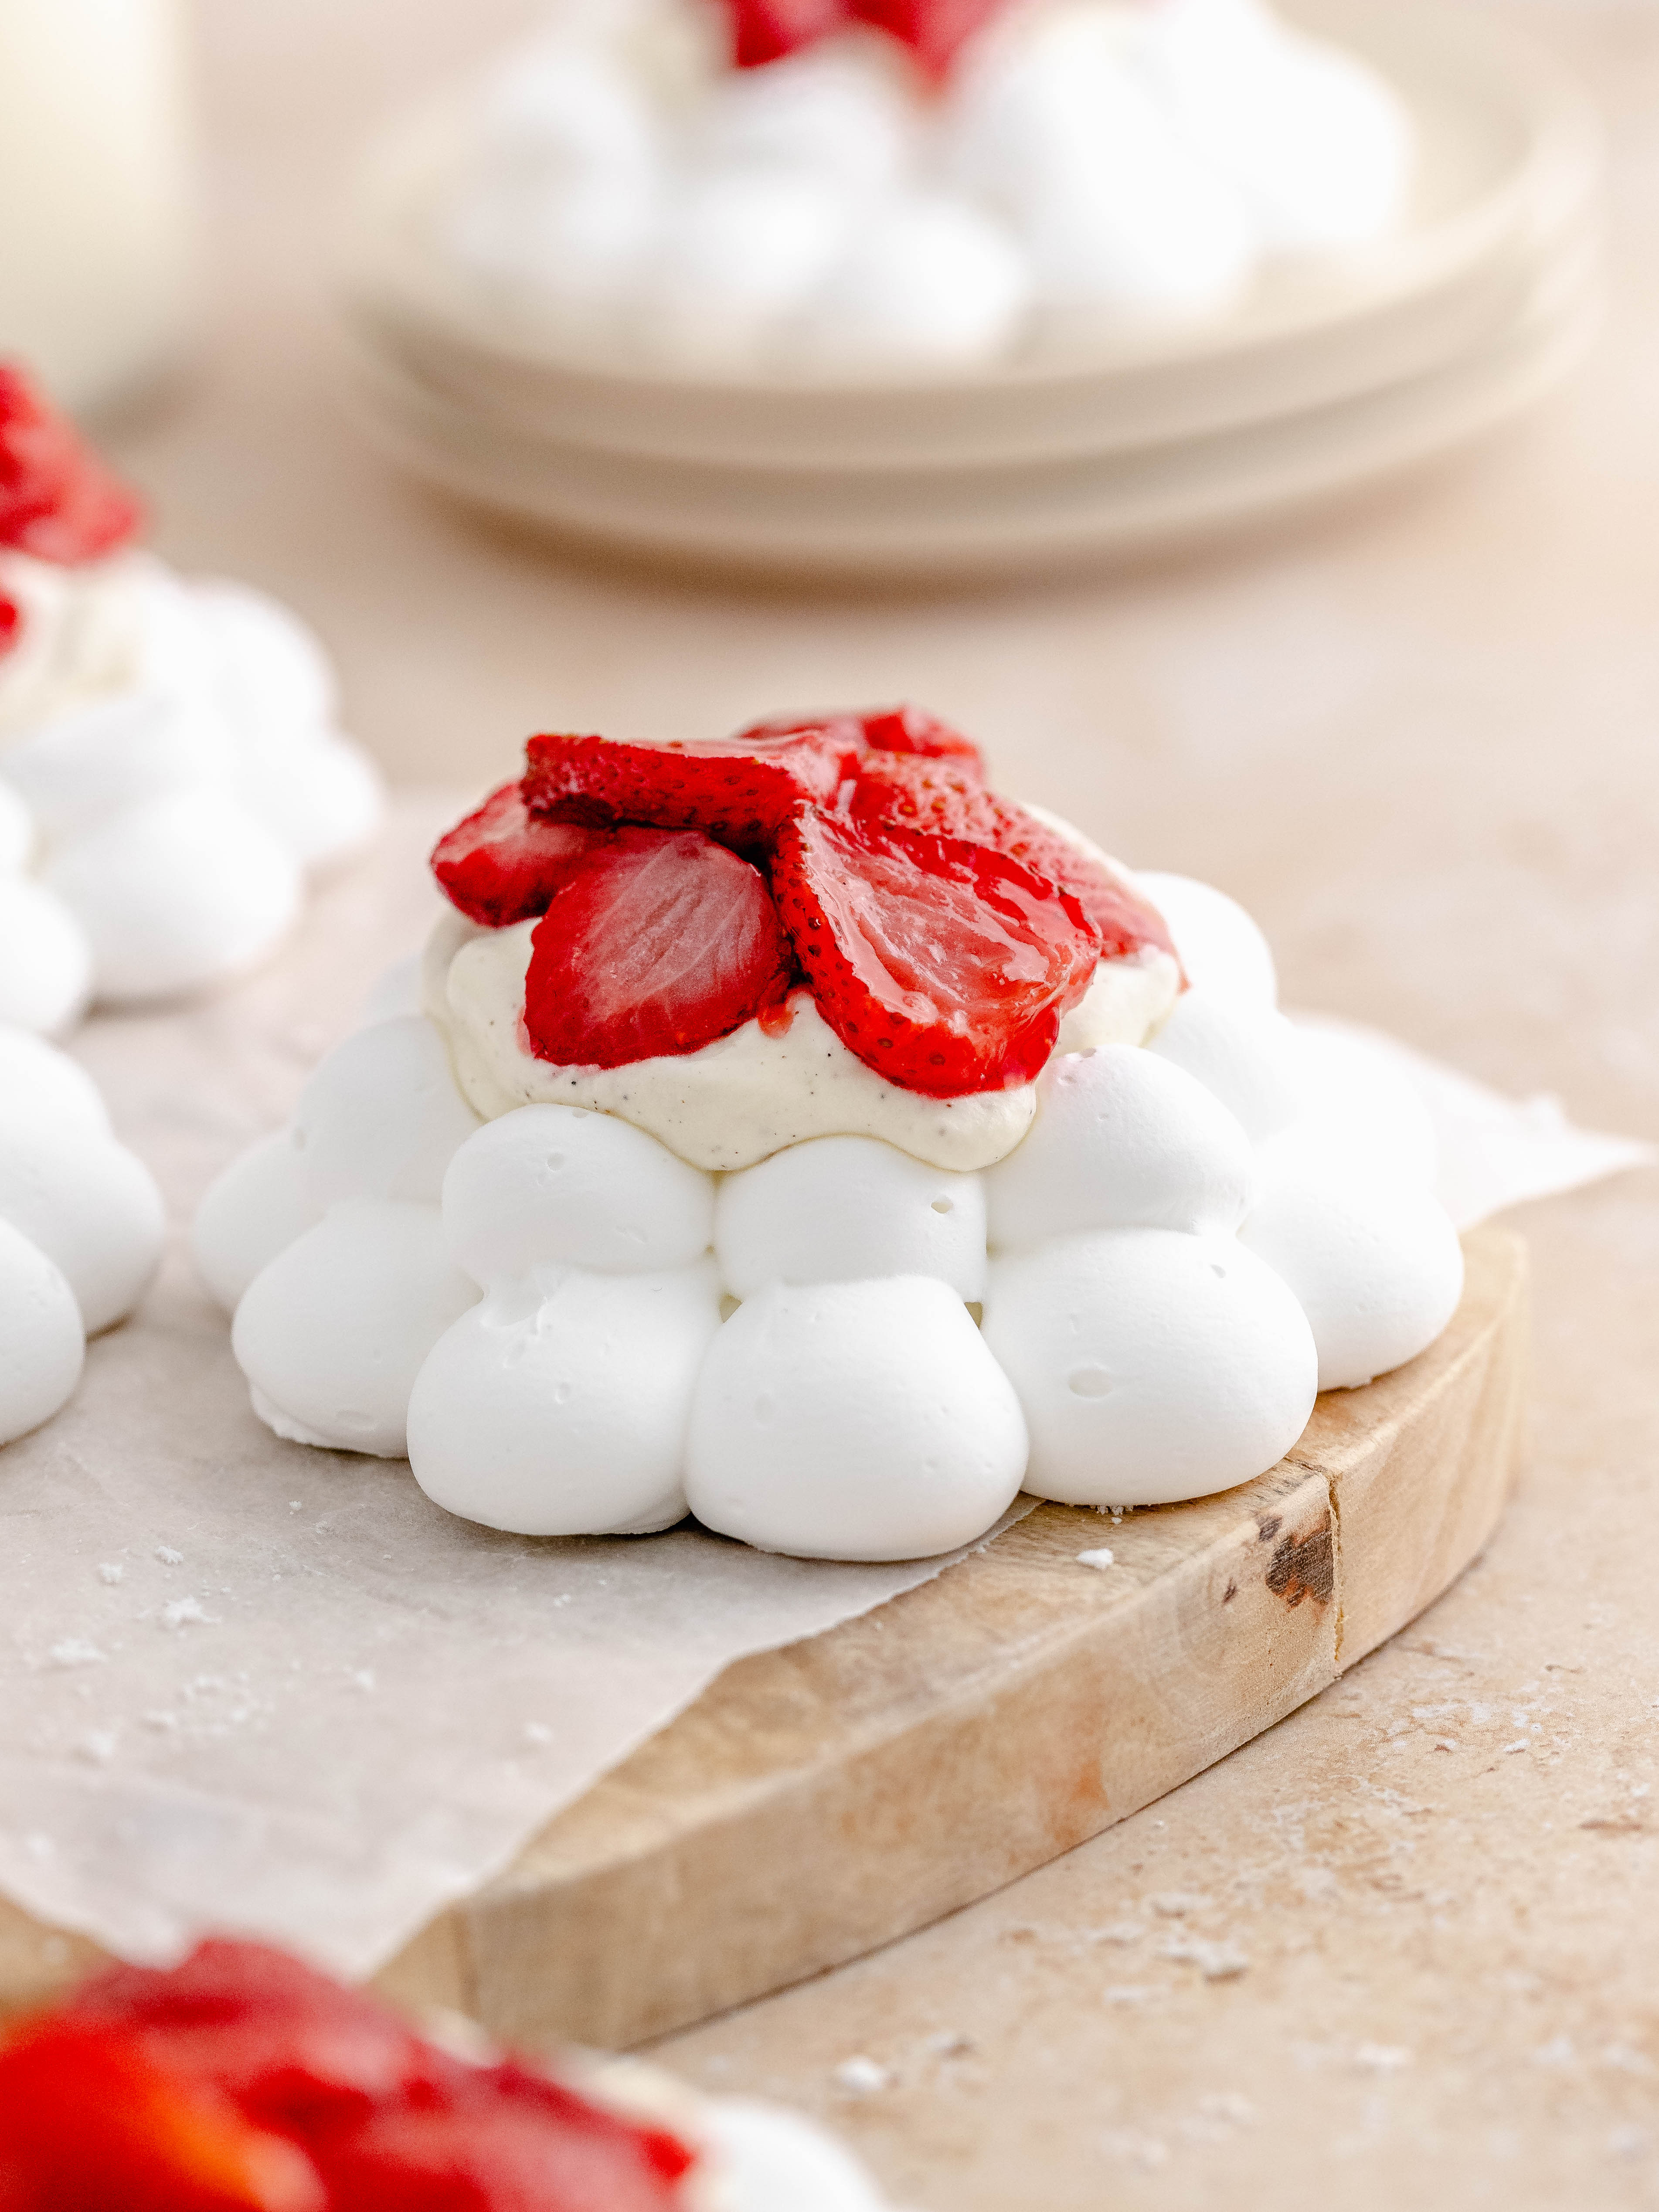
These baked strawberry meringue nests are a perfect summer dessert! They have a bright and fresh taste from the delicious baked strawberries. The baked strawberries are paired with a smooth Chantilly creme that's on a crunchy meringue nests.
These baked strawberry meringue nests are perfect to serve for your friends and family. This dessert is a perfect dessert to prep in advance as both the meringue nest and the strawberries can be made in advance, when you’re ready to serve you only have to mix together the Chantilly cream and put them together.
Meringue nests has always been a stable in my upbringing as it’s a super easy dessert and they taste fantastic. The best part is that you can add all the amazing fruit on top you’d want.
For more easy recipes, try Lemon Pistachio Cake, Nutella Loaf Cake and Chocolate Sheet Cake with Mascarpone Frosting.
STEP-BY-STEP INSTRUCTIONS - MERINGUE
MERINGUE NESTS
Preheat the oven to 75ºC, conventional oven.
Prepare a baking tray with baking paper. Turn the baking paper upside down and draw 6 x 7 cm circles. Turn the baking paper over so the pencil doesn’t touch the meringue.
Preferably use an aluminum tray as a black tray attracts more heat, which can make the pavlova darken.
Make sure your bowl and whisk are completely clean before you begin.
In a mixing bowl of your stand mixer, add the egg whites and granulated sugar. Place the bowl over a pot of simmering water, making sure the water does not touch the bowl. Use the whisk attachment to your mixer, to constantly stir around the mixture, until the sugar granules have melted together with the egg whites.
Then take it off the heat and place it in your stand mixer, and immediately set it on high speed. Let it mix for 5-6 min until the bowl feels room temperature and the meringue creates stiff peaks.
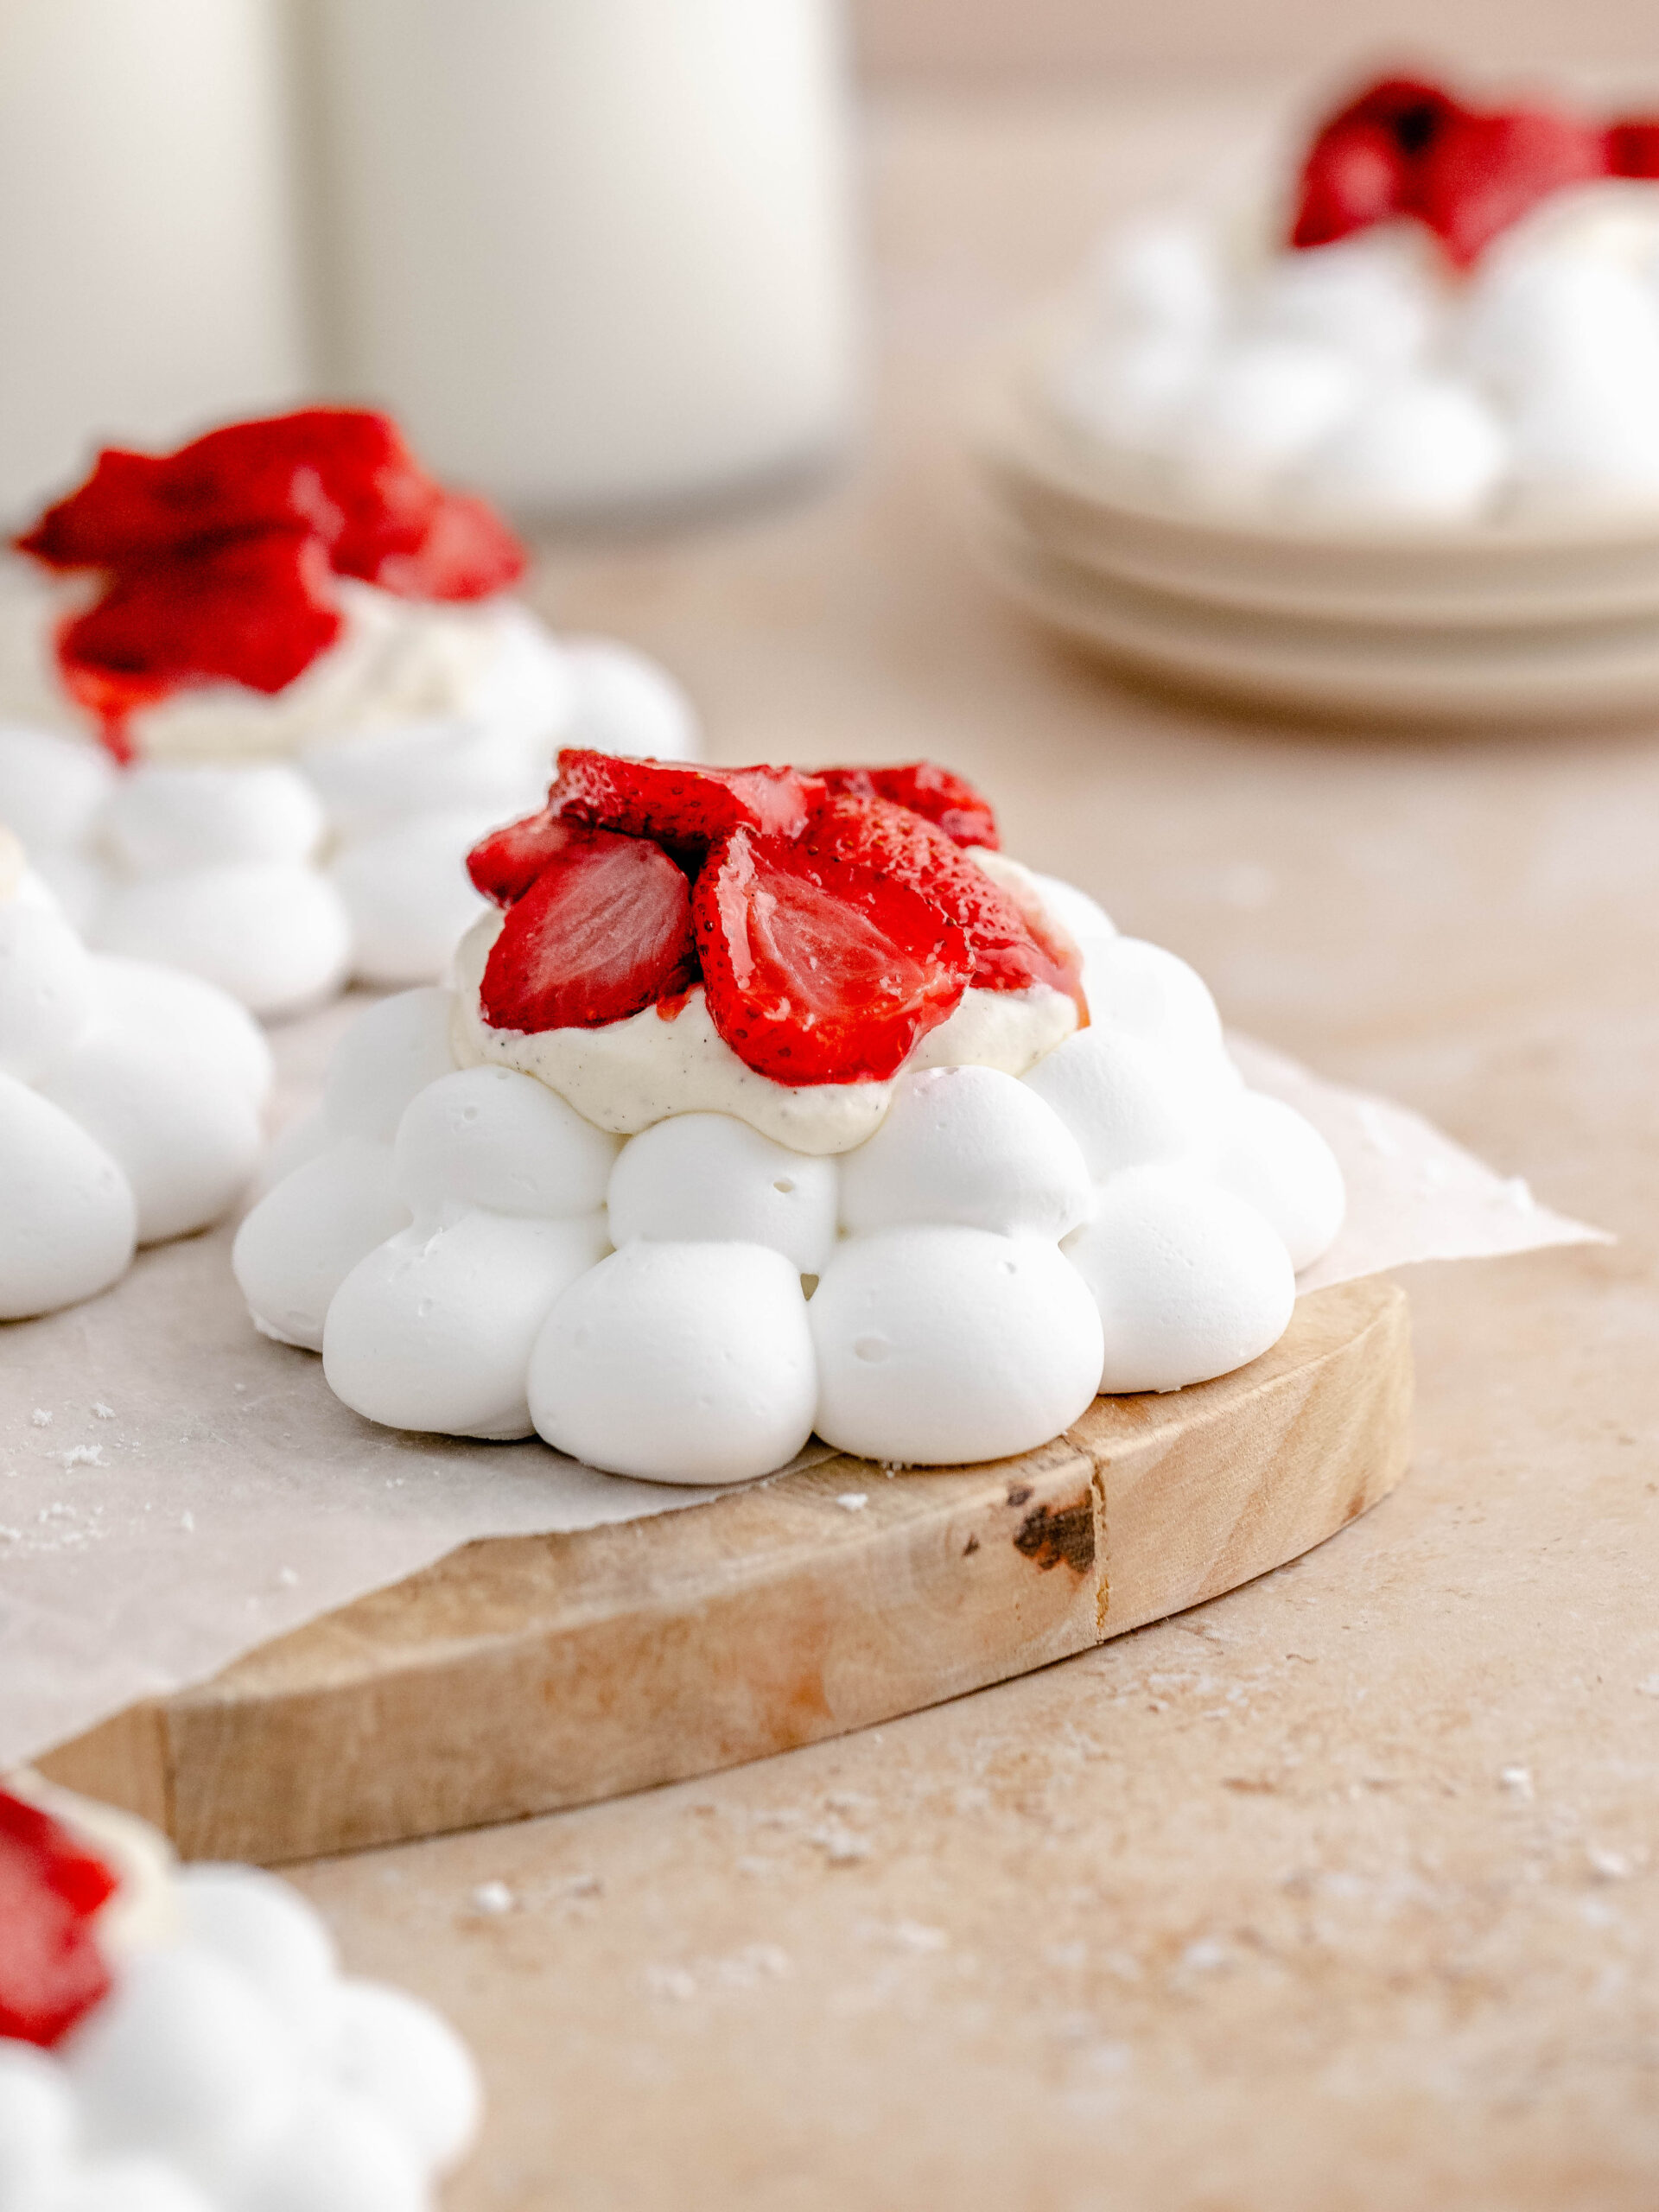
Add the meringue to a piping bag with a round piping tip, e.g. Wilton 1A. First pipe a 7 cm spiral and then pipe small dollops around spiral to create a flower design. You can also make any other design you’d wish.
Bake for 2 hours. Once done, turn off the oven and leave it in the oven until completely cool down (about 2 hours) or overnight. It is also best stored in a dry environment like an oven.
STEP-BY-STEP INSTRUCTIONS - FILLINGS AND ASSEMBLING
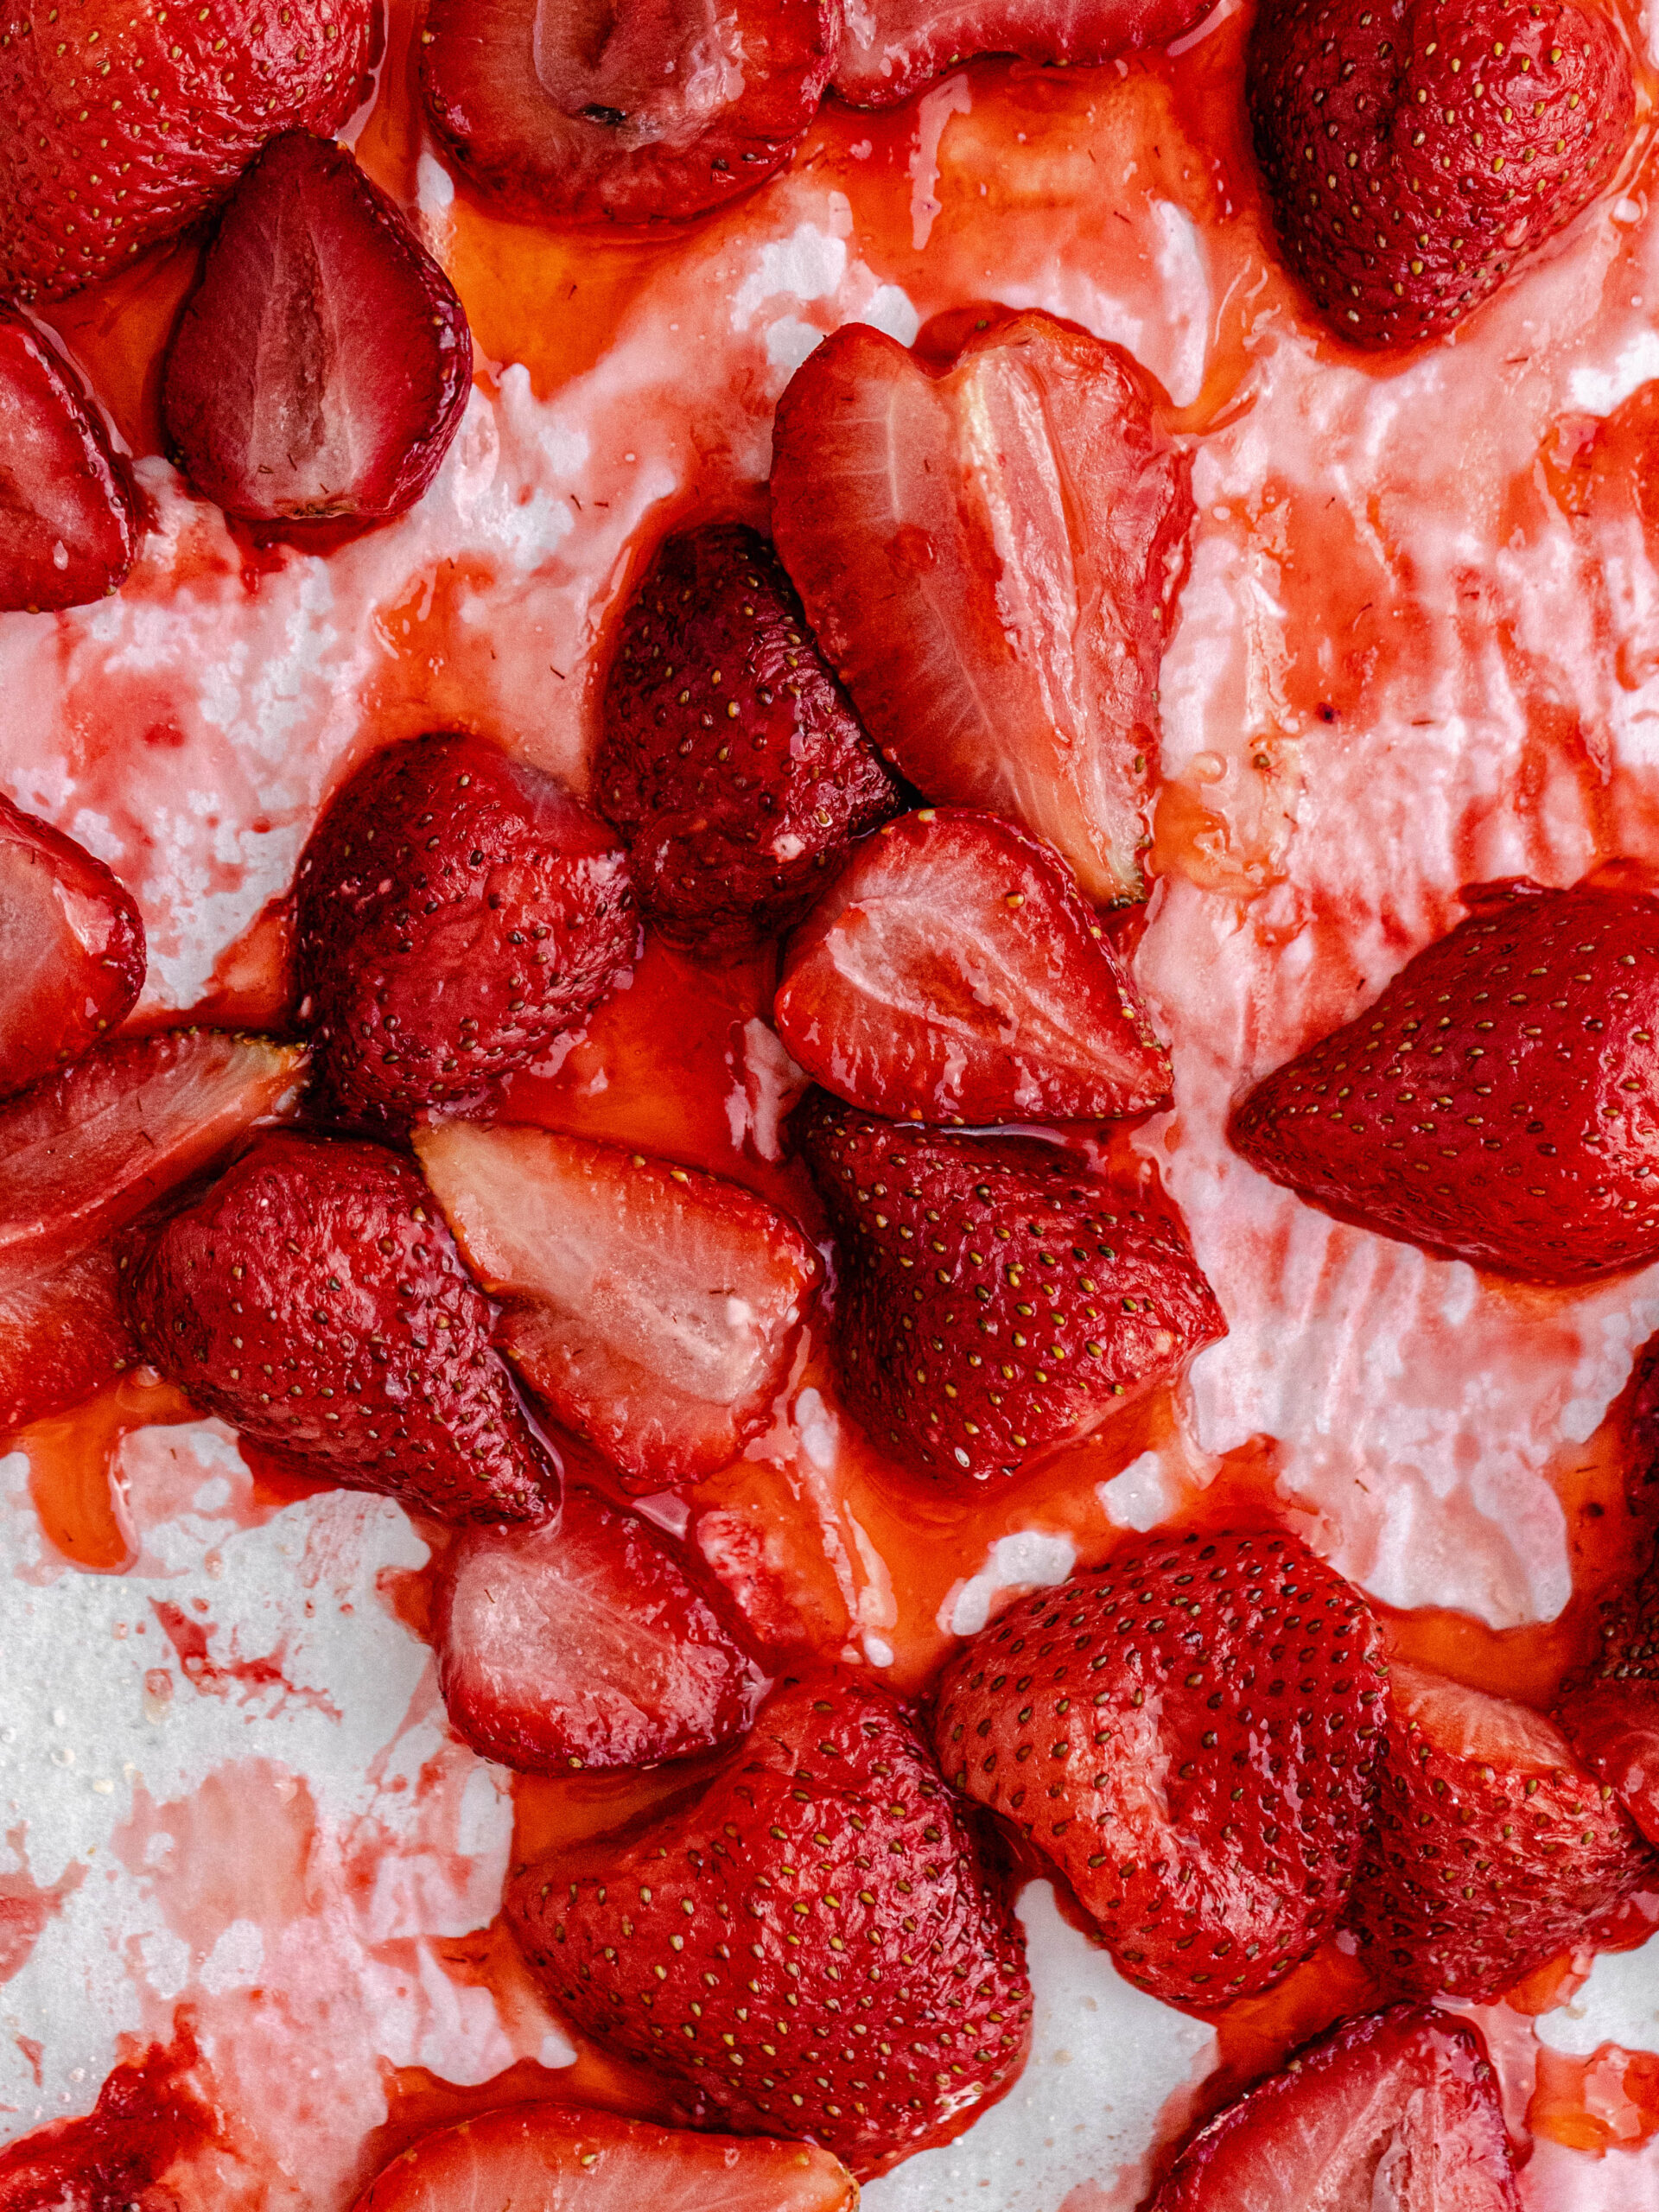
BAKED STRAWBERRIES
Preheat the oven at 175ºC.
Cut the strawberries in half and in a bowl toss them with the granulated sugar, vanilla extract and cornstarch. Add it to a baking tray lined with baking paper and bake them for 25 min.
Half way though the baking, give them a gently fold and continue baking.
Once baked, let them cool down for a little bit. These can be serve either luke warm or cold.
CHANTILLY CREME
Whisk all the ingredients together until the whipped cream creates stiff peaks.
ASSEMBLING
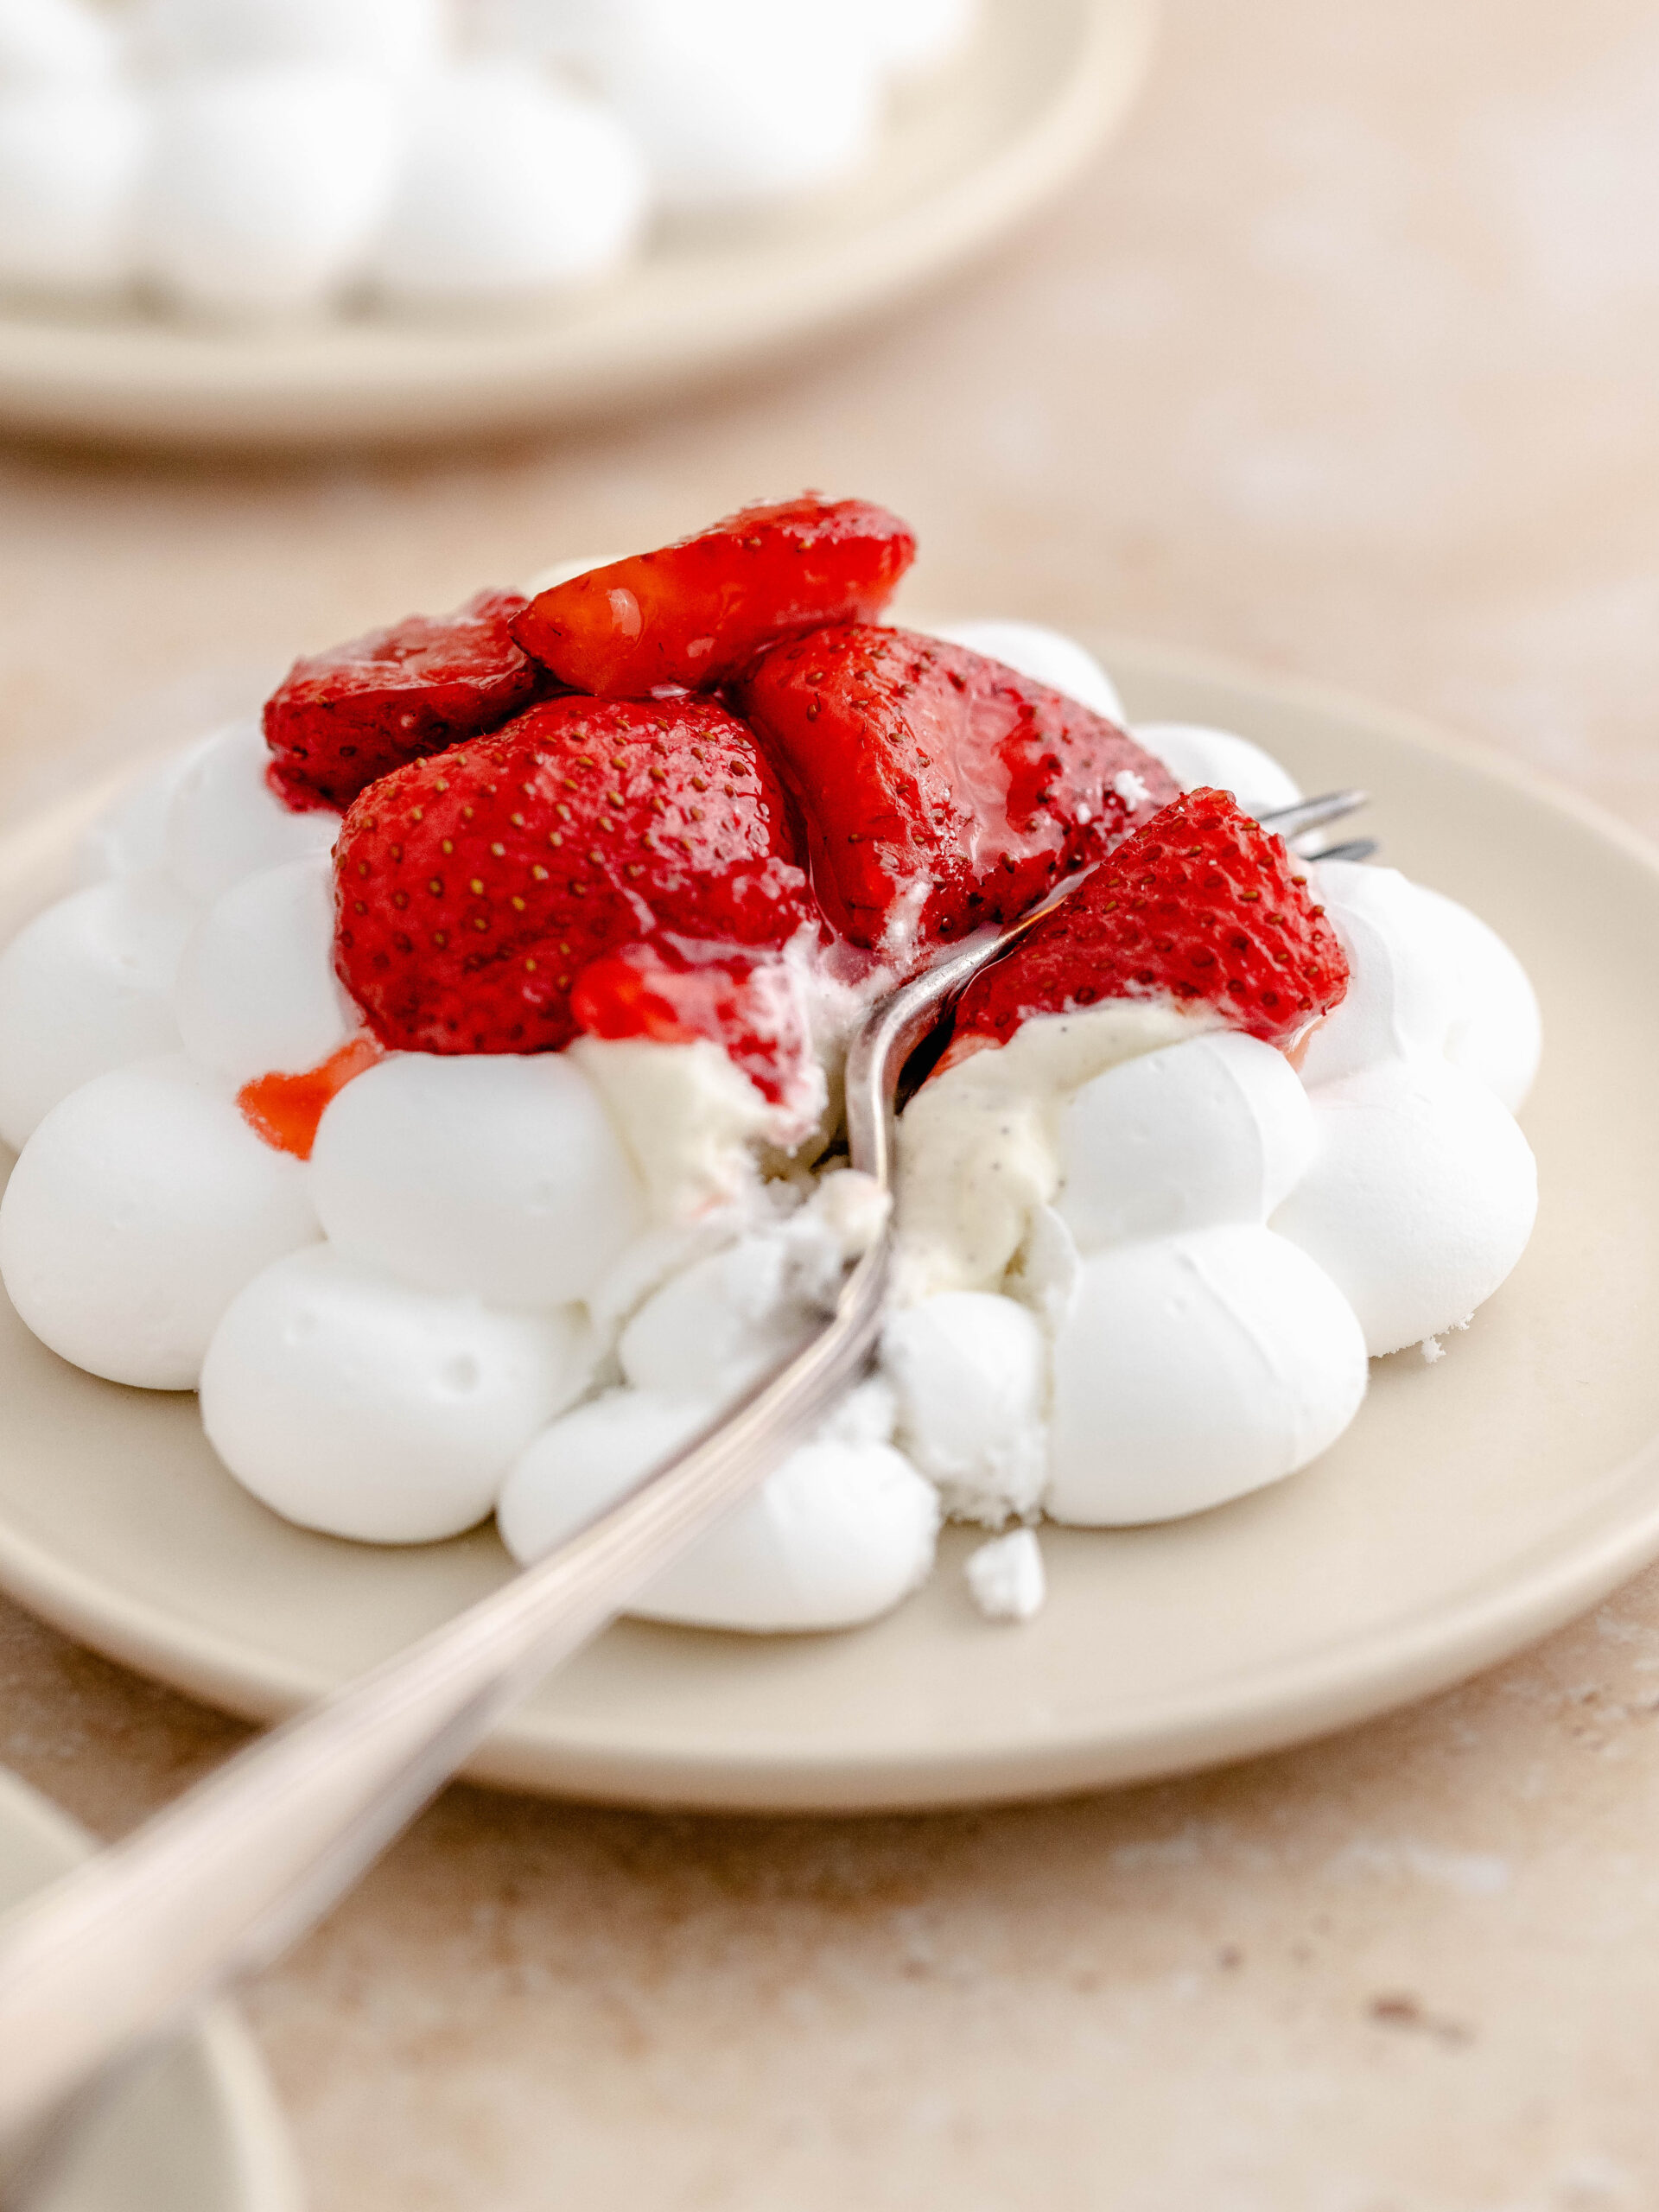
Spread the chantilly cream on the meringue nests and divide the baked strawberries.
Best enjoyed right away.
STORAGE
These meringue nests are best enjoyed as soon as assembled as the cream with soften the meringue over time. Therefore if you want to prepare them ahead of time, store the meringue nests separately, in a metal box, in a dry area. Store the baked strawberries in an airtight container in the fridge. Prepare the Chantilly cream once ready to serve.
Other Easy Recipes To Try

Make sure leave a STAR REVIEW if you loved this recipe! Make sure to tag me on Instagram @juliemarieeats. To get more ideas by following me on Pinterest.
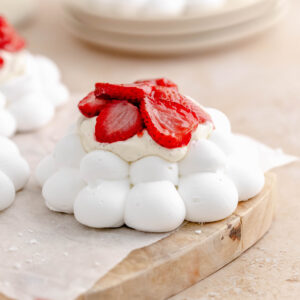
Baked Strawberry Meringue Nests
Ingredients
MERINGUE NESTS
- 130 g pasteurized egg whites
- 260 g granulated sugar
BAKED STRAWBERRIES
- 300 g fresh strawberries
- 1 tablespoon granulated sugar
- 1 teaspoon vanilla extract
- 1 teaspoon cornstarch
CHANTILLY CREME
- 100 g heavy cream
- 1 tablespoon powdered sugar
- ½ teaspoon vanilla sugar
Instructions
MERINGUE NESTS
- Preheat the oven to 75ºC, conventional oven.
- Prepare a baking tray with baking paper. Turn the baking paper upside down and draw 6 x 7 cm circles. Turn the baking paper over so the pencil doesn’t touch the meringue.
- Preferably use an aluminum tray as a black tray attracts more heat, which can make the pavlova darken. Make sure your bowl and whisk are completely clean before you begin.
- In a mixing bowl of your stand mixer, add the egg whites and granulated sugar. Place the bowl over a pot of simmering water, making sure the water does not touch the bowl. Use the whisk attachment to your mixer, to constantly stir around the mixture, until the sugar granules have melted together with the egg whites.130 g pasteurized egg whites, 260 g granulated sugar
- Then take it off the heat and place it in your stand mixer, and immediately set it on high speed. Let it mix for 5-6 min until the bowl feels room temperature and the meringue creates stiff peaks.
- Add the meringue to a piping bag with a round piping tip, e.g. Wilton 1A. First pipe a 7 cm spiral and then pipe small dollops around spiral to create a flower design. You can also make any other design you’d wish.
- Bake for 2 hours. Once done, turn off the oven and leave it in the oven until completely cool down (about 2 hours) or overnight. It is also best stored in a dry environment like an oven.
BAKED STRAWBERRIES
- Preheat the oven at 175ºC.
- Cut the strawberries in half and in a bowl toss them with the granulated sugar, vanilla extract and cornstarch. Add it to a baking tray lined with baking paper and bake them for 25 min.300 g fresh strawberries, 1 tablespoon granulated sugar, 1 teaspoon vanilla extract, 1 teaspoon cornstarch
- Half way though the baking, give them a gently fold and continue baking.
- Once baked, let them cool down for a little bit. These can be serve either luke warm or cold.
CHANTILLY CREME
- Whisk all the ingredients together until the whipped cream creates stiff peaks.100 g heavy cream, 1 tablespoon powdered sugar, ½ teaspoon vanilla sugar
ASSEMBLING
- Spread the chantilly cream on the meringue nests and divide the baked strawberries.
- Best enjoyed right away.
Leave a Reply