This post may contain affiliate links.
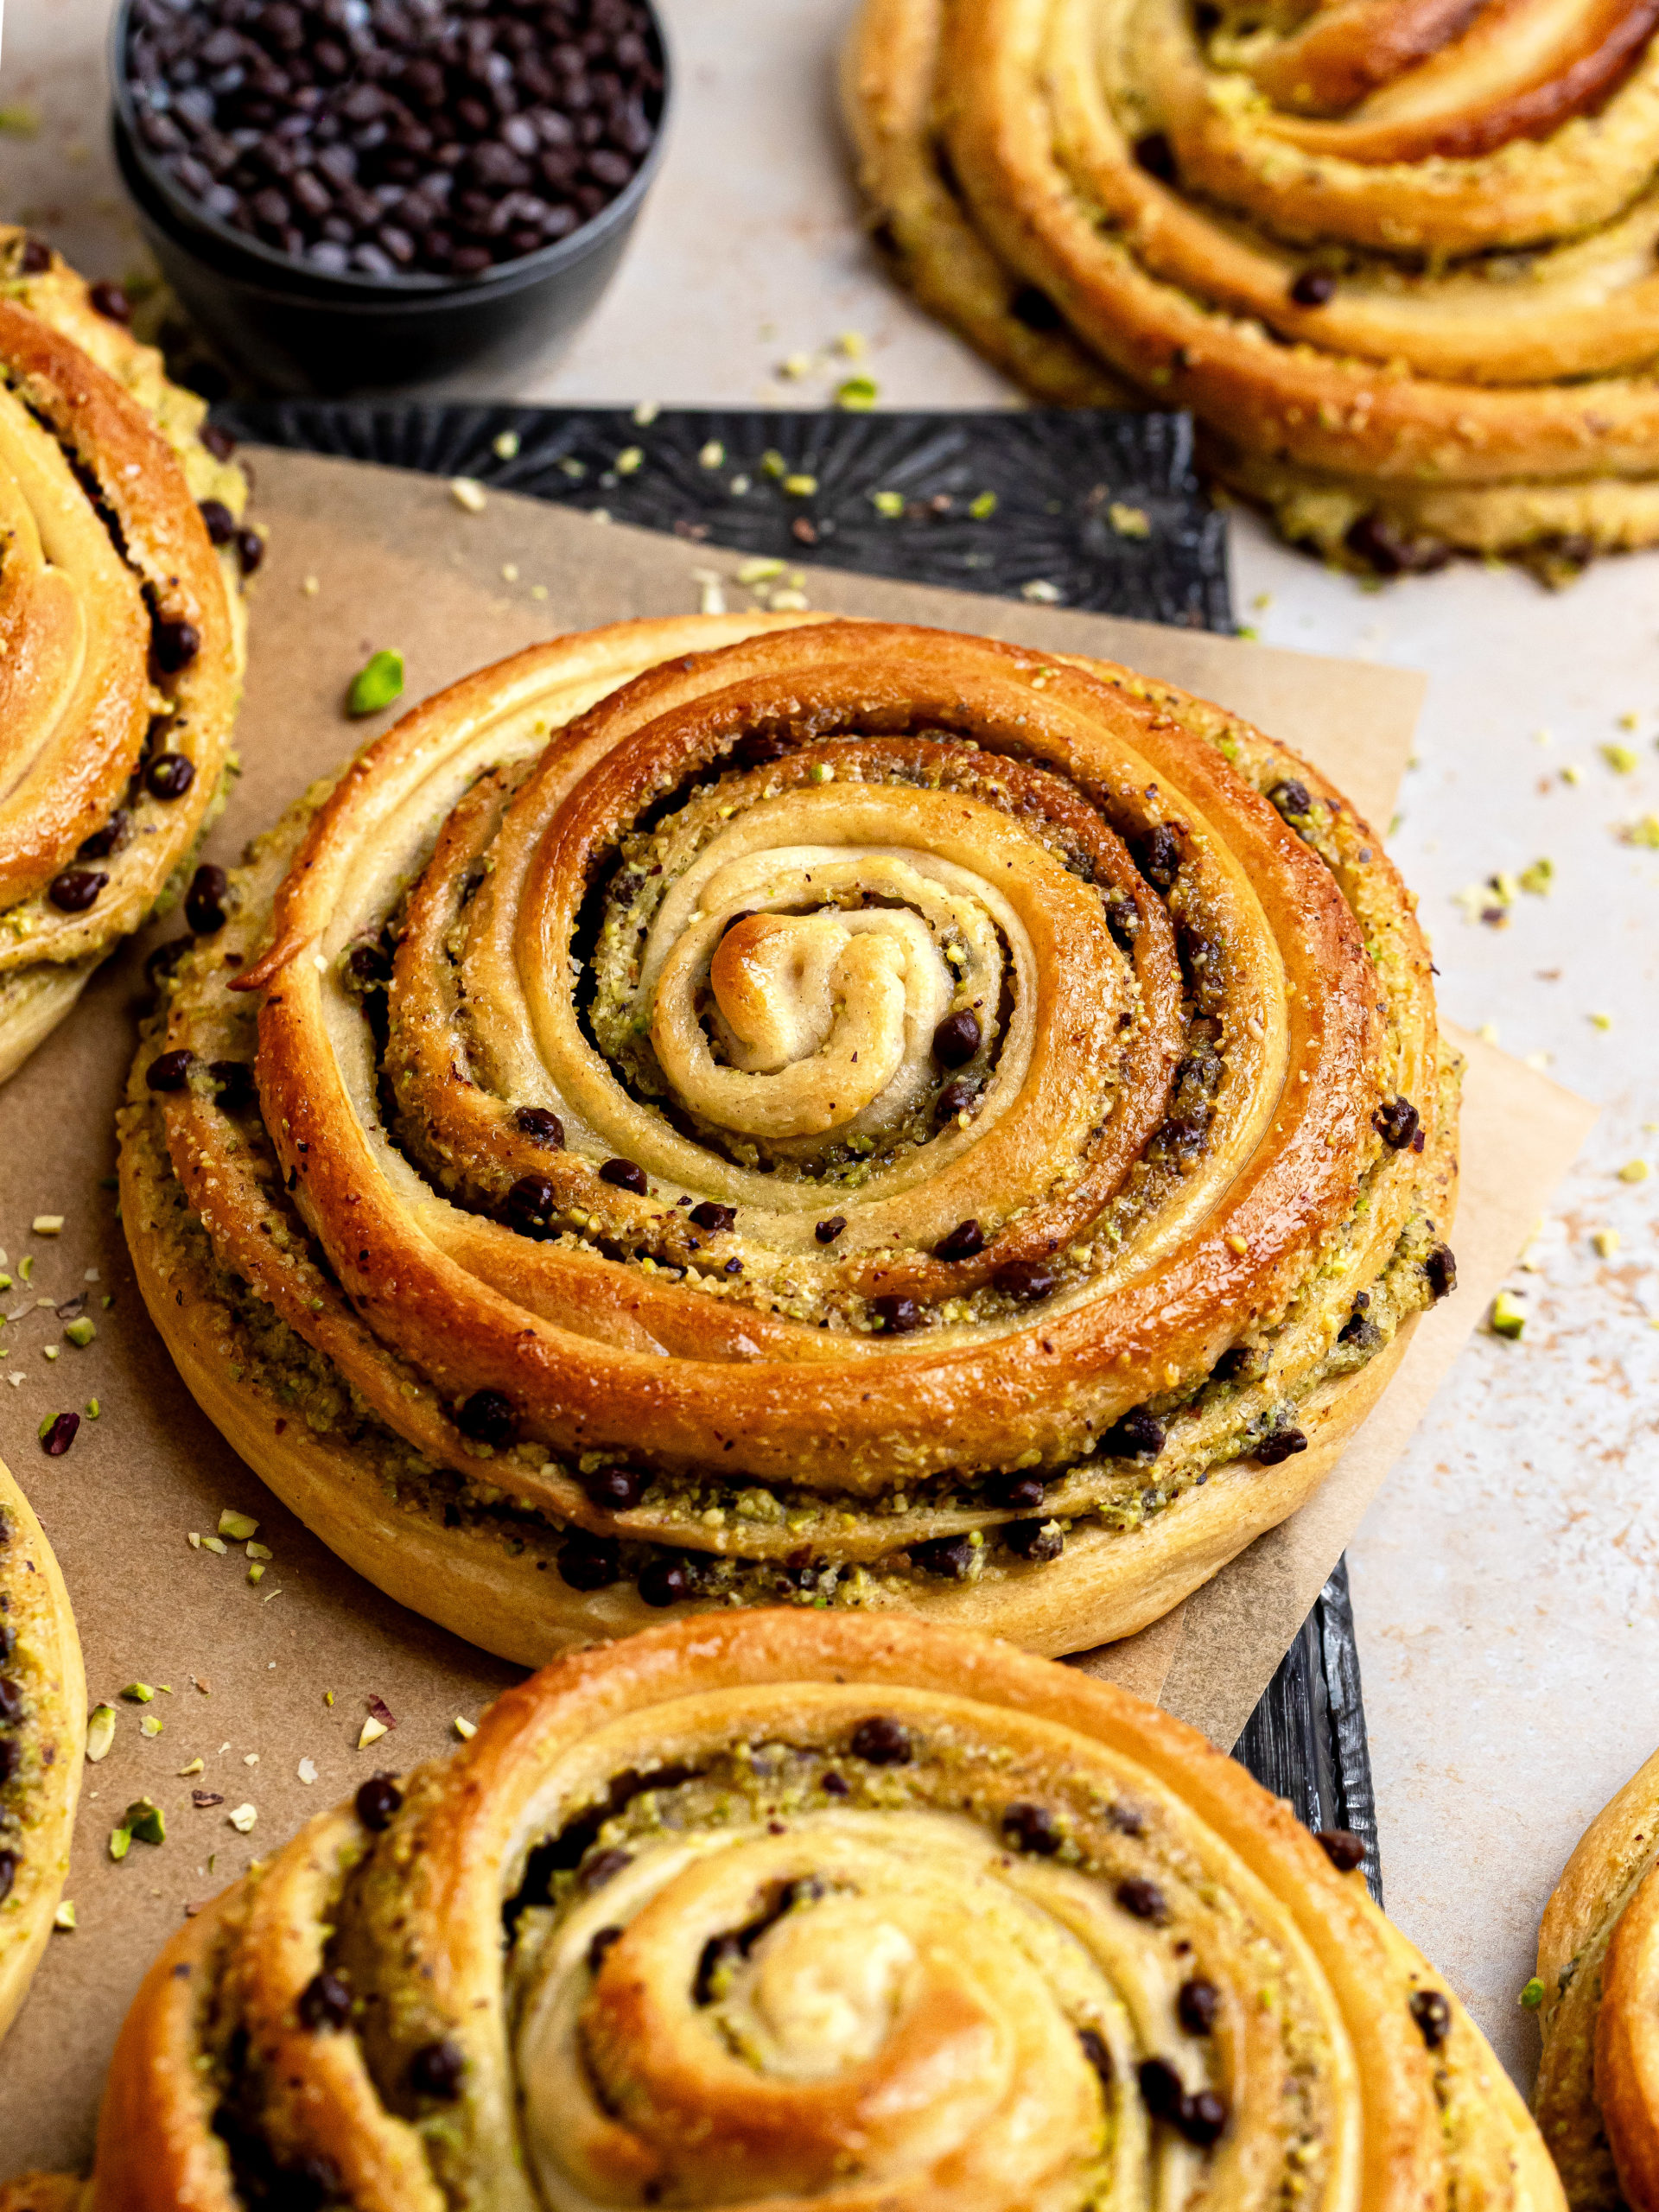
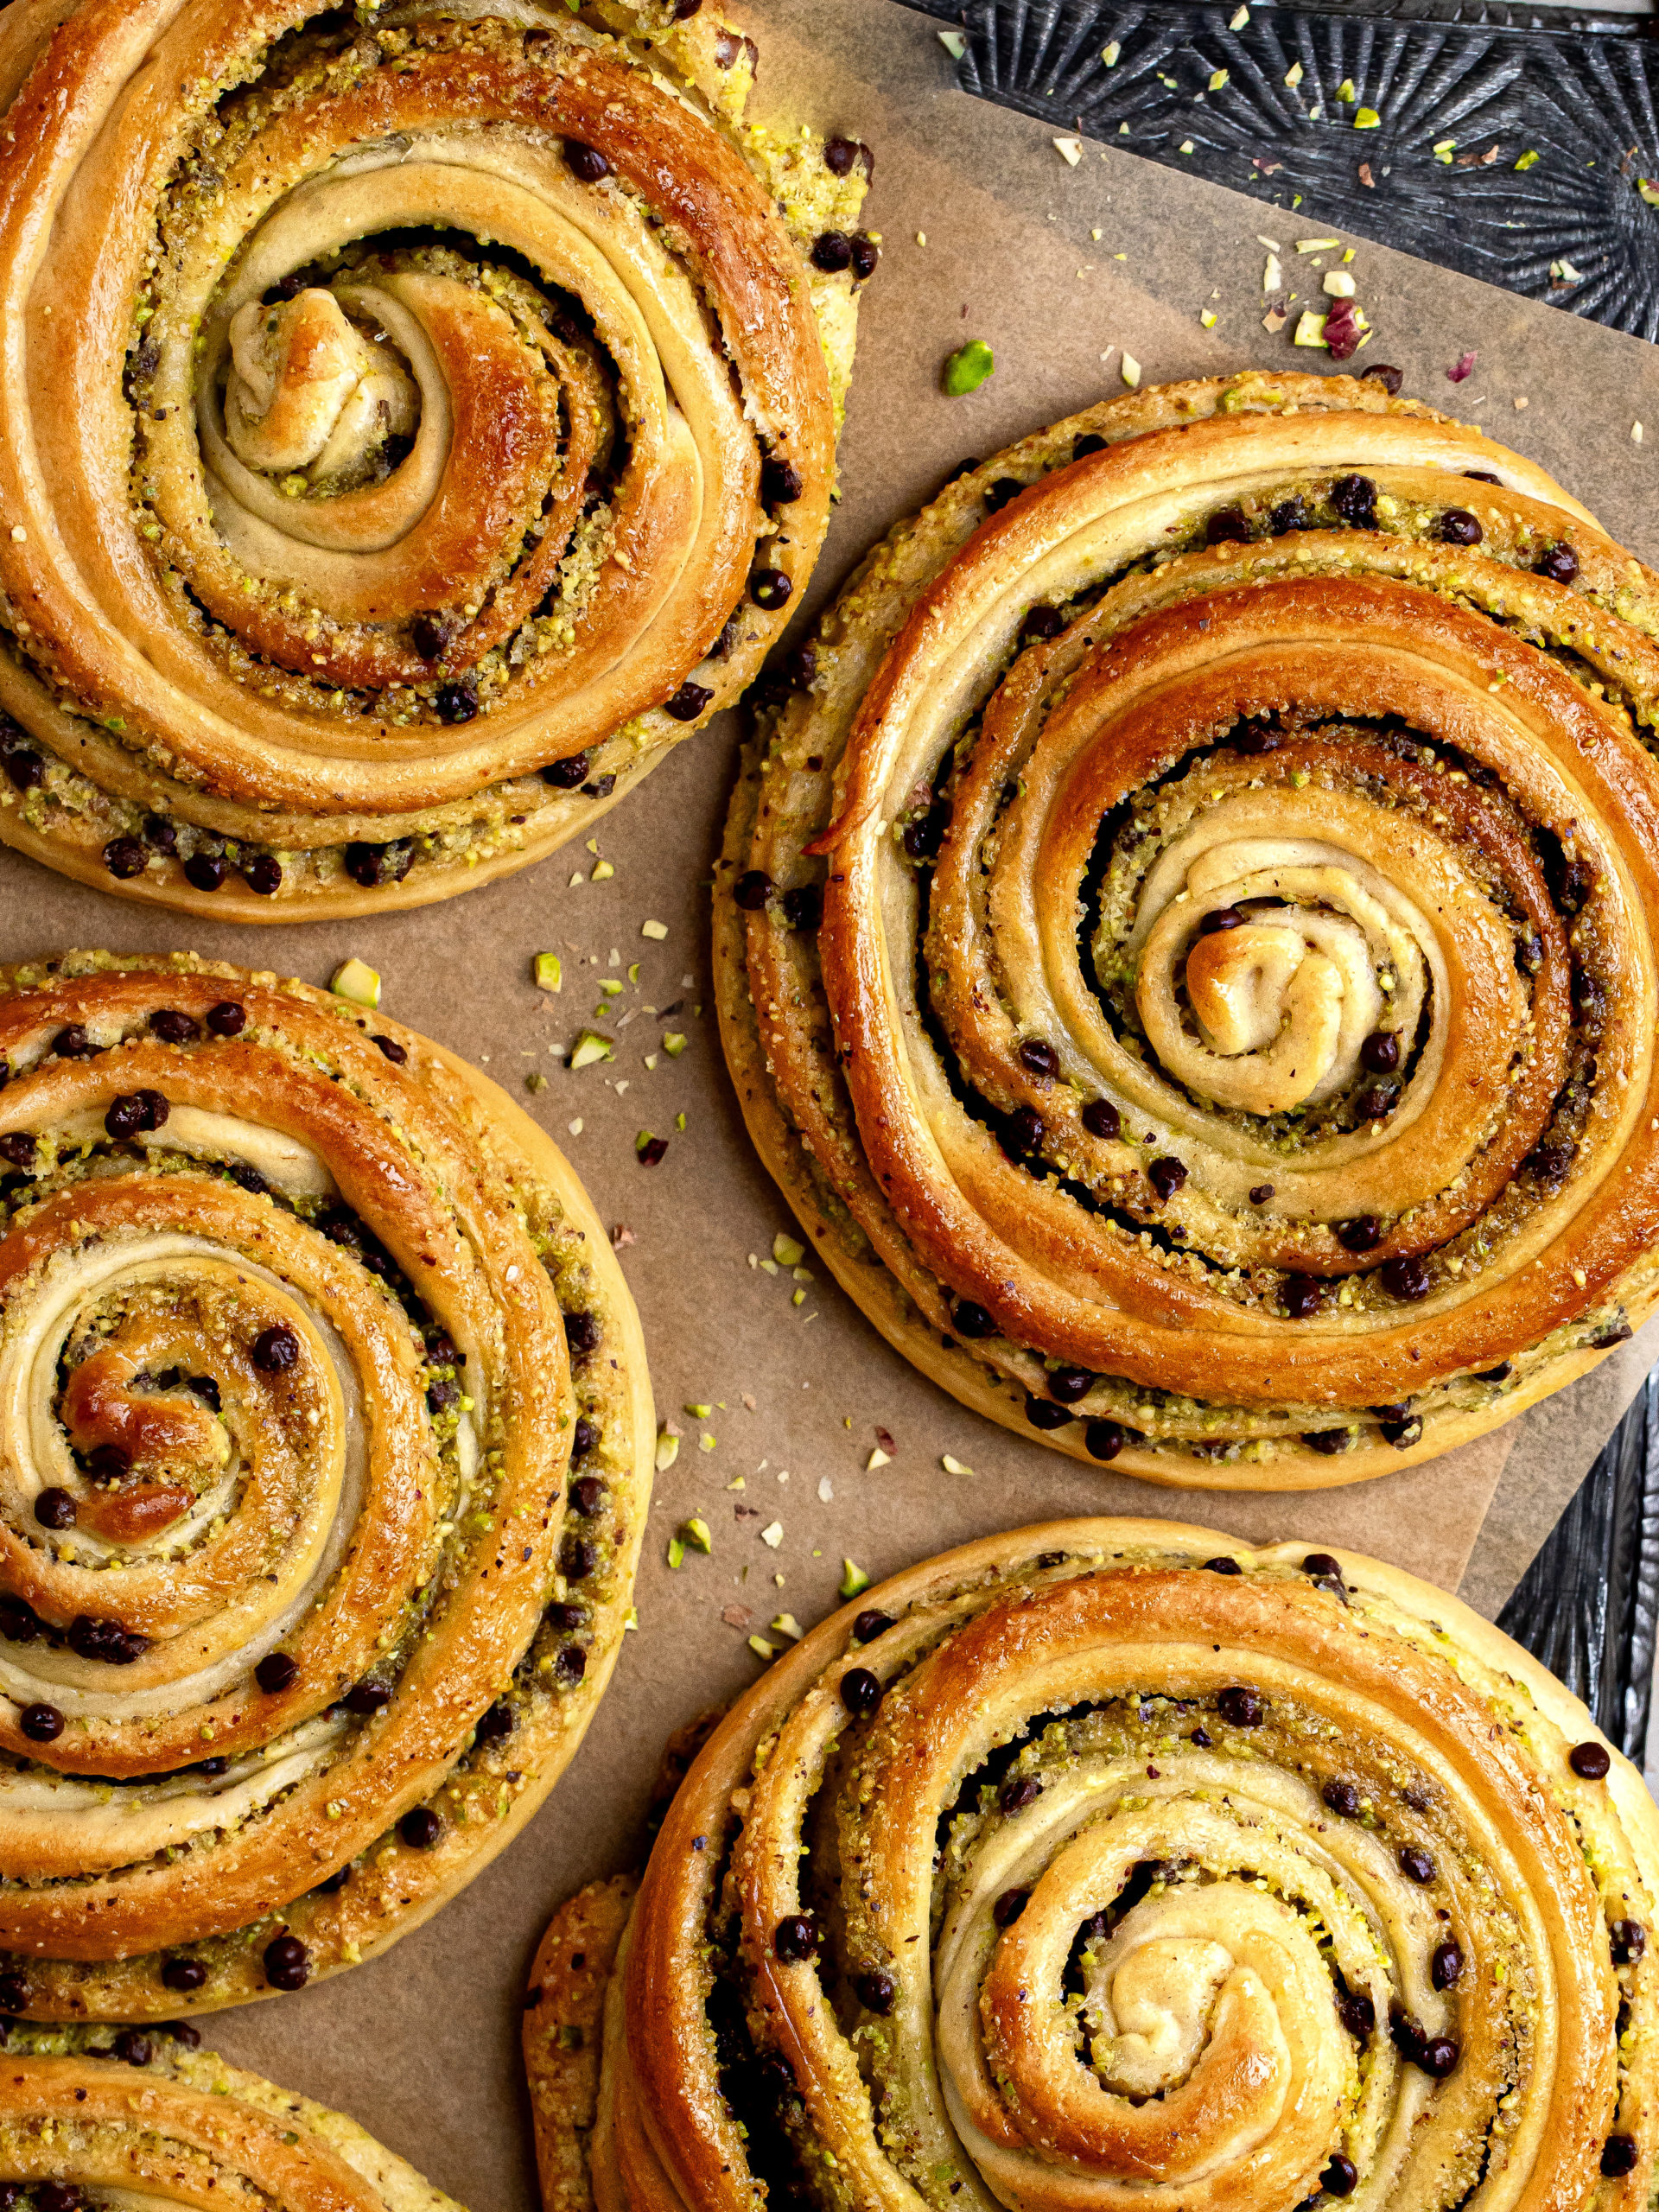
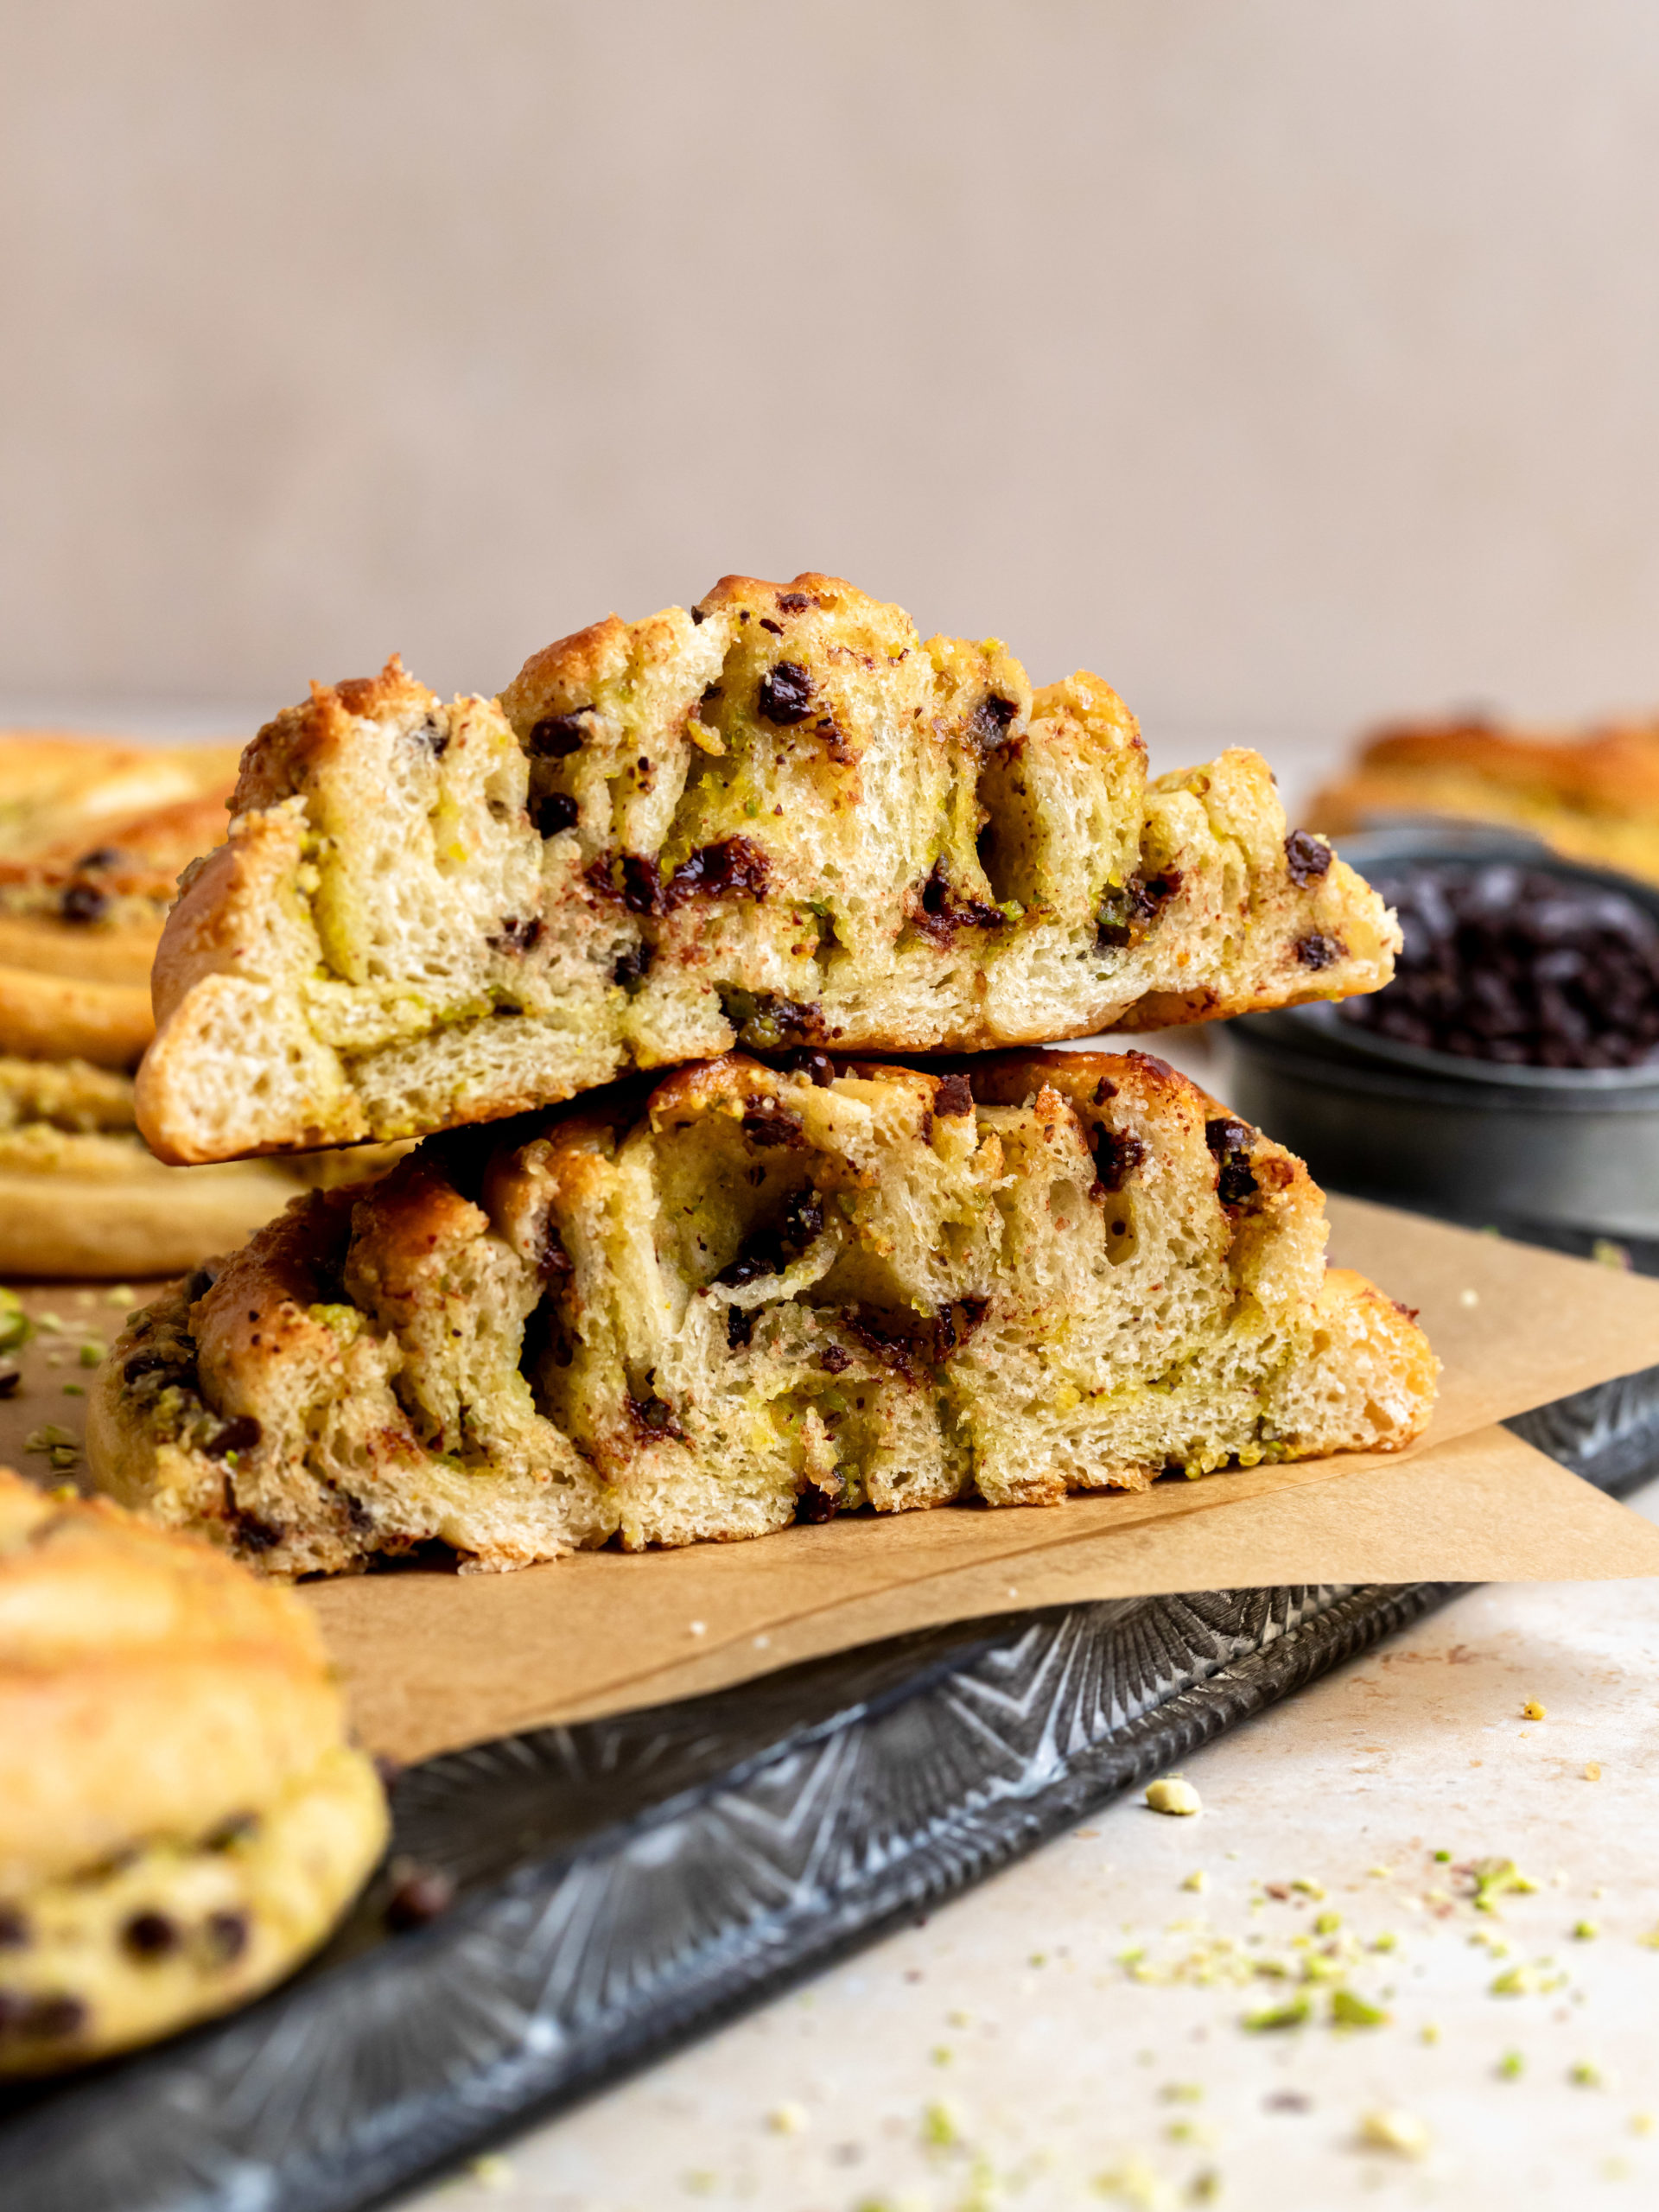
Let me introduce you to the best Pistachio Chocolate Rolls! Indulge in an amazing fusion of flavors with these mouthwatering Pistachio Chocolate Rolls. Pillowy soft dough, swirled with a delicious pistachio filling, and mini chocolate chips. Every bite is full of flavours.
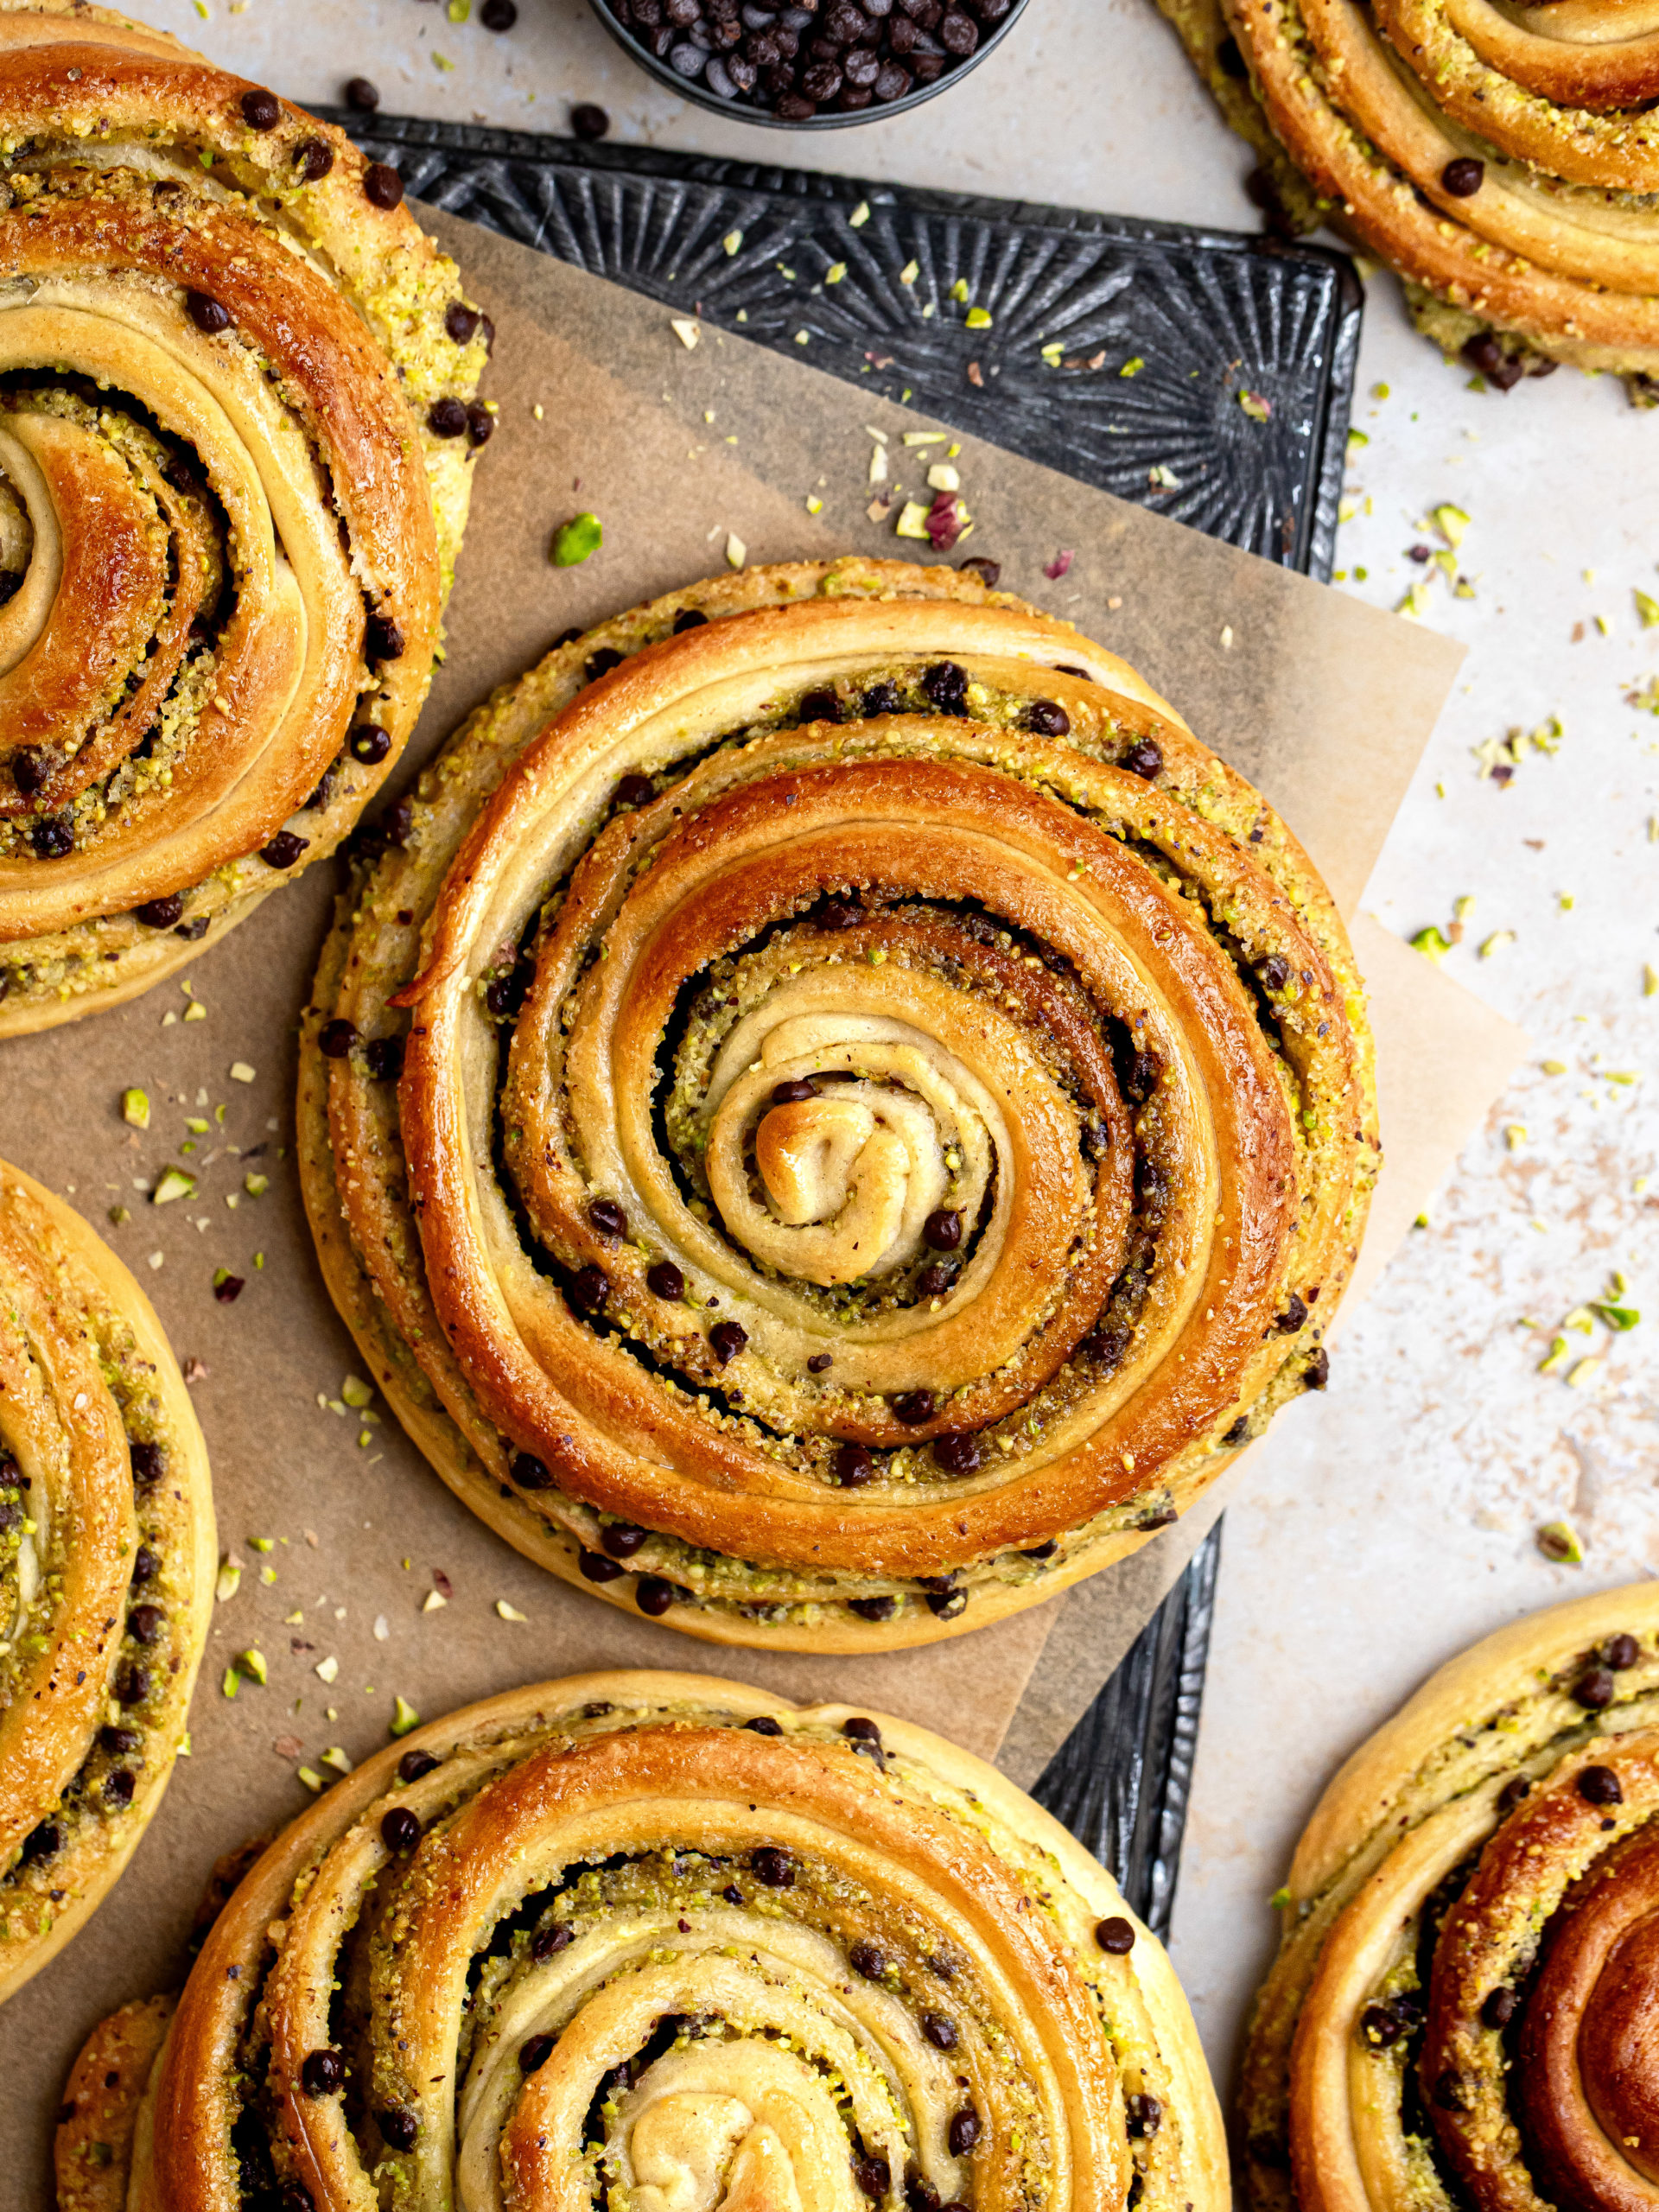
These Pistachio Chocolate Rolls are absolutely delicious and a perfect breakfast treat! These rolls combines a delicious pistachio filling with lots of mini chocolate chips. This delightful pistachio rolls recipe have a soft and fluffy dough and the chocolate chips takes them to another level.
For more cinnamon roll recipes, try Small Batch Cinnamon Rolls, Blueberry Cinnamon Rolls and Strawberry Rolls.
Jump to:
WHY THIS RECIPE WORKS
- Soft and fluffy dough: This dough is super fluffy and is folded over 3 times to get those beautiful layers.
- Pistachio filling: The pistachio filling gives a the best flavor and beautiful green color.
- Mini chocolate chips: These rolls are filled with mini chocolate chips.
INGREDIENT NOTES
These are some of the key ingredients for this recipe. For a full list of ingredients, check out the recipe card below.
- Yeast: I use fresh yeast but you can also use active or instant dry yeast.
- Butter: Room temperature butter is used both in the dough and in the cinnamon filling.
- Whole milk: Heat the milk up to 37ºC, make sure it's not warmer as it can kills the yeast if it's too hot.
- Pistachio: Raw, unsalted pistachios are blended into a flour consistency.
- Mini chocolate chips: I recommend using mini chocolate chips over regular sized ones, as they divide better throughout the rolls. If you don't have mini chocolate chips, then you can chop the regular chocolate chips or a bar into smaller pieces.
STEP BY STEP INSTRUCTIONS - DOUGH
Here is how to make and bake these Pistachio Chocolate Rolls. This recipe needs a stand mixer with a dough hook attachment and 2 baking sheets lined with parchment paper.
The full recipe is down below in the recipe card.
STEP 1: Heat up the milk until it’s lukewarm (37ºC). Crumble the fresh yeast into the bowl of a stand mixer and pour in the heated milk. With a spatula stir it together until the yeast has melted. (If you are use dry yeast, let it bloom in the warm milk per instruction of the pack)
STEP 2: Add the granulated sugar, all-purpose flour, eggs, salt and using the dough hook, mix the dough on low-medium speed until it is all hydrated and there is no dry flour left. Then mix further for 4 minutes on medium speed.
STEP 3: Continue on medium speed and add the butter in two parts. Add the second part of the butter, once the first part has mixed into the dough. This part looks messy but don’t worry. Once the second part has incorporated, scape down the sides of the bowl and keep mixing the dough for 8-10 minutes. It should end, looking smooth and released from the bowl.
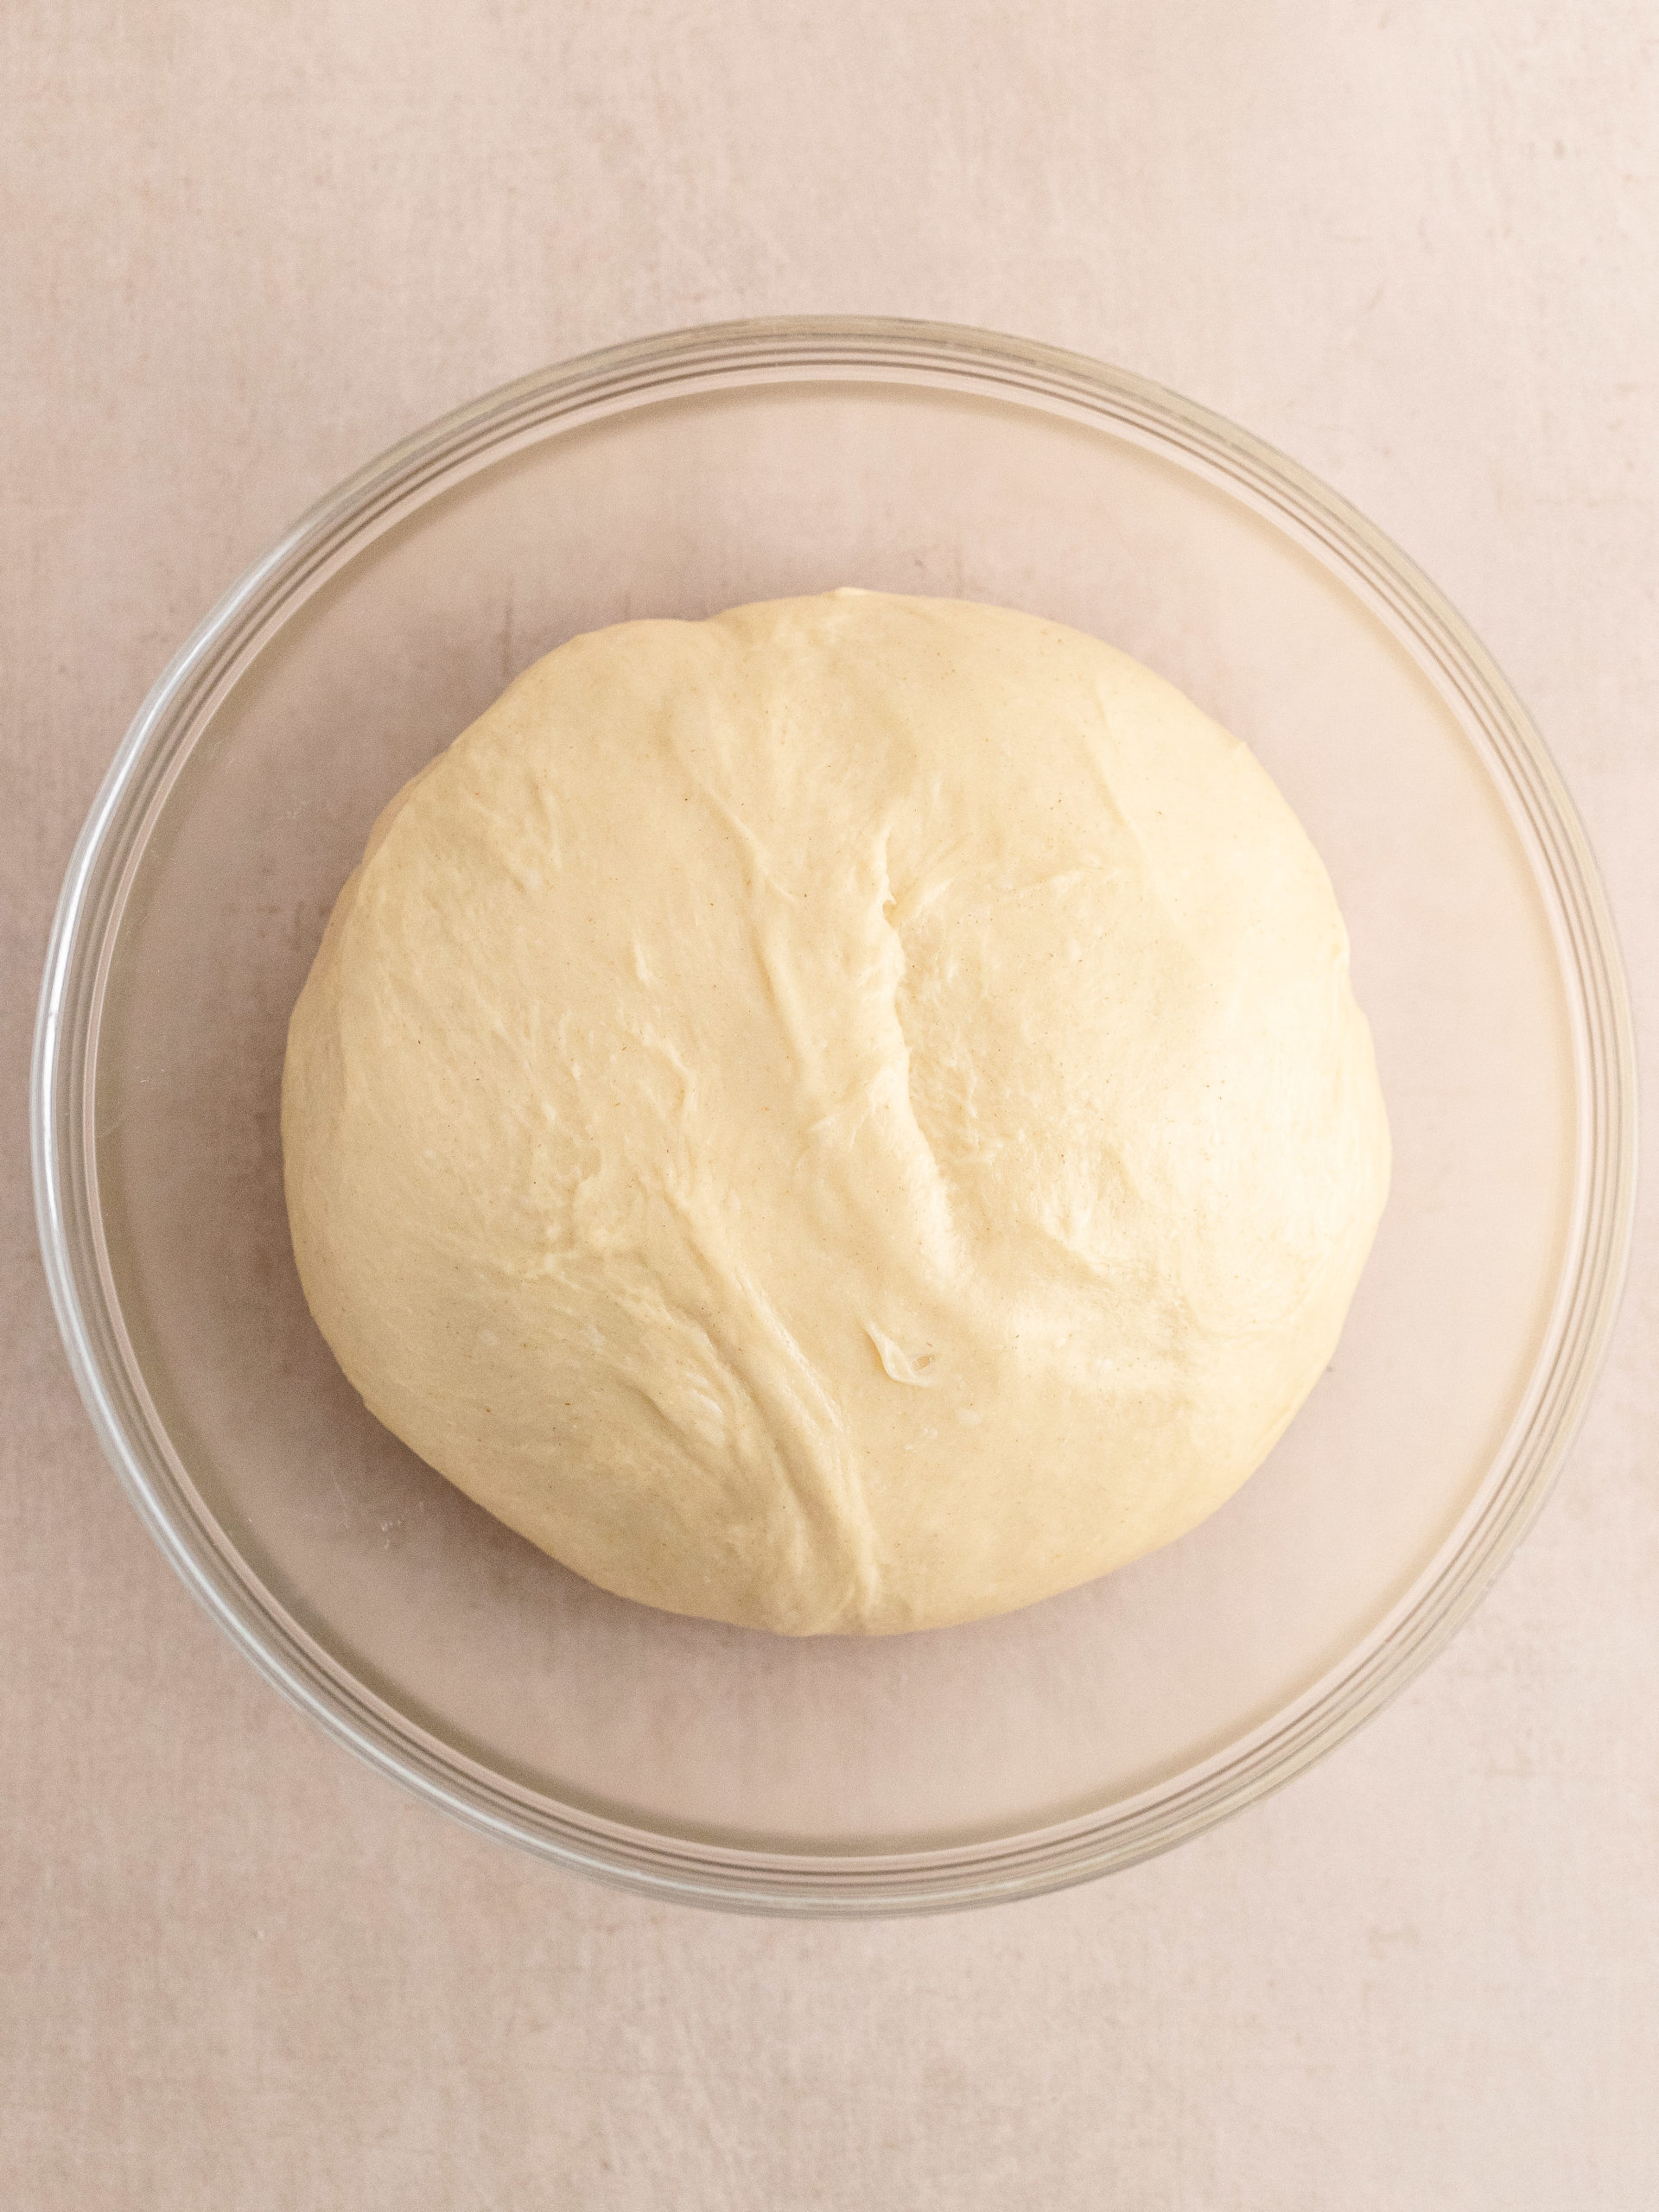
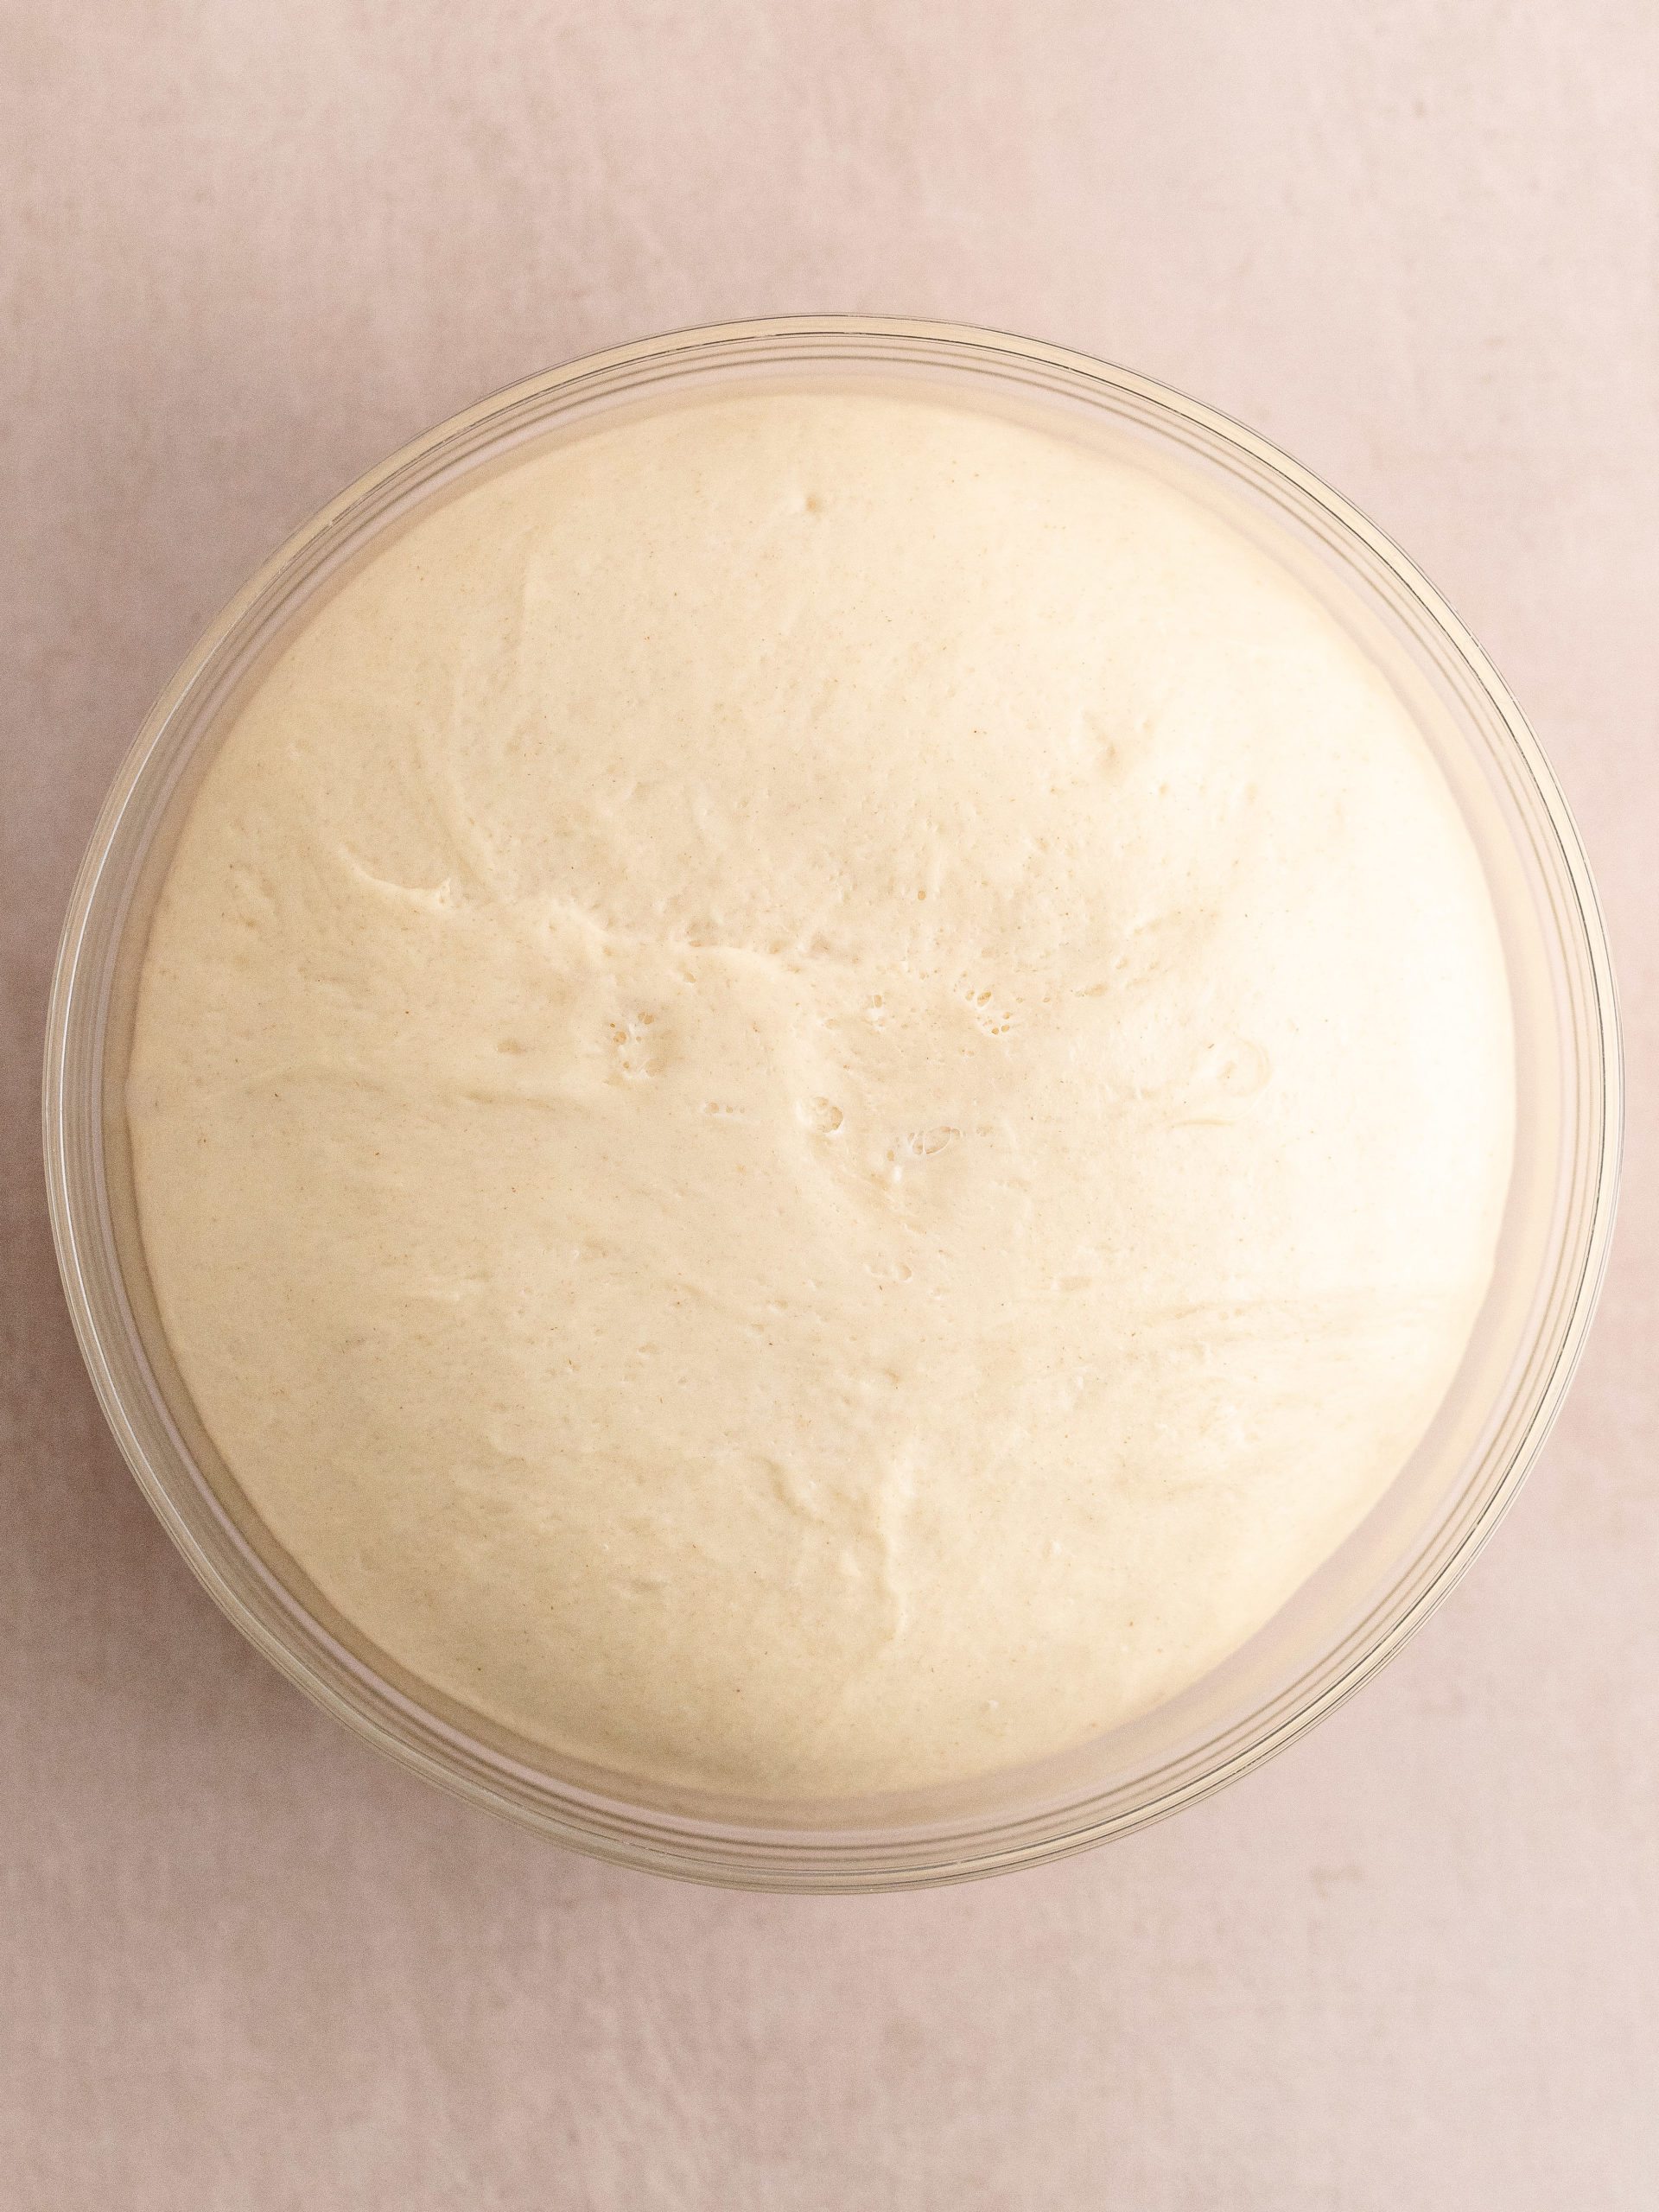
STEP 4: Add the dough to a clean large bowl, with a bit of vegetable oil, and cover the bowl with plastic wrap and a tea towel. Place it in a warm room temperature area in your house or use the trick with the oven. Let it rise for 1 hour. See FAQ above for overnight rising.
STEP BY STEP INSTRUCTIONS - FILLING AND ASSEMBLING
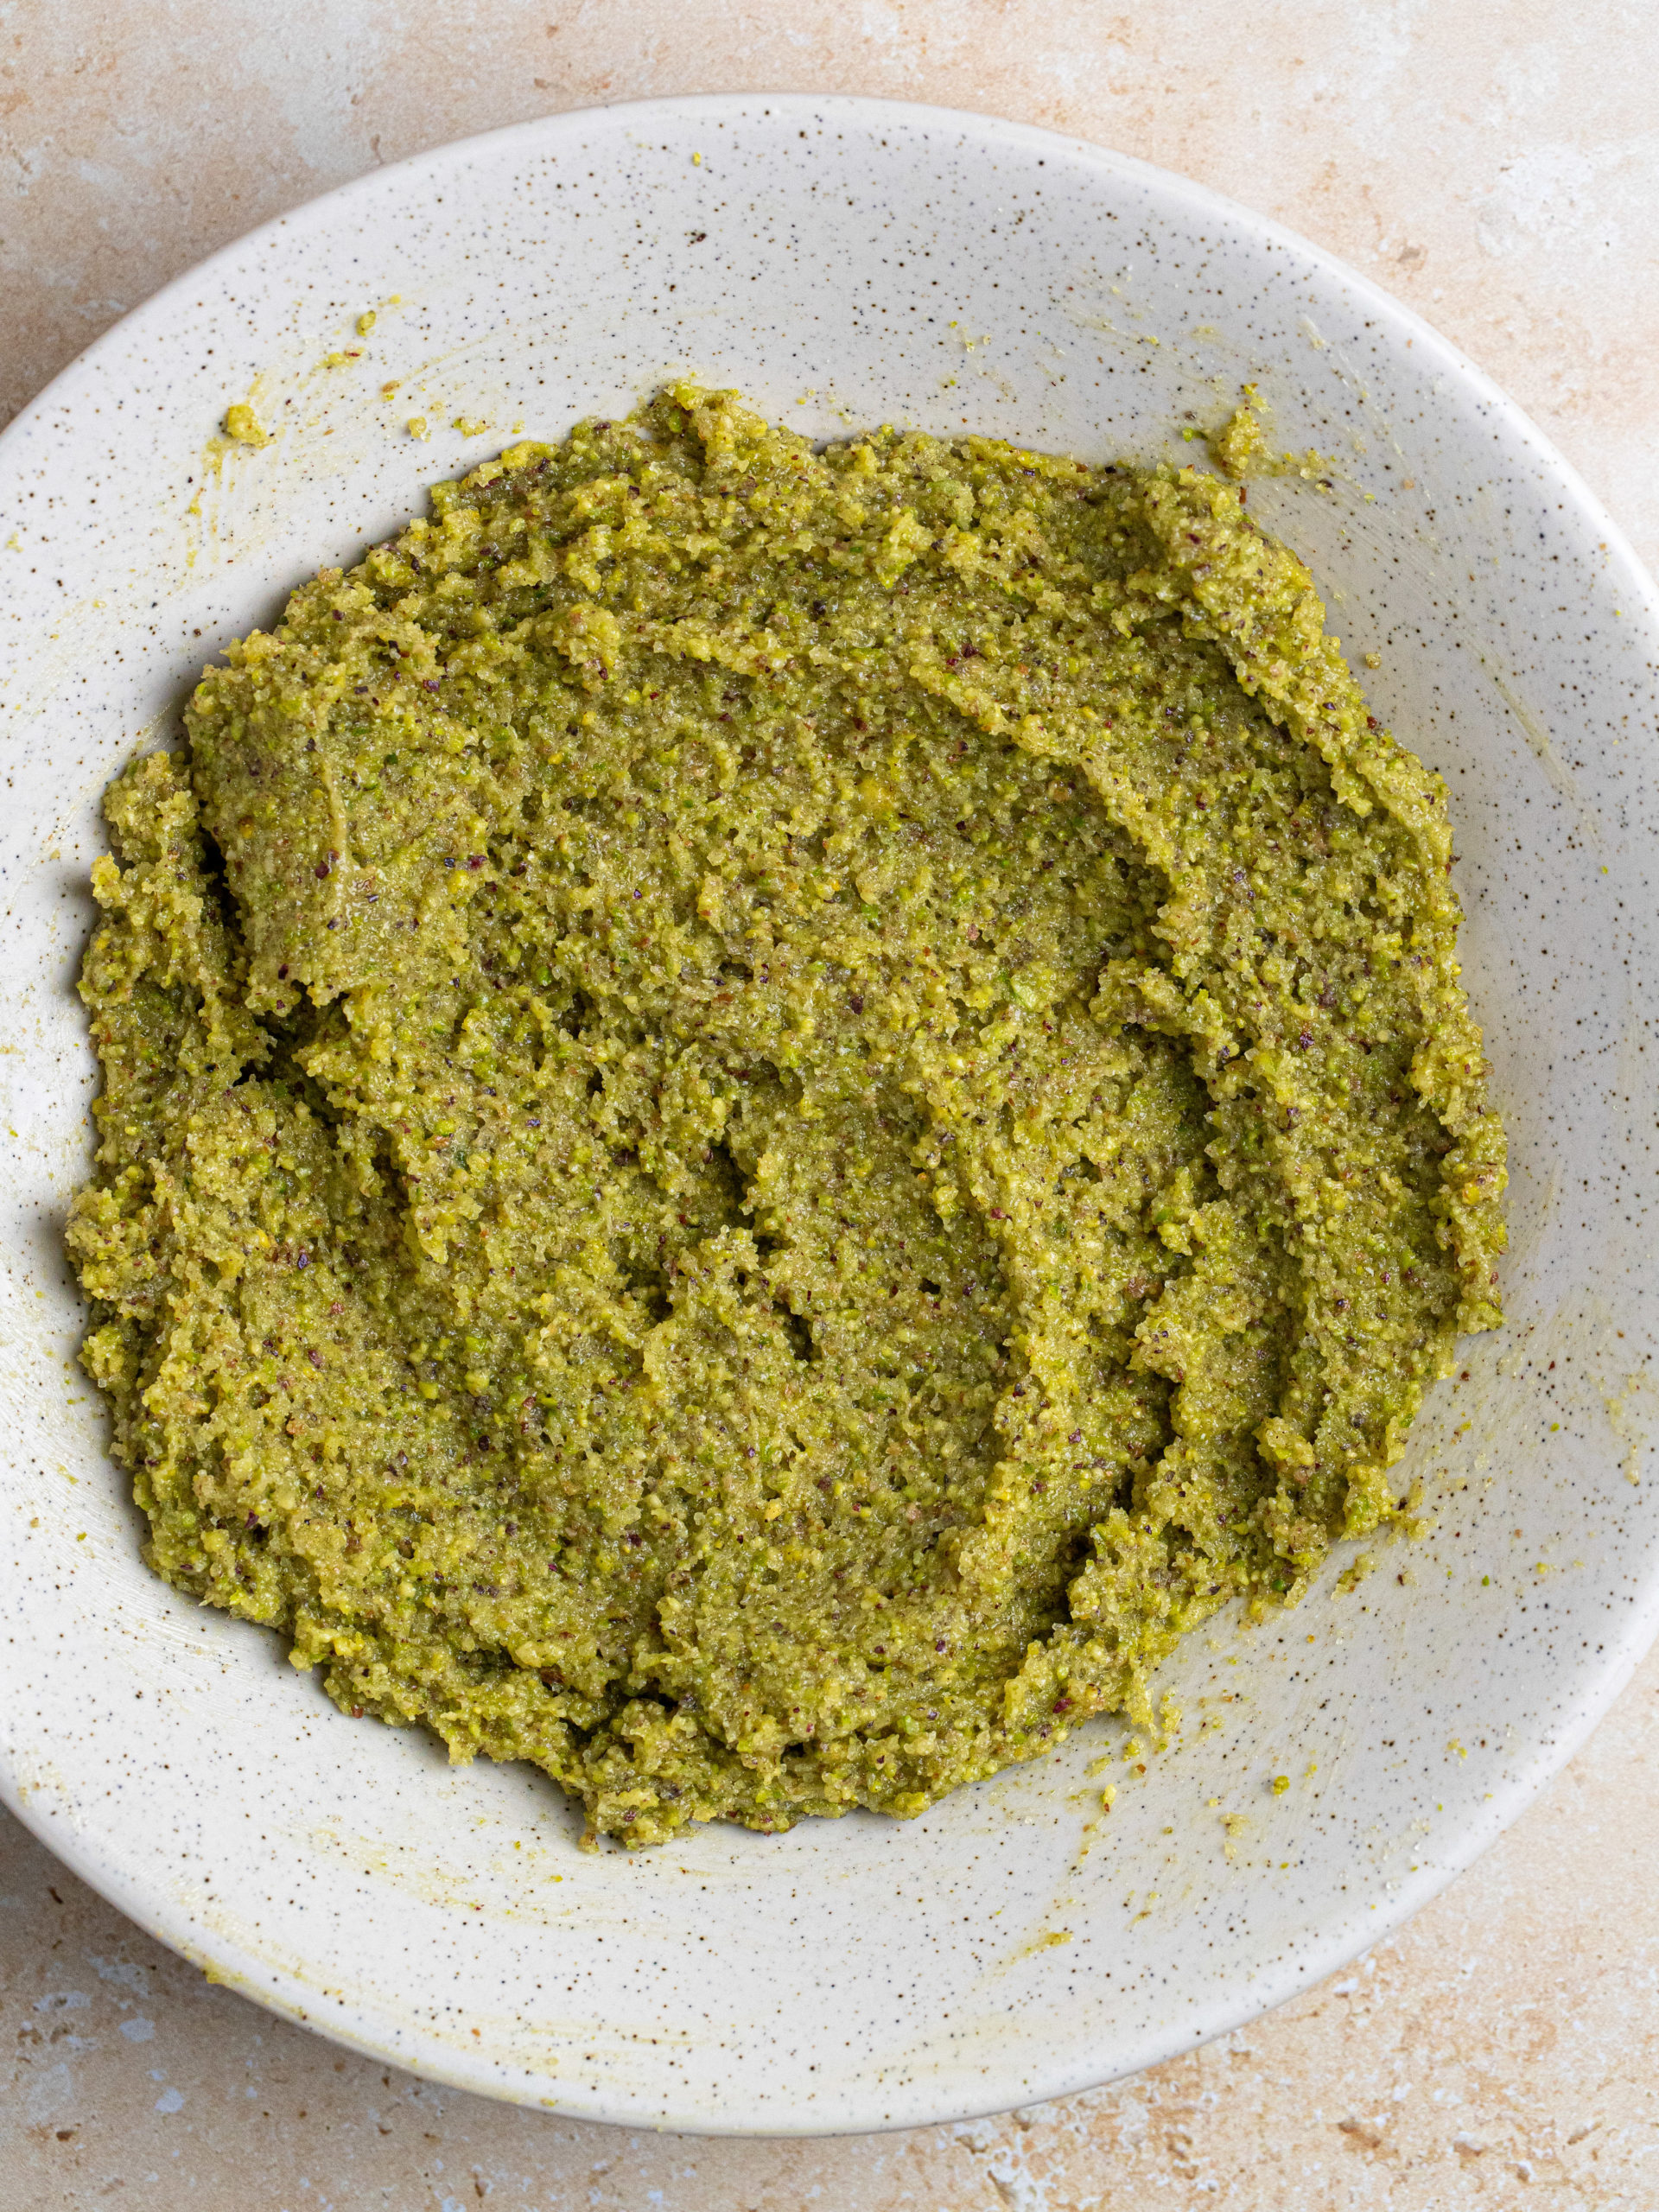
STEP 1: While the dough rises, make the pistachio paste. Add the pistachios to a blender and blend them until a flour-like consistency. Add it to a bowl with the butter and sugar and mix together until one paste and set it aside.
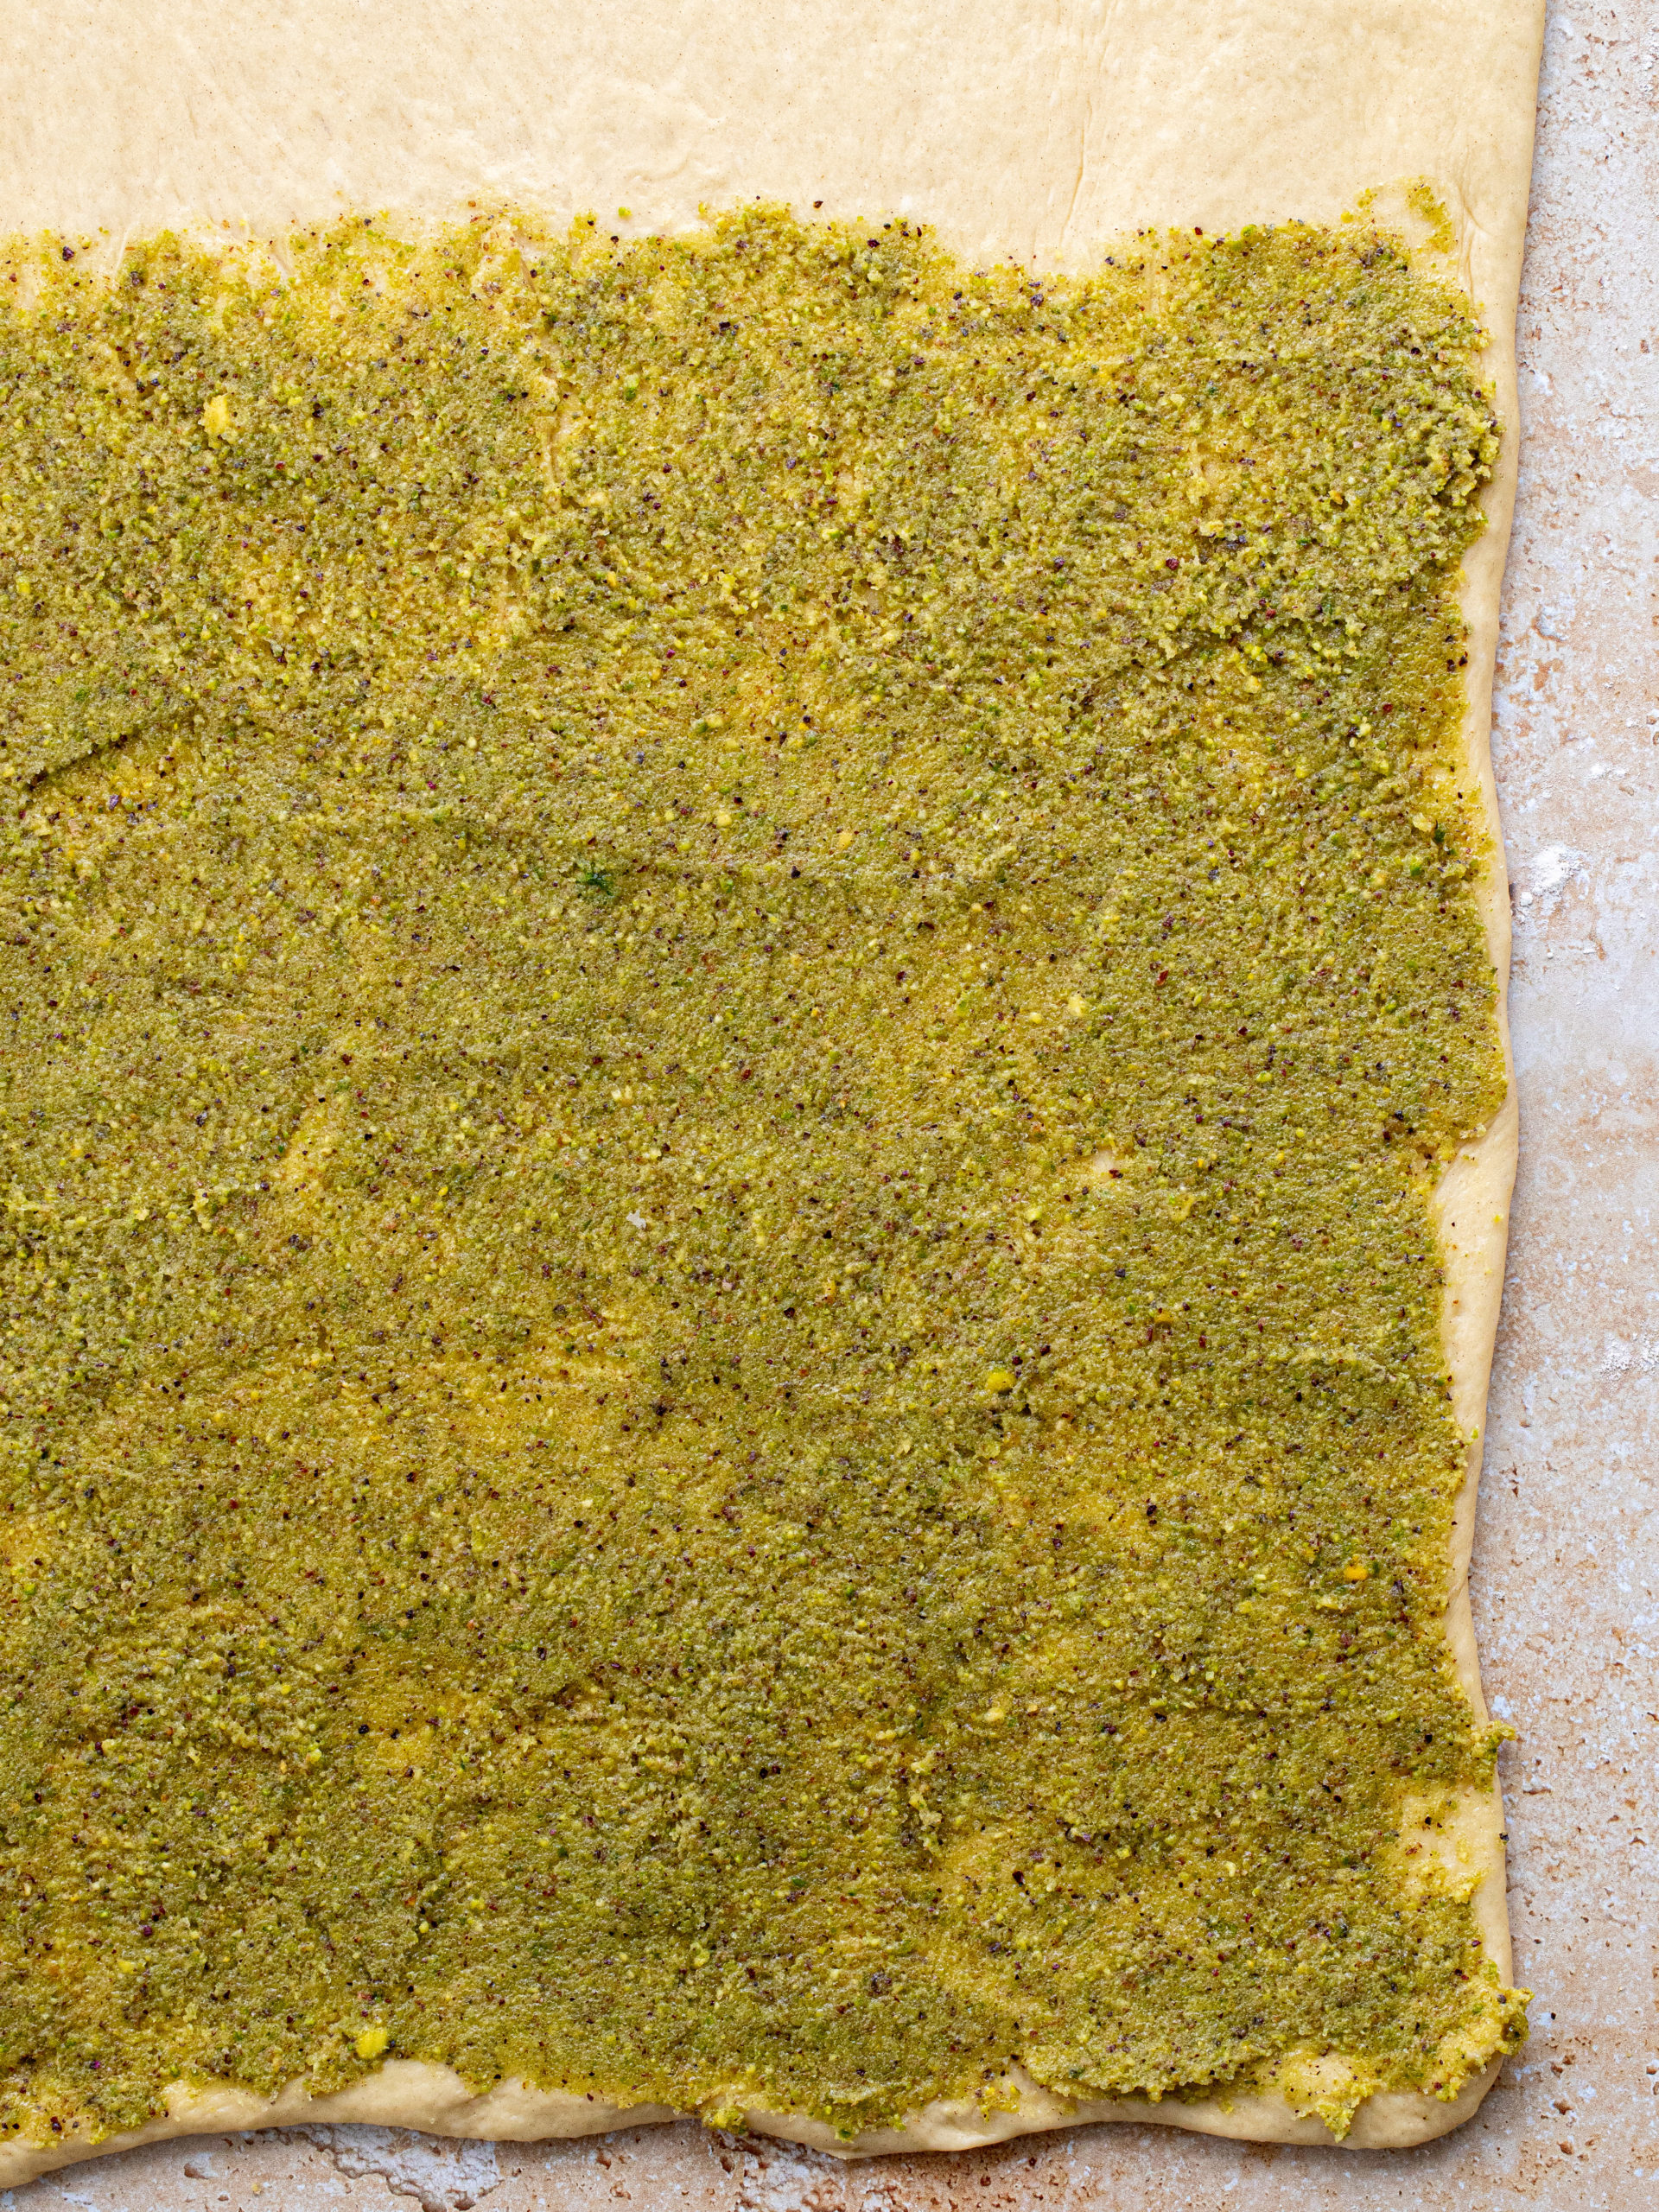
STEP 2: After the first rise, it should now be double in size. Roll out your dough on a lightly floured surface into a large rectangle. Spread the pistachio filling over ⅔ the dough in an even layer with a spoon or offset spatula. Then sprinkle with the chocolate chips.
STEP 3: Fold the shorter ends of the dough into thirds like a letter. Start folding from the shorter ends. Take the upper ⅓ section of the dough (without the filling) and fold it onto the middle ⅓ section of the dough. Then, fold the remaining ⅓ of the dough over the previous fold, resulting in the creation of three layers of dough. Proceed by delicately rolling out the dough once more, aiming for dimensions around 22 cm/ 9 inches in width and 35 cm/ 14 inches in length.
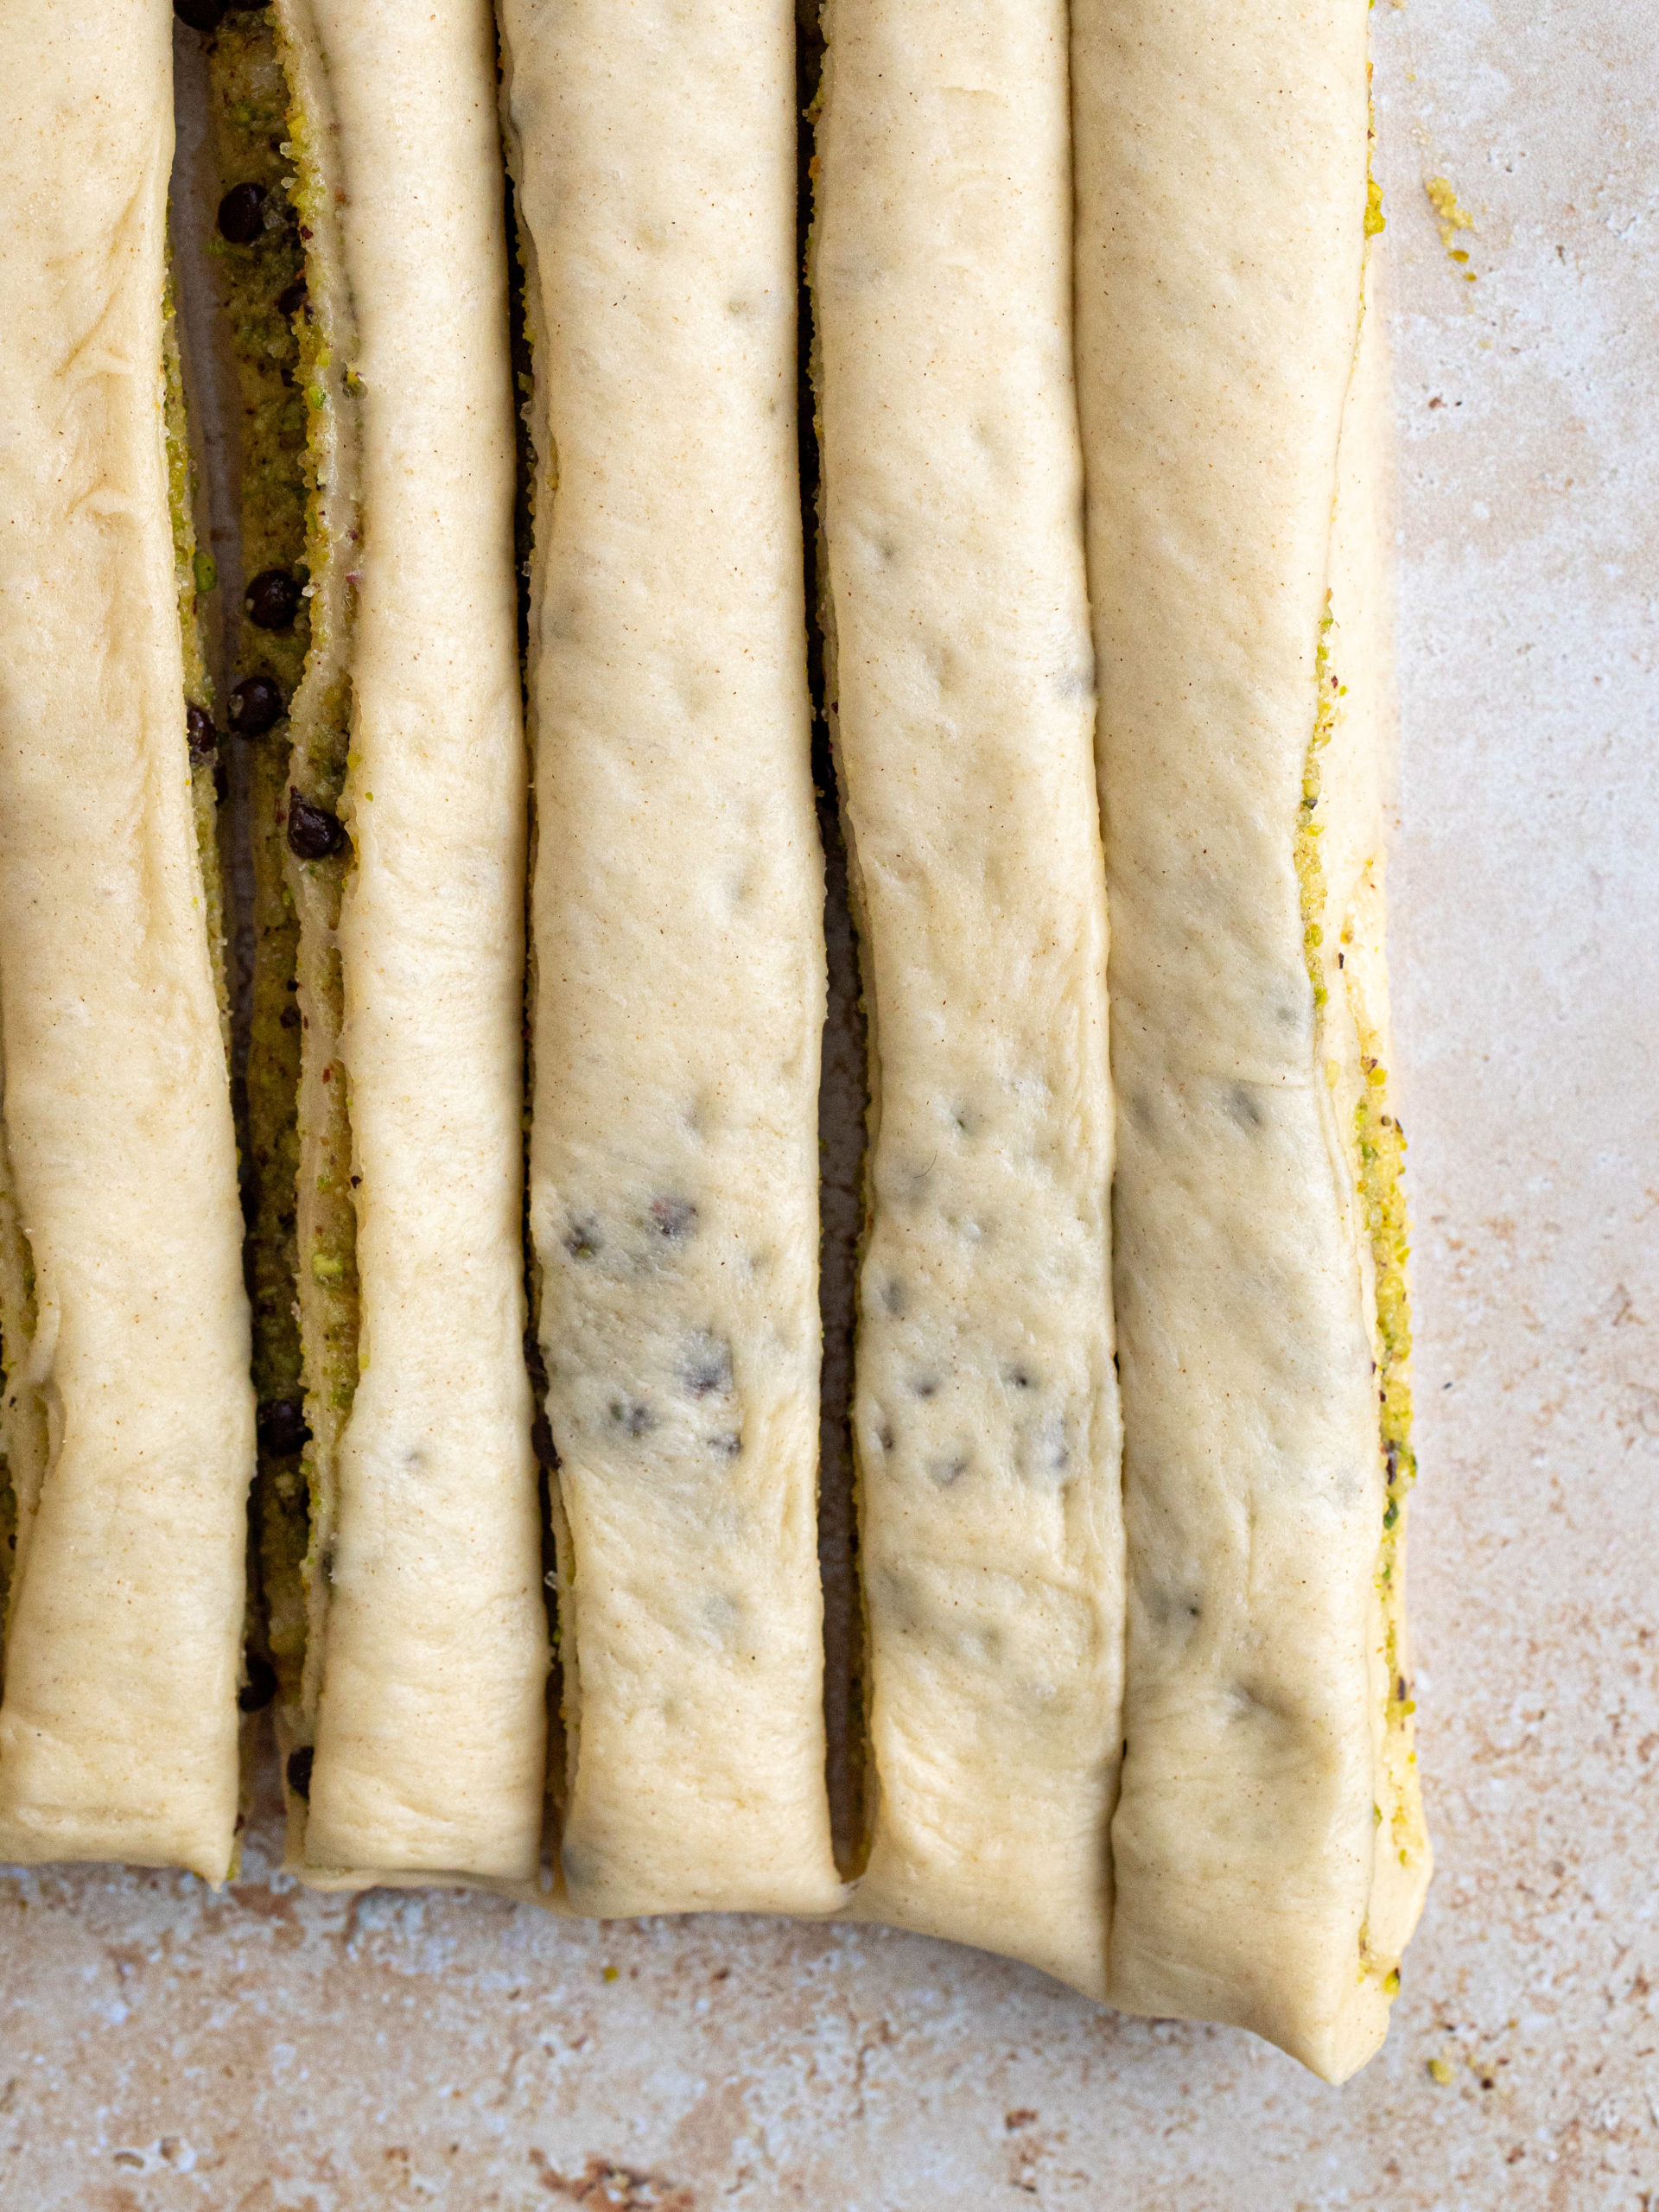
STEP 4: Use either a pizza cutter or a pastry wheel, trim all four sides of the dough to achieve tidy and uniform edges. Proceed by slicing the dough into 9 elongated strips, with each strip being approximately 2 cm/1 inch in width.
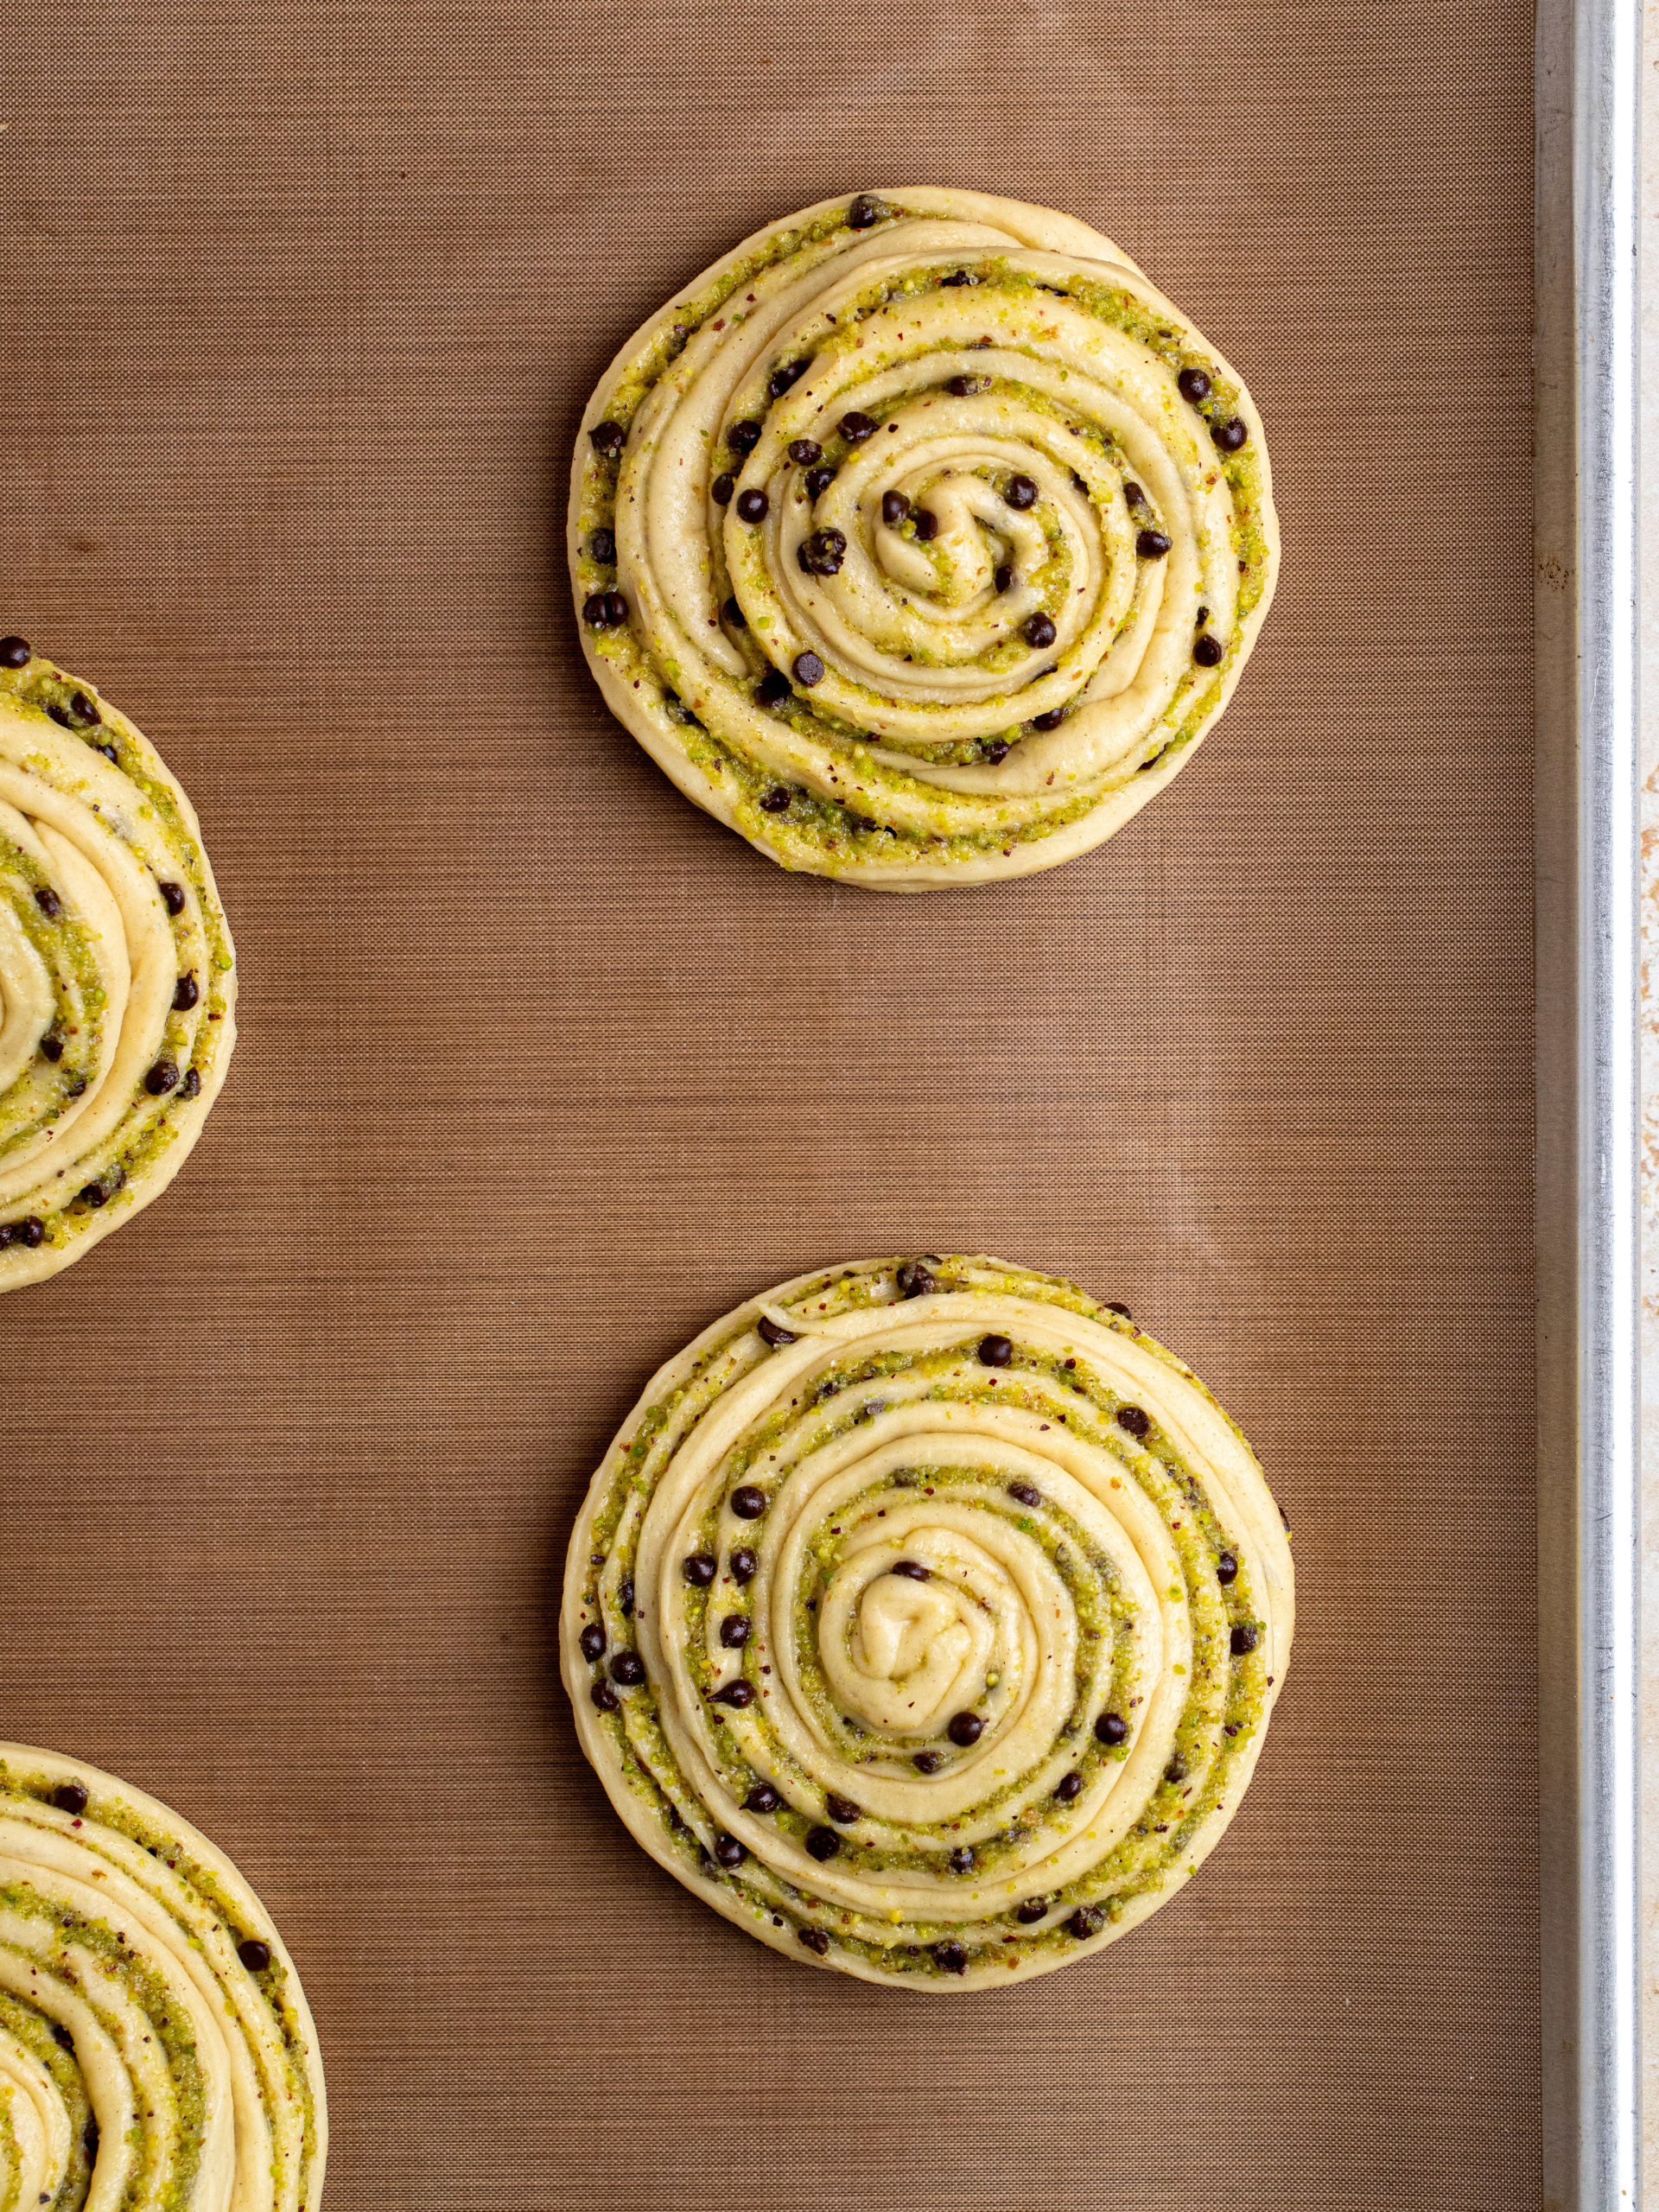
STEP 5: Start in one of the ends and tightly roll up each strip into a tight bun while ensuring the tail is tucked underneath. Place them on two baking sheets lined with parchment paper. Let them rise for a second time on the kitchen counter for 45 minutes under some plastic wrap and a tea towel.
Meanwhile preheat the oven to 190ºC/ 375ºF conventional oven.
STEP 6: After the second rise, bake each tray for 15 minutes on the second lowest rack. Immediately out of the oven brush them with the honey glaze. Enjoy them lukewarm.
EXPERT BAKING TIPS
- Use a kitchen scale: My default setting for my recipes is grams. It is the most precise way of measuring out your ingredients, I therefore highly recommend using a kitchen scale.
- Don't over mix your batter: I always use a spatula after everything has mixed together, to give it one final gentle fold together. This makes sure everything in the bottom of the mixing bowl has been mixed into the batter.
- Light vs. dark baking pans: For the best result, use an aluminum baking pan, greased with butter and lined with baking paper in the bottom. Aluminum pans are light in color and therefore attract less heat. That means it bakes more gently which results in a softer cake. If you use a black baking pan it'll attract a lot more heat. That will then give a darker crust, which can result in a dryer cake.
FAQ
When they have turned a light golden brown, they are ready to be taken out of the oven.
Yes, let the dough rise its 1st rise in the fridge overnight, proofing for no more than 16 hours. Then follow the recipe as and let the dough do its 2nd rise at room temperature.
Yes, prepare each of the element, the day before, so you only need to assemble the rolls the next morning. Make the dough as described in the FAQ above. Prepare the pistachio sugar filling and store it in an airtight container at room temperature.
STORAGE
Store the Pistachio Chocolate Rolls in a bag or an airtight container. They are best enjoyed within a 3-5 days. They taste the the best when reheated in the microwave for 30 seconds to 1 minute.
Other Bread Recipes To Try
Make sure leave a STAR REVIEW if you loved this recipe! Make sure to tag me on Instagram @juliemarieeats. To get more ideas by following me on Pinterest.
Pistachio Chocolate Rolls
Ingredients
BRIOCHE DOUGH
- 225 g whole milk
- 30 g fresh yeast or dry active or instant yeast
- 50 g granulated sugar
- 550 g all-purpose flour
- 2 eggs
- 1 teaspoon salt
- 100 g butter room temperature
PISTACHIO FILLING
- 100 g butter room temperature
- 100 g granulated sugar
- 100 g raw unsalted pistachios no shell
- 100 g mini chocolate chips ½ cup minis
GLAZE
- 2 tablespoon agave or honey
- 2 tablespoon boiled water
Instructions
DOUGH
- Heat up the milk until it’s lukewarm (37ºC). Crumble the fresh yeast into the bowl of a stand mixer and pour in the heated milk. With a spatula stir it together until the yeast has melted. (If you are use dry yeast, let it bloom in the warm milk per instruction of the pack)30 g fresh yeast, 225 g whole milk
- Add the granulated sugar, all-purpose flour, eggs, salt and using the dough hook, mix the dough on low-medium speed until it is all hydrated and there is no dry flour left. Then mix further for 4 minutes on medium speed.50 g granulated sugar, 550 g all-purpose flour, 2 eggs, 1 teaspoon salt
- Continue on medium speed and add the butter in two parts. Add the second part of the butter, once the first part has mixed into the dough. This part looks messy but don’t worry. Once the second part has incorporated, scape down the sides of the bowl and keep mixing the dough for 8-10 minutes. It should end, looking smooth and released from the bowl.100 g butter room temperature
- Add the dough to a clean large bowl, with a bit of vegetable oil, and cover the bowl with plastic wrap and a tea towel. Place it in a warm room temperature area in your house. Let it rise for 1 hour. See FAQ above for overnight rising.
PISTACHIO FILLING
- While the dough rises, make the pistachio paste. Add the pistachios to a blender and blend them until a flour-like consistency. Add it to a bowl with the butter and sugar and mix together until one paste and set it aside.100 g butter, 100 g granulated sugar, 100 g raw unsalted pistachios
GLAZE
- Boil some water. In a bowl, add the honey and boiled water and mix it together and set it aside.2 tablespoon agave, 2 tablespoon boiled water
ASSEMBLING
- After the first rise, it should now be double in size. Punch the air out of the dough and roll out your dough on a lightly floured surface into a large rectangle measuring approximately 35 x 60 cm/ 14 x 24 inches with a rolling pin.
- Spread the pistachio filling over ⅔ the dough in an even layer with a spoon or offset spatula. Then sprinkle with the chocolate chips and gently press them down, so they don’t move when folding the dough.100 g mini chocolate chips
- Fold the shorter ends of the dough into thirds like a letter. Start folding from the shorter ends. Take the upper ⅓ section of the dough (without the filling) and fold it onto the middle ⅓ section of the dough. Then, fold the remaining ⅓ of the dough over the previous fold, resulting in the creation of three layers of dough.
- Proceed by delicately rolling out the dough once more, aiming for dimensions around 22 cm/ 9 inches in width and 35 cm/ 14 inches in length.
- Use either a pizza cutter or a pastry wheel, trim all four sides of the dough to achieve tidy and uniform edges. Proceed by slicing the dough into 9 elongated strips, with each strip being approximately 2 cm/1 inch in width.
- Start in one of the ends and tightly roll up each strip into a tight bun while ensuring the tail is tucked underneath. Place them on two baking sheets lined with parchment paper. Let them rise for a second time on the kitchen counter for 45 minutes under some plastic wrap and a tea towel.
- Meanwhile preheat the oven to 190ºC/ 375ºF conventional oven.
- After the second rise, bake each tray for 15 minutes on the second lowest rack. Immediately out of the oven brush them with the honey glaze. Enjoy them lukewarm.



Leave a Reply